|
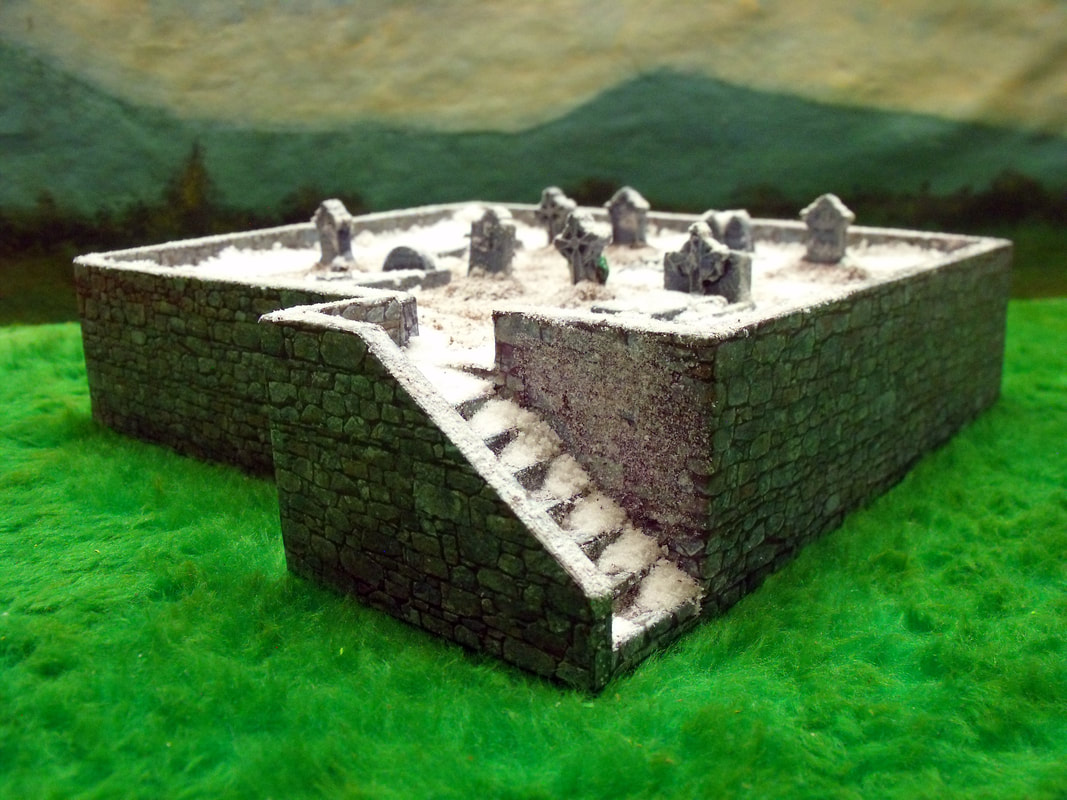
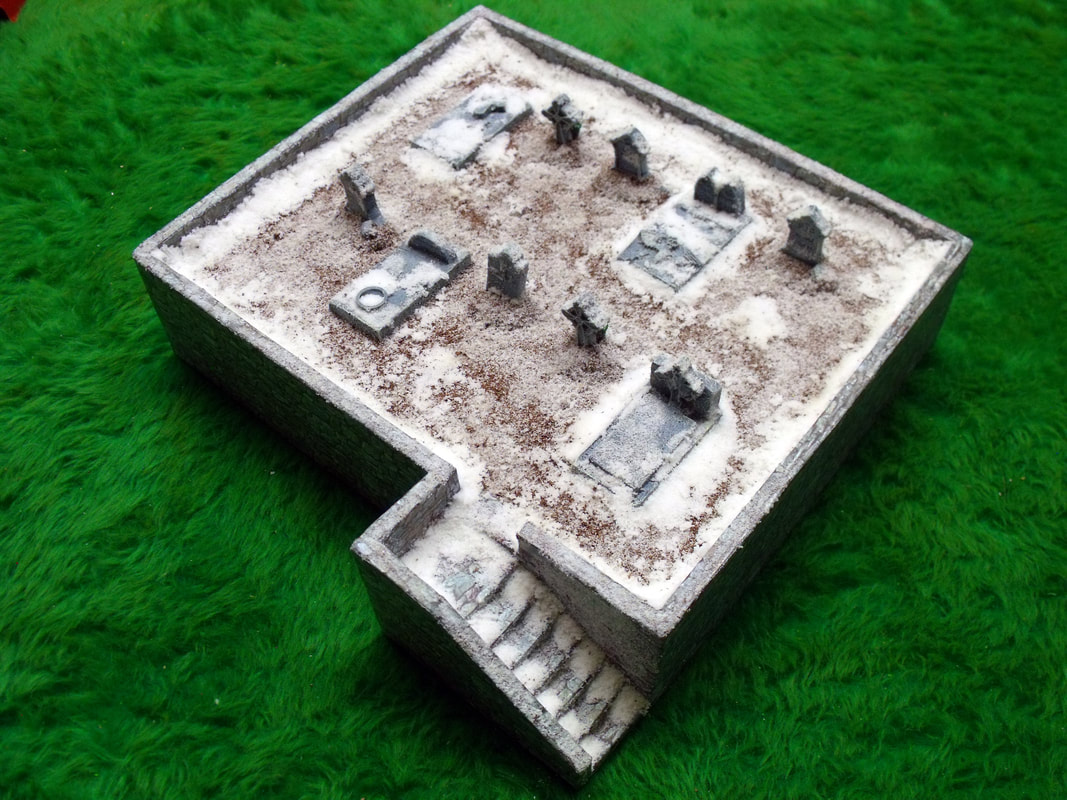
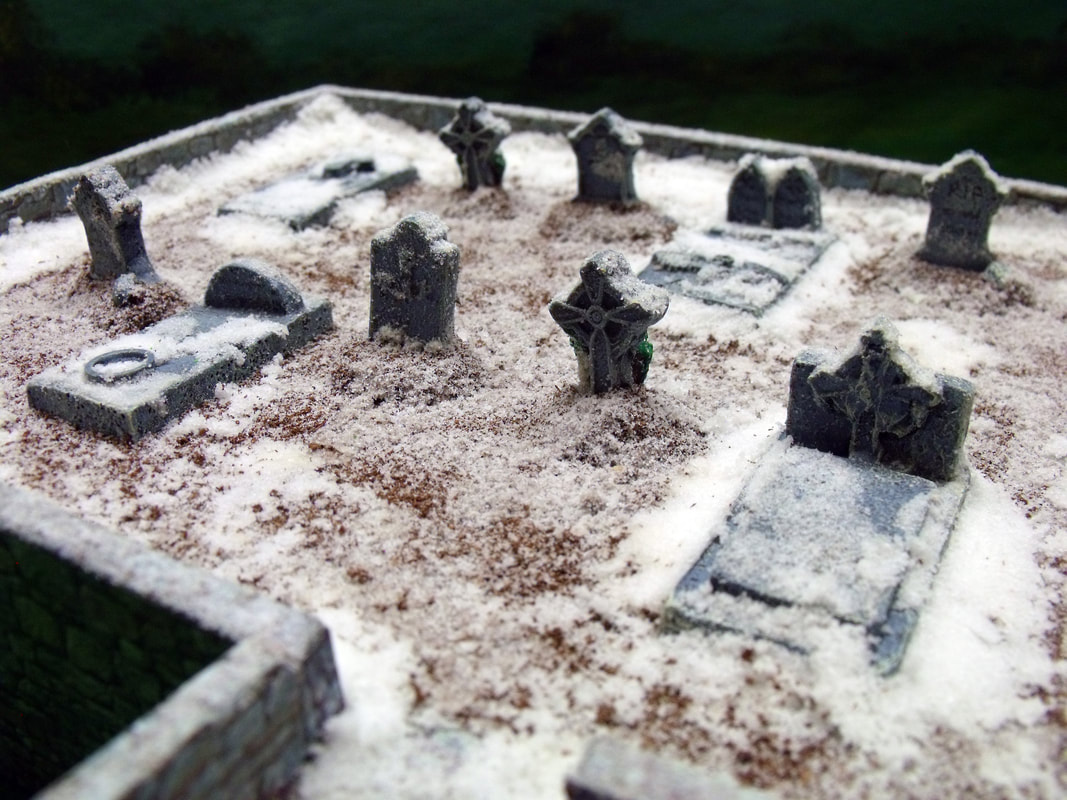
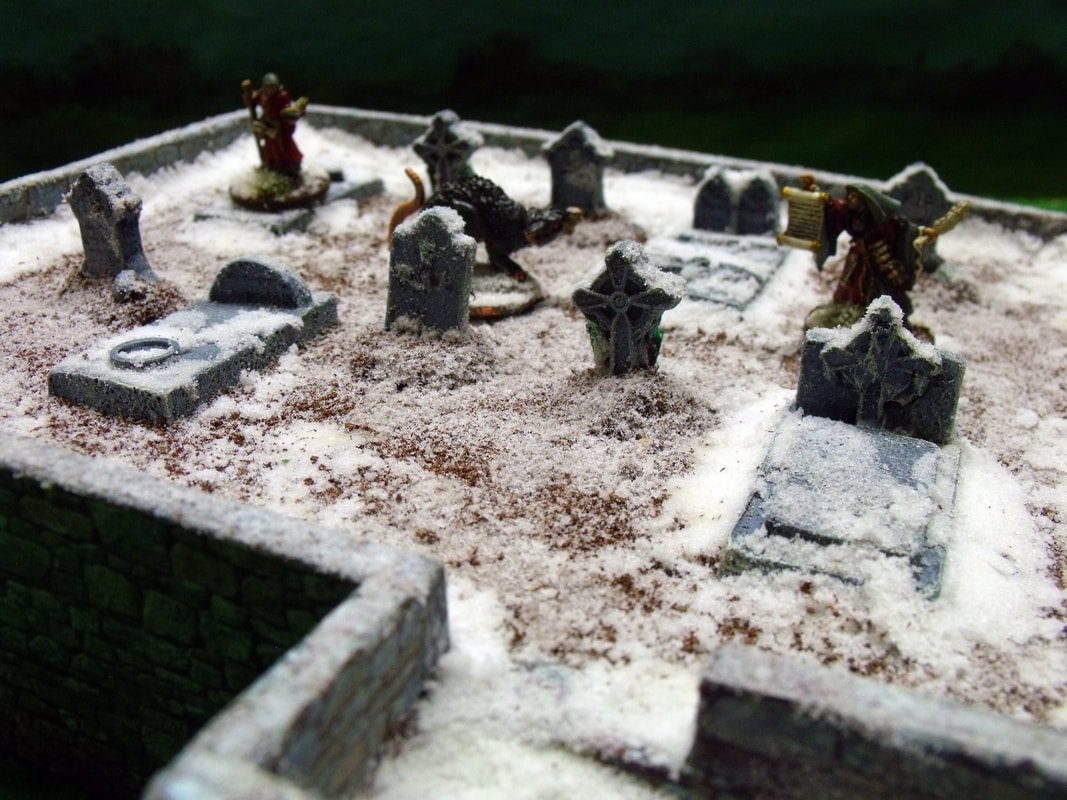
I built this a couple of months ago to go with my ever increasing lot of buildings & scenery for my Frostgrave setup. The idea came from my wanting to have different levels of terrain for my Frostgrave games as my terrain board is split over different levels to add to the general mayhem of the four player games I usually play with my gaming buddies.
To that end I wanted a graveyard that was raised above the surrounding terrain with only one access point being the stairs. To start with I had a piece of cardboard packaging lying around which was 240mm long x 200mm wide x 45mm deep, which seemed about the right size for what I wanted. I then decided to fix a wall around it made from foamboard which was cut to a height of 60mm which allowed for a wall 15mm higher than the graveyard. Once glued in place I decided upon an entry point and cut an opening 30mm wide, which was so far so good and only a few short minutes of work. The next thing to do was build the stairs leading up to the graveyard level which needed some planning to get the stair treads to match the height and position of the opening, at this stage I realised that I should have built the stairs first and then cut the opening last. The stairs were made from 5mm foamboard with a width of 30mm and each one glued in place to match the position of the opening. Fortunately the stairs matched perfectly with the opening so I then built the walls to enclose them so that they looked in keeping with the rest of the graveyard. The next thing to do was to wrap the entire set of walls with a home made stone effect wallpaper which I regularly use on projects like this. The stairs were done first and separately from the main walls as they were not yet glued in place for this reason. The rest of the graveyard walls were then done and once everything was dry the stairs were glued in place, finally everything was sealed with a coat of clear acrylic matt varnish. The grave stones were next to be tackled and as I already had some resin gravestones from an old abandoned project lying around I painted them up an decided to position them. I wanted 2 rows of gravestones and allowed 30mm all around them for figure placement and 30mm between the rows for the same reason. When happy with the positioning of the gravestones I glued them all in place and painted the ground dark brown and once dry I used brown scatter material to simulate dirt. The final stage was to apply the snow and frost to the whole model, the snow banks were made from Woodland Scenics snow scatter material mixed to a paste with PVA glue and this was applied wherever I thought snow would gather. Once dry the whole model was scattered with the snow effect scatter material to simulate frost and that was it all finished.
0 Comments
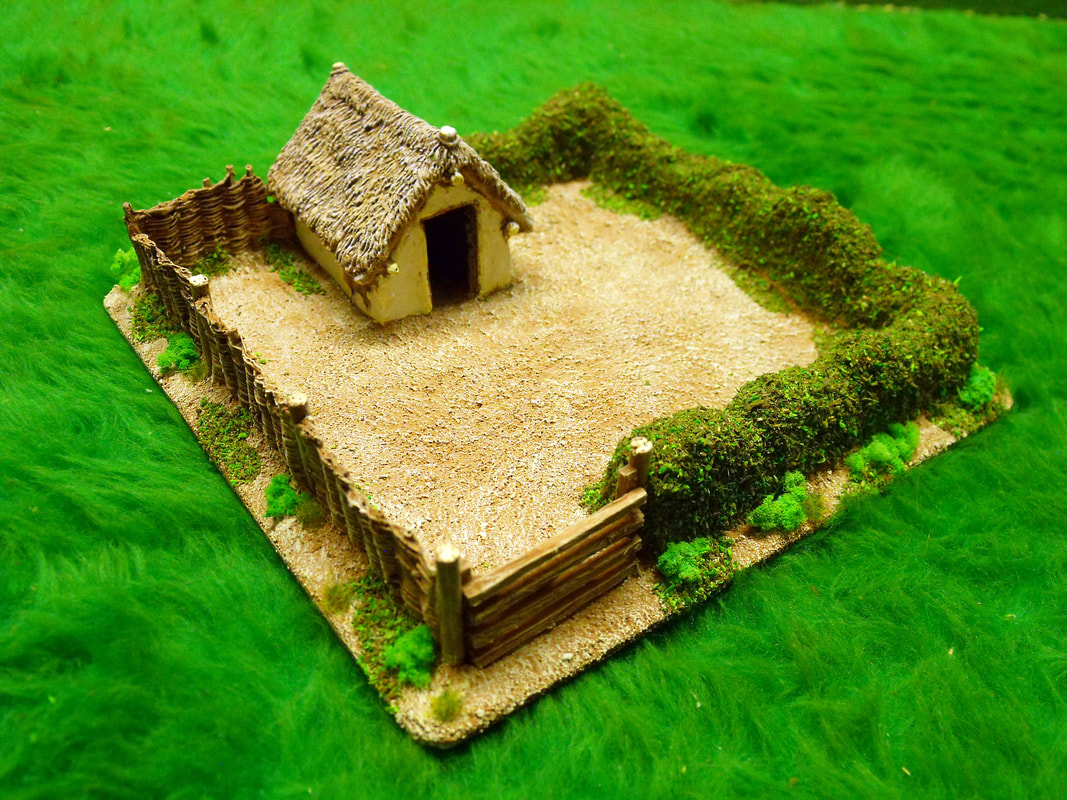
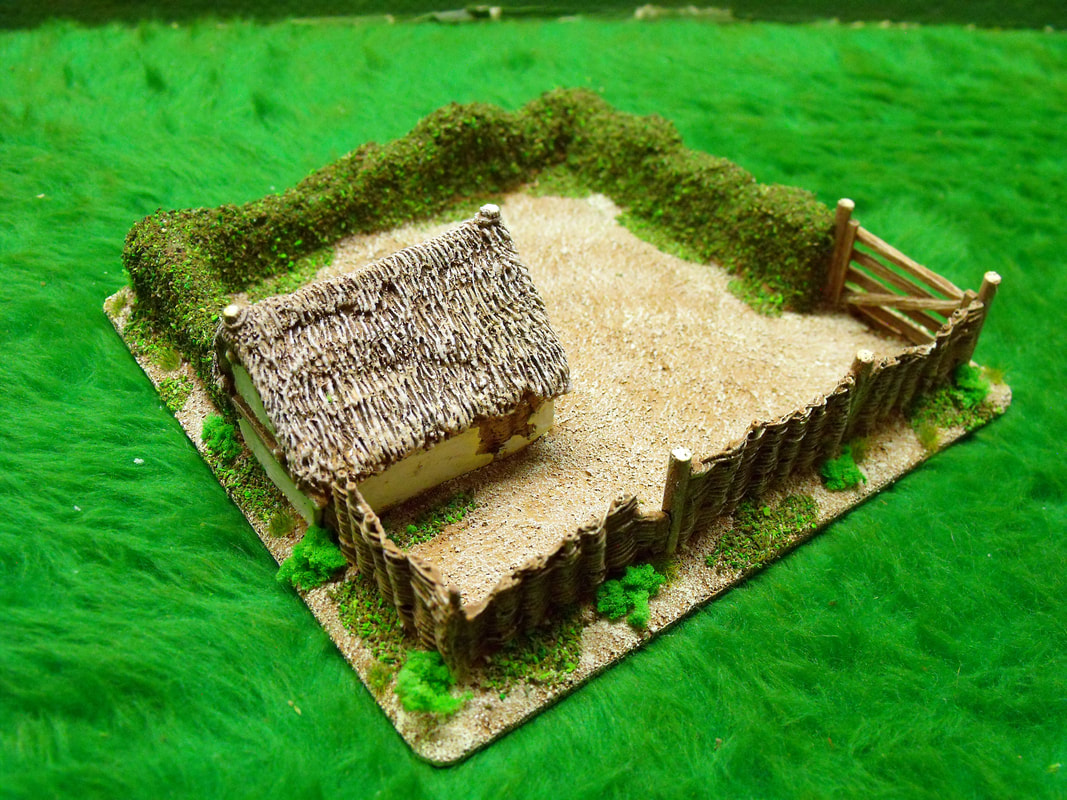
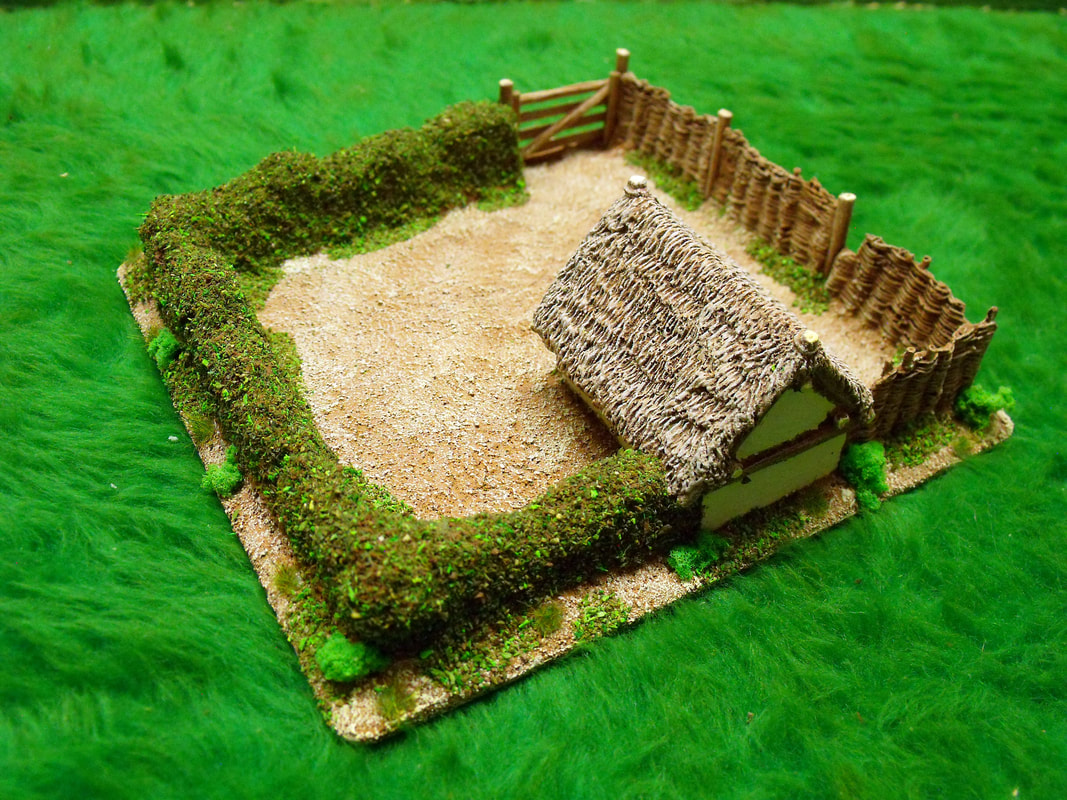
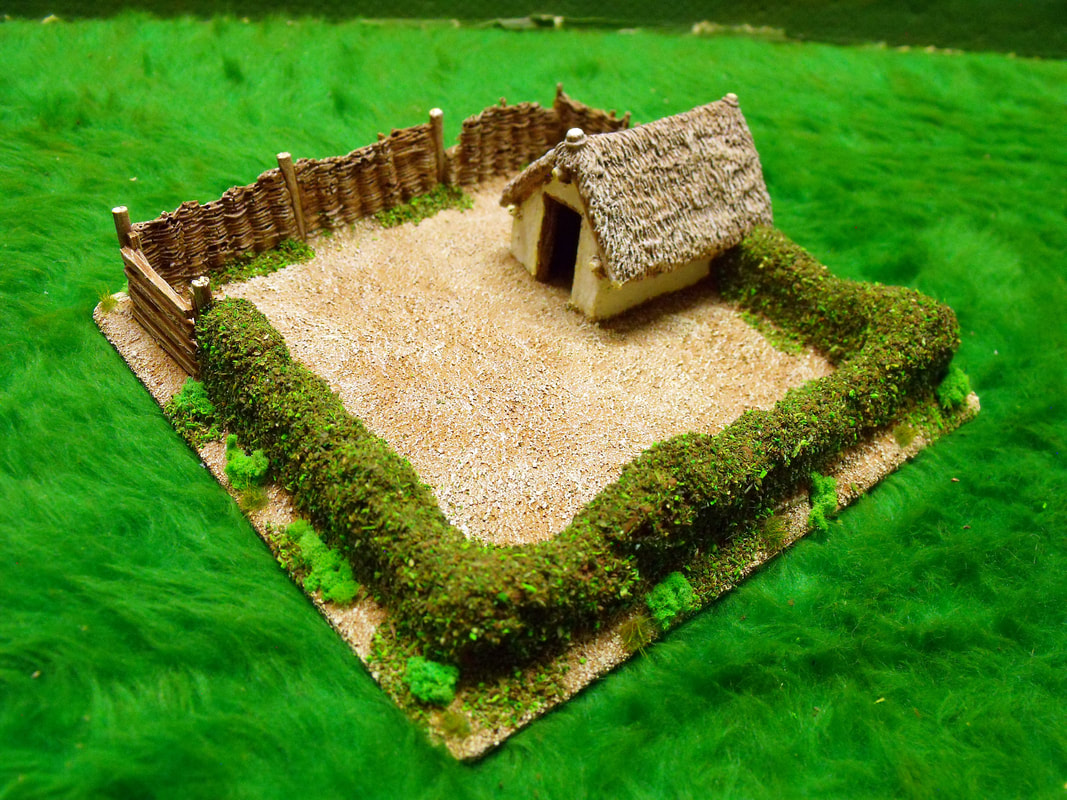
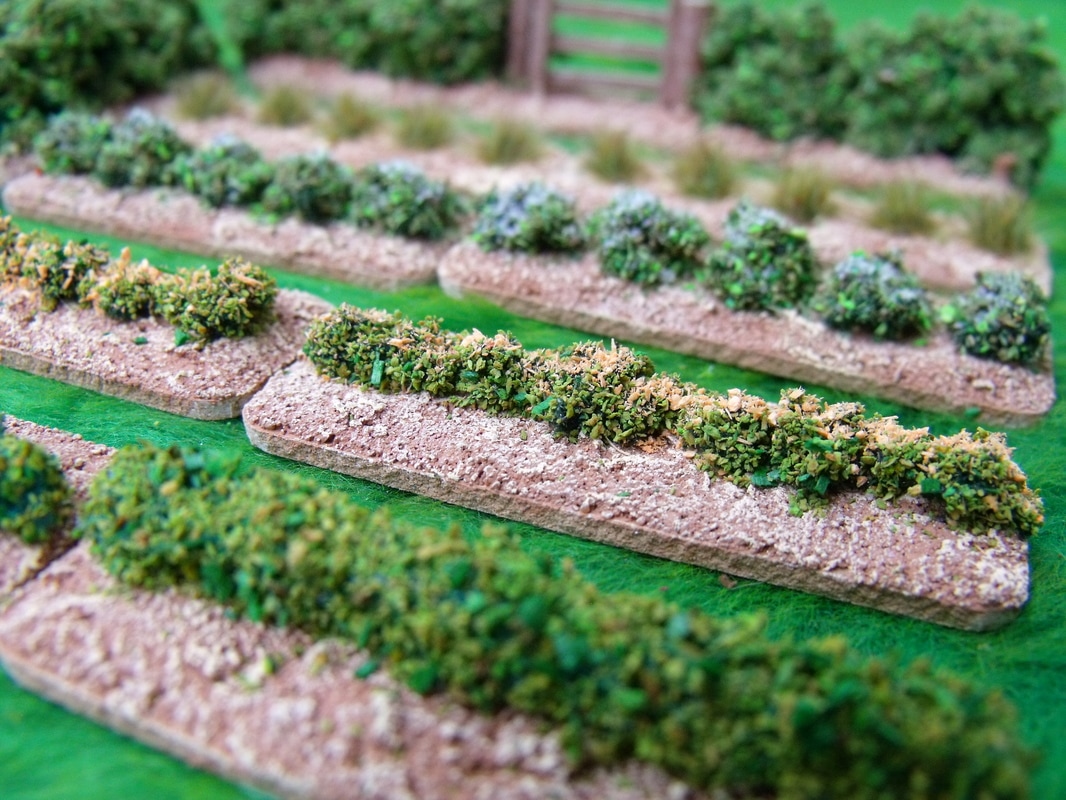
I finished this piece recently for a customer as part of an ongoing project. Basically it was a resin Pigsty with a few broken bits of wattle fencing that he wanted making into an enclosure to hold many bases of pigs and piglets. There wasn't enough wattle fencing to make a useful enclosure so I decided to add a hedge made from some sample resin pieces that I had lying around. This just left me needing a gate which was made from matchsticks and a few dowel fence posts and I had all that I needed. With all the pieces glued in place on a piece of vinyl tile I painted everything and then applied the basing, which is a mixture of sharp sand and brown paint (like Basetex, but far cheaper). Once dry I applied bushes and long grass then I covered the hedge with scatter flock and a lighter flock applied in patches around the base to finish it off. That was it, all done and ready to be used on the wargames table, a really useful building that could be used for many periods or settings.
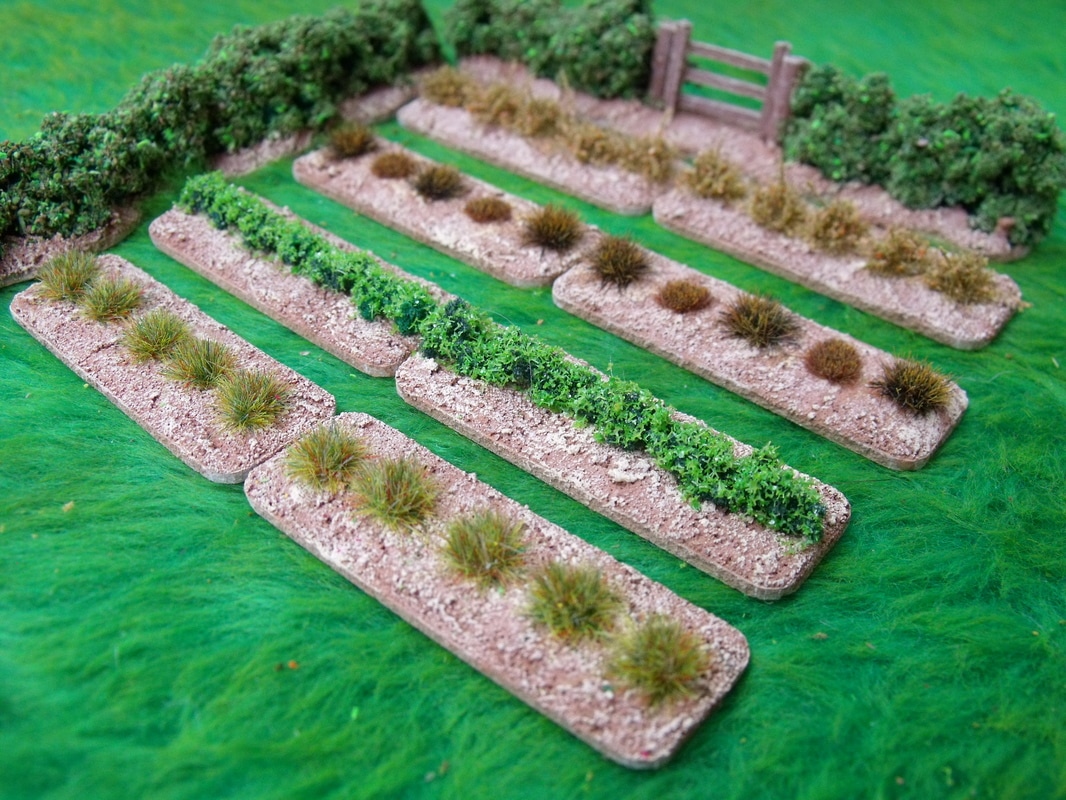
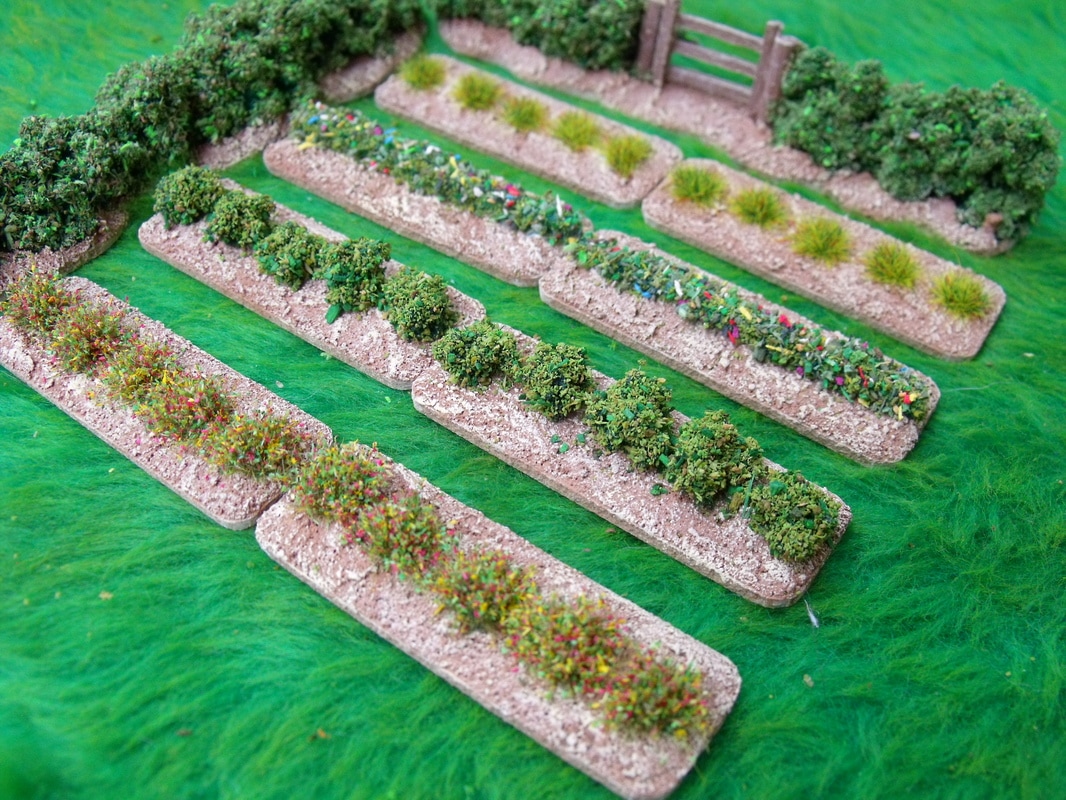
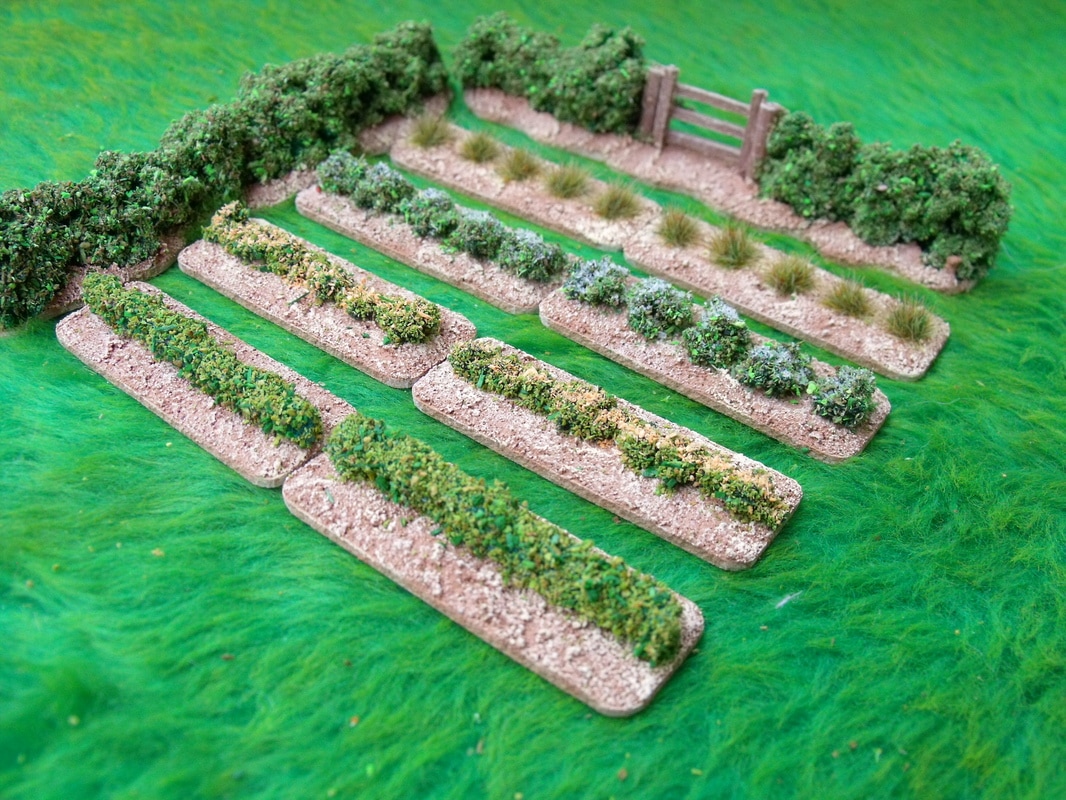
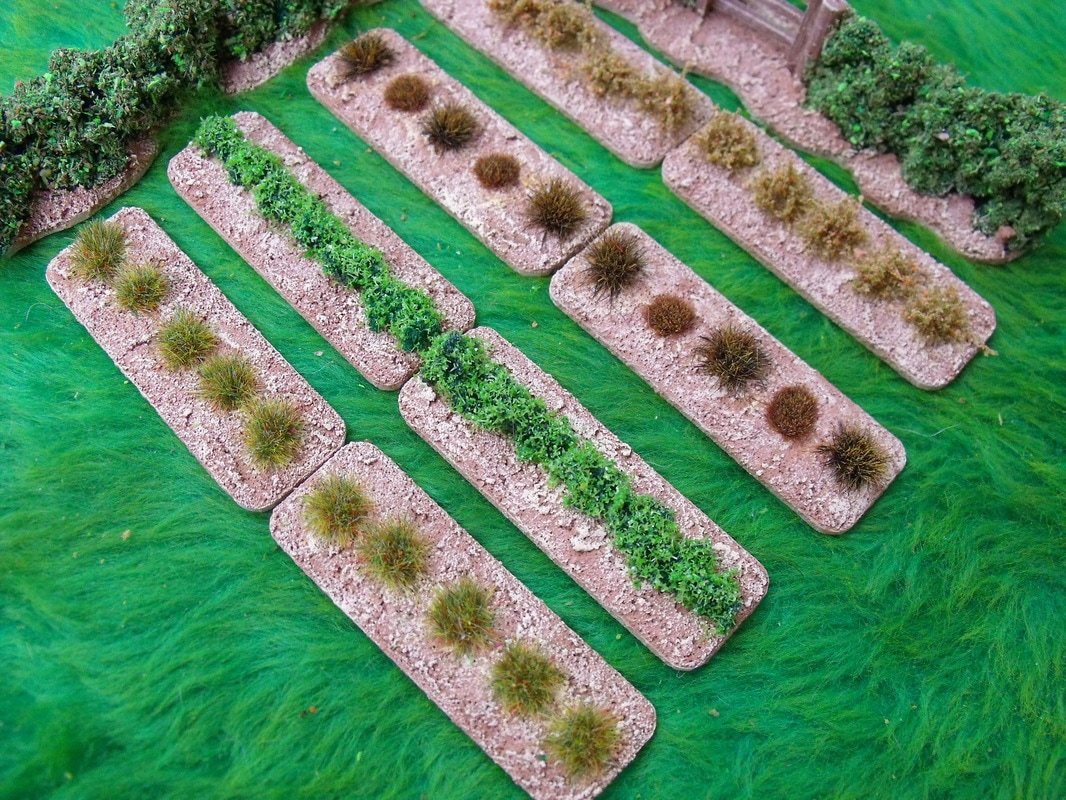
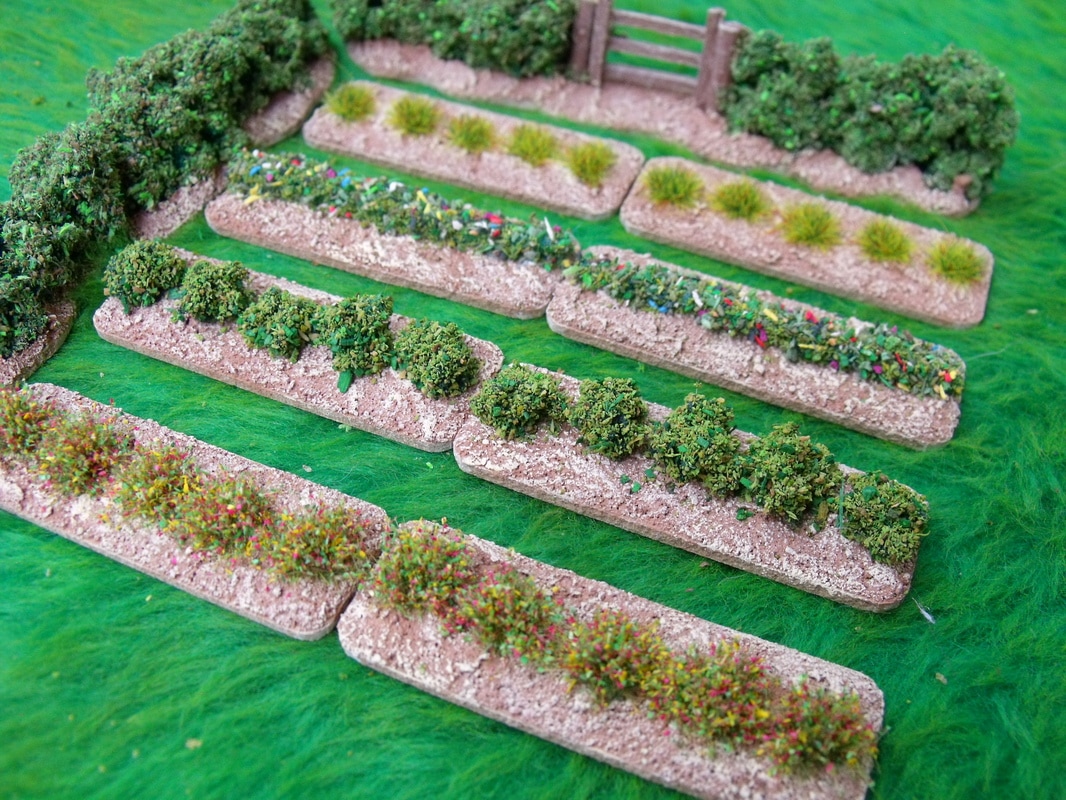
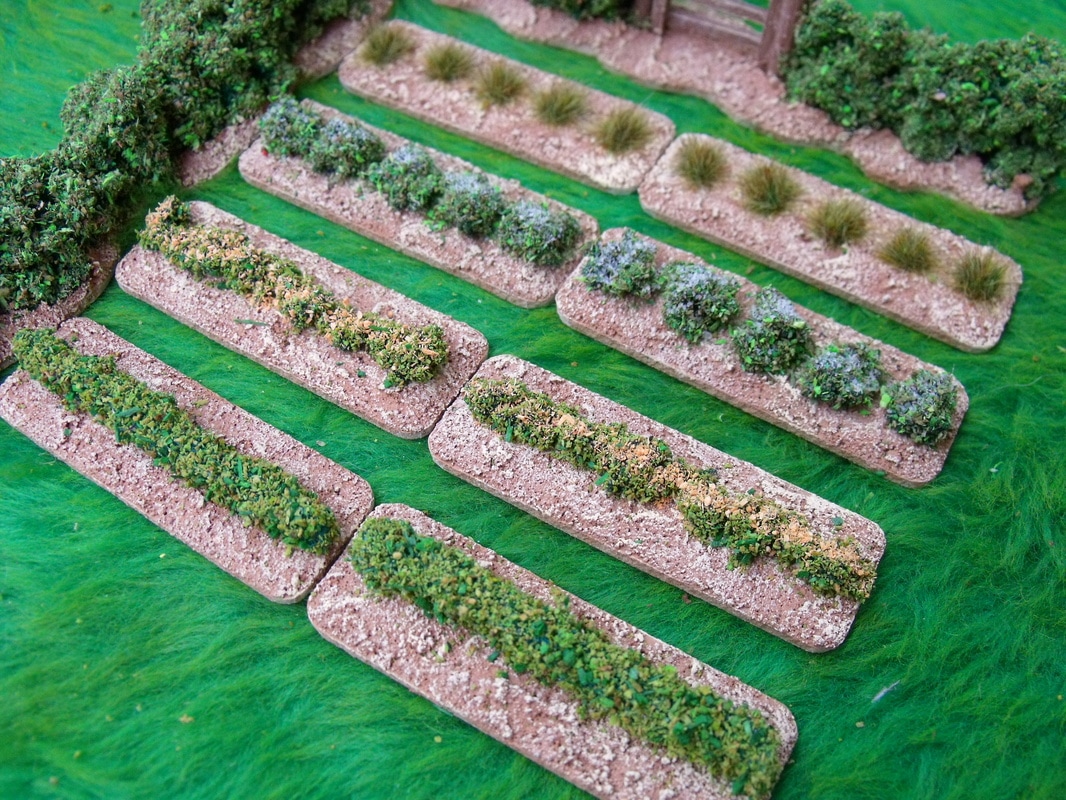
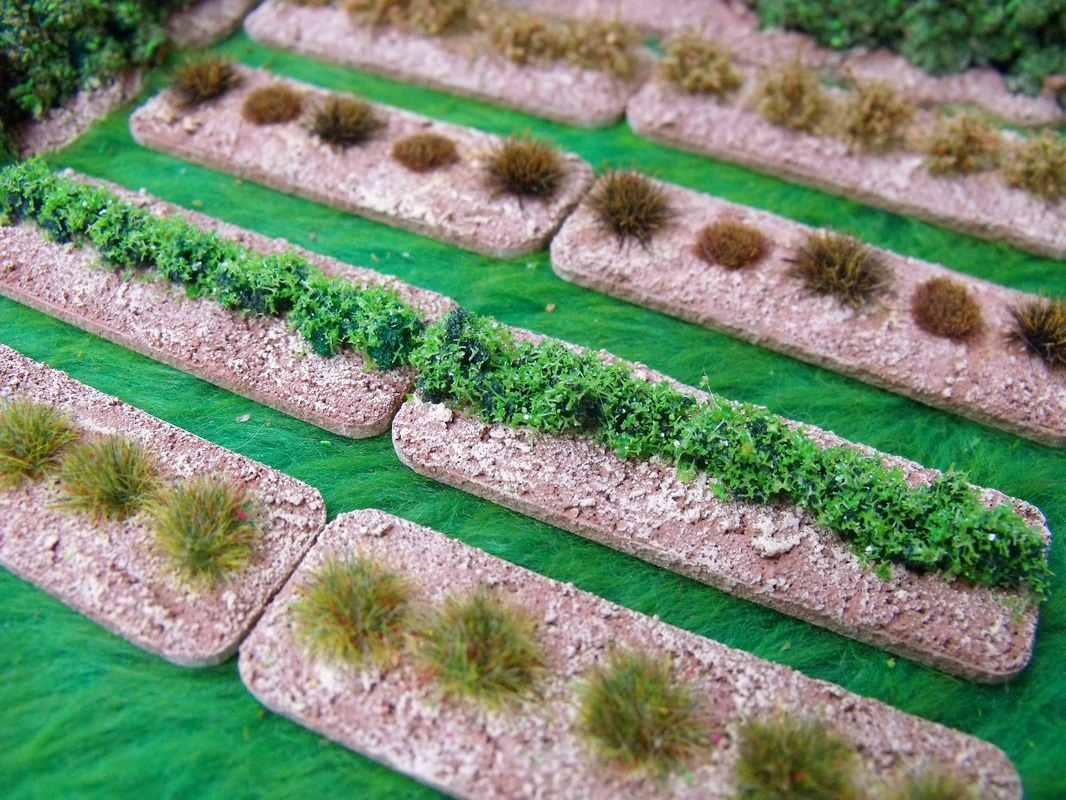
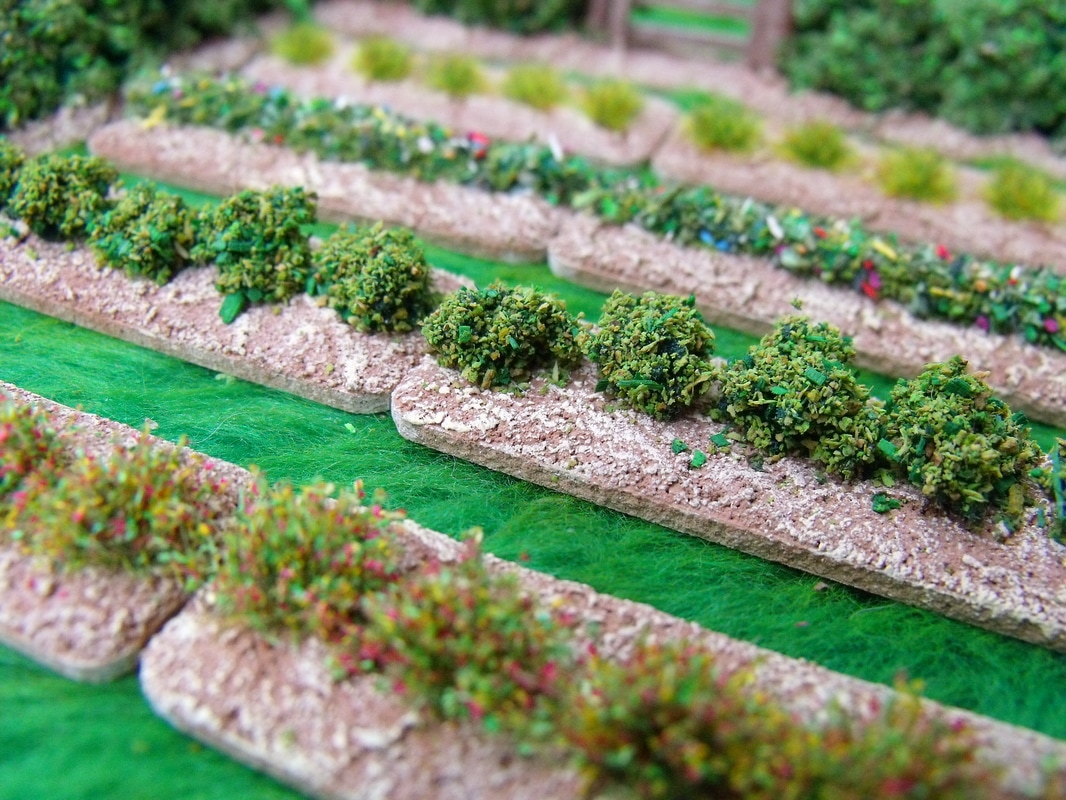
I needed to make some crops to fit in fields and gardens for a 20mm scale Peninsular War project that I am in the middle of doing. To this end I decided that I would make the crops in 60mm lengths so that they would be flexible enough to fit in larger fields or small vegetable patches in village gardens as well as being able to be moved out of the way of figure bases. I used a variety of materials to create the crops themselves including pan scrub, clump foliage, grass tufts and scatter material, with the result was pretty good considering how simply treated they were.
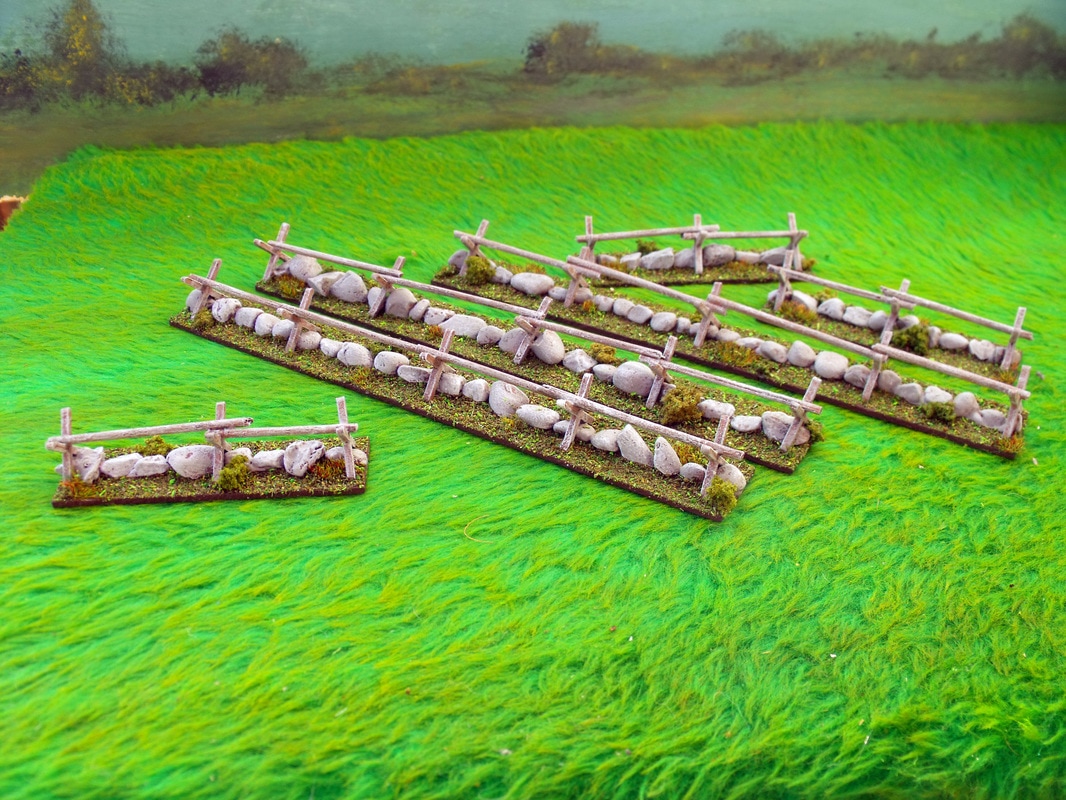
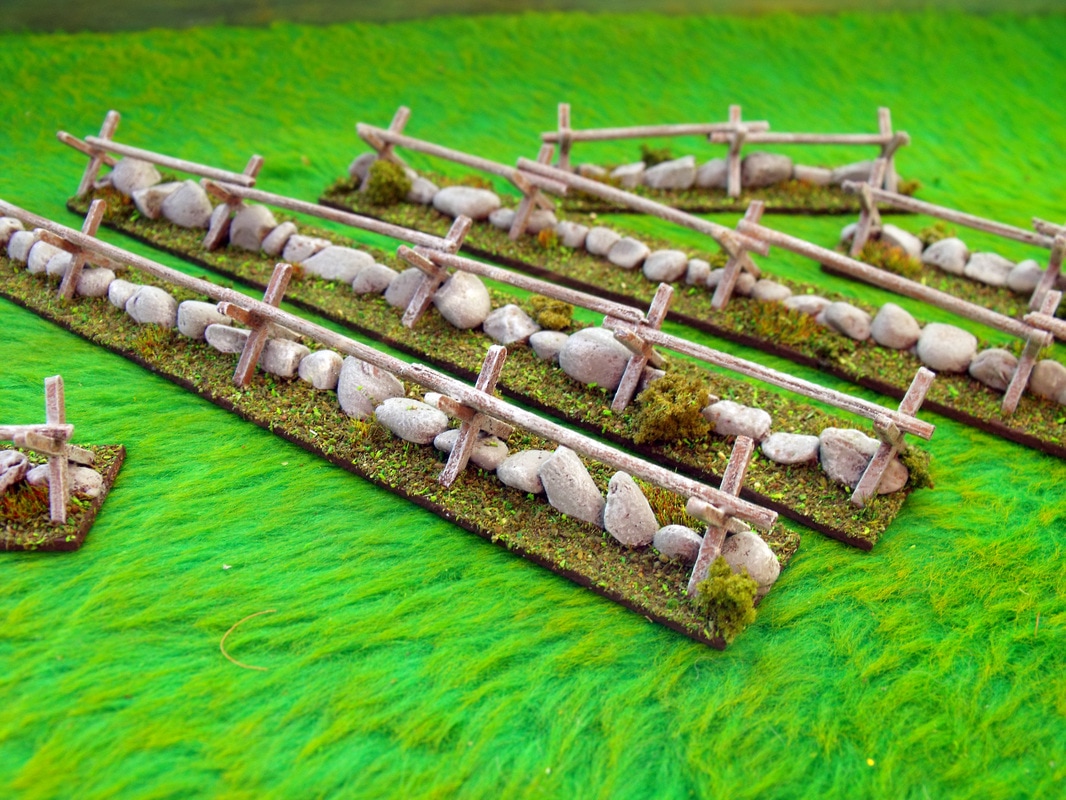
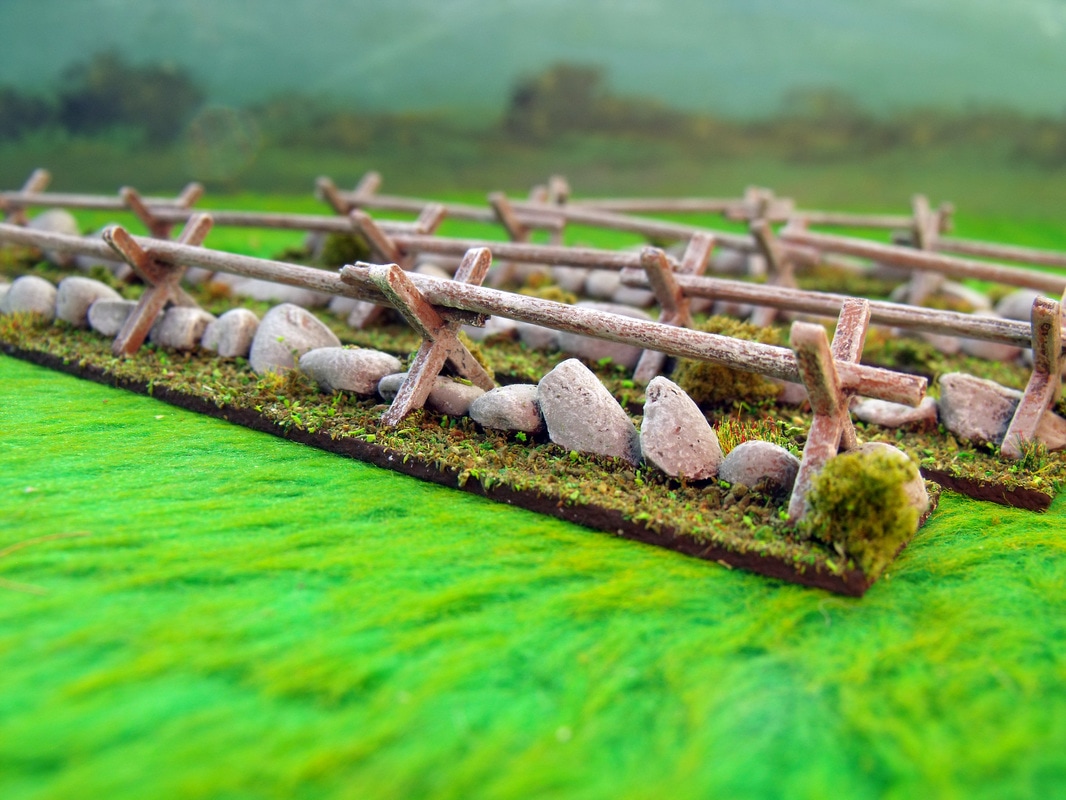
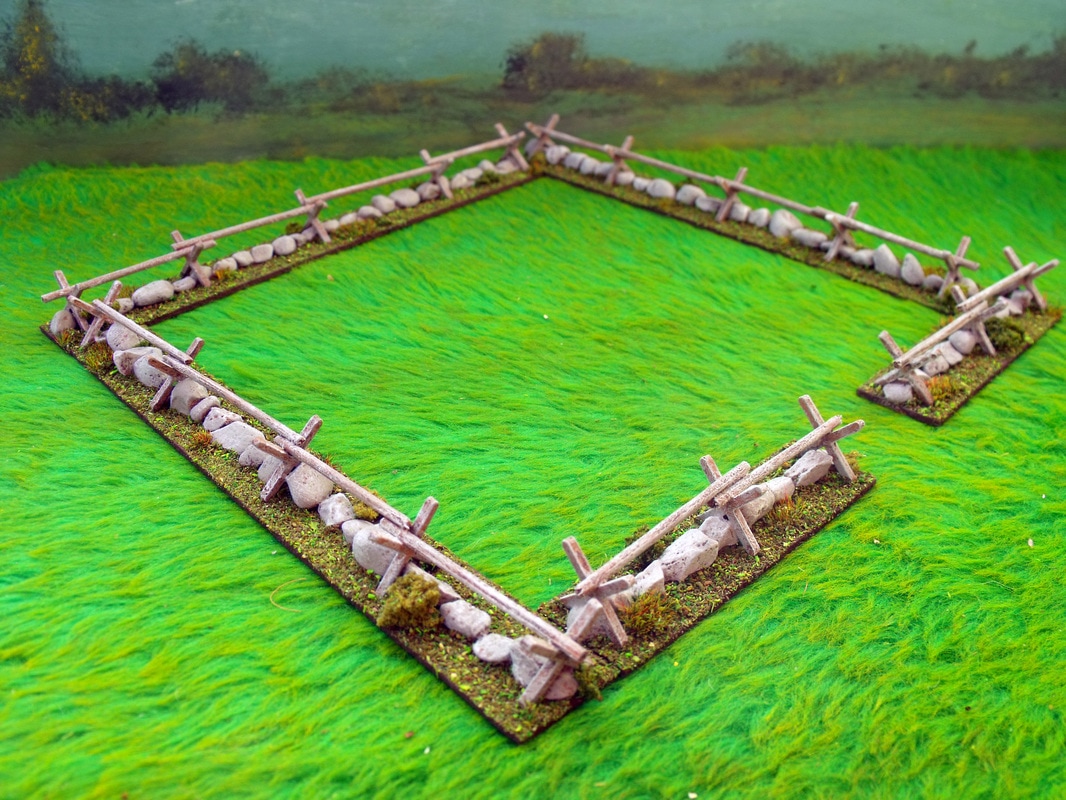
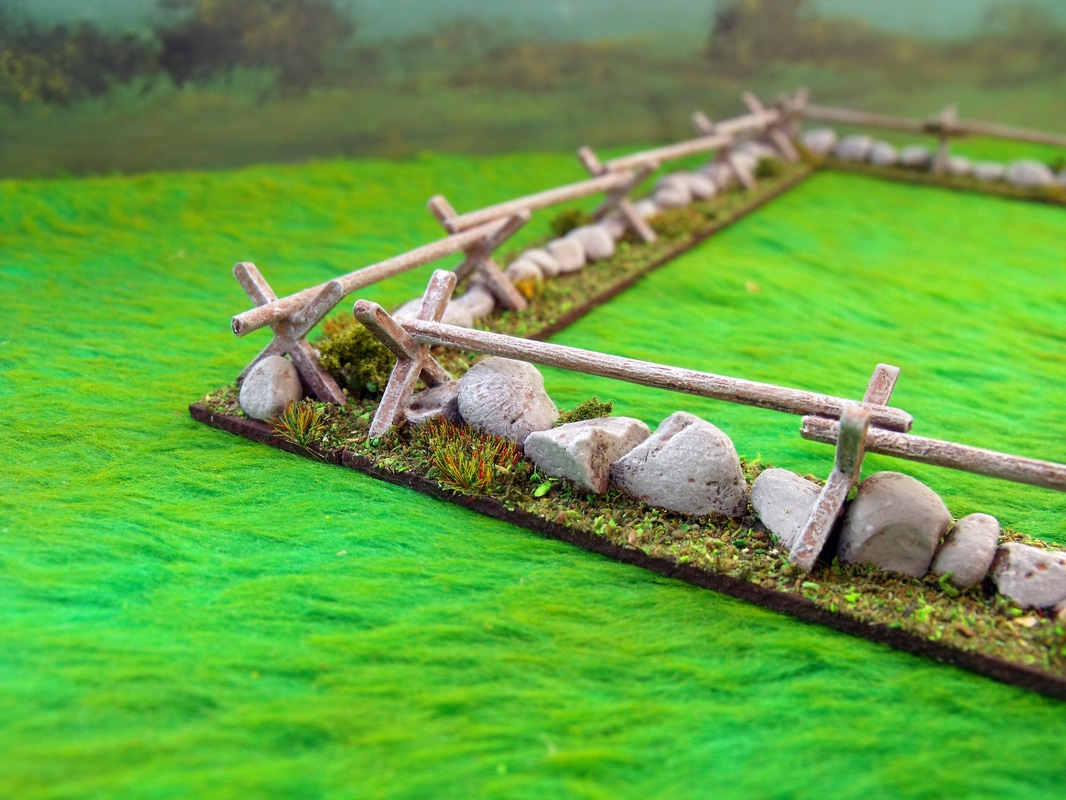
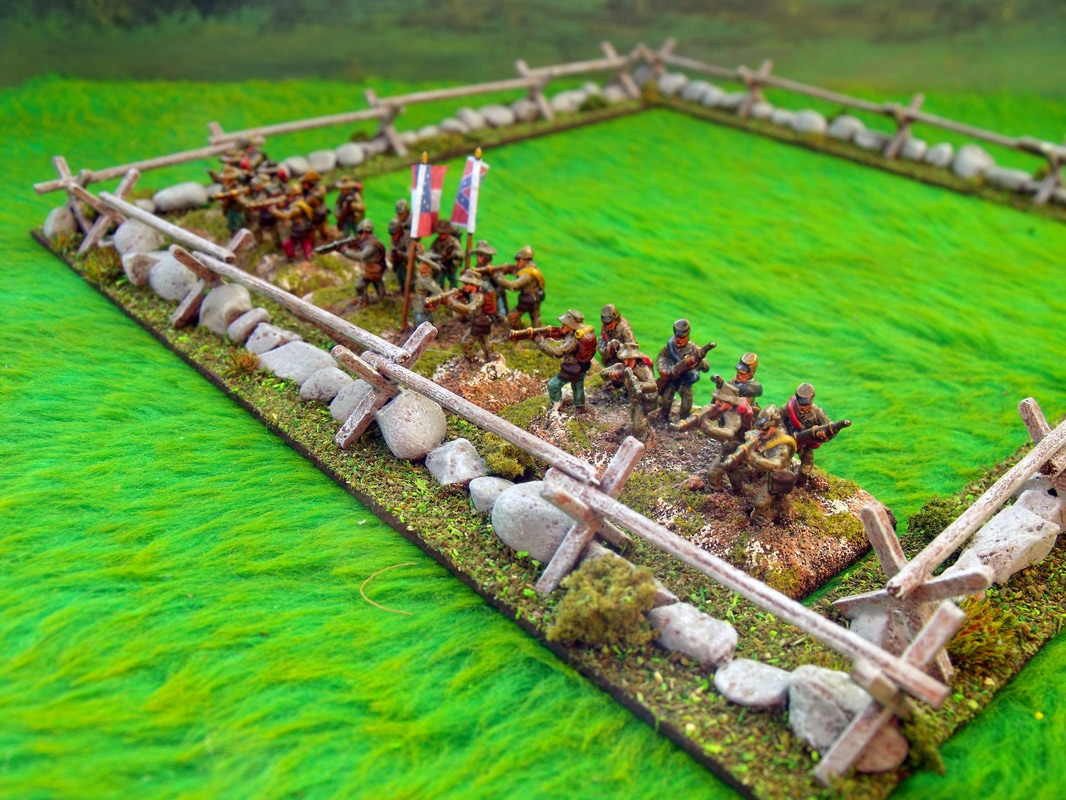
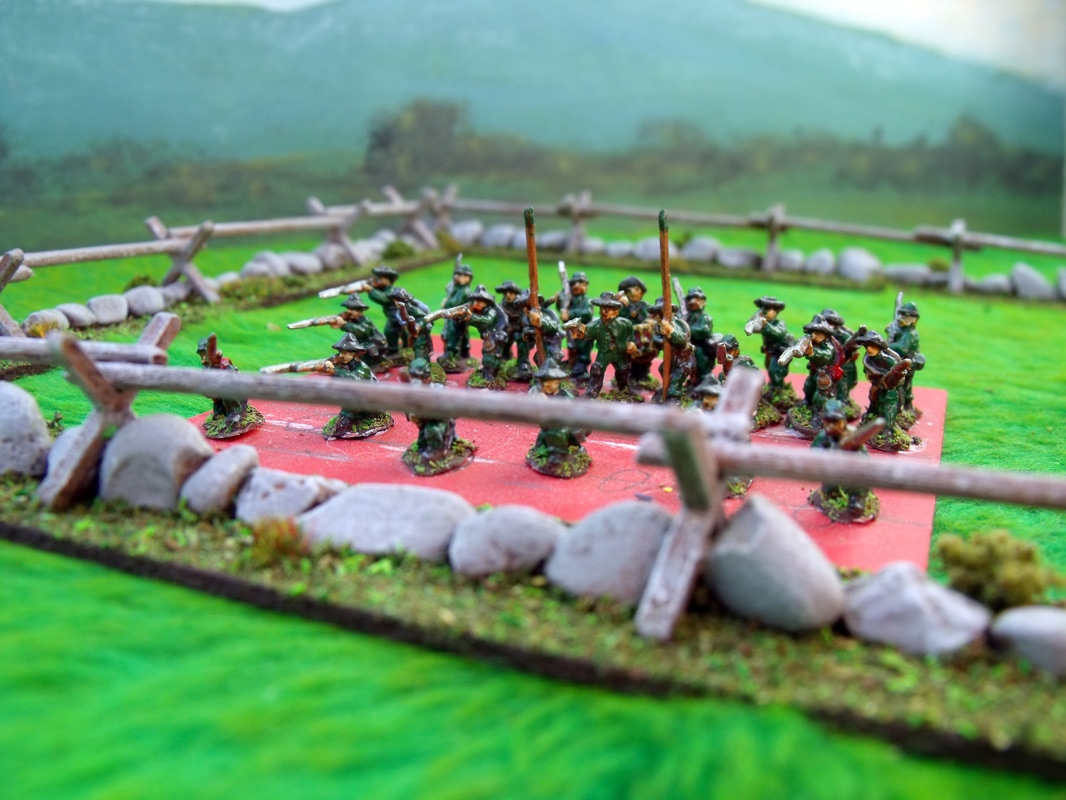
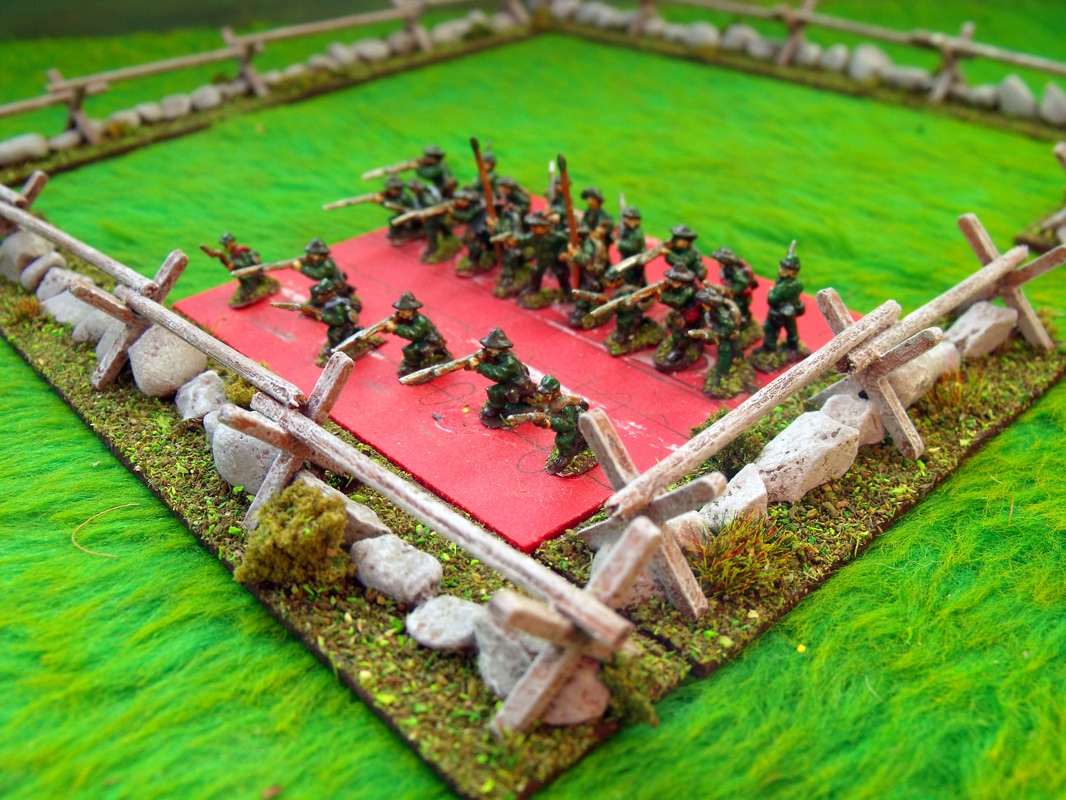
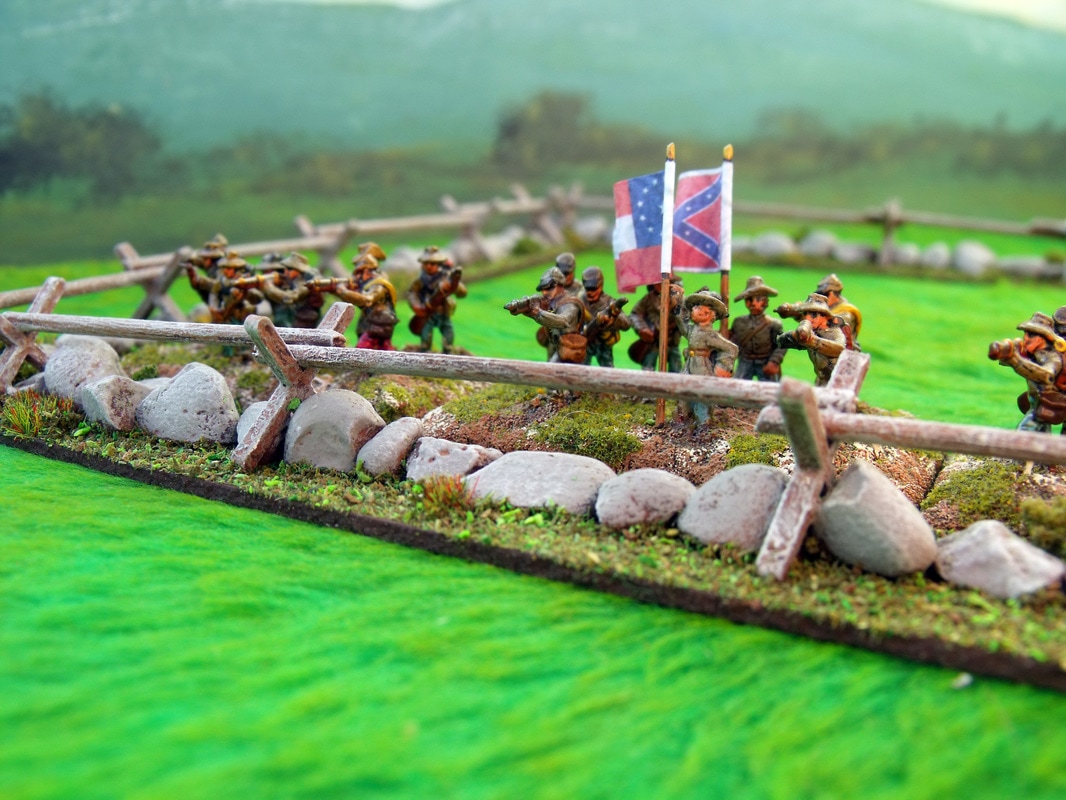
For my growing collection of 12mm Kallistra ACW figures I decided to make a selection of typically American terrain items starting with Stone & Rail Fences that would be used to line roads and define the edges of fields. I wanted enough so that I could field larger battles on battlefields at least 8ft wide and they had to fit in with my figure basing system which is for an ACW variant of Blucher and also my storage system which is box files.
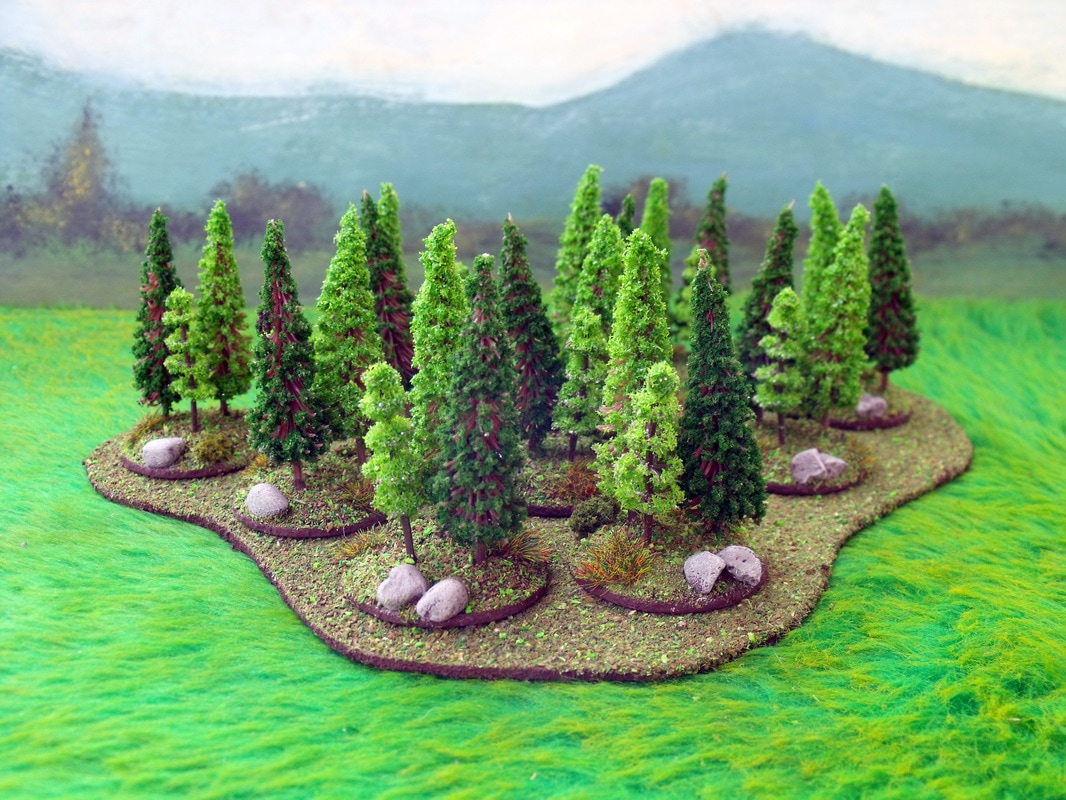
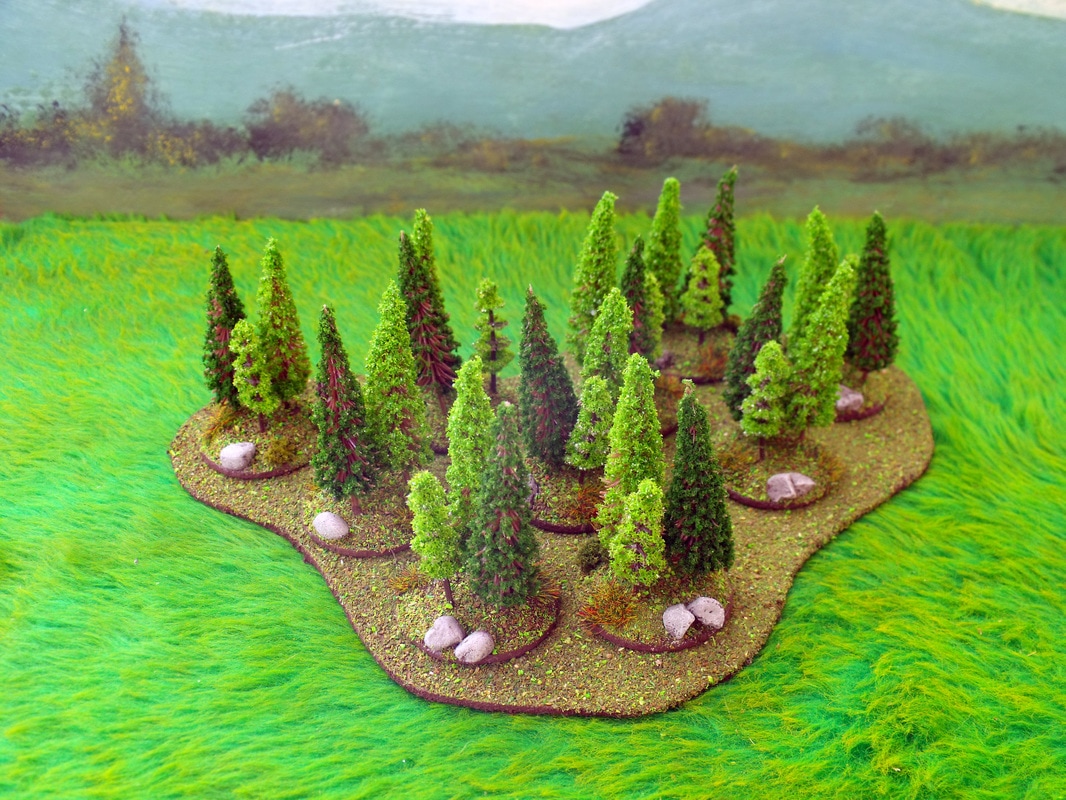
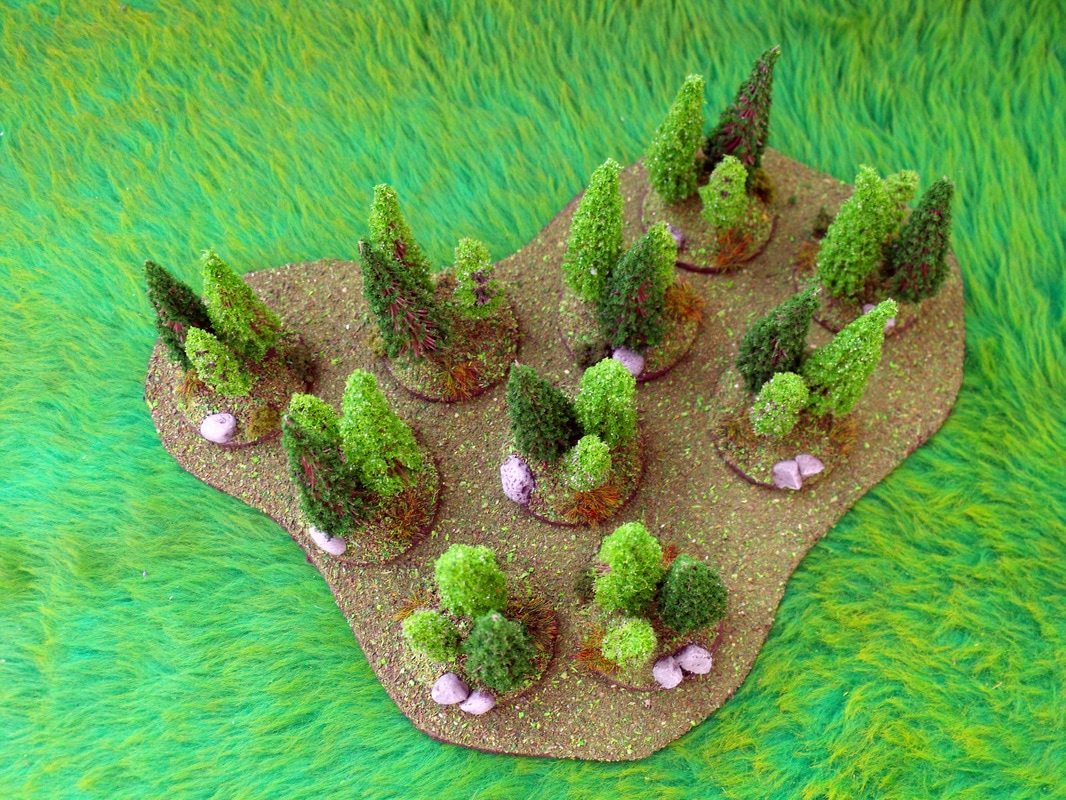
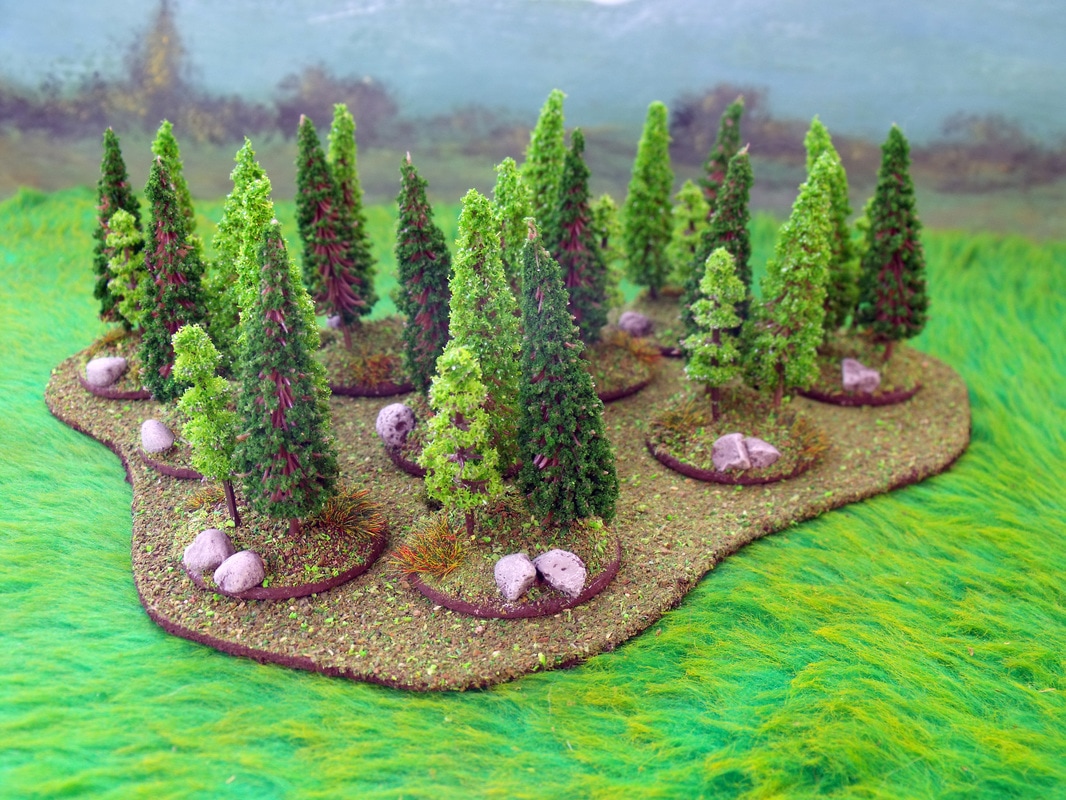
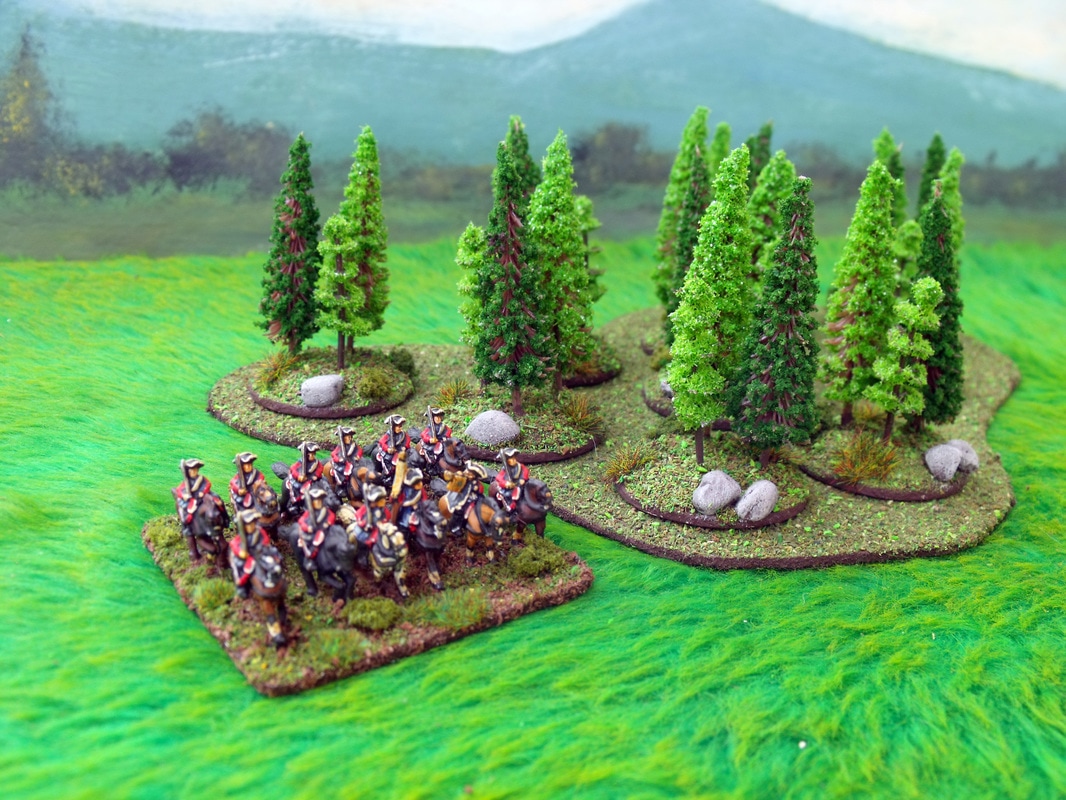
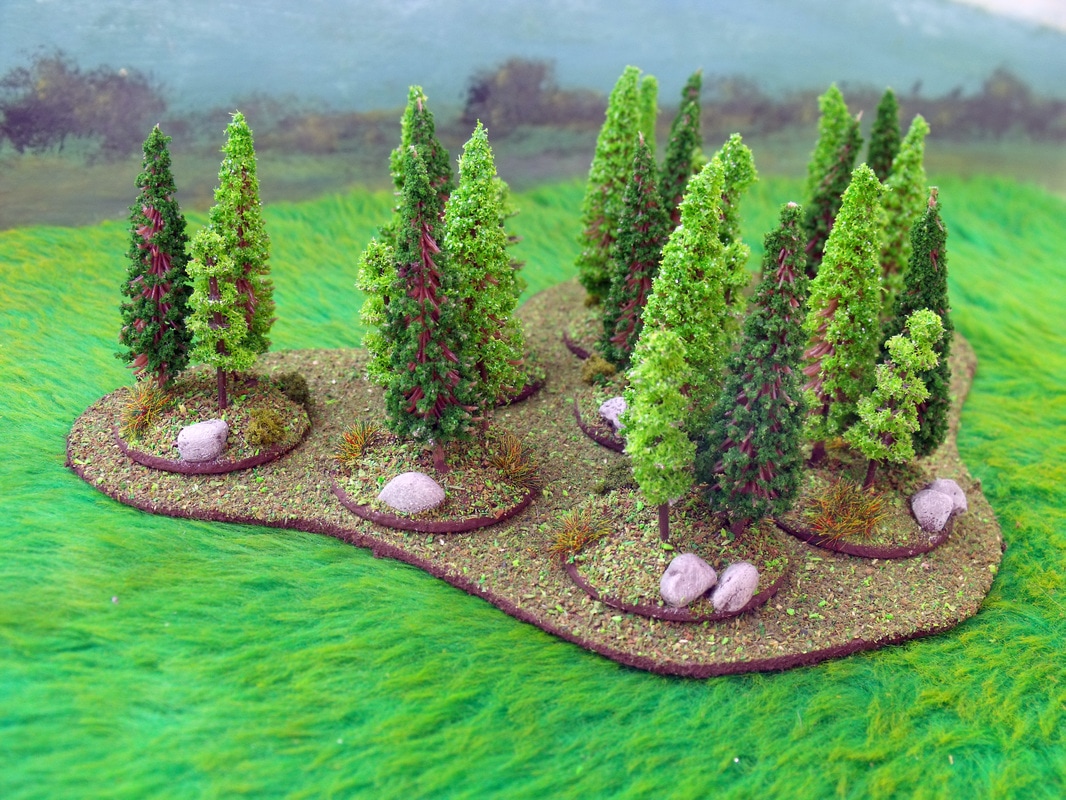
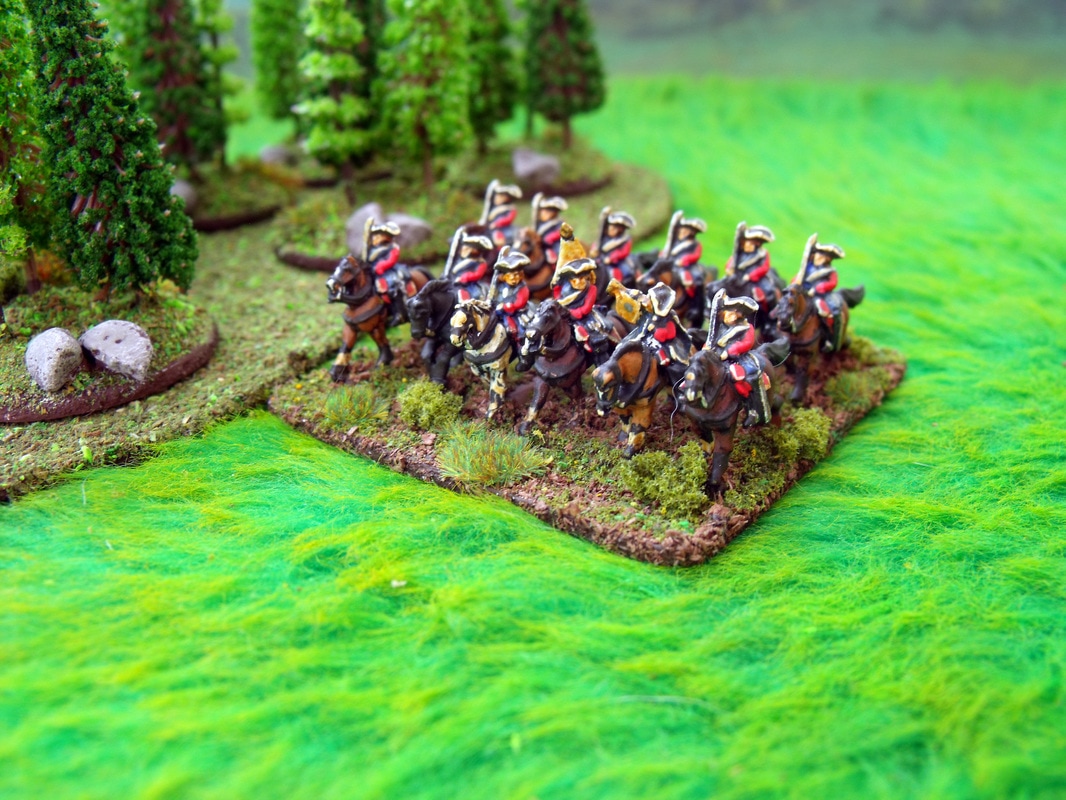
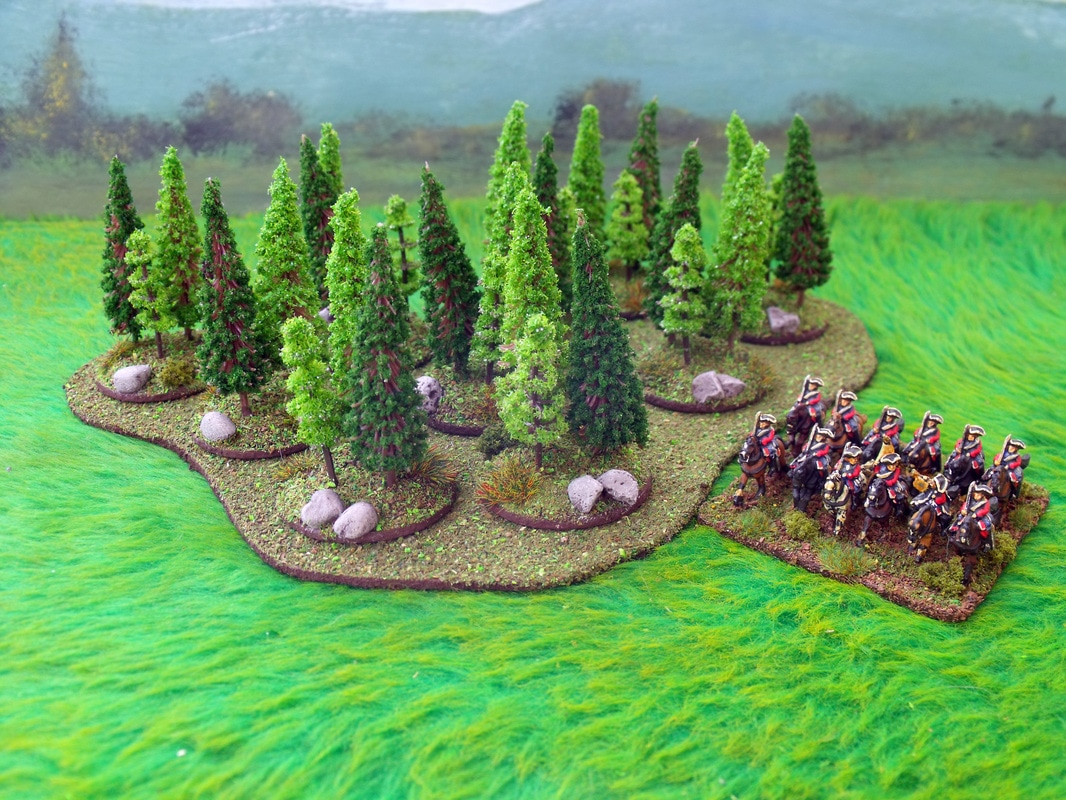
So having determined the size and amount of pieces I wanted the first thing to do was to assemble the materials being: small stones, tile spacers, pre-cut bases and thin lengths of split cane from an old window blind. The small stones were glued in a row along the length of each base and once done the tile spacers were glued at appropriate distances along the base. These were then all set aside so that they could dry to a point that the tile spacers were solid enough in position so that the lengths of split cane could be cut and glued in place, and once done everything was left overnight to thoroughly dry out before painting commenced. The whole lot were painted dark brown including the bases and left to dry out for a hour or so, and then a second coat of a medium brown was painted over the wood and stone parts. The stonework was given coat of grey paint and with the same grey the woodwork was heavily drybrushed. Finally the whole lot were drybrushed with an ivory coloured paint to add highlights and a sense of weathering to the woodwork. Finally the bases were treated to some bushes and long grass clumps and finally scattered with suitable grass scatter to give the effect that I wanted. These were extremely easy and enjoyable to make and in next to no time I had built over 20 feet of fencing which I determined was enough as it filled two layers of a file box. The materials cost me next to nothing and overall the effect was really very pleasing even though they were very simply treated in modelling terms. Here are some photo's and a comparison using 12mm & 15mm figures, although disregard the red base on the 12mm as they have yet to have the bushes, rocks and grass added. As part of my large ongoing projects being 10mm Ancients, 12mm Medieval, 10mm Renaissance, 10mm Marlburian and 12mm ACW, I decided to make some Pine forests to add to my ever growing collection of scenery. To This end I bought 300 small scale pine trees of different colours & sizes to add variety to each individual base of trees, of which there would be 100 bases in total. I had already made the larger forest bases as I have 100 bases of deciduous trees which I currently use, but I wanted Pine trees to add to this as I hadn't any at all.
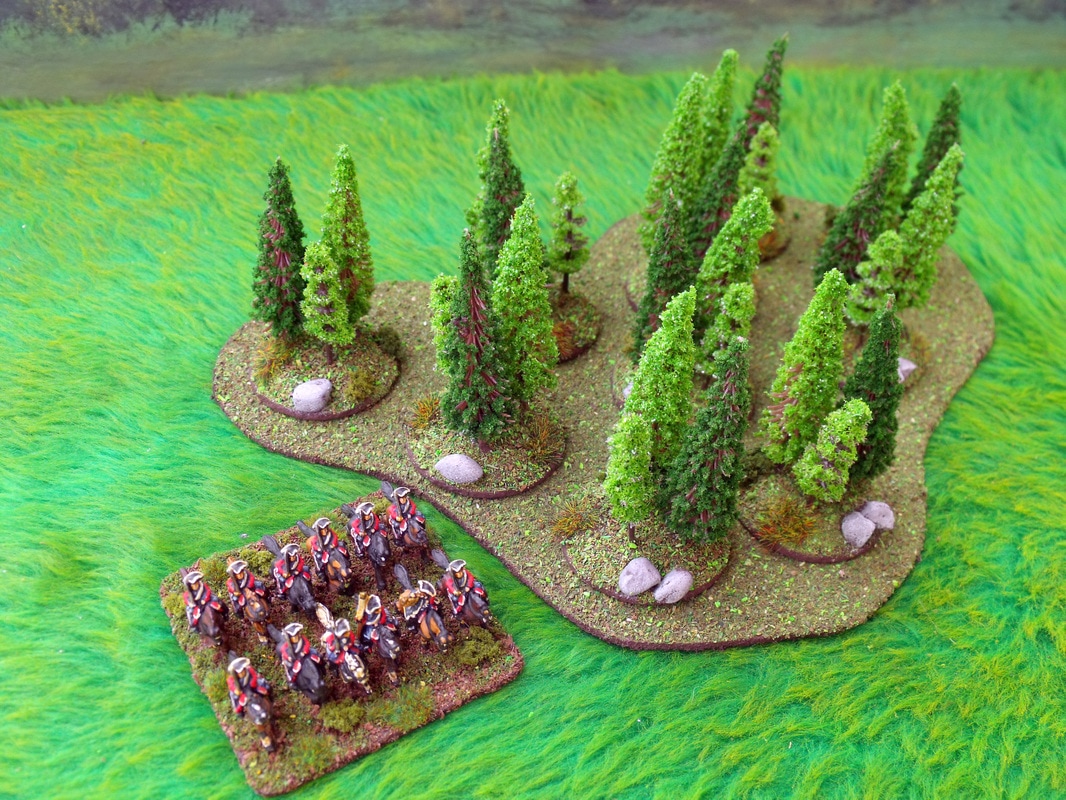
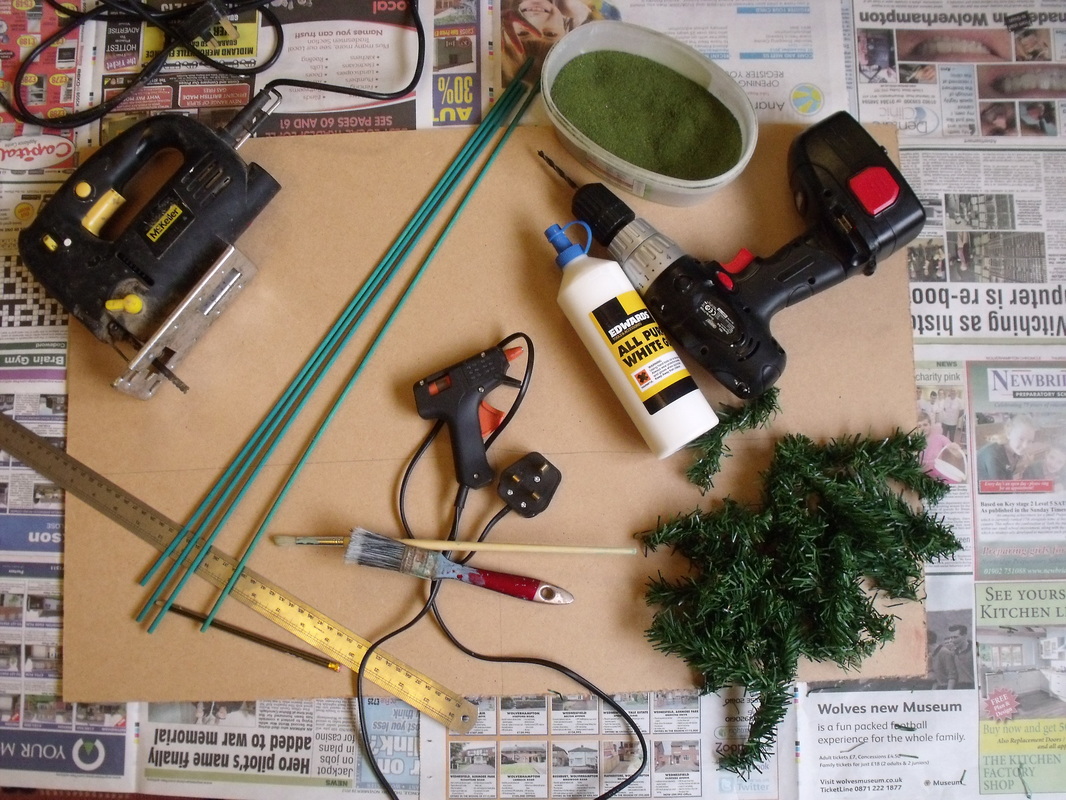
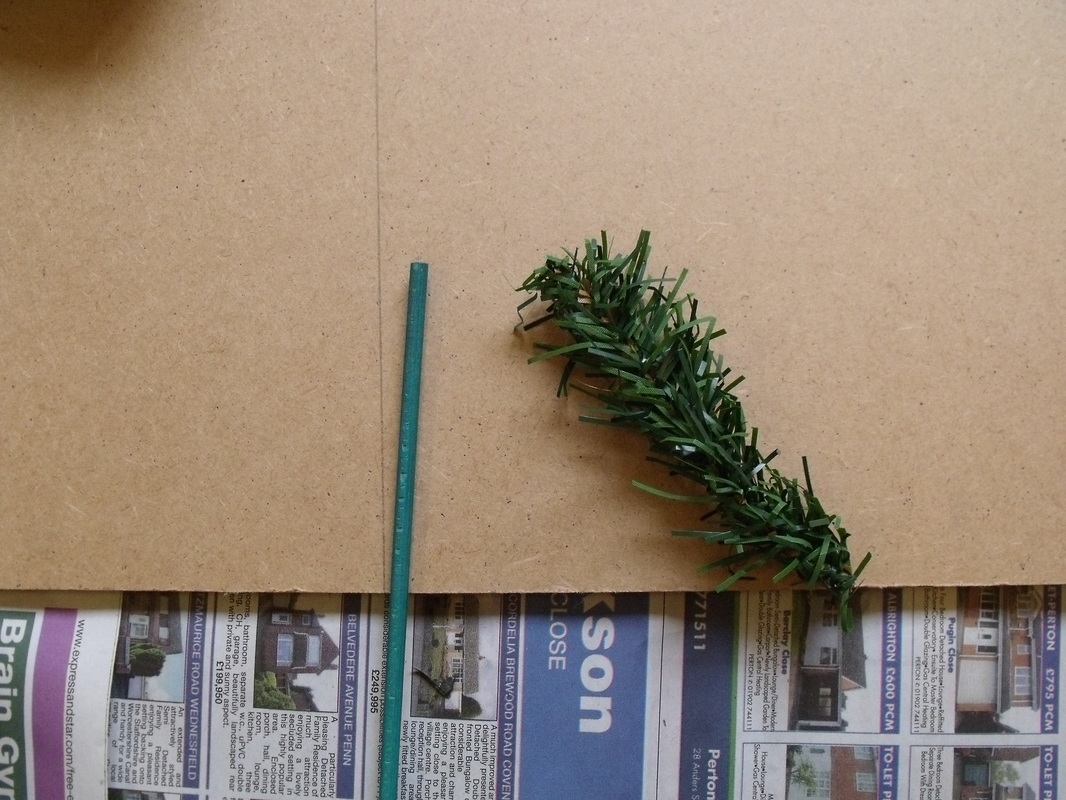
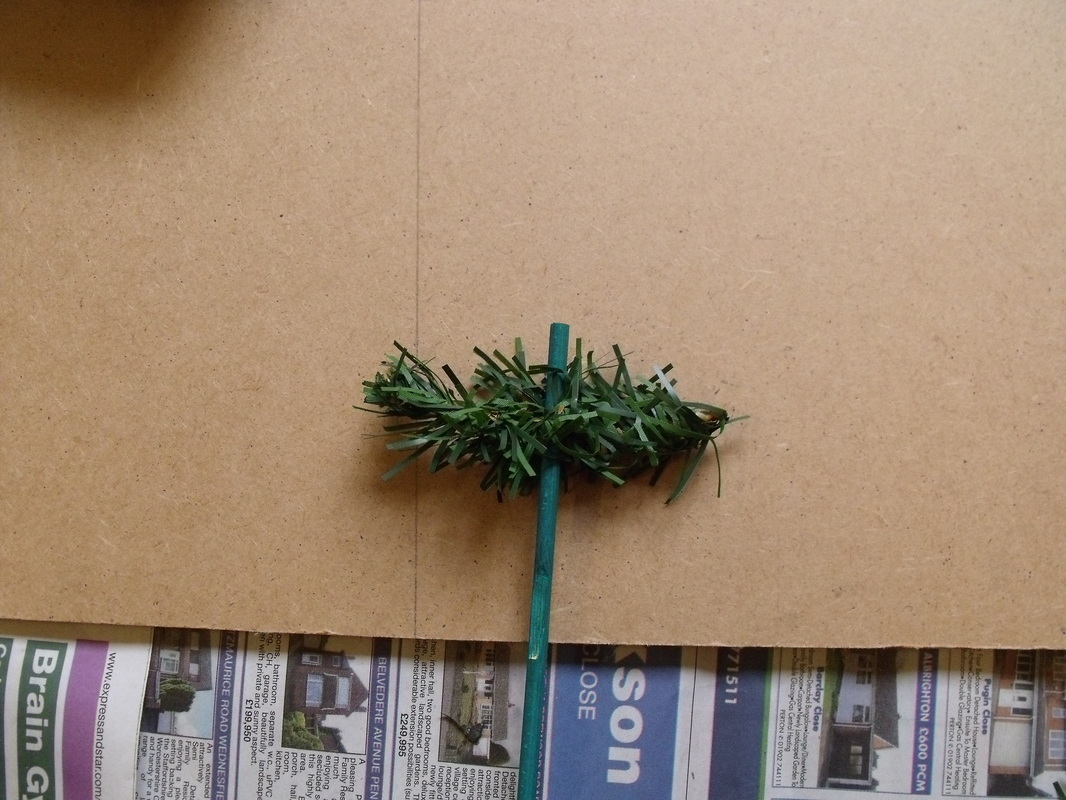
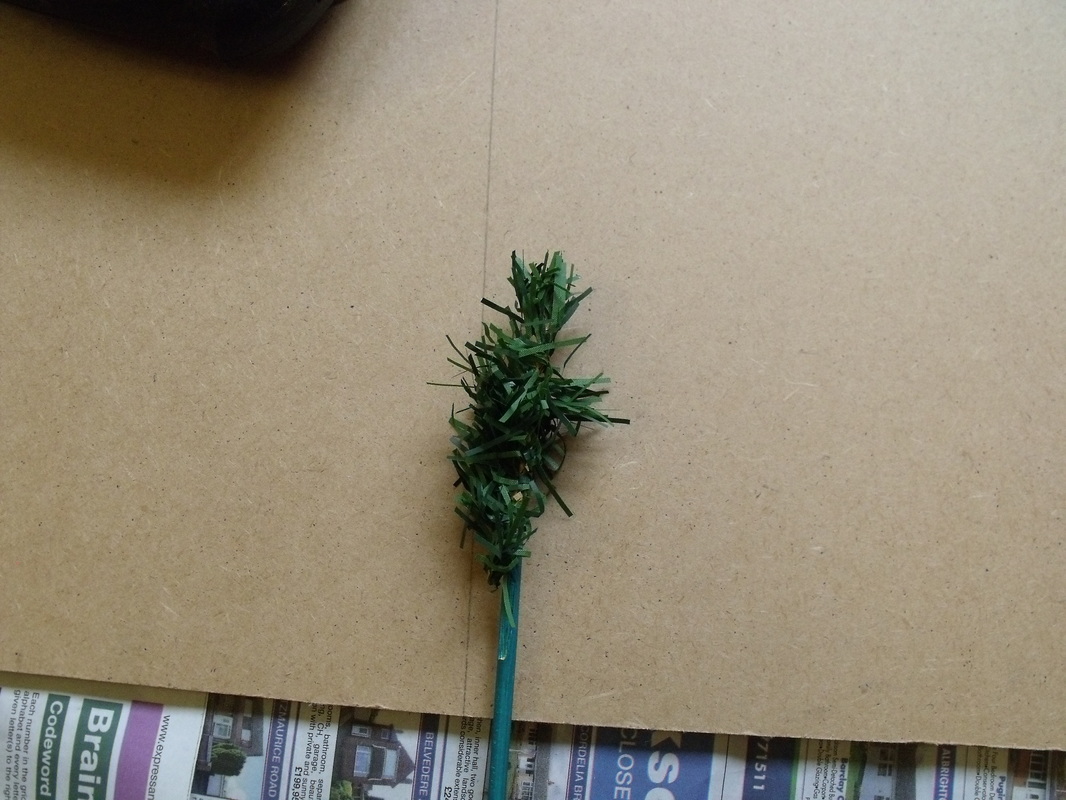
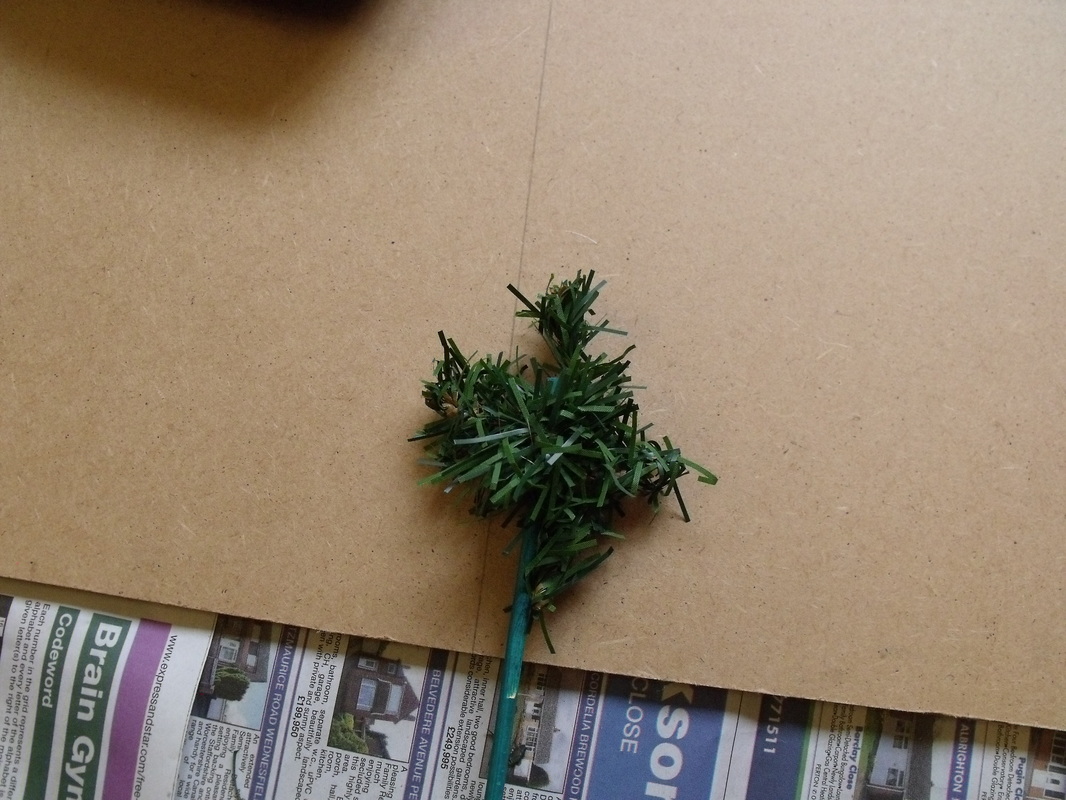
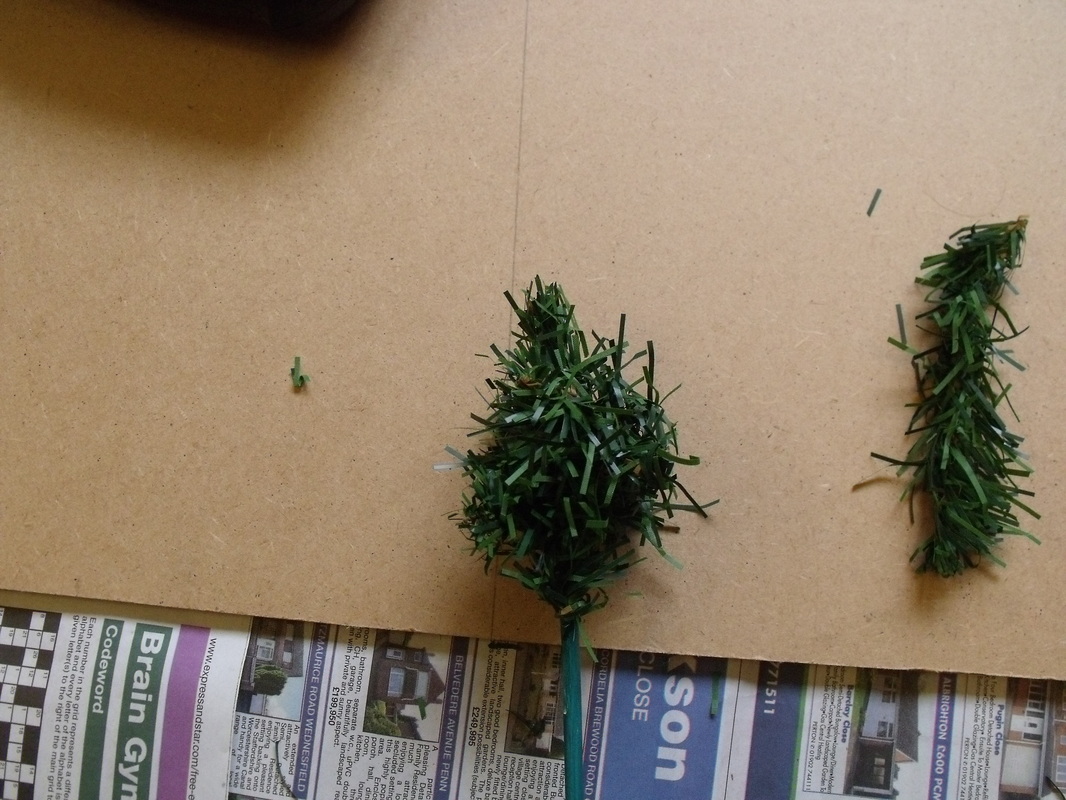
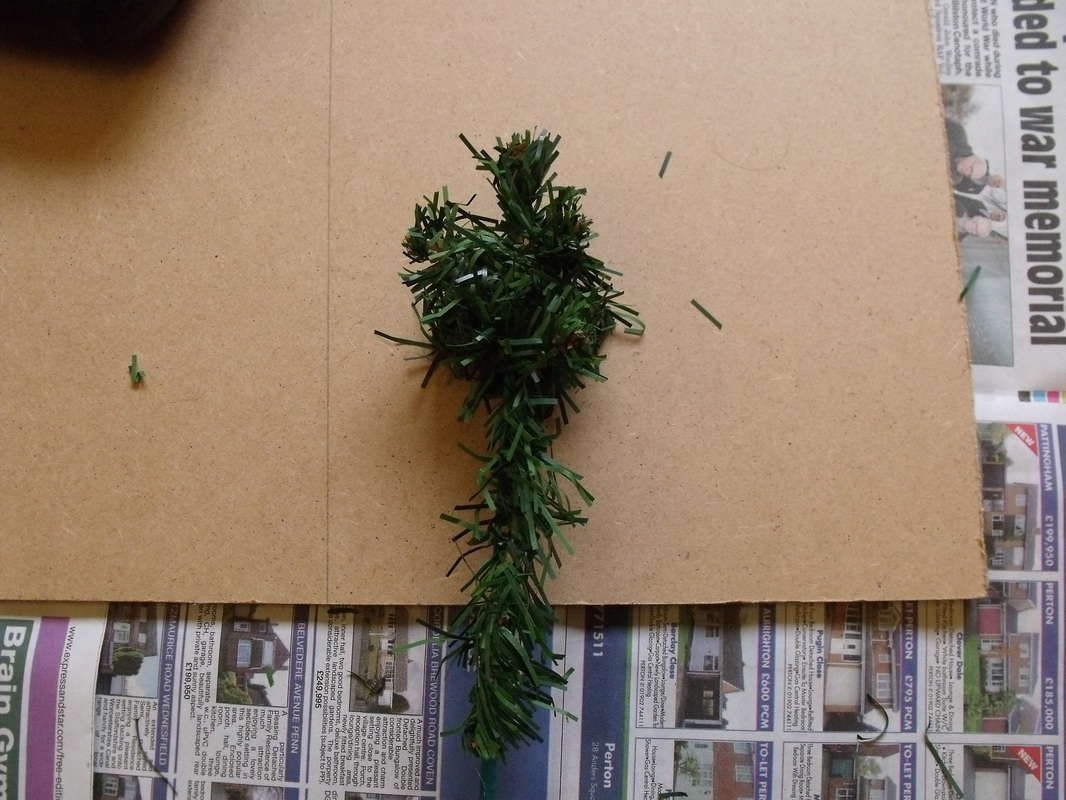
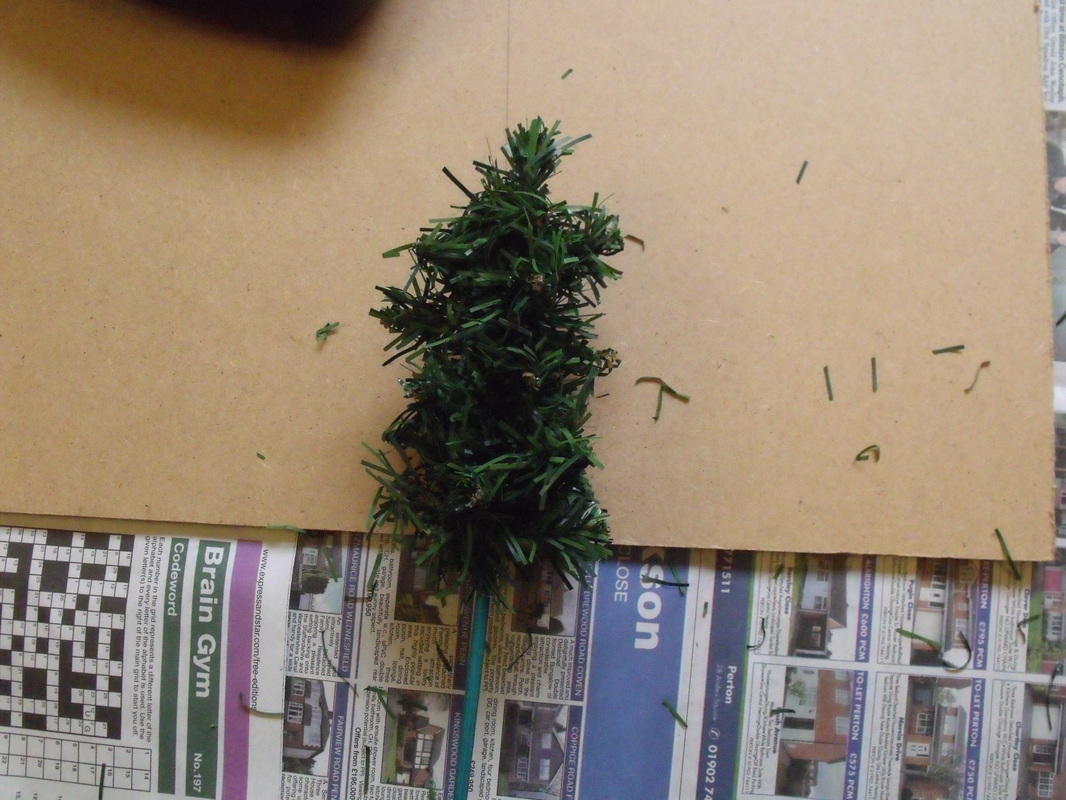
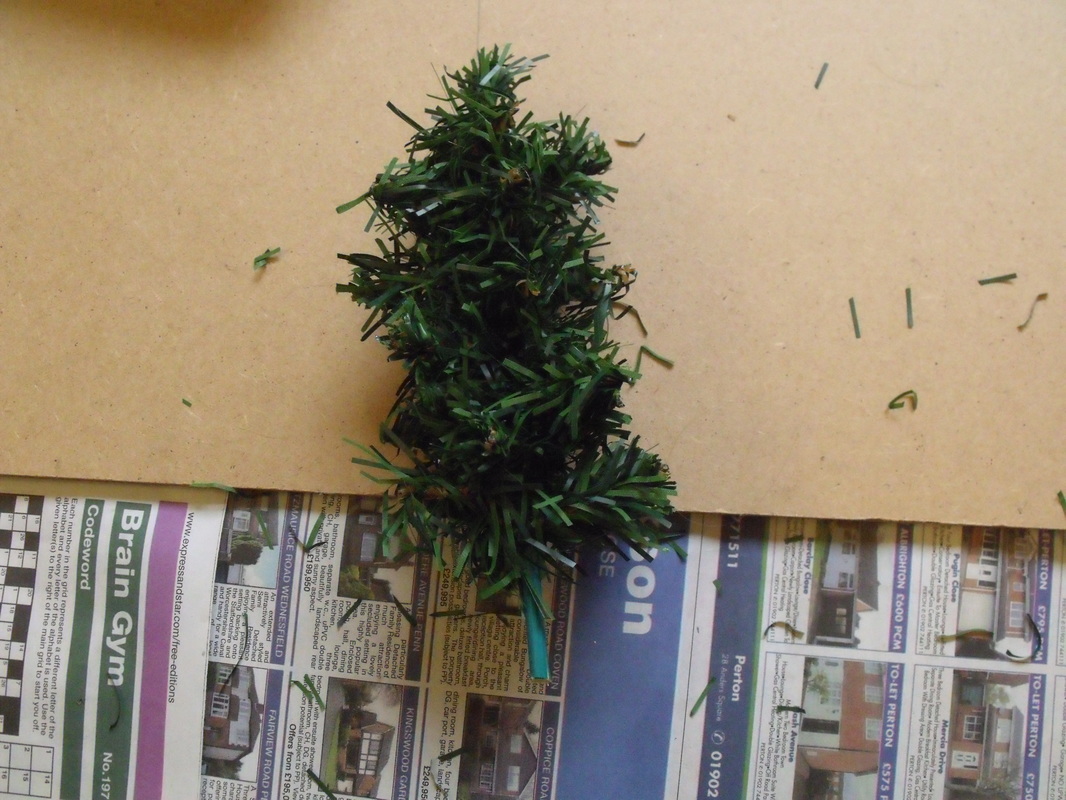
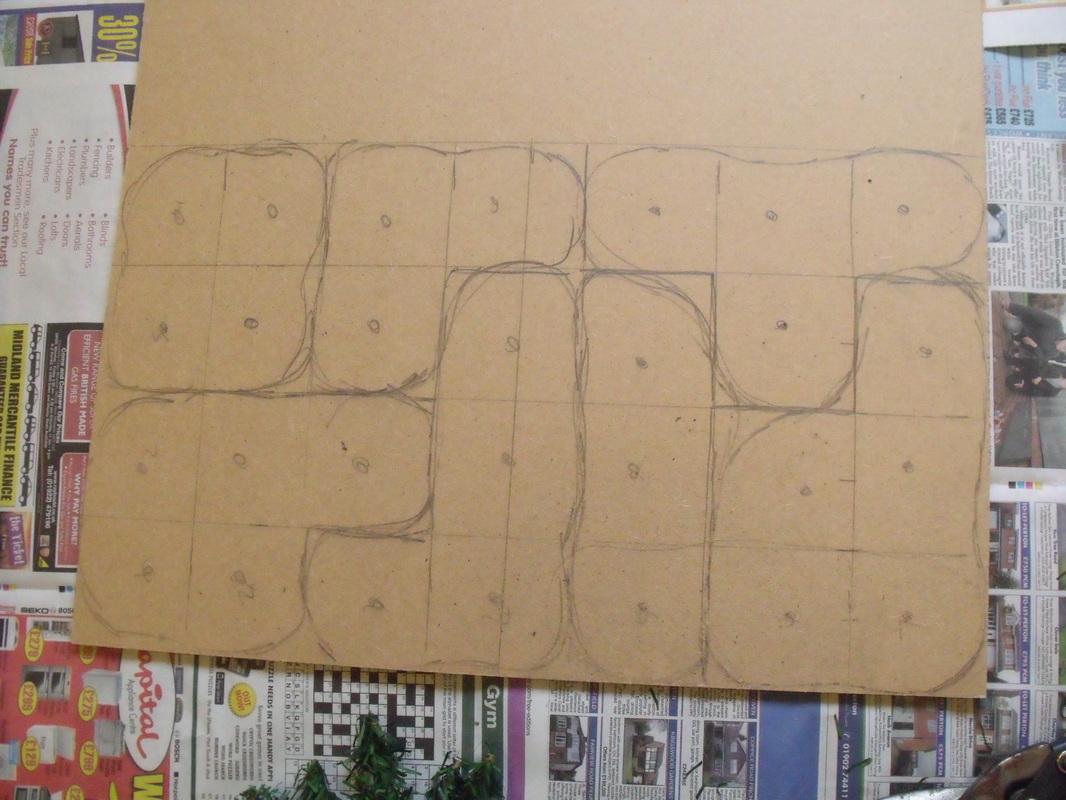
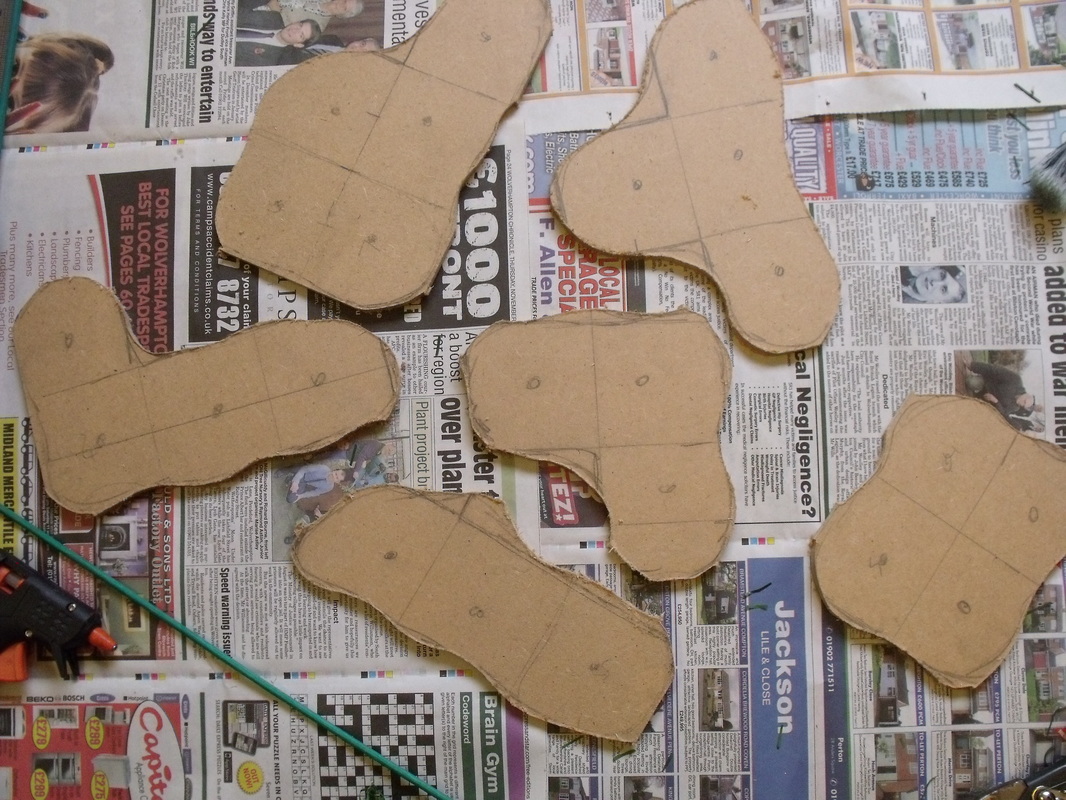
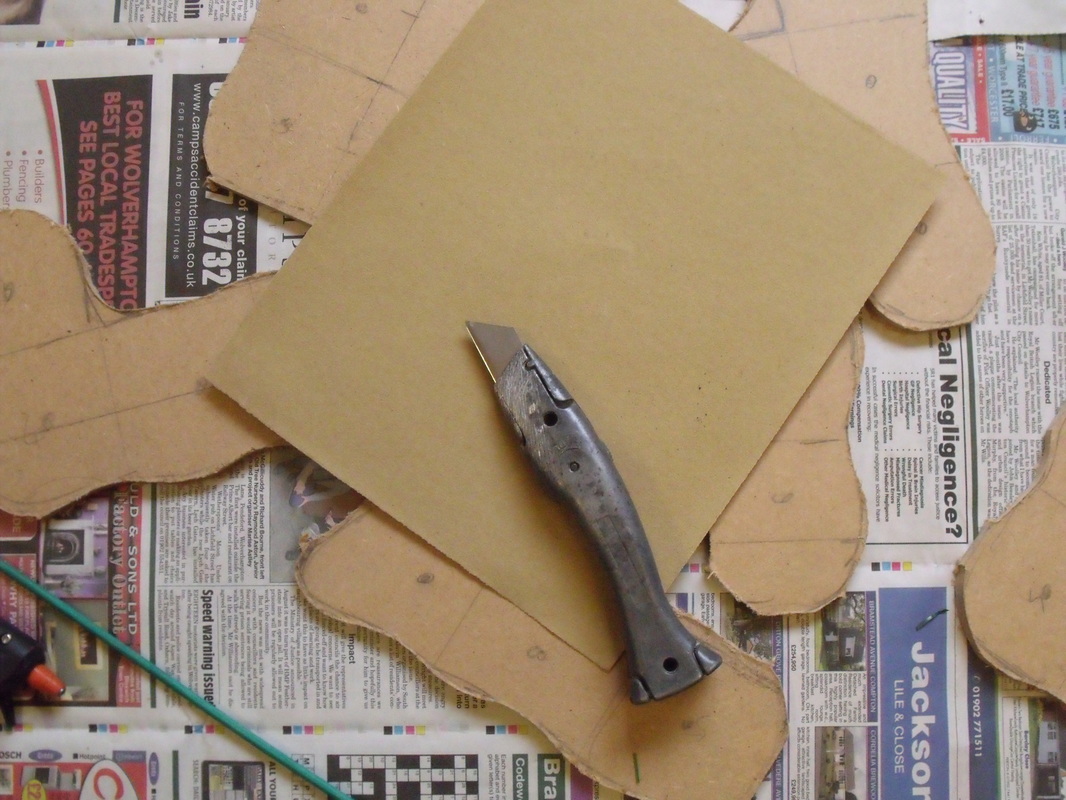
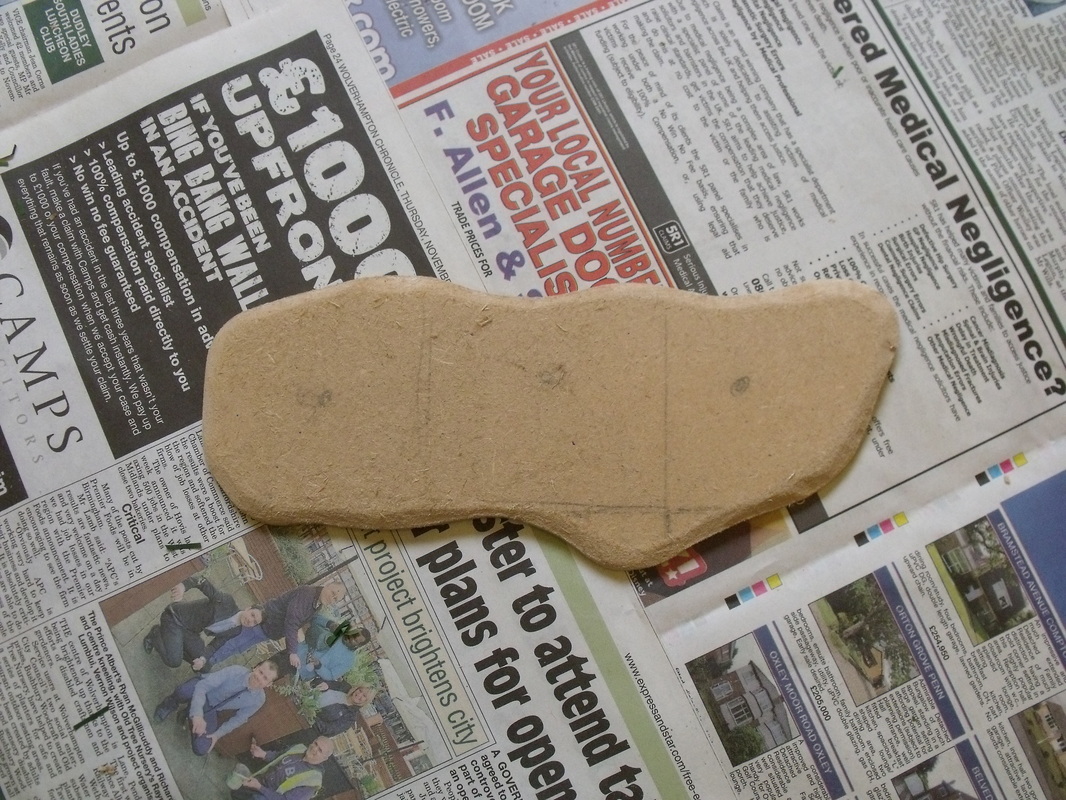
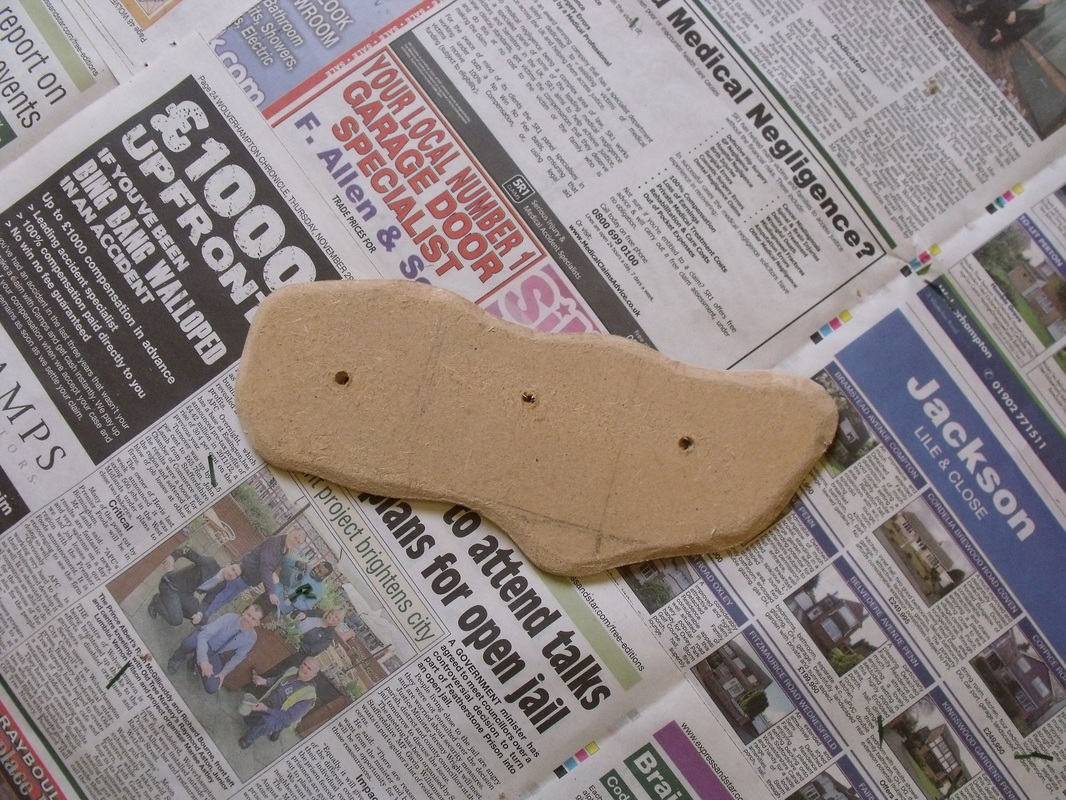
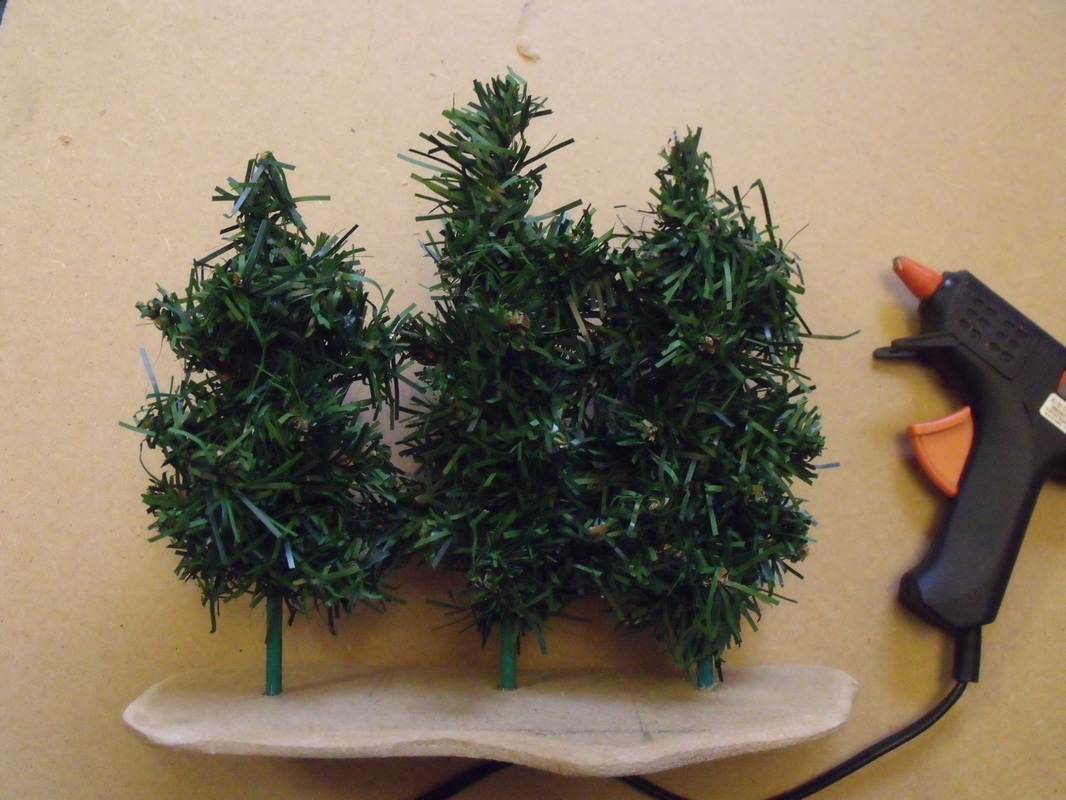
To make the individual tree bases I simply cut 40mm circles out of Marley tile and then cut 35mm circles from 3mm thick high density foam which I got for free from supermarket pizza base bottoms. The foam was then chamfered to make a seemless rise in the base and glued on to the Marley tile with carpet tackifier which is a latex rubber glue. Once dry I pricked three holes in around the base for the trees to fit into and then took the smaller trees and glued them in place with the tackifier and left them to dry. The process was followed until I had 3 trees on each base and they were all left overnight to thoroughly dry. I must point out that it is best to do this in batches of around 25 to thirty as some of the cutting processes can be quite tedious. With the trees dry I decided to glue down some rocks with tackifier and left them to dry out so that I could paint the whole of the bases including the rocks with dark brown paint. The rocks were then painted grey and drybrushed with a pale linen colour and various bushes added for effect. Finally the base was again painted brown which was used as the glue to attach the scatter material and that was it. Here are some pics to show how they look and some figures to give a sense of scale, just click the images to enlarge them. A bit of a weird title, but nonetheless quite apt when you discover the details of this posting, and without beating around the bush it's all about trees and the use of old (or even new) Christmas trees. Basically, just over three years ago I was sorting through the Xmas decorations in readiness for them being put up when I discovered one of the trees had an issue with its legs, a missing one to be exact, and as it was old I decided to throw it out and buy a new one. As is the usual way with wargamers all over the world I started looking at it wondering how to use it productively in my hobby and obviously came to the conclusion that trees could be made from this tree. Not much of a leap to be fair, but it was a leap in the right direction, so I duly set about cutting all the little branches up with my heavy duty clippers. What I ended up with was lengths of branch between 4 and 6 inches approximately and lots of them as it was a six foot high tree. The next thing was to assemble the tools and materials needed to transform these into useable model trees being: a jigsaw, drill, hot glue gun, metal ruler, paint brushes, pencil, heavy duty clippers, sharp knife, PVA glue, sandpaper, lengths of 4mm garden canes, 6mm MDF board, scatter flock and an old newspaper. With all the tools and materials assembled I cut lengths of cane between 4 and 6 inches long, trying to vary the lengths but not have any waste from the 2 foot long lengths of cane. Once done I sorted out the lengths of branch so that I had a pile of short lengths and a pile of long lengths, this makes things much easier as you make the trees. Next I took a small length of branch and a length of cane and wrapped the branch around the cane about 1 inch from the top and then I bent one end up and one end down as per the photo's below. Then I took another short length and again wrapped it around the cane about half inch from the top and bent both ends of the branch slightly upwards. This was followed by another short length wrapped just below and this time its branch ends were left facing at right angles to the first ones and bent slightly up. At this stage I had the top of the tree done so I took another short length and placed it parallel to the trunk overlapping what was left of the first piece of branch going down the trunk. I took another piece of branch and wrapped it around the trunk securing the trunk piece again bending the branch ends slightly upwards. At this stage there was no glue involved as the branches held each other in place, again the photo's below help explain the procedure. So, I carried on down the trunk adding new branches at about three quarter inch intervals until I had enough left to look like a lower trunk. This I repeated until all of the branches were used up. With the trees made I decided to make bases, now these could be single grouped, removable or done in any way I wanted but I decided to go for groups of between 3 and five trees. I simply took my MDF and marked a 3 inch grid in pencil, after which I marked a circle roughly at the centre of each grid square. Then I marked on the shape of each group of trees rounding off edges and making the group shapes look more organic. Once done and happy with the configuration I took the jigsaw and cut them out, trimming off any unwanted bits. With a sharp knife and sandpaper I bevelled the edges of the bases and and sanded them until they looked nice and neat. I took each base and drilled out an hole as marked at the rough centre of each grid box and lightly sanded them to take off any burrs. with the bases totally ready I started gluing the trees in place with my hot glue gun, making sure the bottoms of the holes were well filled with glue and any extra trimmed off with my knife. At this stage I had 53 trees each between 5 to 8 inches tall all ready to be flocked. Now this could be done with spray glue and flock, but I used PVA glue and a paint brush, which to be fair was quite quick and easy to do especially as the trees were on bases. The PVA also glues the trees to each other which helps to strengthen them. The last thing to do was to texture the bases and that was it, 53 very large trees for the price of an old Xmas tree and some pretty cheap materials. As you can see in the photo's above the trees are pretty large and imposing and look far more natural than perfectly shaped bottle brush trees. As for getting trees, now is a great time of the year to shop for such things, and I do happen to know that on ebay you can get them for less than £15.00 including postage. Also look out for them being sold off cheap after Xmas at various shops.
|
AuthorStephen Wylde BA (hons) Archives
April 2020
Categories
All
|
Proudly powered by Weebly

 RSS Feed