
WARGAMES DESIGNS BLOG
|
|
THE BLOG FOR ALL THE OTHER WARGAMES STUFF THAT I DO
|
|
|
|
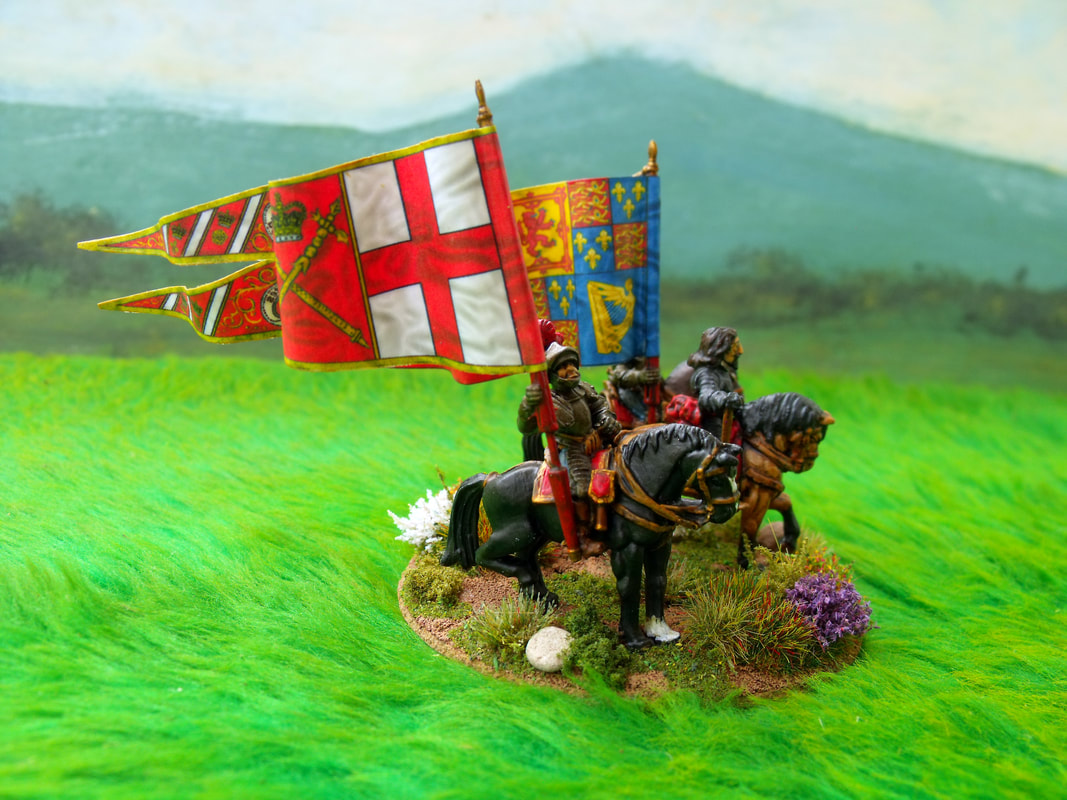
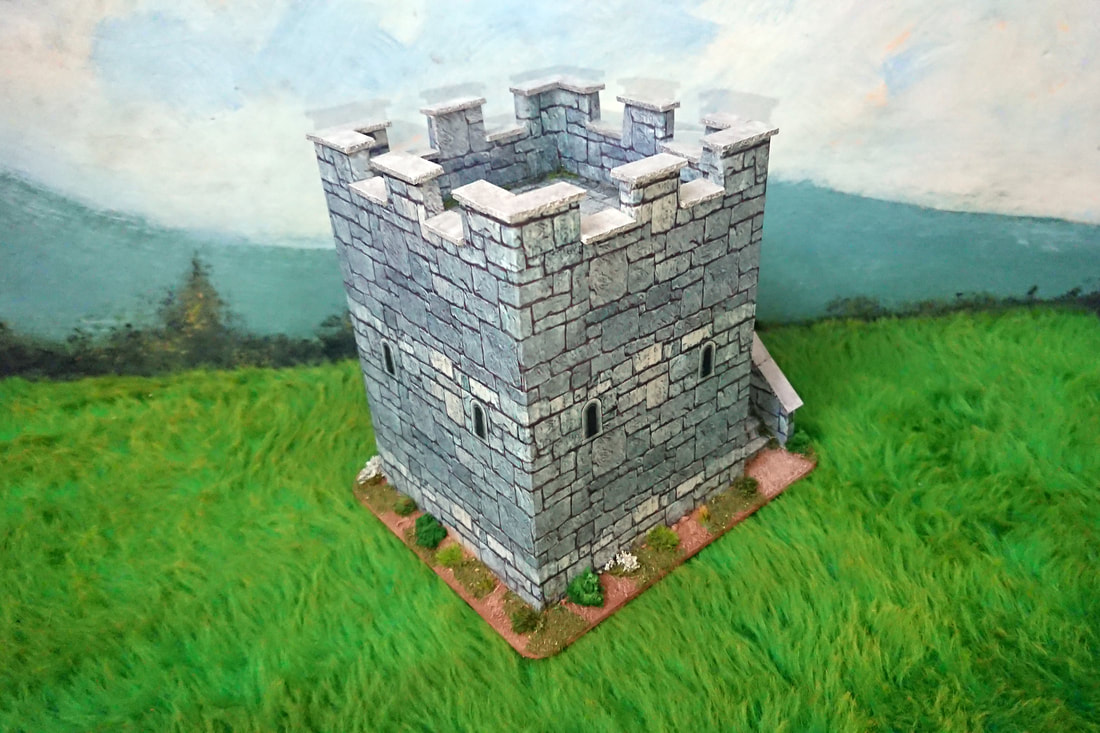
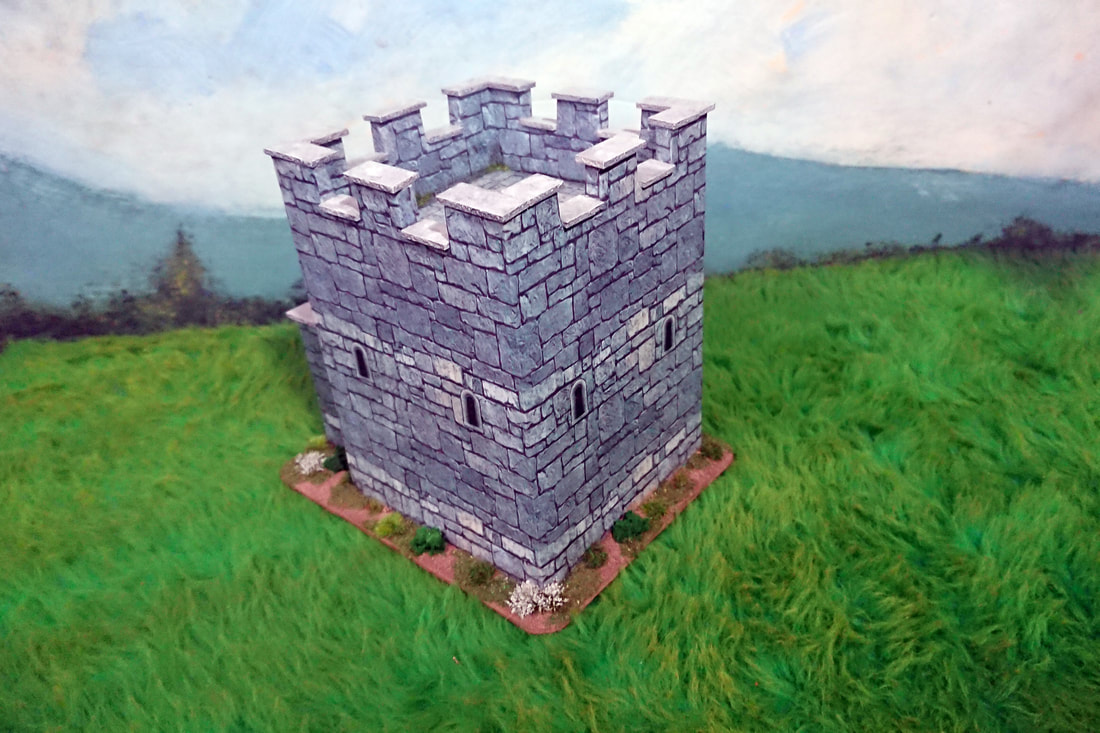
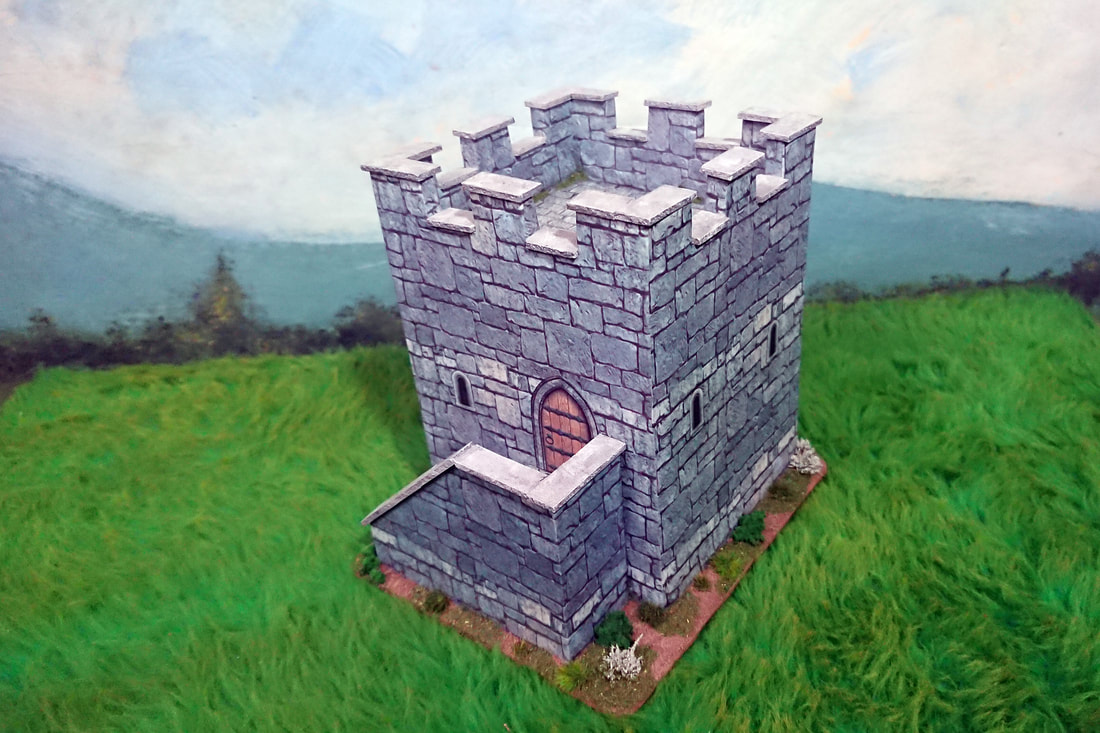
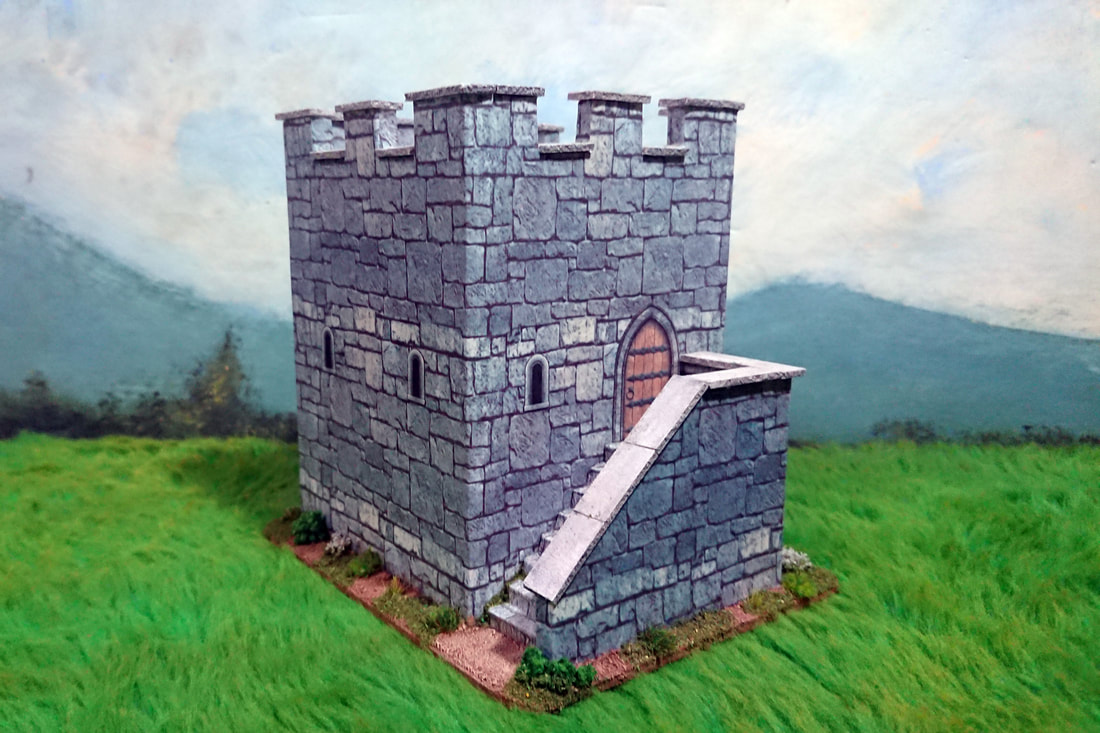
Over the last couple of months our little wargames group has discovered Warlord Games SPQR ruleset and seemingly from nowhere we have all put together warbands for the Ceasarian Roman period. As Xmas was approaching I decided to make a few watchtowers as presents for each of us, all being uniquely different as they would be from different parts of the Roman Empire. The first of them that I made was probably the most recognisable and this is how I made it.
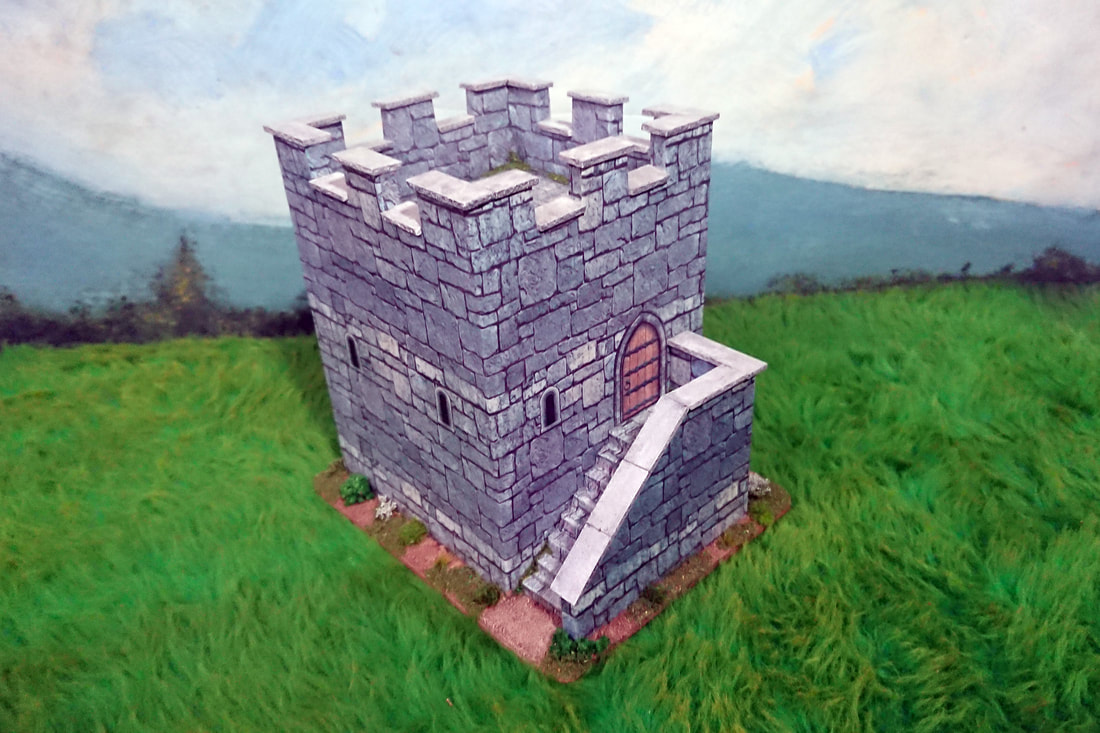
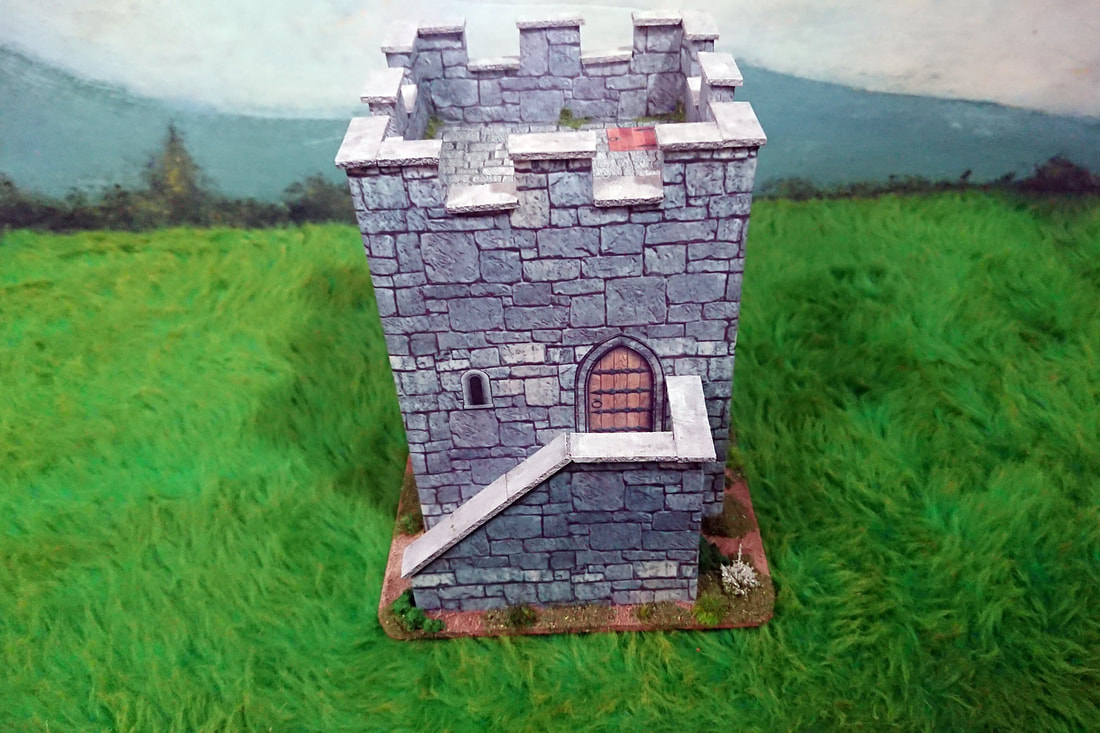
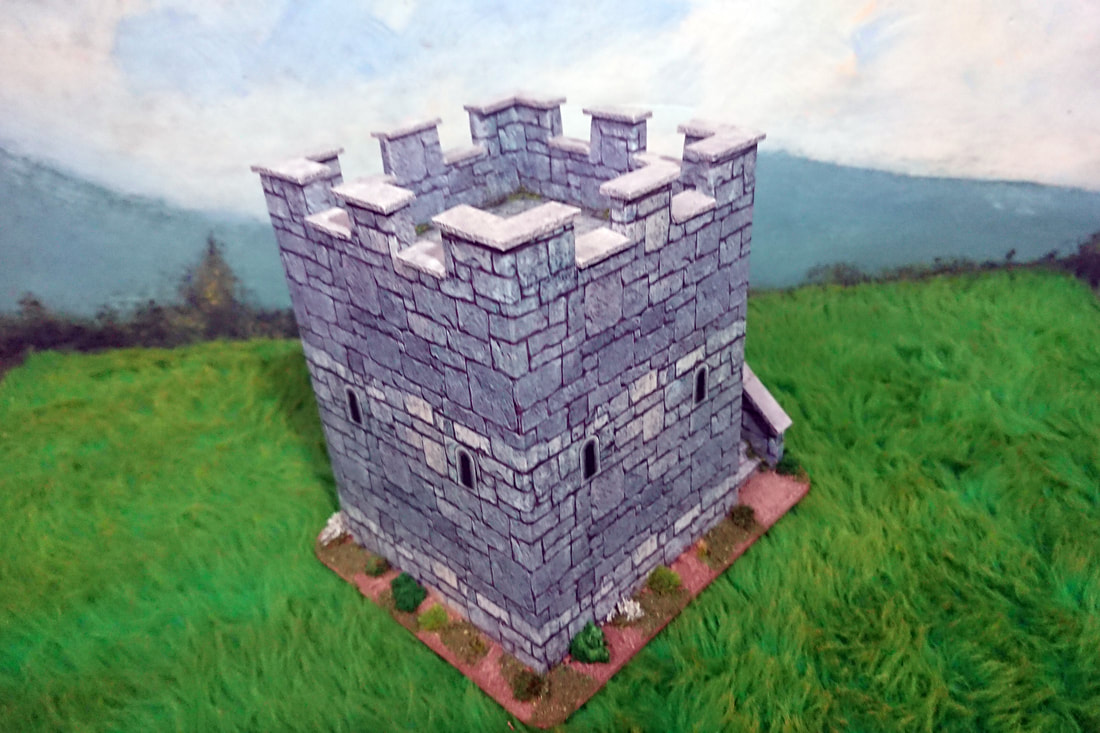
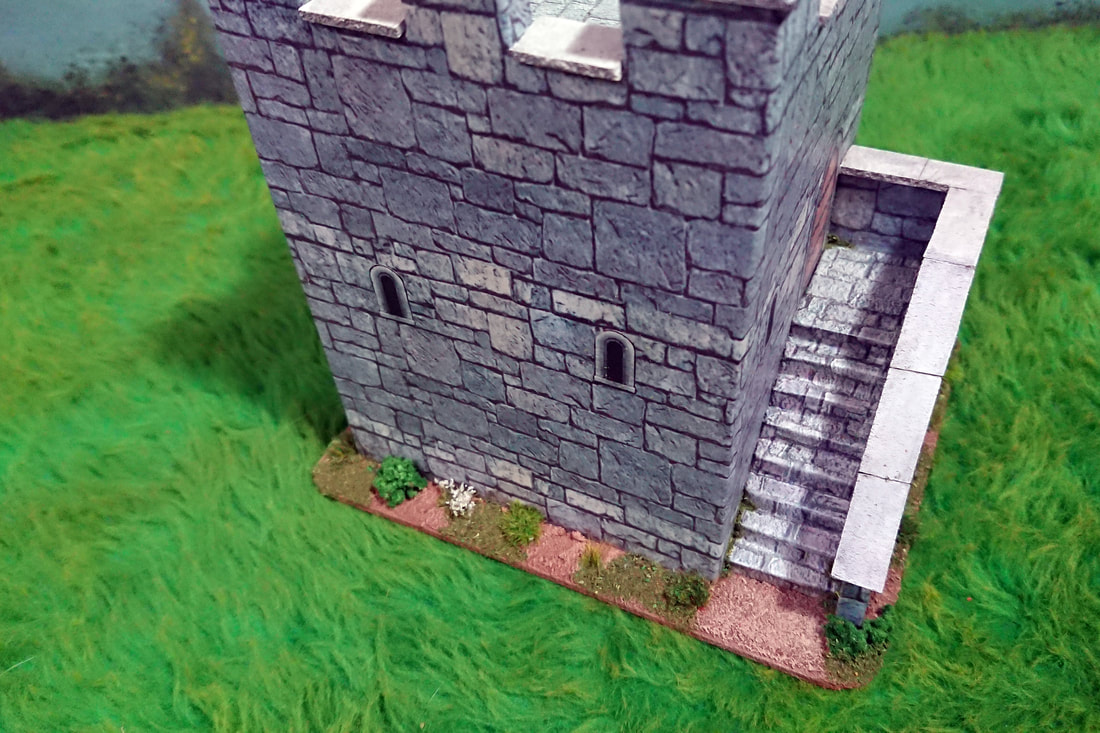
To begin with I cut the basic parts being four walls, a floor and a couple of internal support pieces from foamboard. These were assembled and left to dry thoroughly and later the crenellations were cut out. The corner edges of the tower were filled and smoothed down as well as any areas of the crenellations that needed filling, again the model was left to dry thoroughly. The next job was to select and paste down a stone effect wallpaper over the model and also put in a floor effect and while this was drying I made the stairs and the surrounding walls. When the stairs had dried I covered them with the same stone effect wallpaper as the main tower and then glued them in place. The capping pieces along the top of the crenellations were all cut and glued in place ready for painting later and once painted the basic model was almost complete.
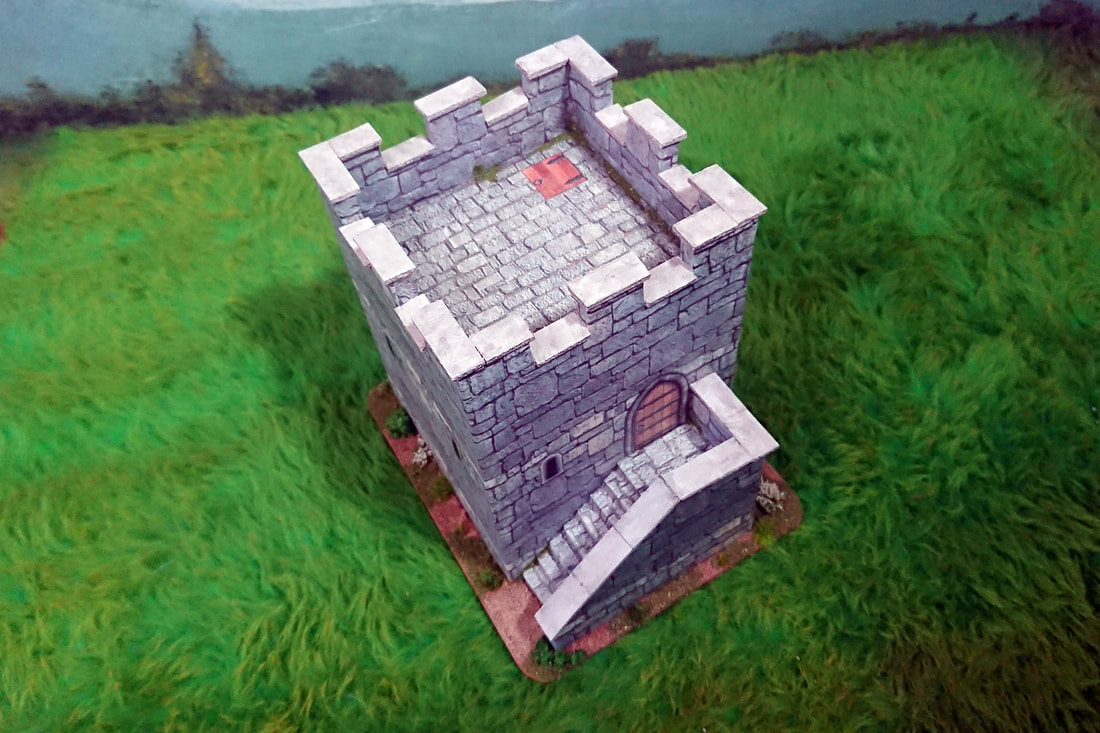
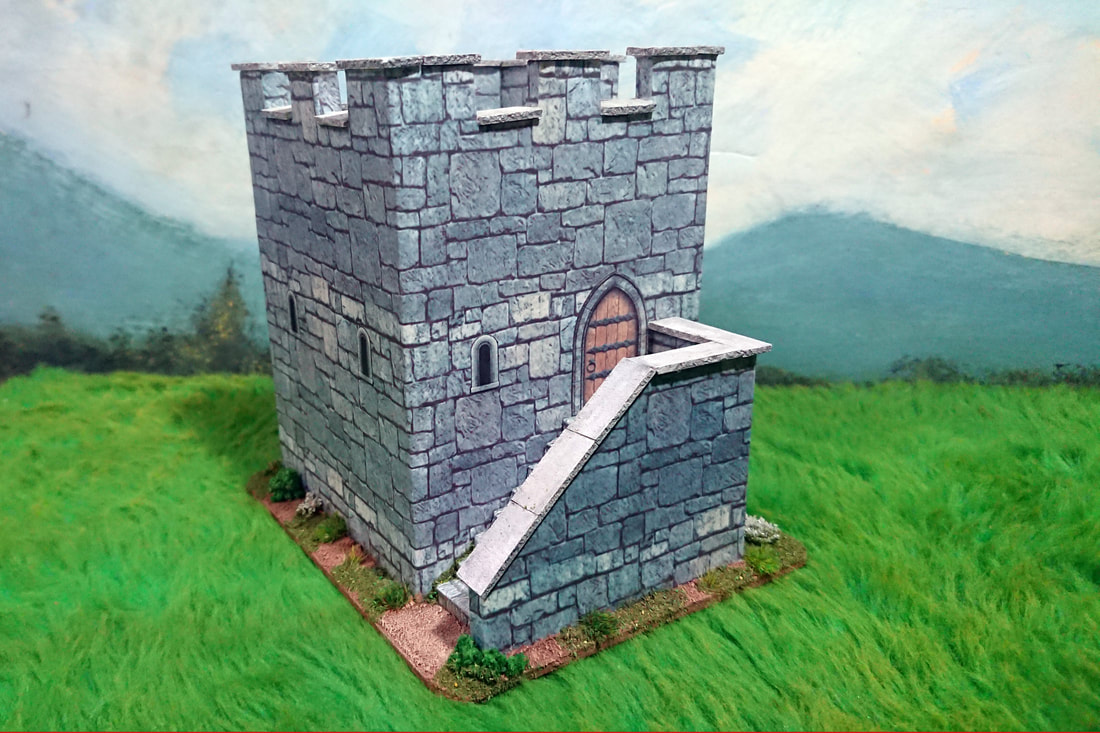
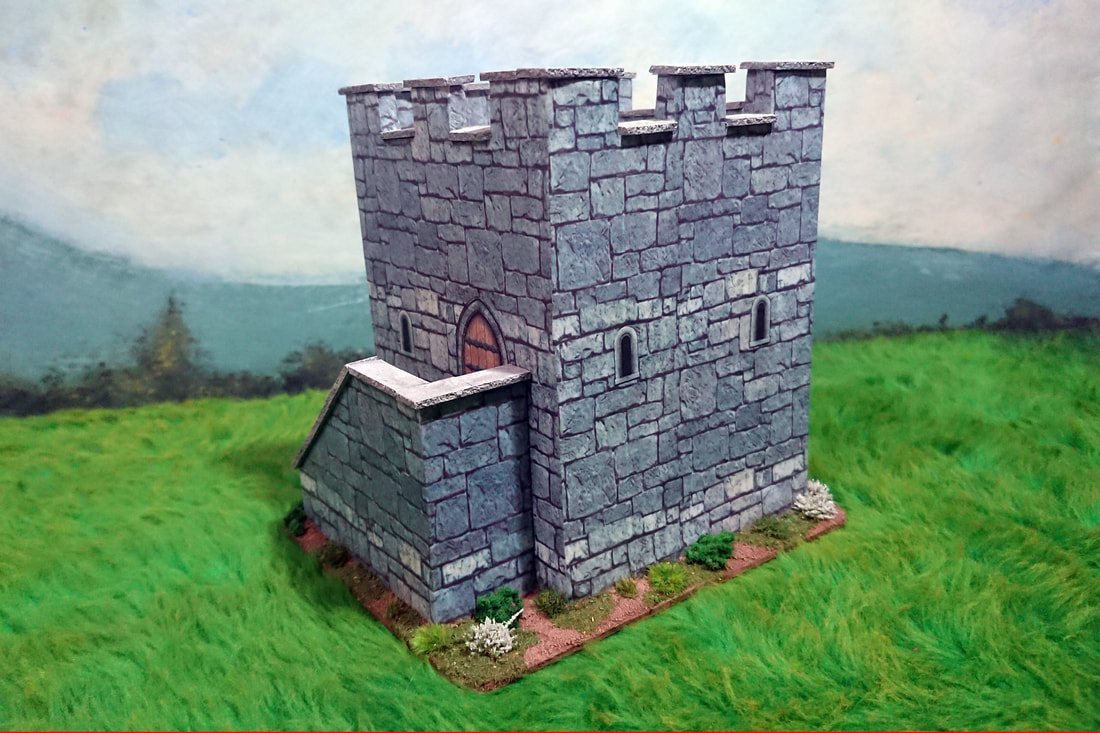
So, with the building work all done it was a simple case of adding a door, hatch and windows to the model and using thinned down paint to add a few weathering effects. Finally with all the work complete on the tower I decided to varnish it with acrylic wood varnish which protects and strengthens the model. The base was next and I cut out a hardboard base and glued the model to it, later this was textured and painted with loads of bushes, flowers and scatter grass added. Finally I was left to sit back and admire my work until the reality of knowing that I had another four to make hit home.
Finally some useful dimensions: Height of Tower = 14 cm Width of each side of Tower = 10 cm Width of Stairway including wall = 3.5 cm Height of Stairway including Wall = 6.5 cm Height to top of Stairs = 4 cm
2 Comments
|
AuthorStephen Wylde BA (hons) Archives
April 2020
Categories
All
|

 RSS Feed