|
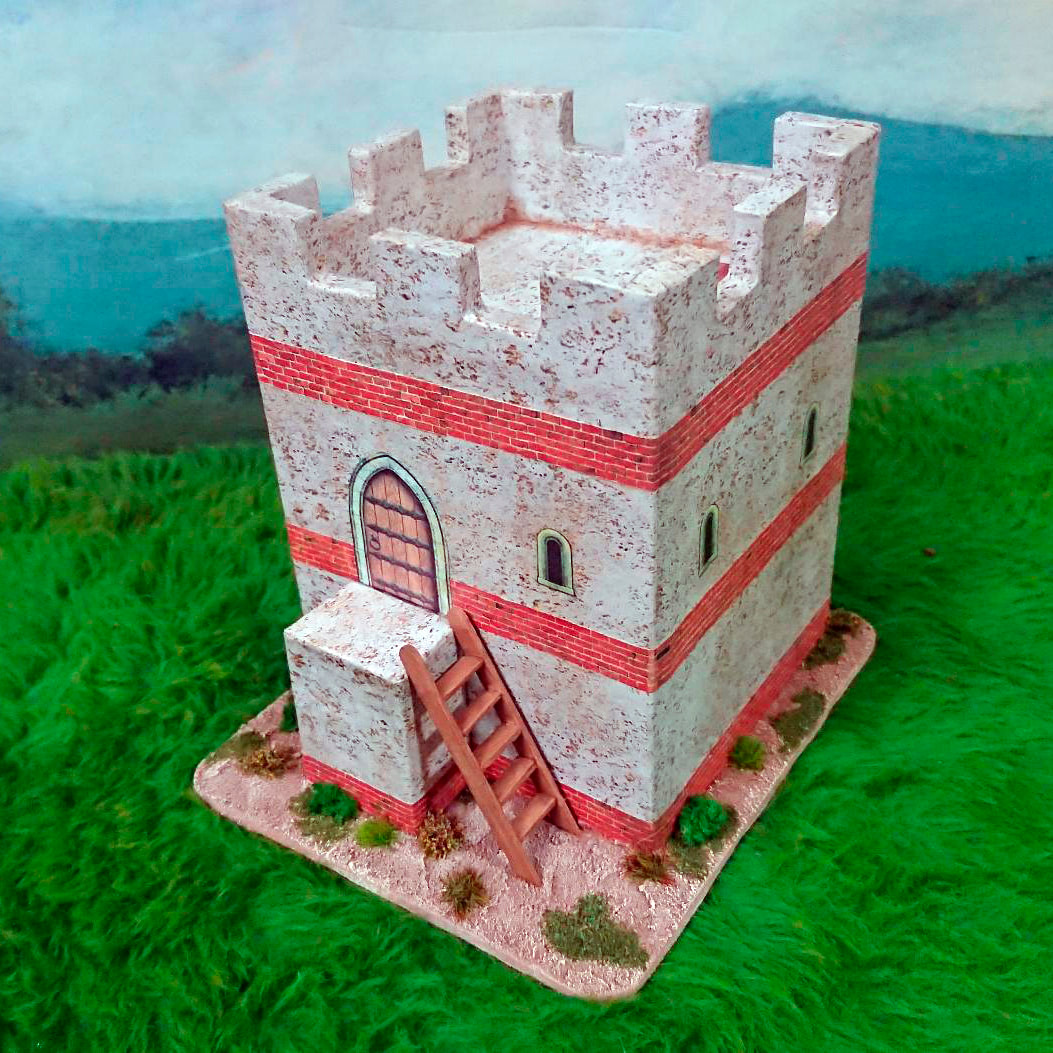
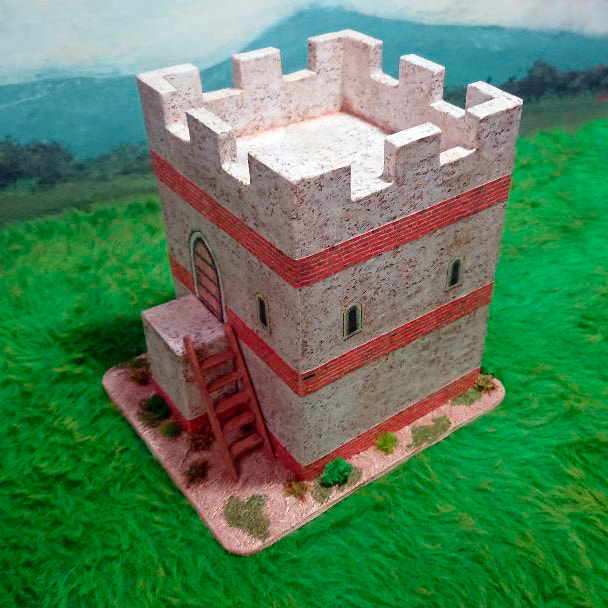
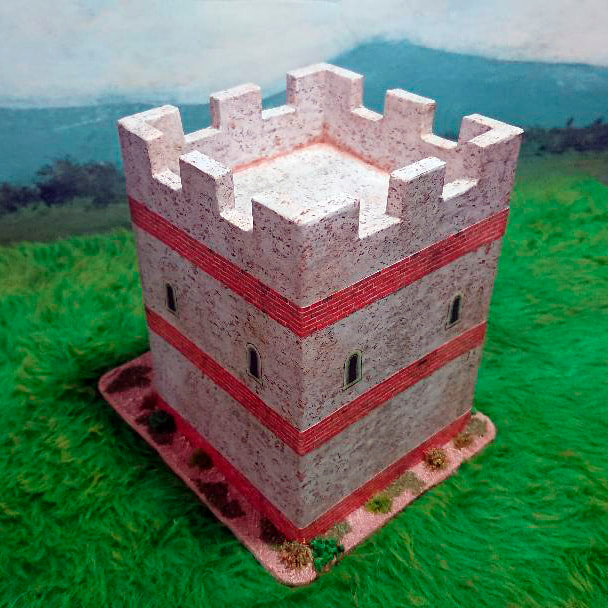
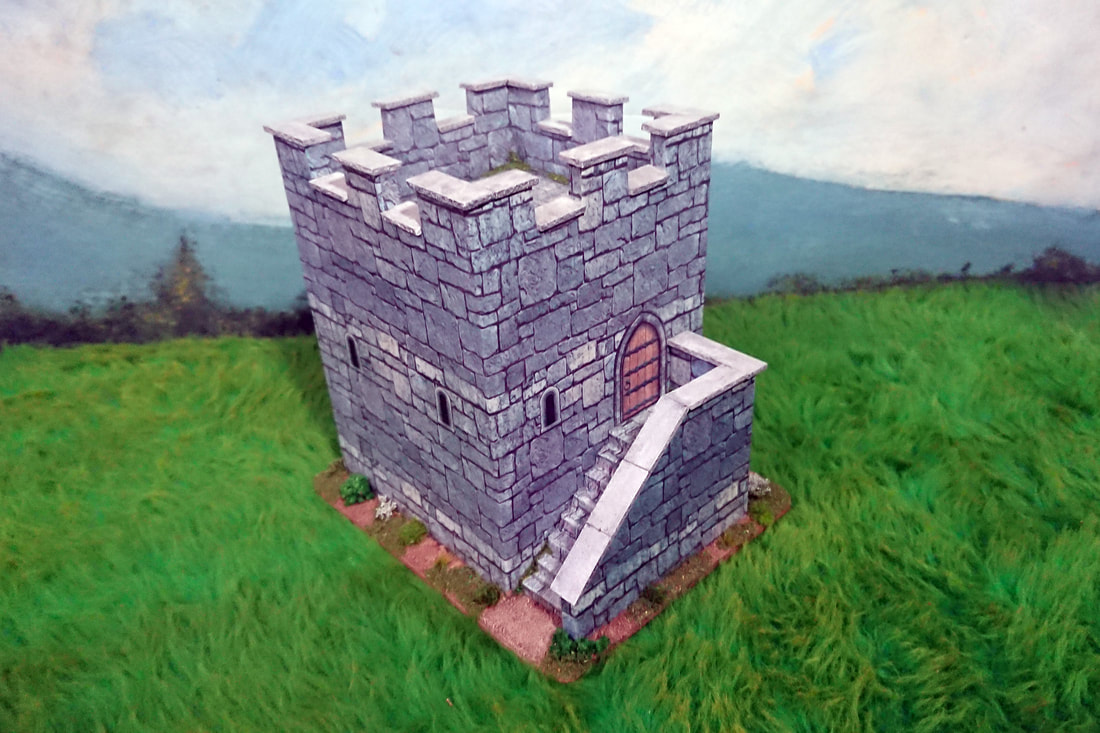
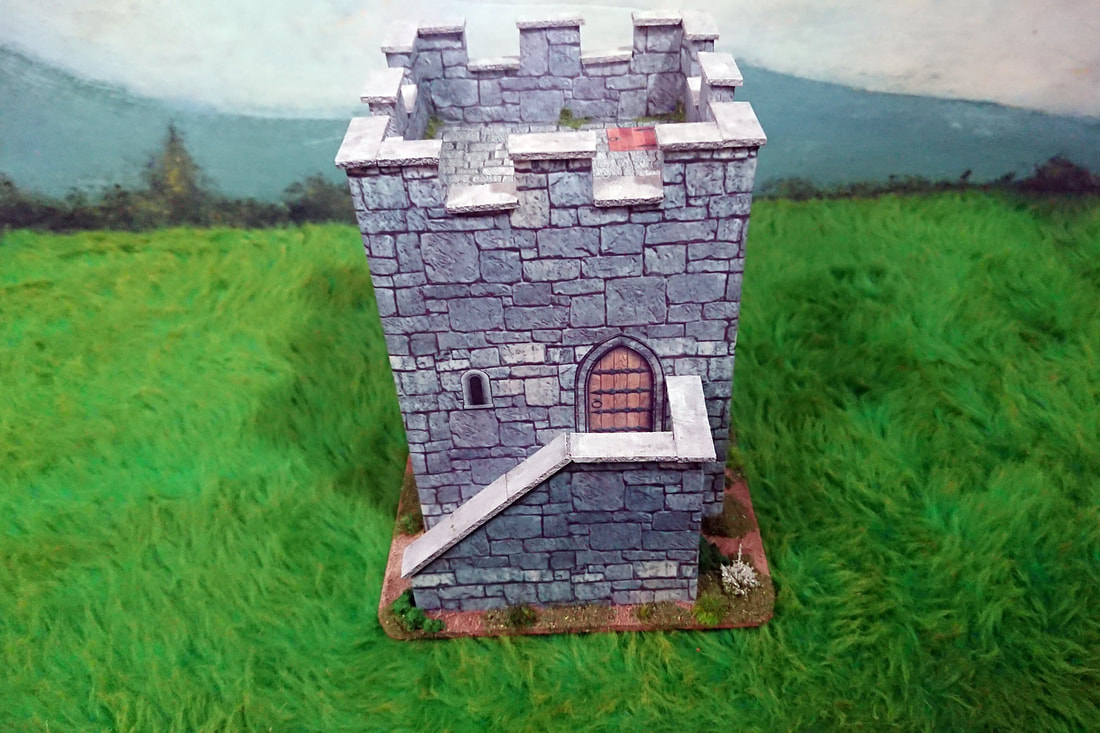
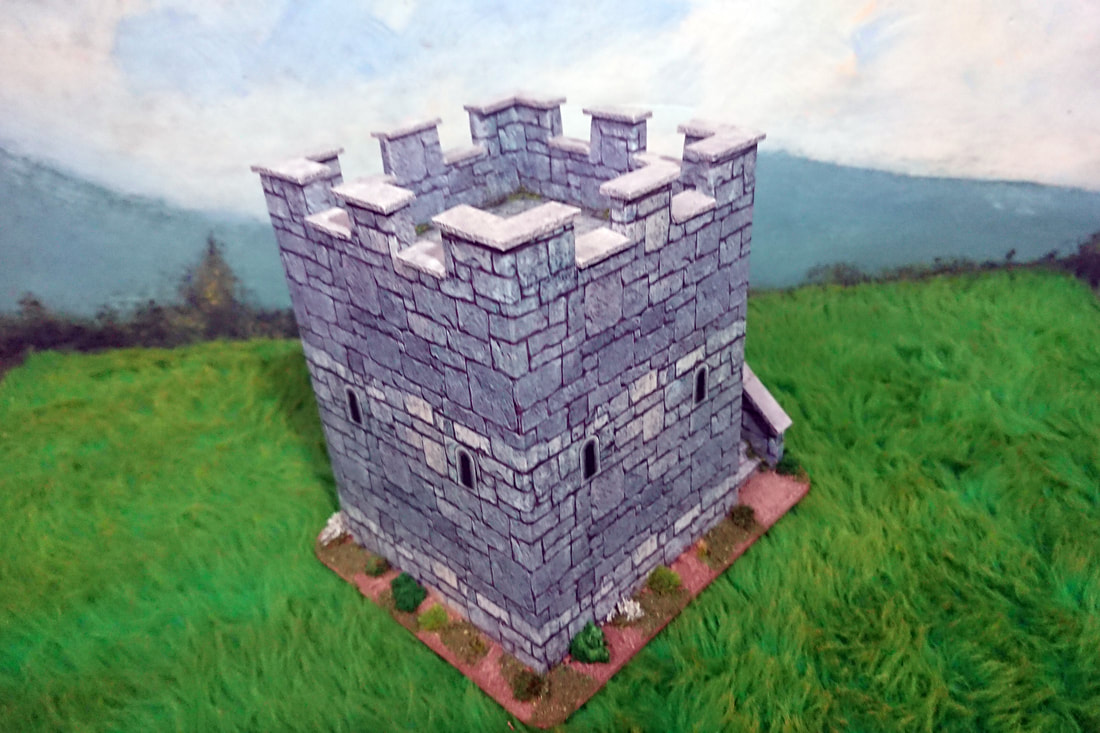
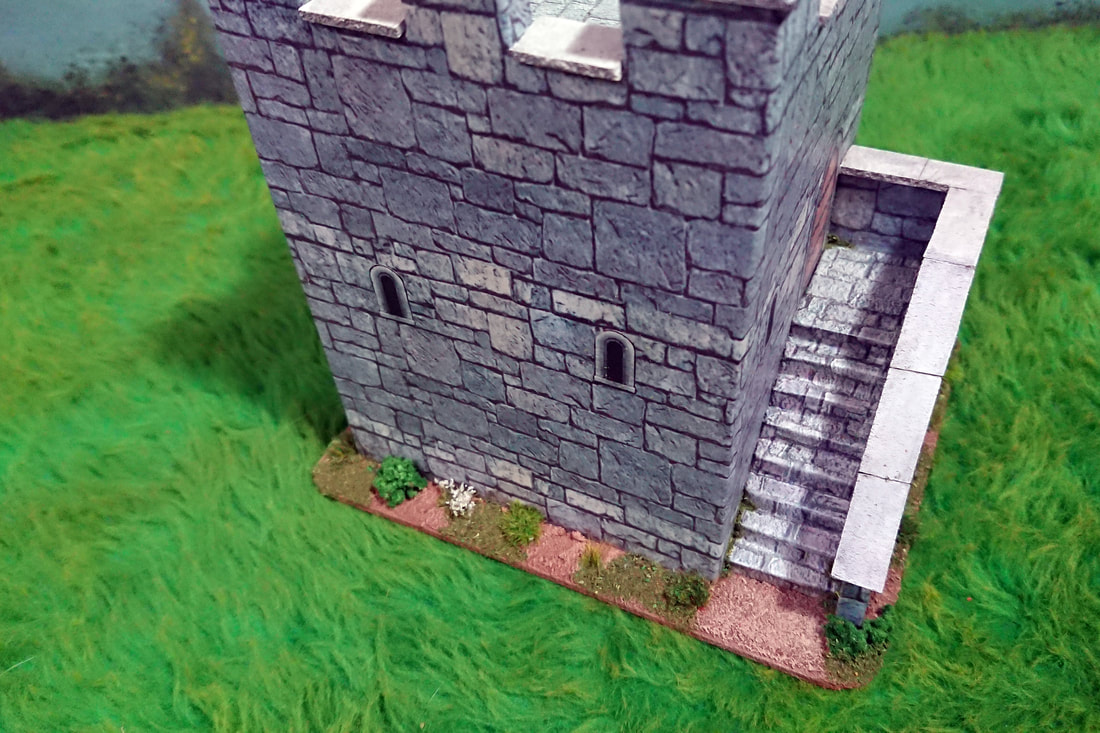
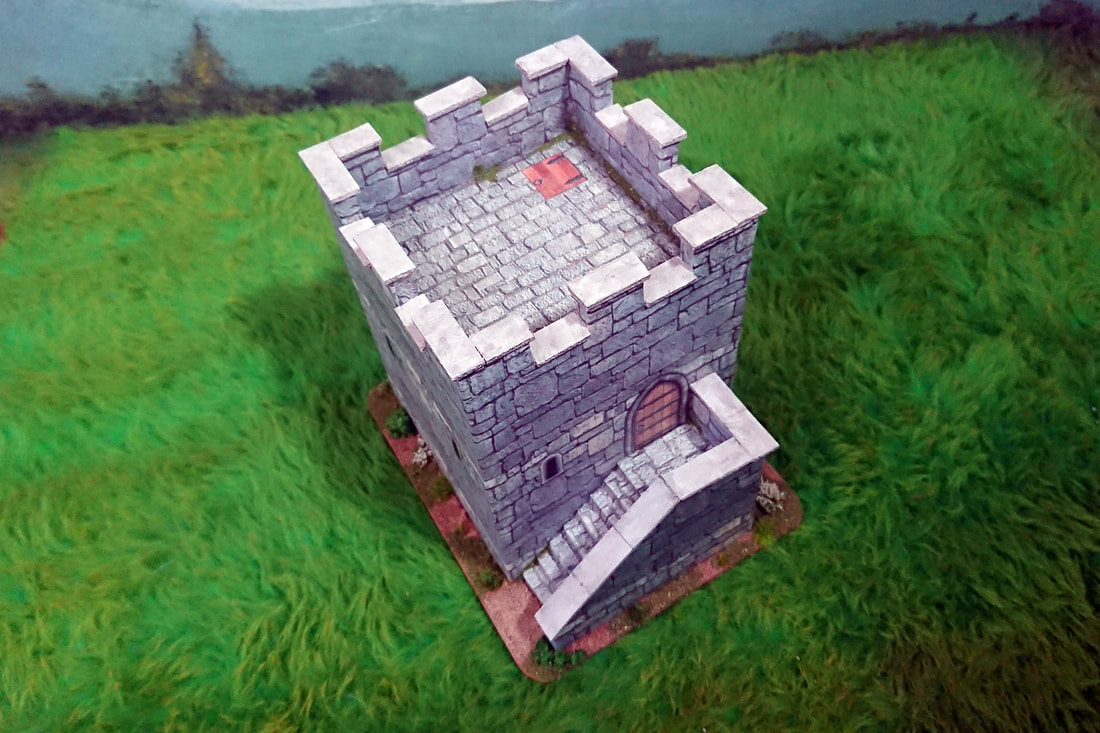
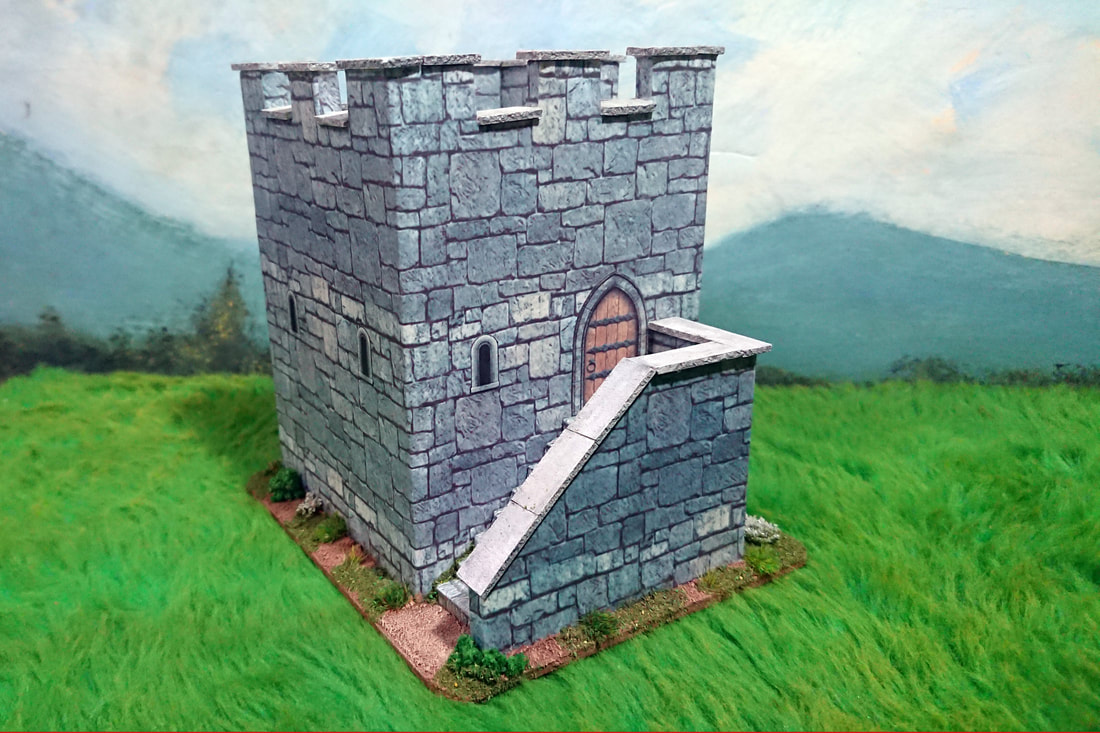
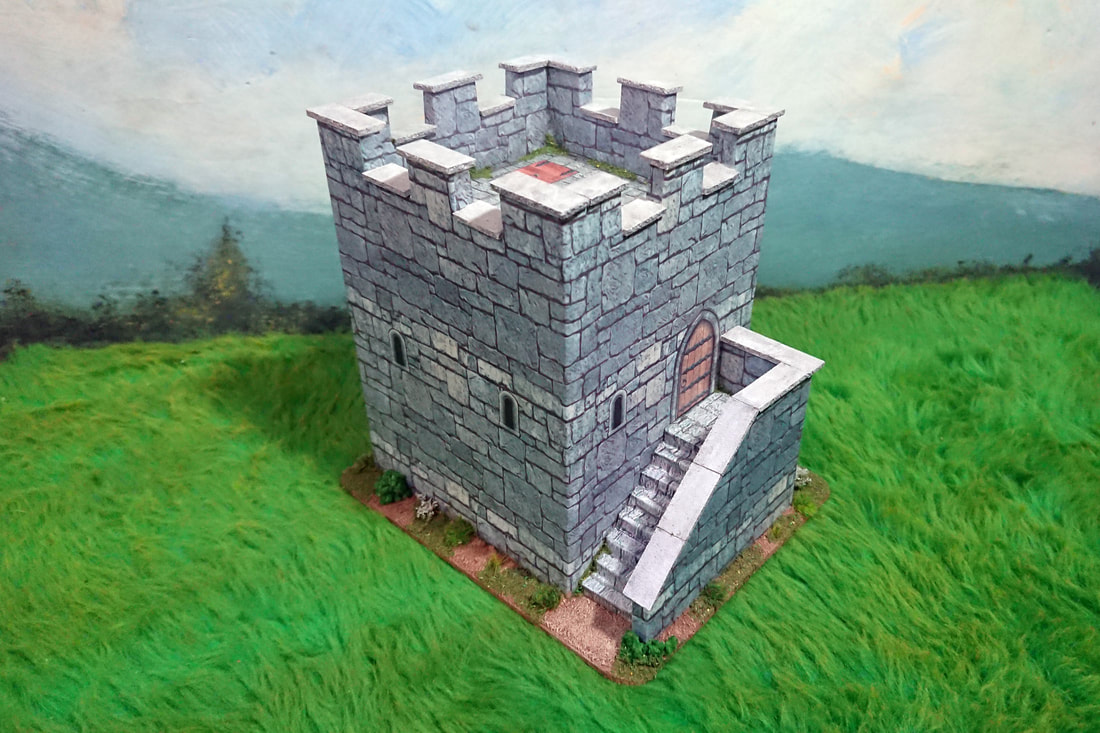
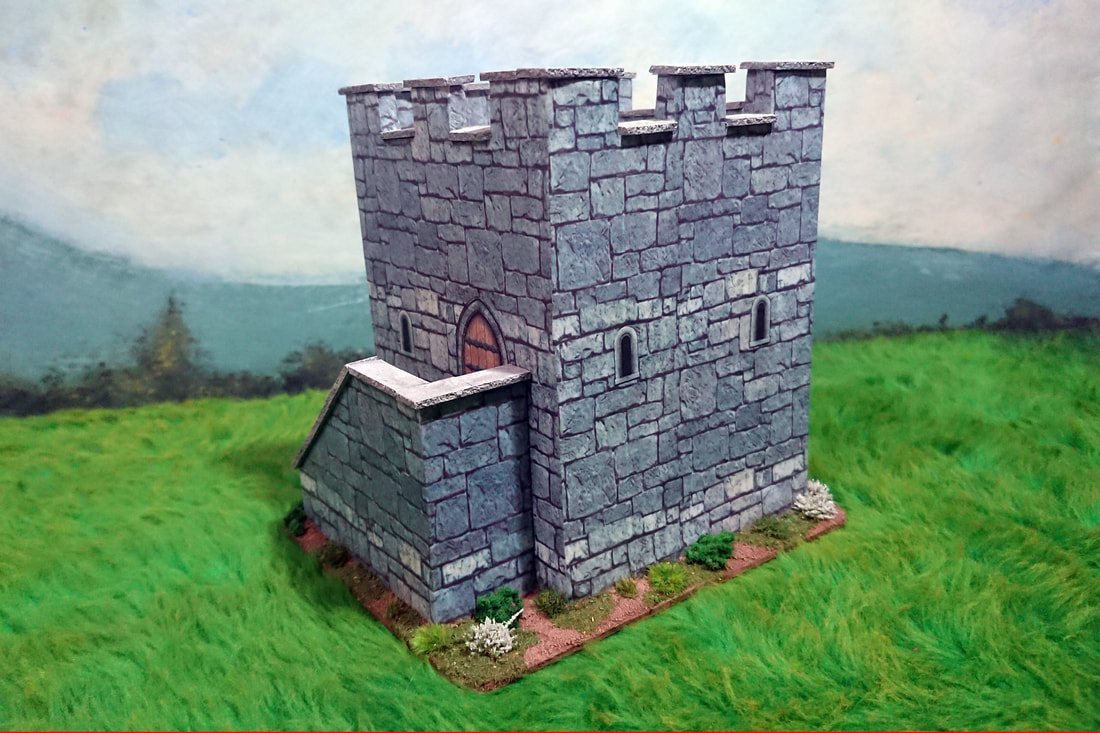
The second of the Roman watchtowers that I made can be seen here and and by simply altering the wallpaper effect and a few subtle differences it looked quite different. It was meant for a more Eastern Roman detachment and as such I felt that the stucco and brick effect was more appropriate to give the right feel to the piece. It was made in the same size and way as the first watchtower but the inclusion of a wooden ladder was the main difference. This was made by cutting and gluing together some wooden coffee stirrers and painting them to get the right effect.
2 Comments
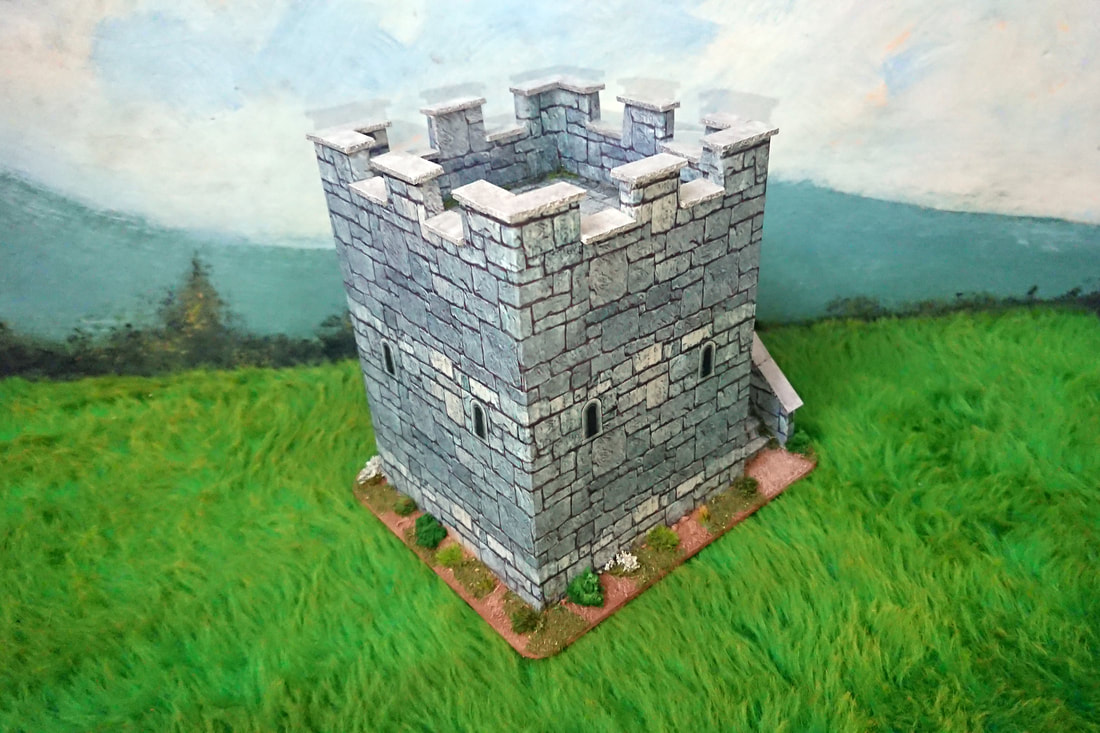
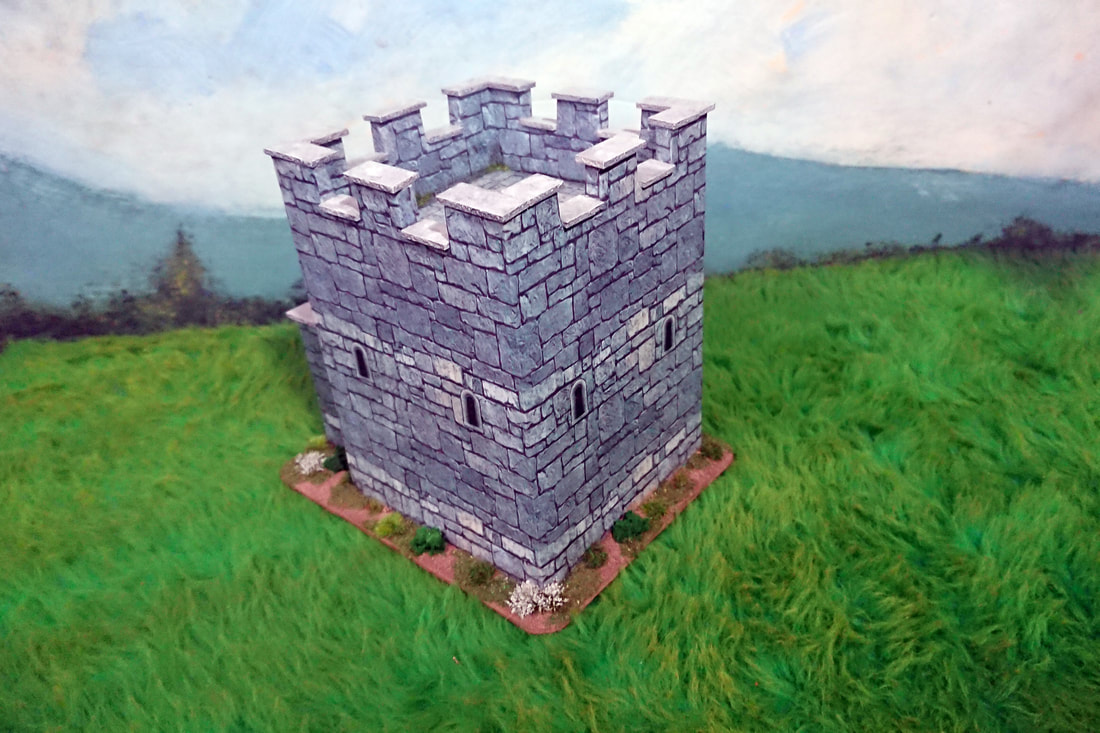
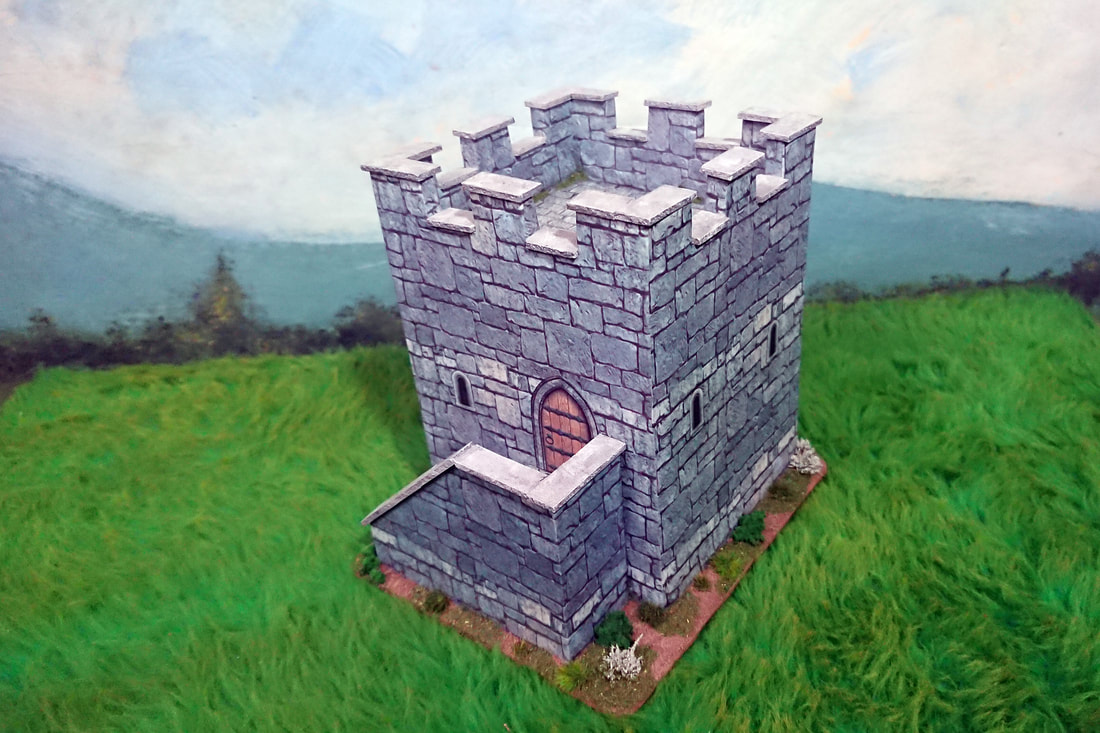
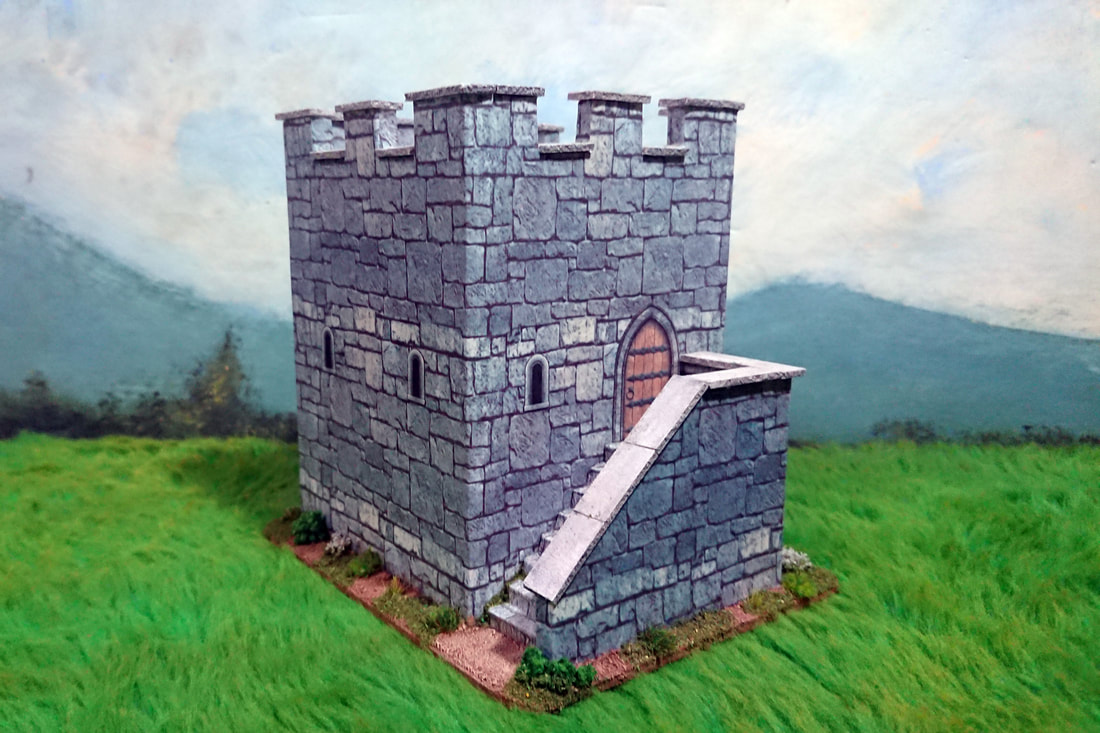
Over the last couple of months our little wargames group has discovered Warlord Games SPQR ruleset and seemingly from nowhere we have all put together warbands for the Ceasarian Roman period. As Xmas was approaching I decided to make a few watchtowers as presents for each of us, all being uniquely different as they would be from different parts of the Roman Empire. The first of them that I made was probably the most recognisable and this is how I made it. To begin with I cut the basic parts being four walls, a floor and a couple of internal support pieces from foamboard. These were assembled and left to dry thoroughly and later the crenellations were cut out. The corner edges of the tower were filled and smoothed down as well as any areas of the crenellations that needed filling, again the model was left to dry thoroughly. The next job was to select and paste down a stone effect wallpaper over the model and also put in a floor effect and while this was drying I made the stairs and the surrounding walls. When the stairs had dried I covered them with the same stone effect wallpaper as the main tower and then glued them in place. The capping pieces along the top of the crenellations were all cut and glued in place ready for painting later and once painted the basic model was almost complete. So, with the building work all done it was a simple case of adding a door, hatch and windows to the model and using thinned down paint to add a few weathering effects. Finally with all the work complete on the tower I decided to varnish it with acrylic wood varnish which protects and strengthens the model. The base was next and I cut out a hardboard base and glued the model to it, later this was textured and painted with loads of bushes, flowers and scatter grass added. Finally I was left to sit back and admire my work until the reality of knowing that I had another four to make hit home. Finally some useful dimensions:
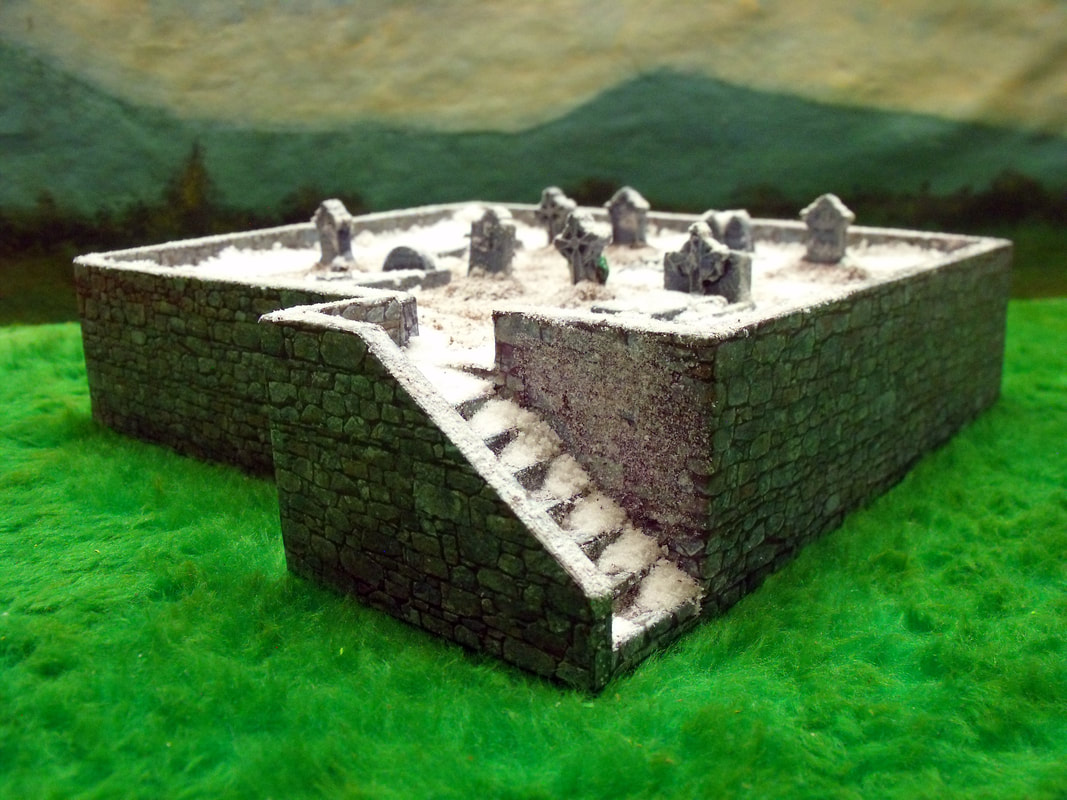
Height of Tower = 14 cm Width of each side of Tower = 10 cm Width of Stairway including wall = 3.5 cm Height of Stairway including Wall = 6.5 cm Height to top of Stairs = 4 cm I built this a couple of months ago to go with my ever increasing lot of buildings & scenery for my Frostgrave setup. The idea came from my wanting to have different levels of terrain for my Frostgrave games as my terrain board is split over different levels to add to the general mayhem of the four player games I usually play with my gaming buddies.
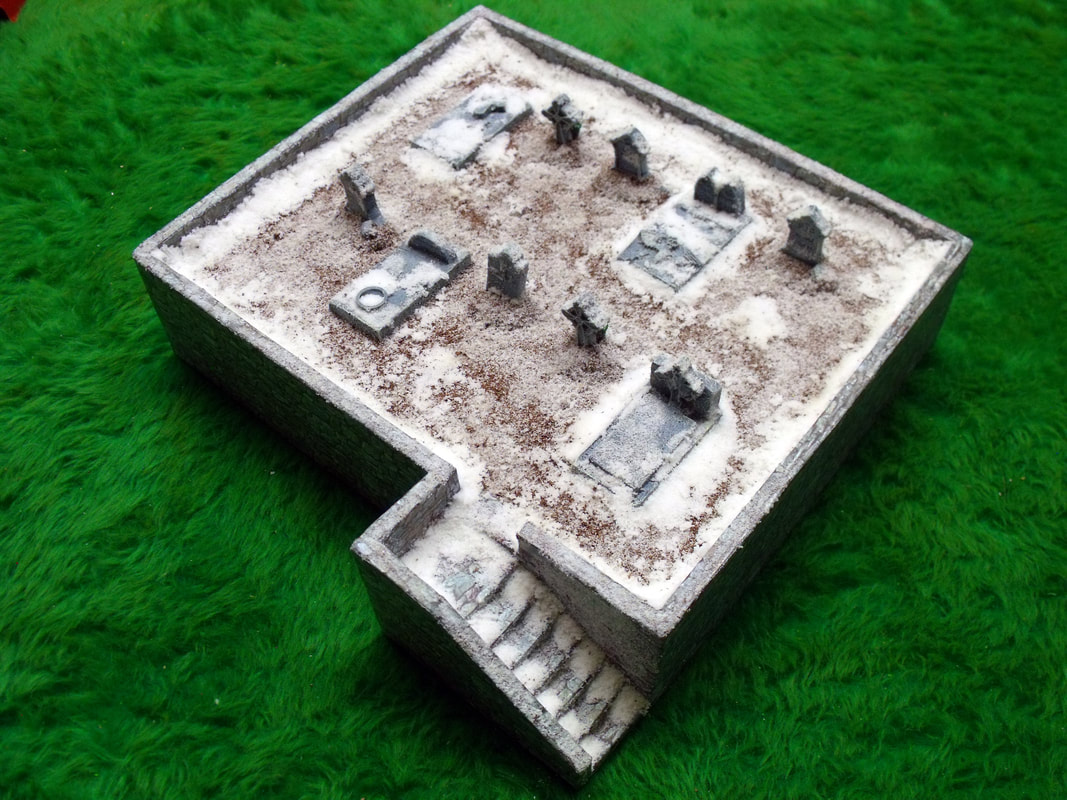
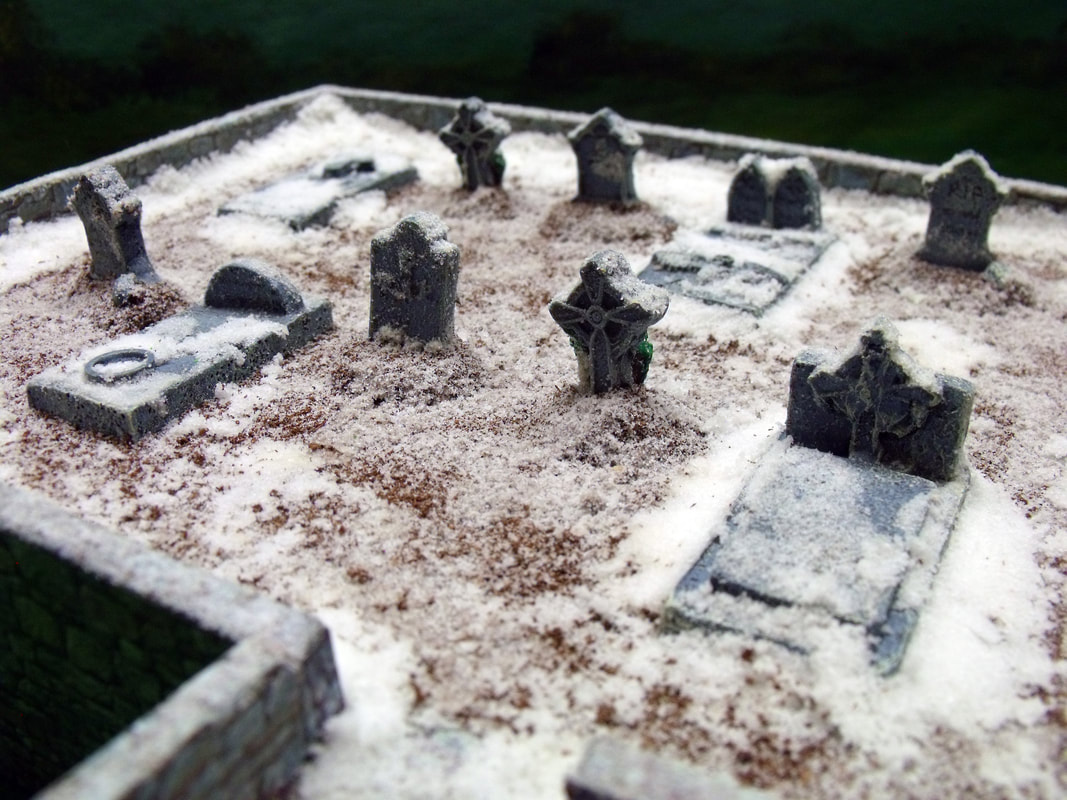
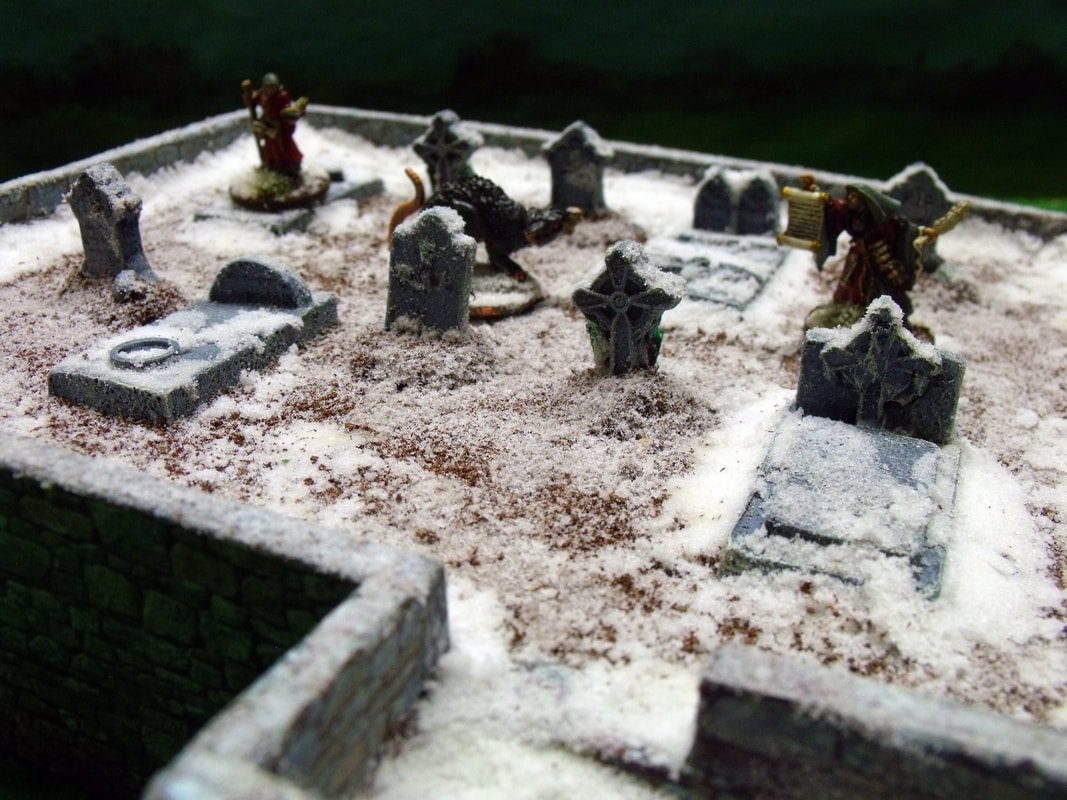
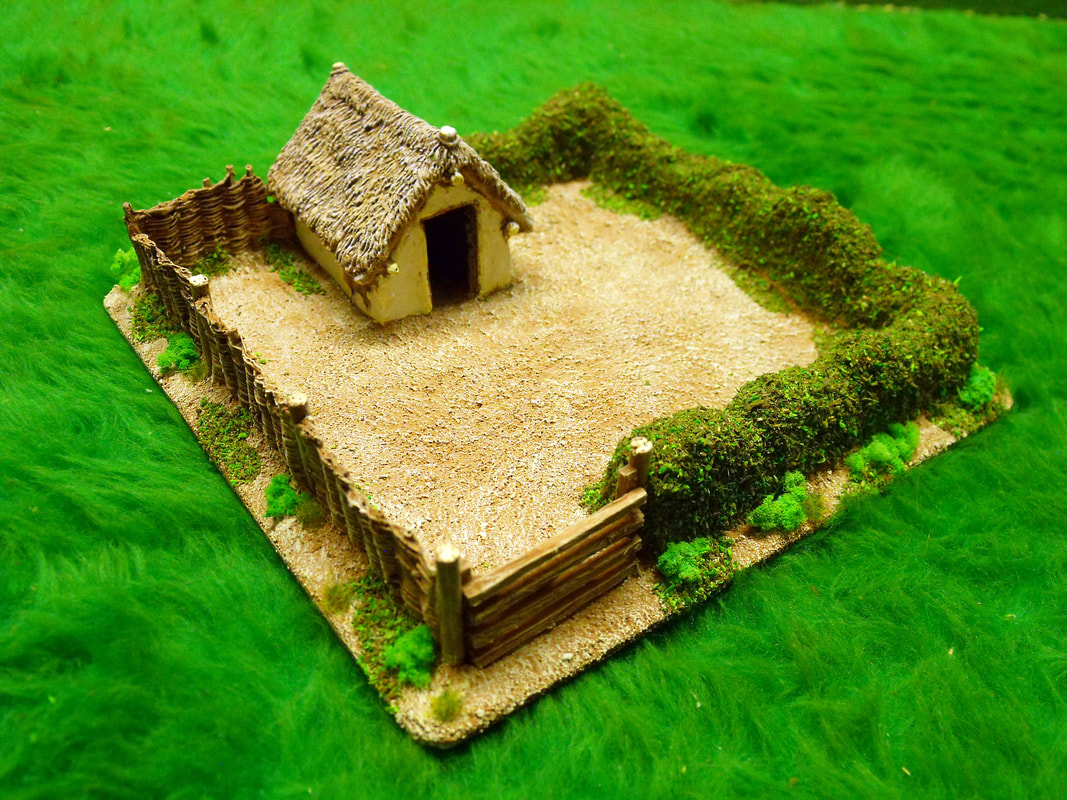
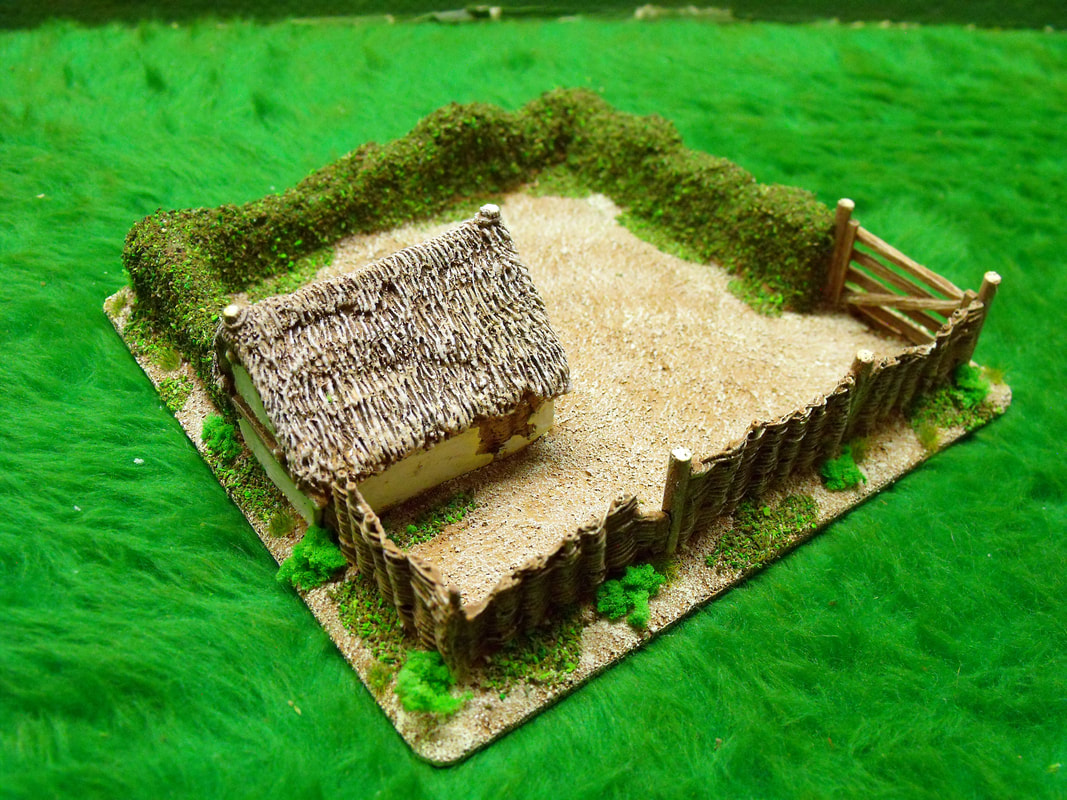
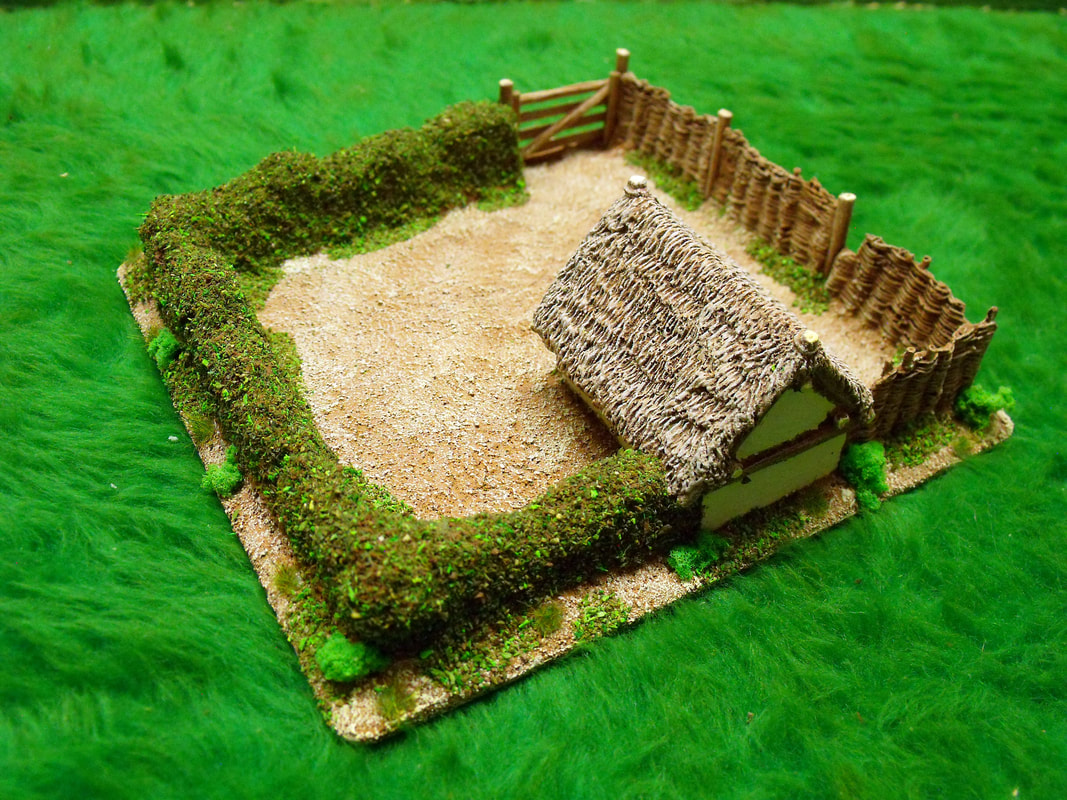
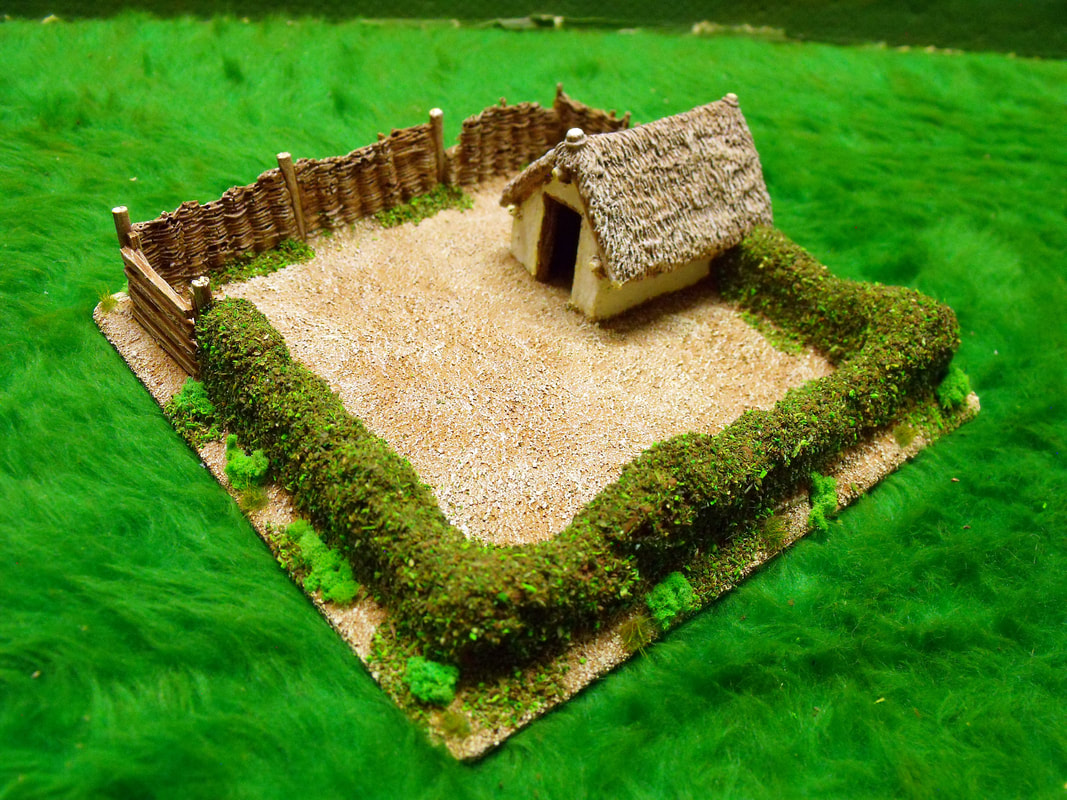
To that end I wanted a graveyard that was raised above the surrounding terrain with only one access point being the stairs. To start with I had a piece of cardboard packaging lying around which was 240mm long x 200mm wide x 45mm deep, which seemed about the right size for what I wanted. I then decided to fix a wall around it made from foamboard which was cut to a height of 60mm which allowed for a wall 15mm higher than the graveyard. Once glued in place I decided upon an entry point and cut an opening 30mm wide, which was so far so good and only a few short minutes of work. The next thing to do was build the stairs leading up to the graveyard level which needed some planning to get the stair treads to match the height and position of the opening, at this stage I realised that I should have built the stairs first and then cut the opening last. The stairs were made from 5mm foamboard with a width of 30mm and each one glued in place to match the position of the opening. Fortunately the stairs matched perfectly with the opening so I then built the walls to enclose them so that they looked in keeping with the rest of the graveyard. The next thing to do was to wrap the entire set of walls with a home made stone effect wallpaper which I regularly use on projects like this. The stairs were done first and separately from the main walls as they were not yet glued in place for this reason. The rest of the graveyard walls were then done and once everything was dry the stairs were glued in place, finally everything was sealed with a coat of clear acrylic matt varnish. The grave stones were next to be tackled and as I already had some resin gravestones from an old abandoned project lying around I painted them up an decided to position them. I wanted 2 rows of gravestones and allowed 30mm all around them for figure placement and 30mm between the rows for the same reason. When happy with the positioning of the gravestones I glued them all in place and painted the ground dark brown and once dry I used brown scatter material to simulate dirt. The final stage was to apply the snow and frost to the whole model, the snow banks were made from Woodland Scenics snow scatter material mixed to a paste with PVA glue and this was applied wherever I thought snow would gather. Once dry the whole model was scattered with the snow effect scatter material to simulate frost and that was it all finished. I finished this piece recently for a customer as part of an ongoing project. Basically it was a resin Pigsty with a few broken bits of wattle fencing that he wanted making into an enclosure to hold many bases of pigs and piglets. There wasn't enough wattle fencing to make a useful enclosure so I decided to add a hedge made from some sample resin pieces that I had lying around. This just left me needing a gate which was made from matchsticks and a few dowel fence posts and I had all that I needed. With all the pieces glued in place on a piece of vinyl tile I painted everything and then applied the basing, which is a mixture of sharp sand and brown paint (like Basetex, but far cheaper). Once dry I applied bushes and long grass then I covered the hedge with scatter flock and a lighter flock applied in patches around the base to finish it off. That was it, all done and ready to be used on the wargames table, a really useful building that could be used for many periods or settings.
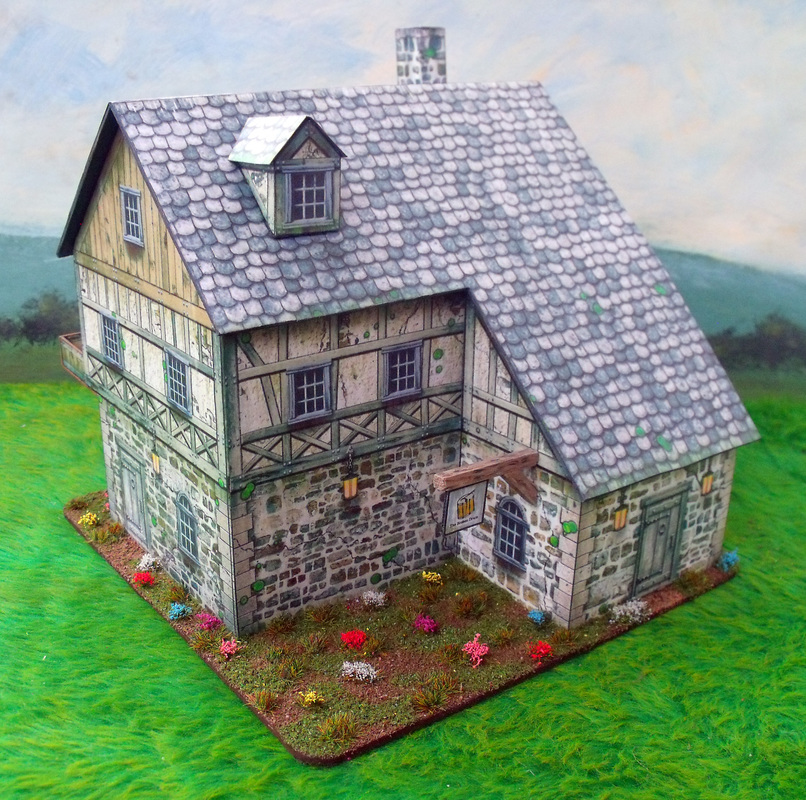
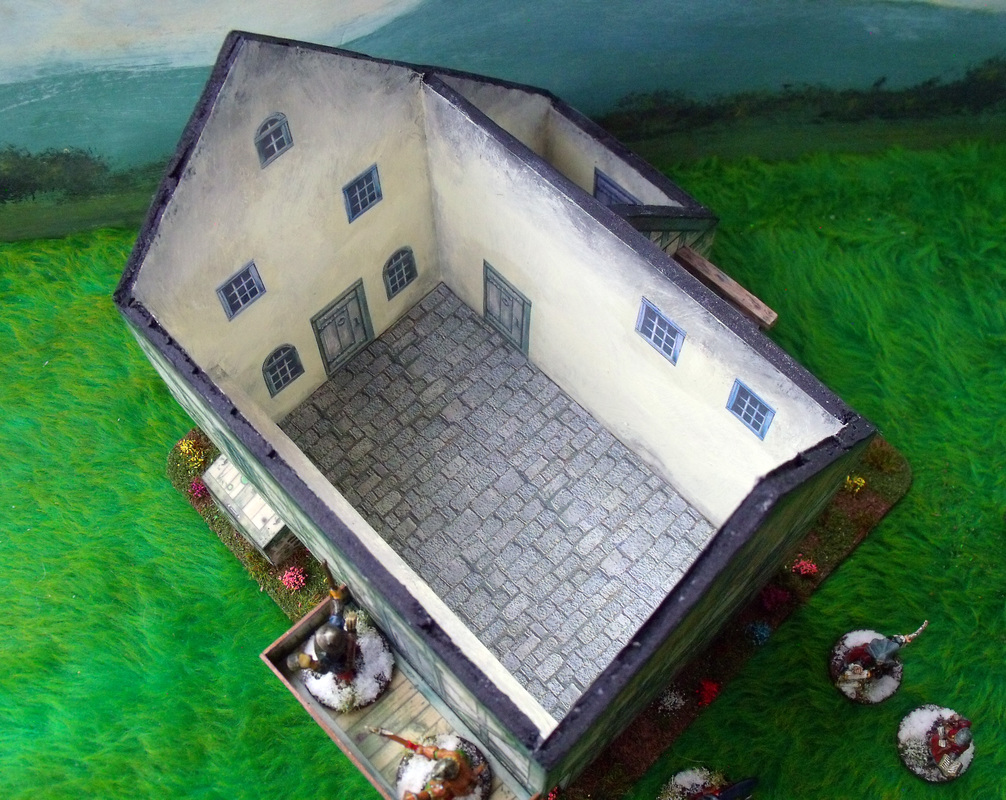
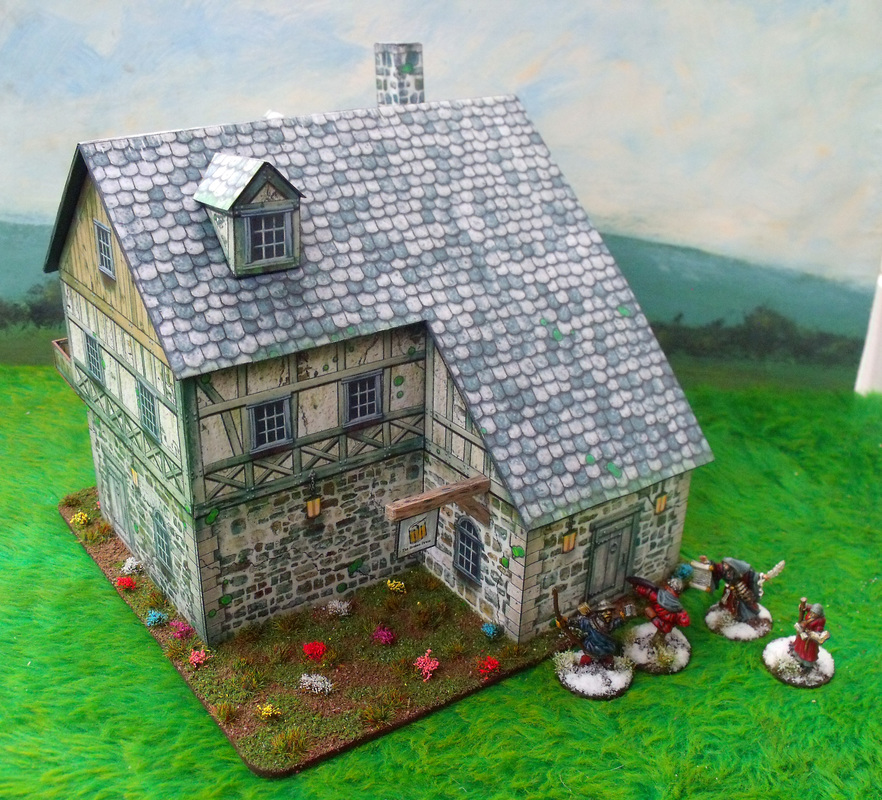
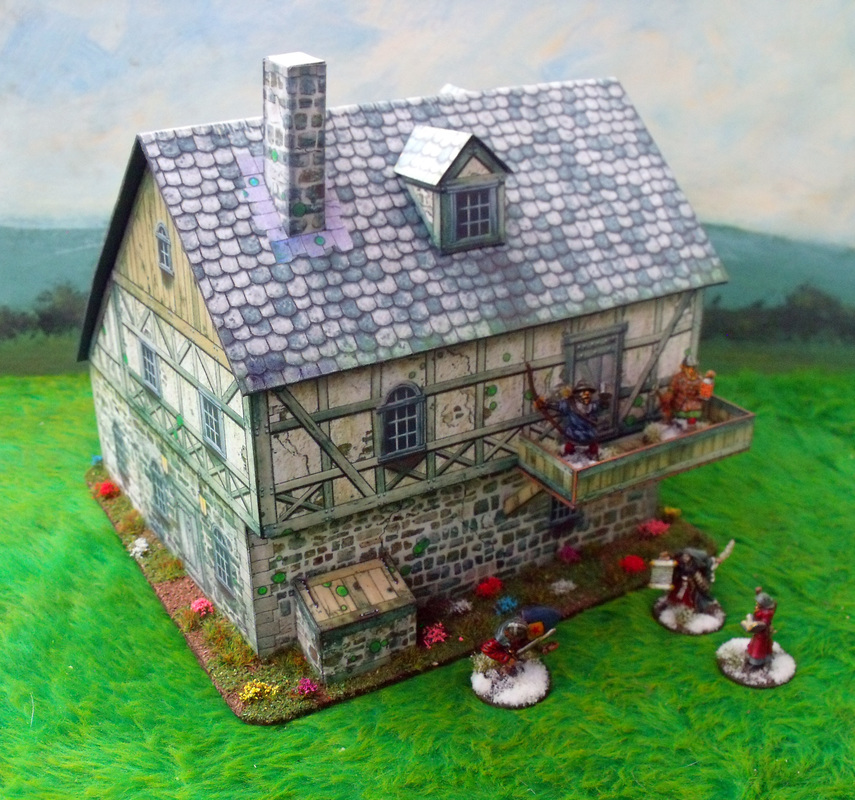
As Christmas approached a couple of months ago I was scratching my head as what to get my best pal Nick as a present as I usually make him some sort of scenic piece or paint up some figures for him. We had been playing Frostgrave and wanted to make him something for that so I thought about a storage box for his figures which was magnetic so that he could transport them from his house to mine.
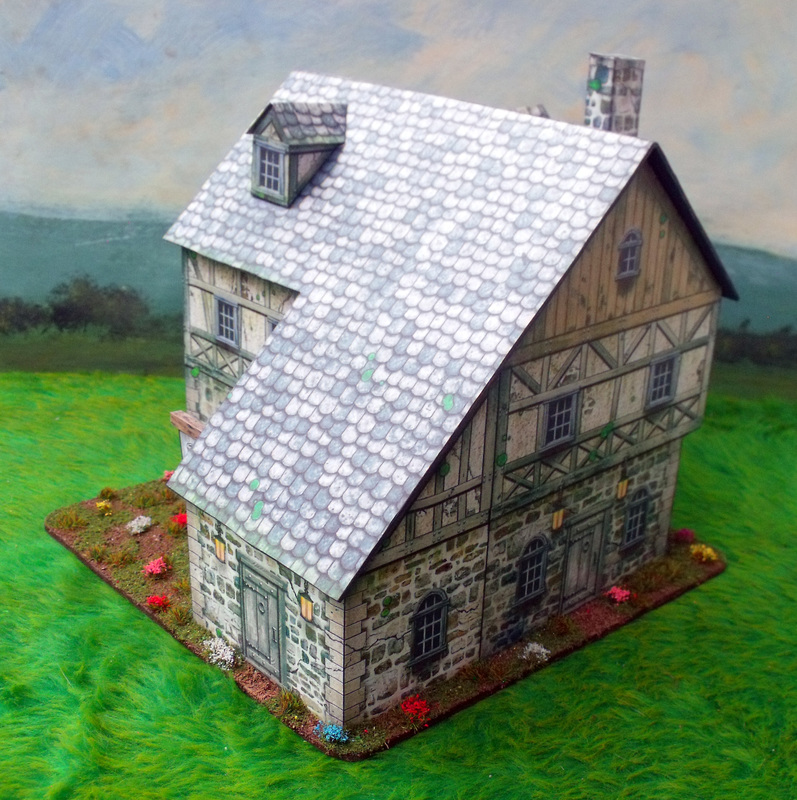
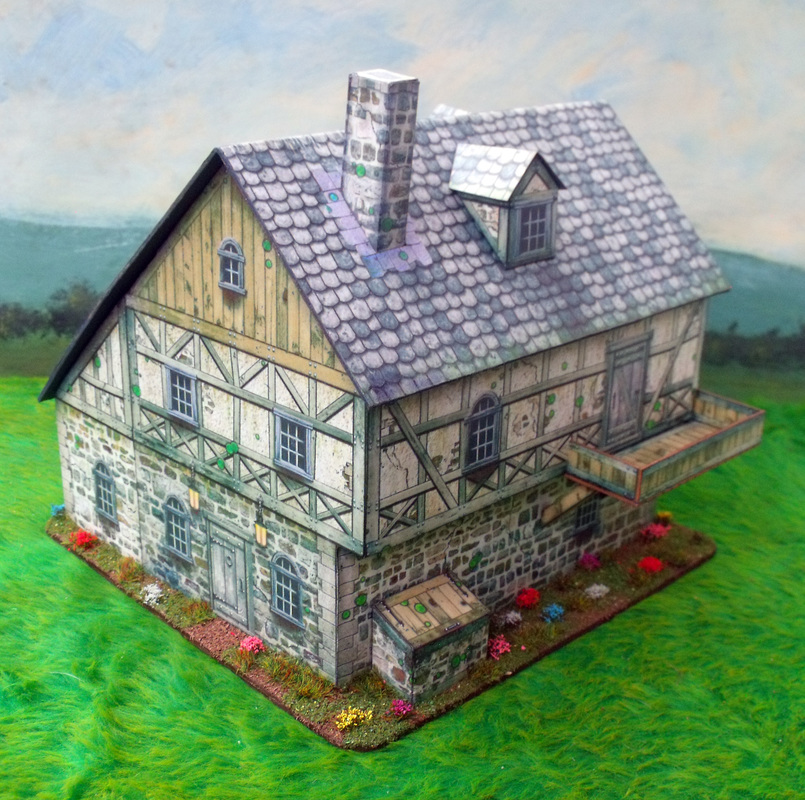
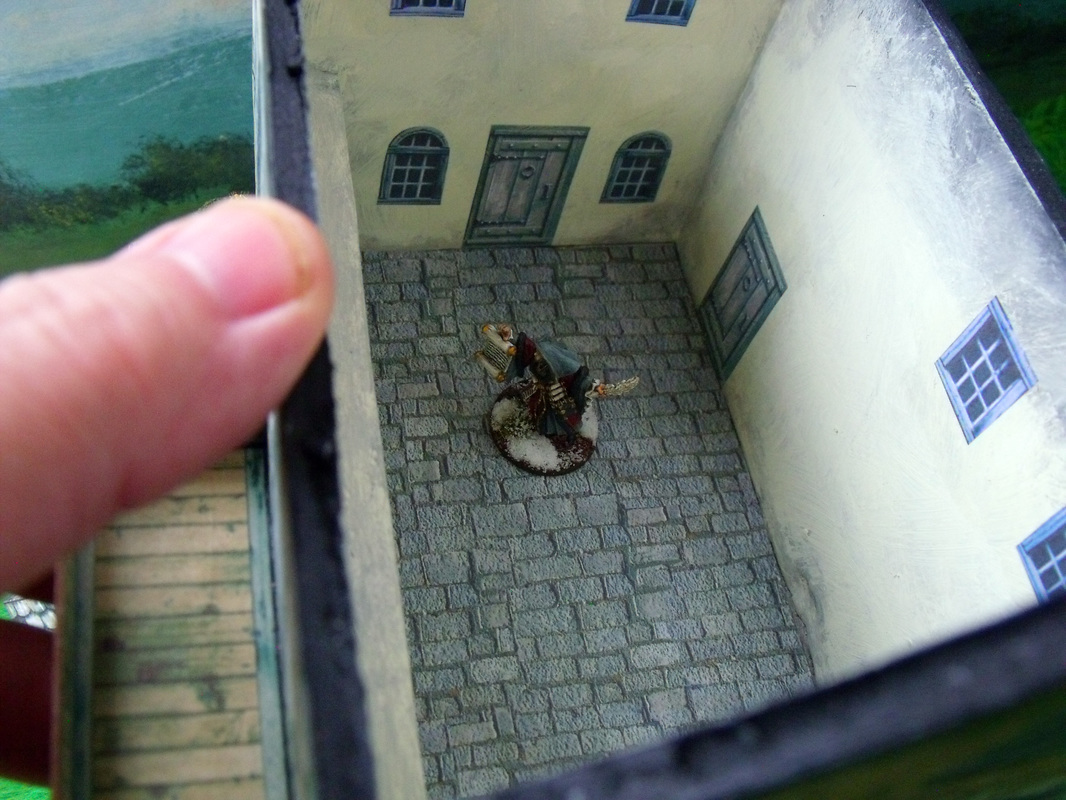
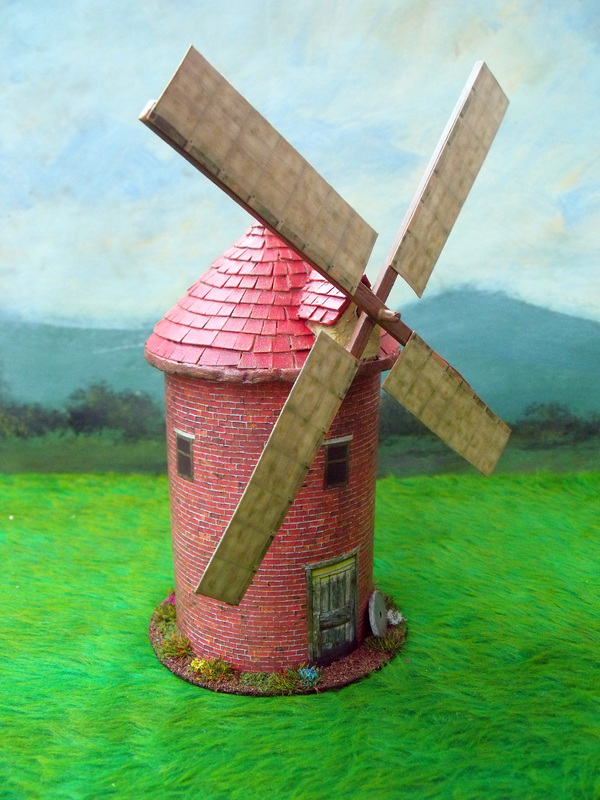
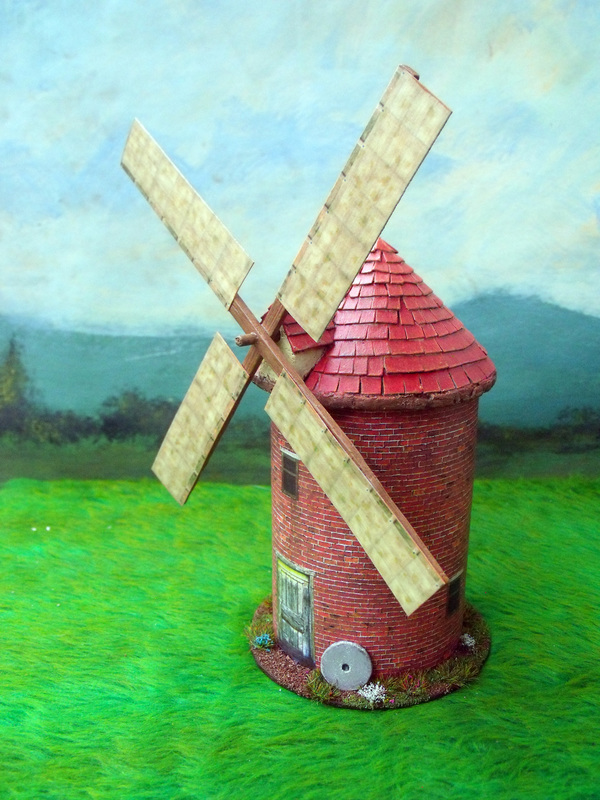
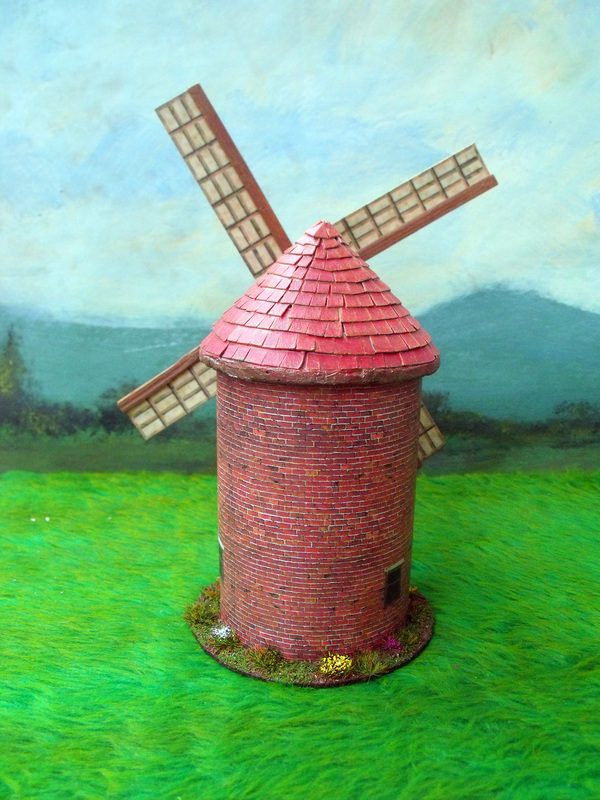
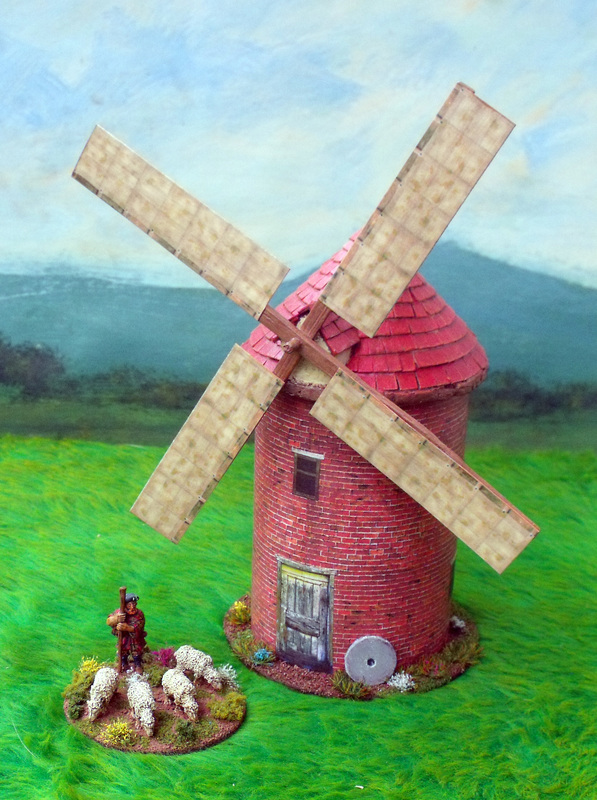
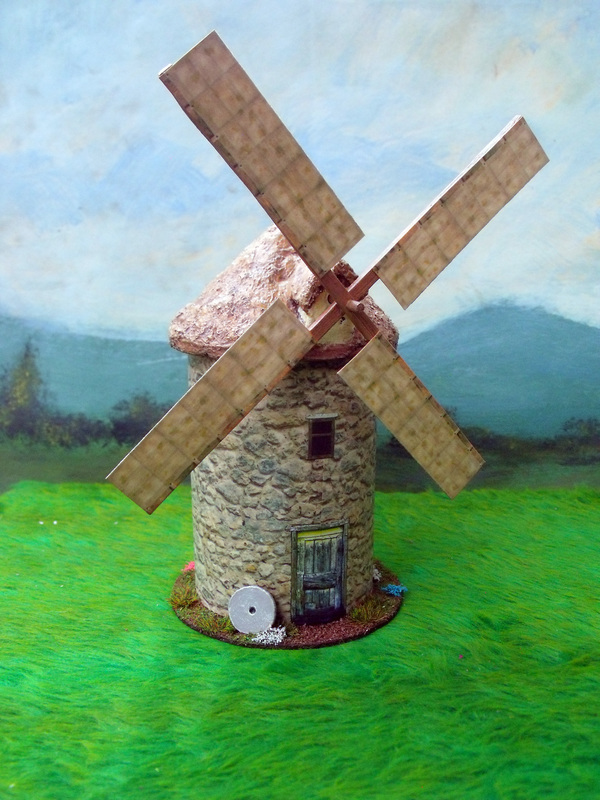
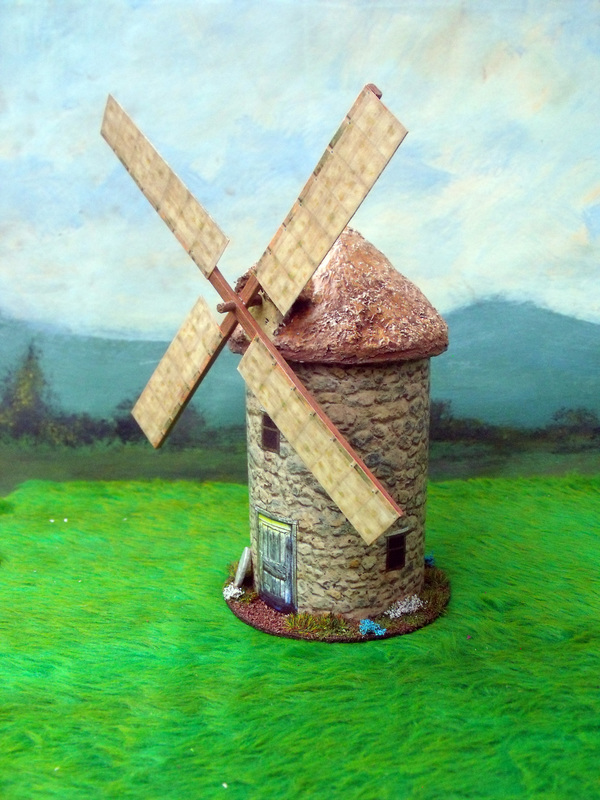
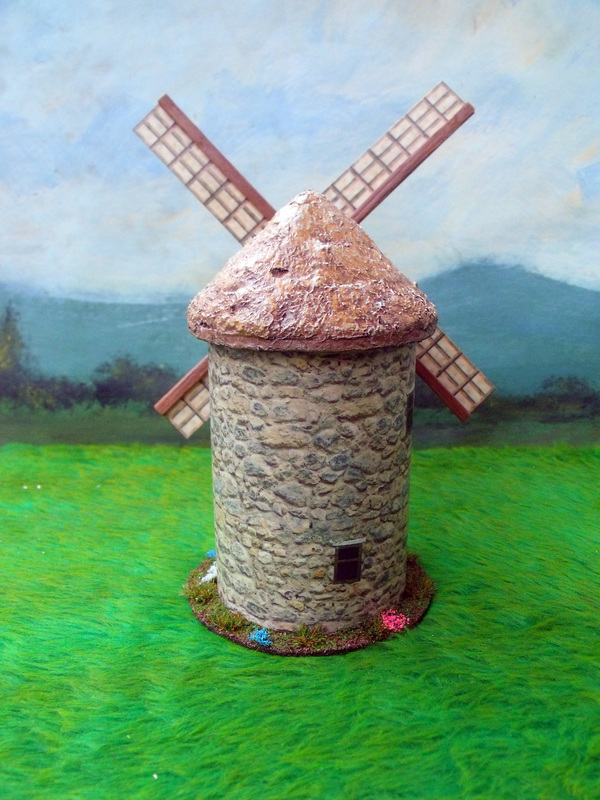
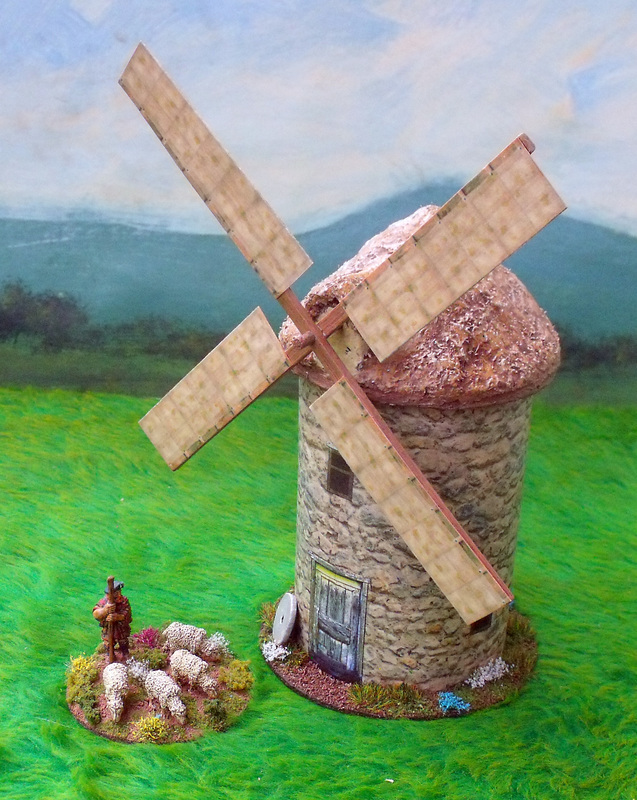
After one game we were talking about where each of our warbands were going to be holding up while not ferreting through the ruins of the city and he said that his would be at a pub, 'The Broken Drum' to be exact. That got me thinking about making the storage box in the shape of a pub, something that would safely store his warband, cards and dice between games and with a bit of thought and planning could also be used as a terrain piece in its own right. At that time I had purchased some Dave Graffam buildings on PDF and there was a very suitable pub building in with the lot that I bought and so I used that as the basis and plan for the build. I decided to cut out an exact replica of the pub in foam board and glue it together and then down to a hardboard base as this would strengthen the model and make it usable as a carry box. Next I printed off and cut out the model parts onto good quality paper and using PVA glue I glued in place all of the walls. With this done I cut the roof out of very thick card and glued supports in place, once done the roof sheets were pasted down and trimmed. The chimney, dormers, balcony and wood bunker were all pasted to cereal packet card and cut out, assembled and glued in place. For the interior I painted the walls and with extra sets of doors & windows I glued copies where all the door and windows would be on the inside. I then put in the floor which was cut out sheets of magnetic fridge magnet material and glued in place finally covered with flagstone effect paper. After that I painted the top edge of the walls and the underside of the roof black or grey where the roof hung over the walls. The next thing was the pub sign which I made the bracket out of balsa painted to fit in with the rest of the building and a pub sign of 'The Broken Drum'. When the model was finished I painted it all over with acrylic matt varnish for protection and once dry the base was finished off with scenic scatter, bushes and flowers. All in all it took a lot longer than it would to make the original building kit, but the extra effort was well worth it and does tick all the boxes for what it was intended for. Even at an angle of 45 degrees the magnetic sheet holds figures perfectly in place and I know that it will get plenty of use in the coming years. I recently decided that it would be nice to have some windmills for some of my 28mm games and wanted something that would look good and also be fairly generic and easy enough to make and as I didn't want to spend around £30.00 on an unpainted resin model or £15.00 on an unpainted MDF kit, I decided to make one instead. I liked the look of Spanish style windmills and there is an old mill near to where I live which although red brick is a similar sort of style, so I decided to make one of each and here is what I made, and yes the sails do turn. If you really like these windmills then they are actually for sale on the 'For Sale' page of my website at only £15.00 each as I have since made some more windmills of the exact same style for myself.
|
AuthorStephen Wylde BA (hons) Archives
April 2020
Categories
All
|
Proudly powered by Weebly


 RSS Feed