|
As part of my quest to furnish my wargames table with lots of lovely terrain items in all of the different scales that I use (currently 10, 12, 15 and 28mm figures) I decided that I would need a more permanent and quite frankly more practical solution to storing the numerous batches of linear terrain items that I have been creating of late.
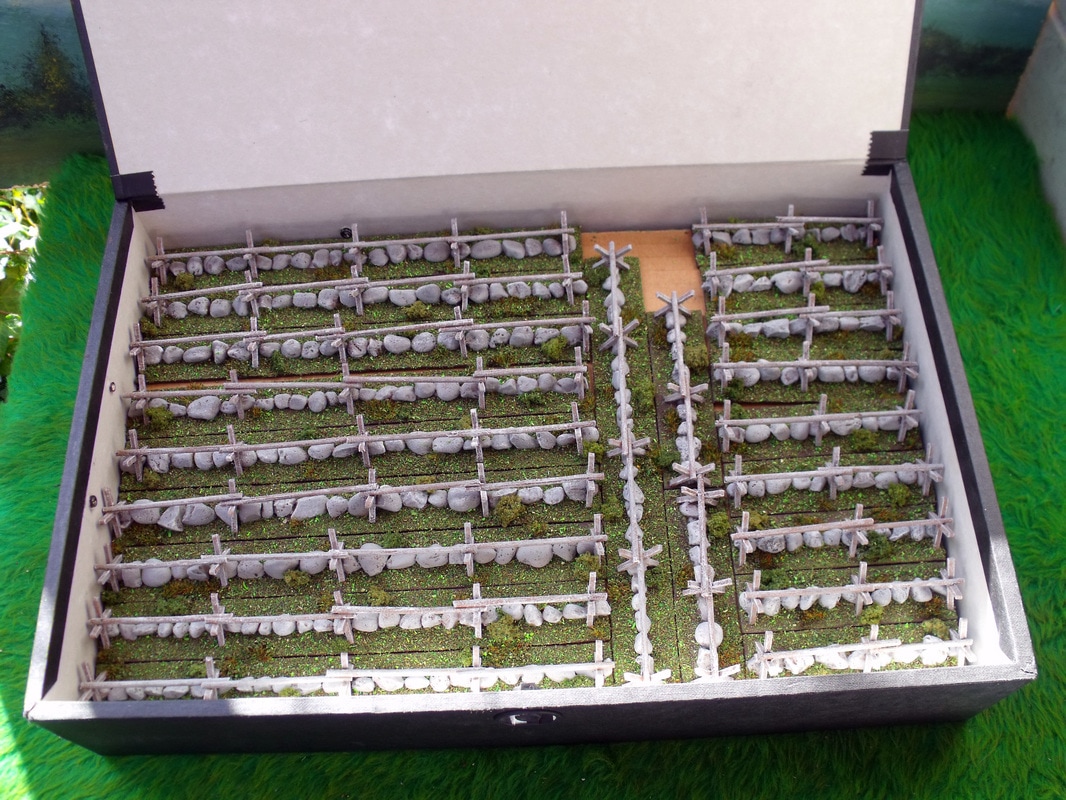
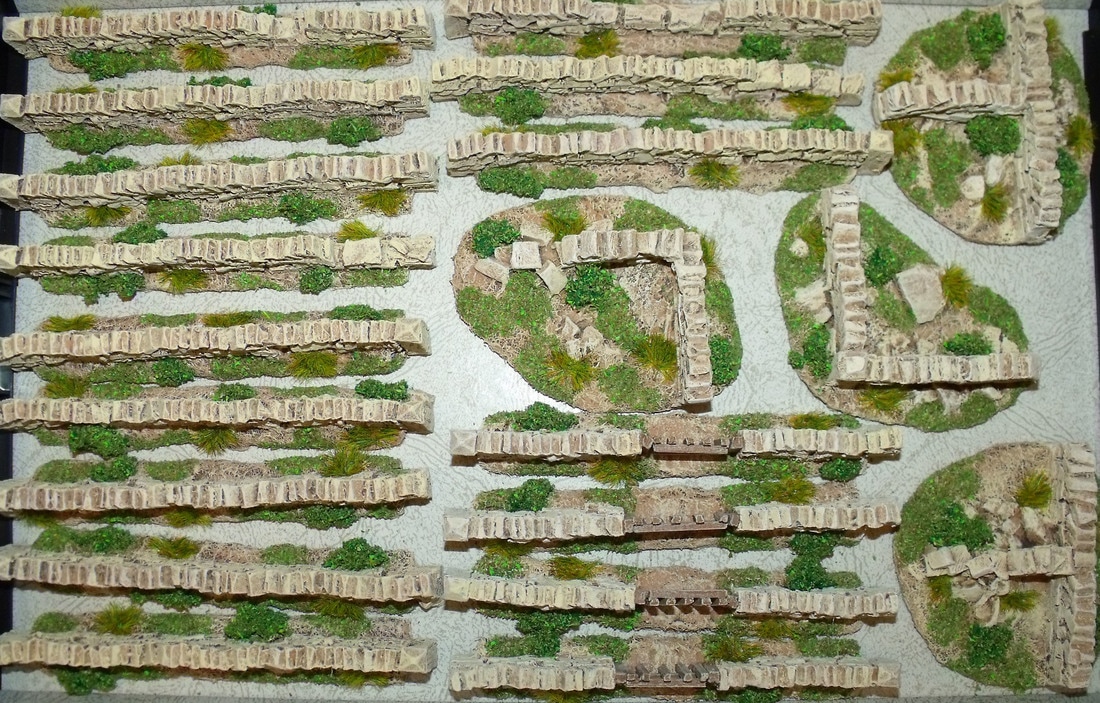
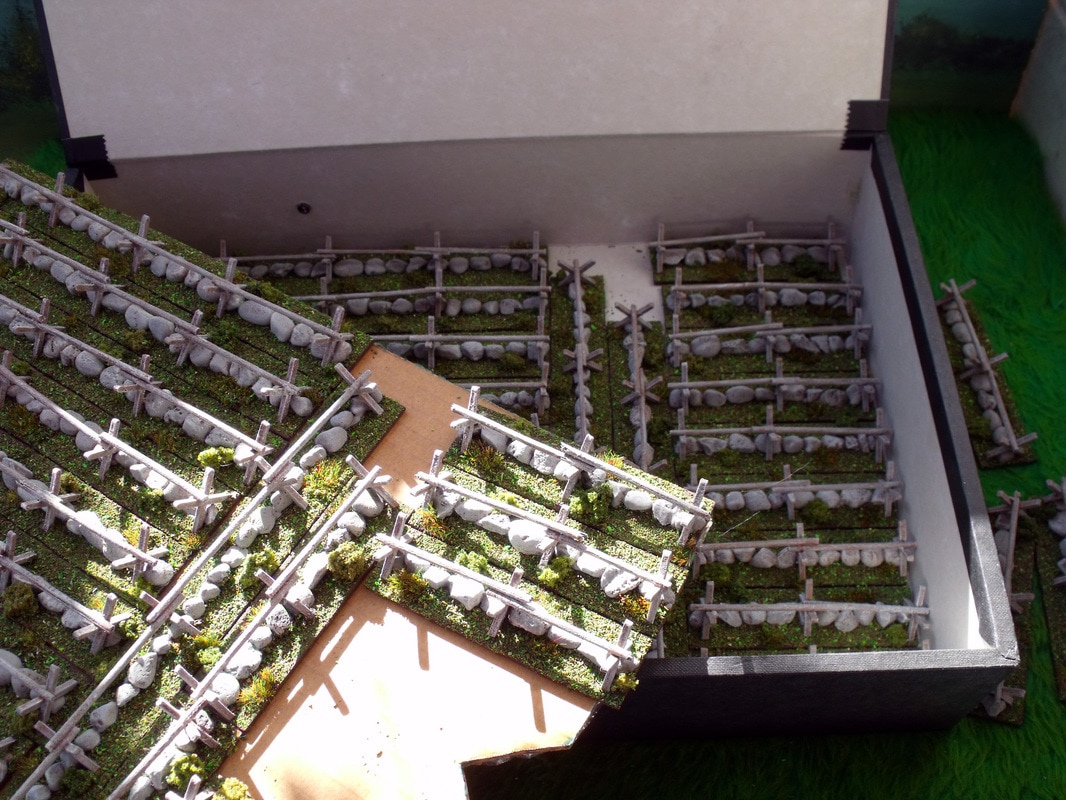
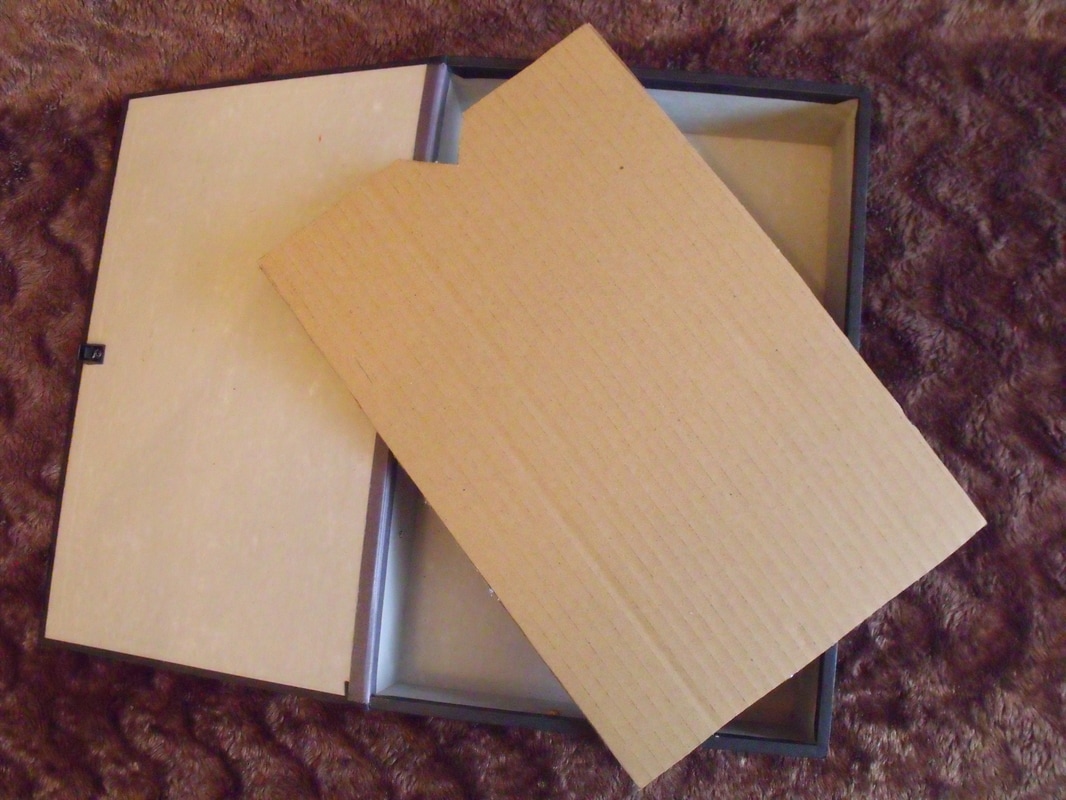
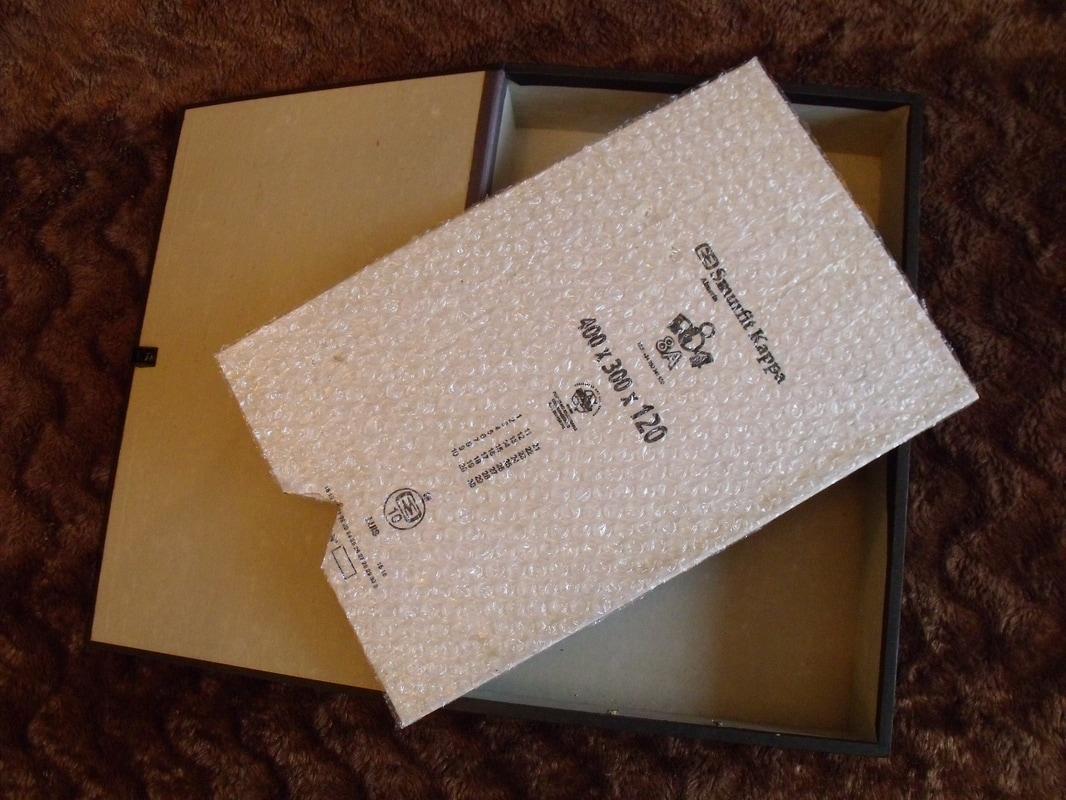
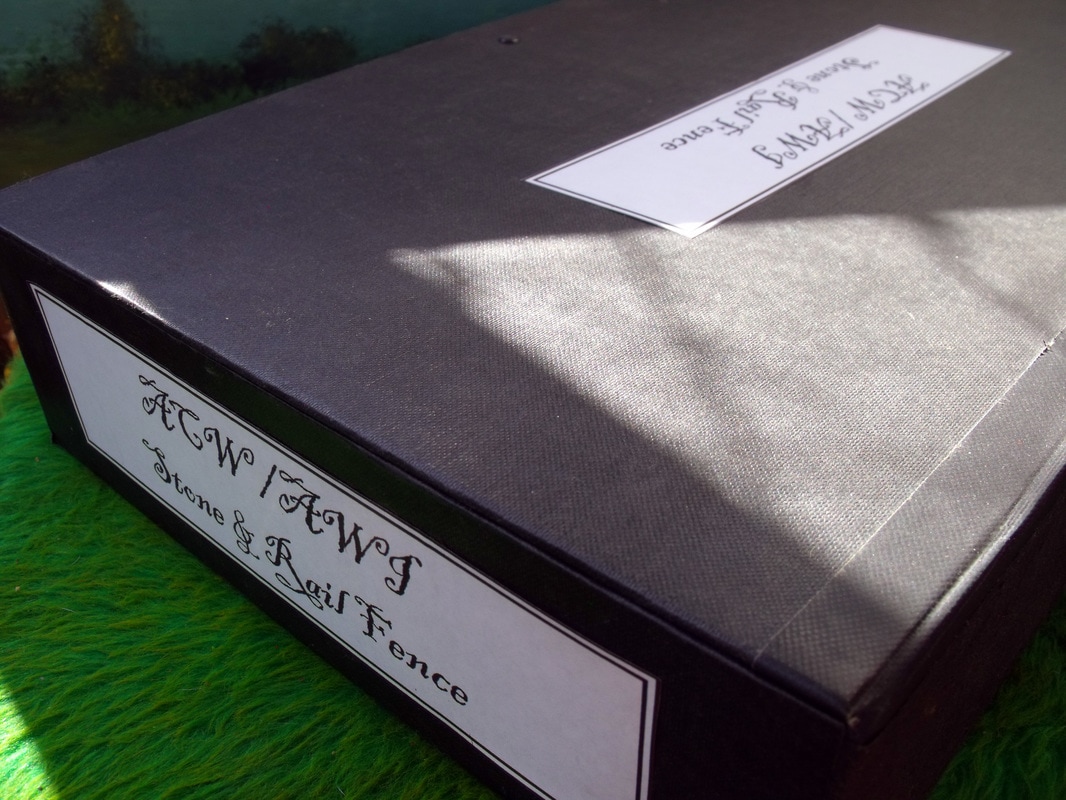
To this end I decided that whatever system I used it would have to fit within the shelving areas I had under my wargames table and on the shelves around the wargames room. Very fortunately I had been given a whole load of old file boxes (about 80, thanks Nick!) that just needed a slight amount of sprucing up that would very nicely accommodate my terrain requirements and also fitted very nicely onto my shelf areas. With this in mind I made sure that although the lengths of linear obstacles that I used needed to be of specific lengths that I could indeed make them also fit into a file box without wasting any valuable storage area. All this is fairly basic common sense really and has obviously been done by many other wargamers over the years, however as most file boxes are around 3 inches deep I thought that at least half the vertical space was wasted as most linear obstacles are only 1 inch or less in height. I then had a Eureka moment and decided it would be a good idea to utilise this dead space but I wanted a simple and inexpensive solution and here it is. Basically I cut a layer of double walled corrugated card from a fruit box (which you can for free from most supermarkets) to fit inside the file box leaving space around it so that it can freely be dropped in and out of the file box, this was going to be the top layer. In one short end I cut out a 'V' shape which would be used as a way of getting a finger under the card so that it could easily be lifted out later. Once done I decided that the underside needed some padding that would stop any scraping of the top layer against the terrain underneath and also help to stop the pieces beneath from moving around unnecessarily. Again freebies from the local supermarket came into play as I used bubble wrap (again from a fruit box) which I decided to glue to the card with carpet tackifier (latex glue), I then trimmed the bubble wrap to size and left the top layer to dry for a hour or so. While the top layer was drying I decided that it would be nice to have labels so I made some and printed them onto self adhesive paper, although normal paper and PVA glue would be just as good. Once the boxes were totally finished they were filled with two layers of terrain and do a great job of storing and transporting my linear terrain items. Even if I had paid for new boxes the whole cost would only be around £2.00 or so as file boxes are quite inexpensive and the other materials are basically free. Here are some photo's to show how they look, as you can see some have 10 -15mm terrain and some have 28mm terrain in them.
0 Comments
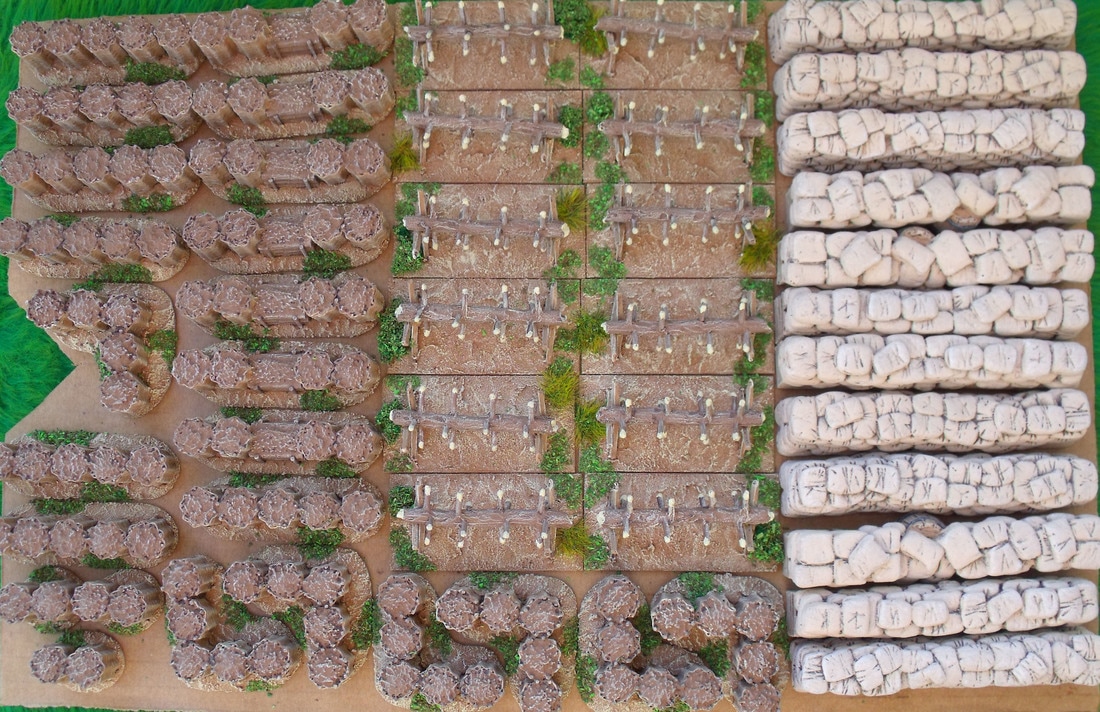
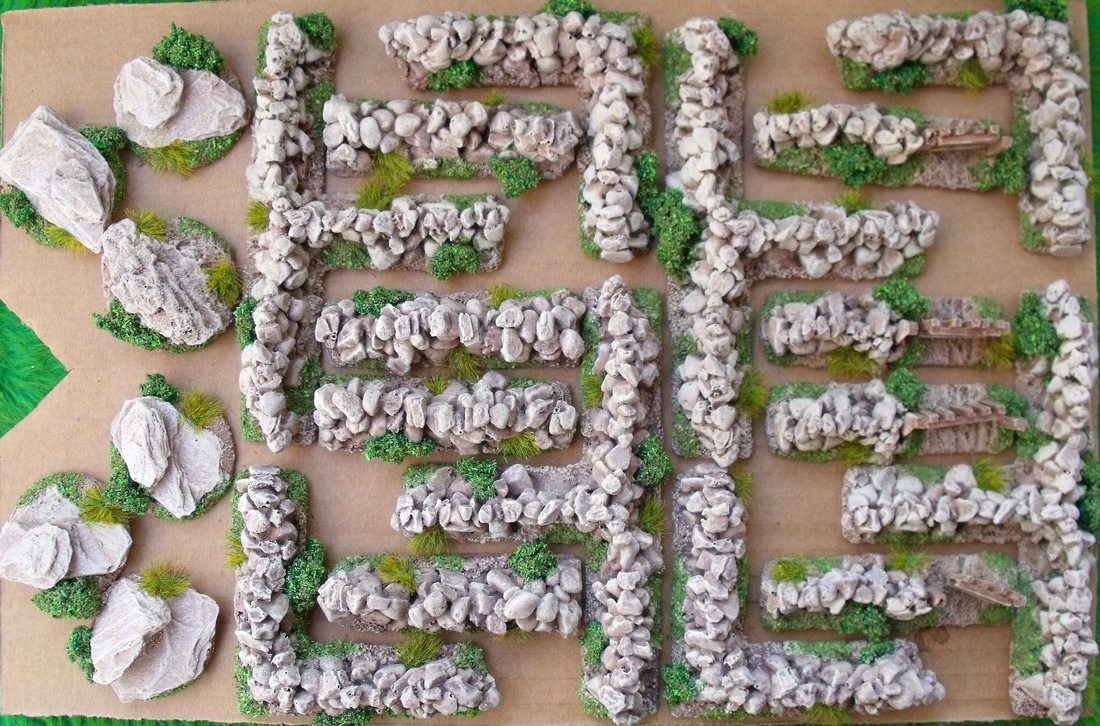
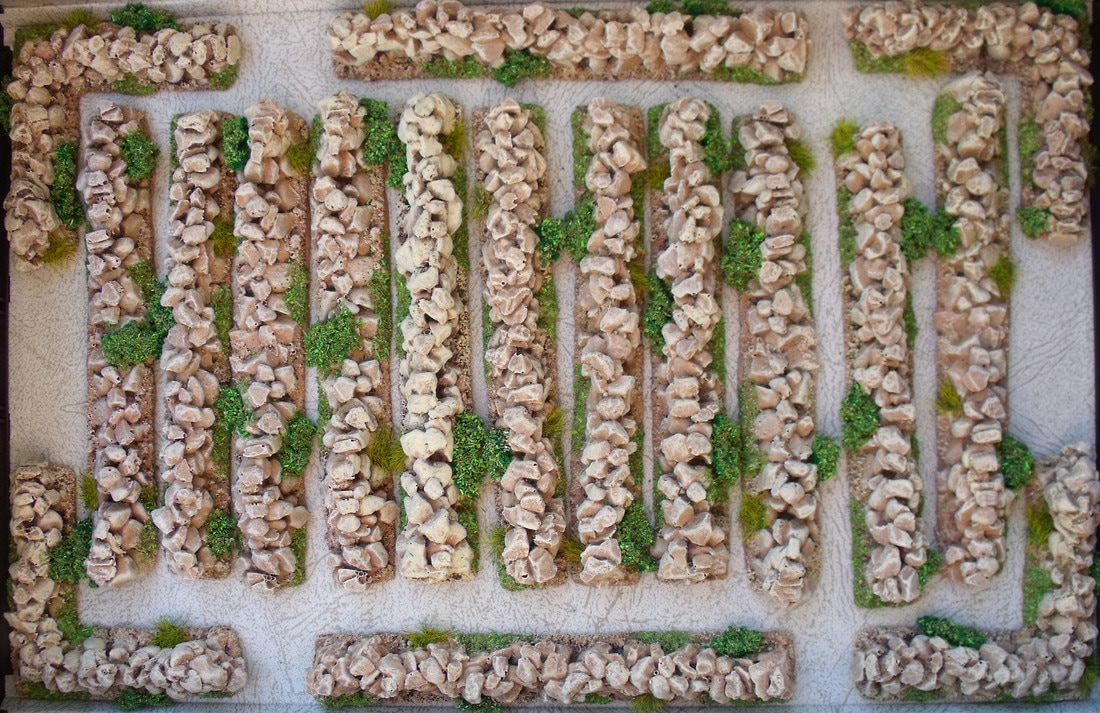
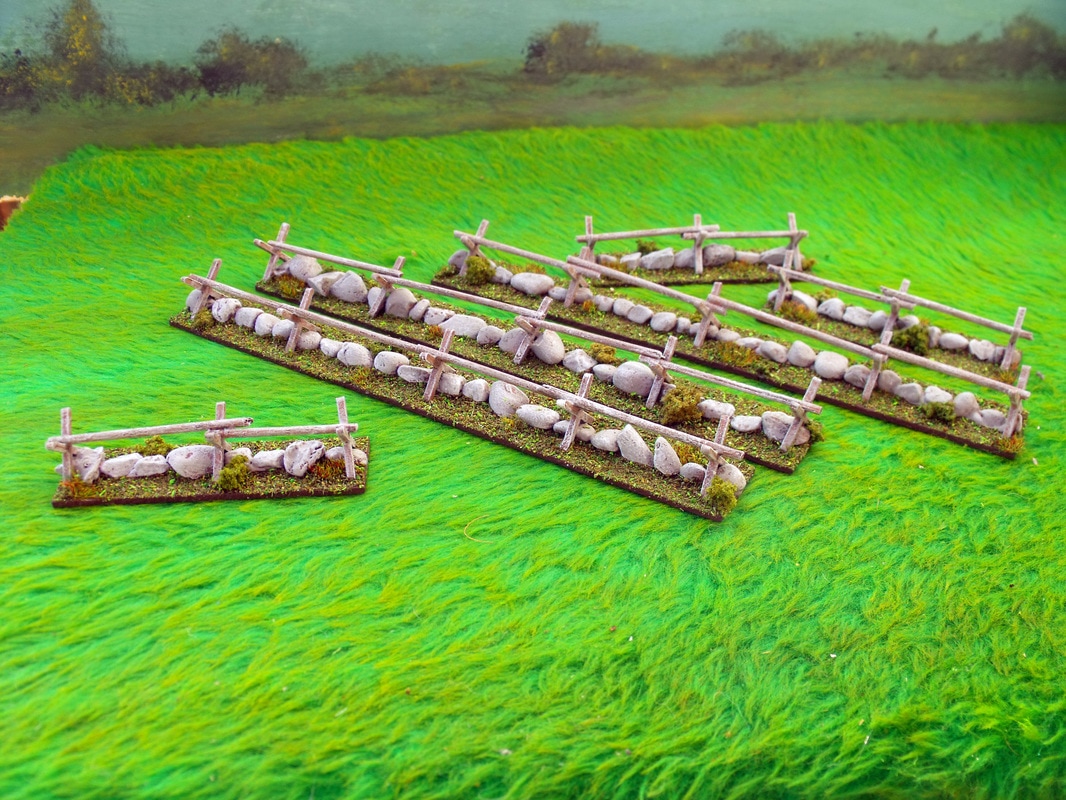
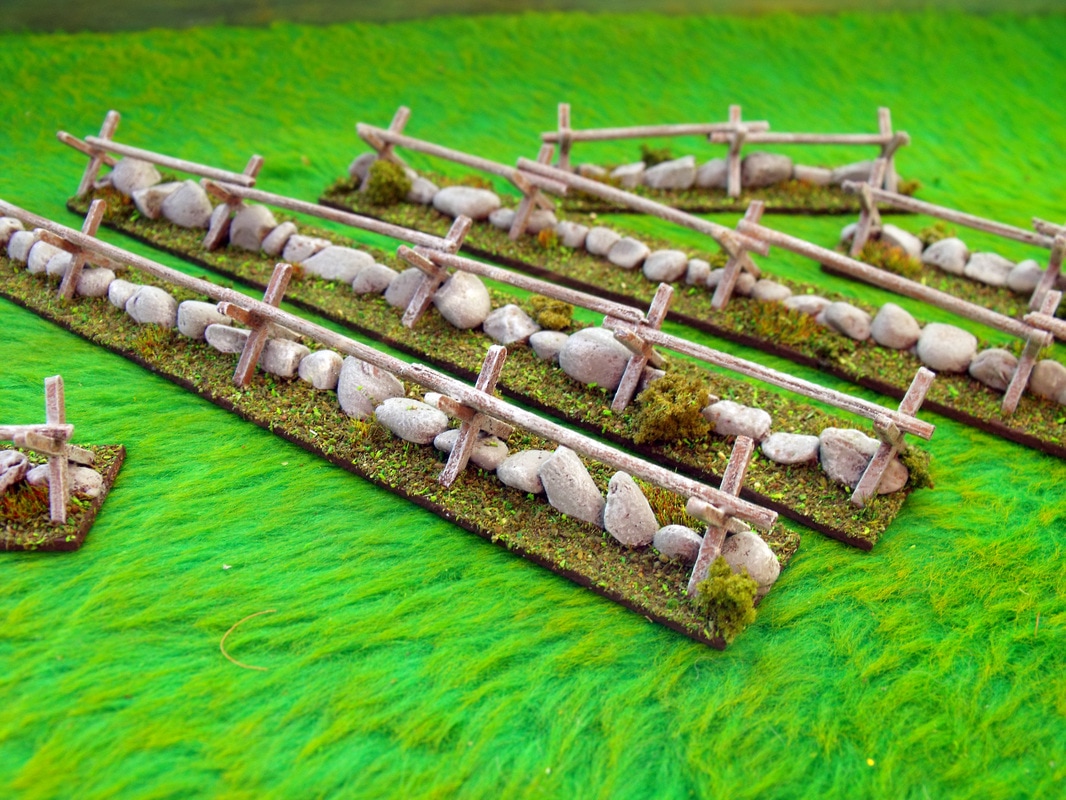
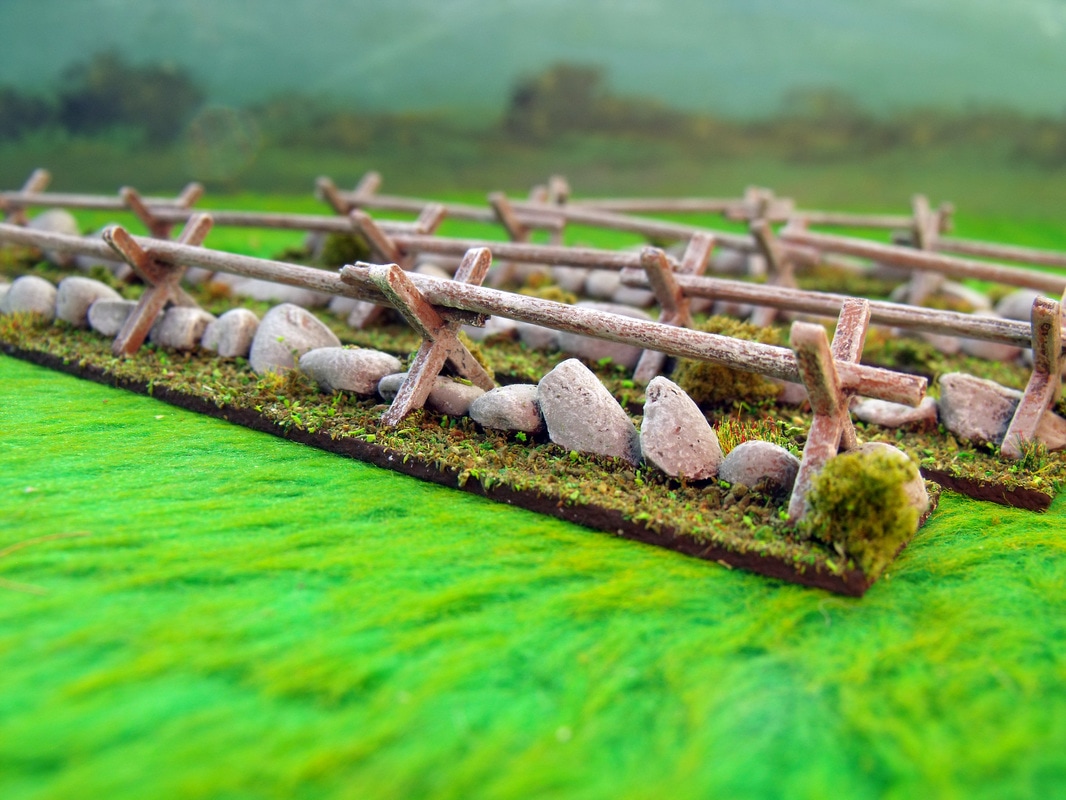
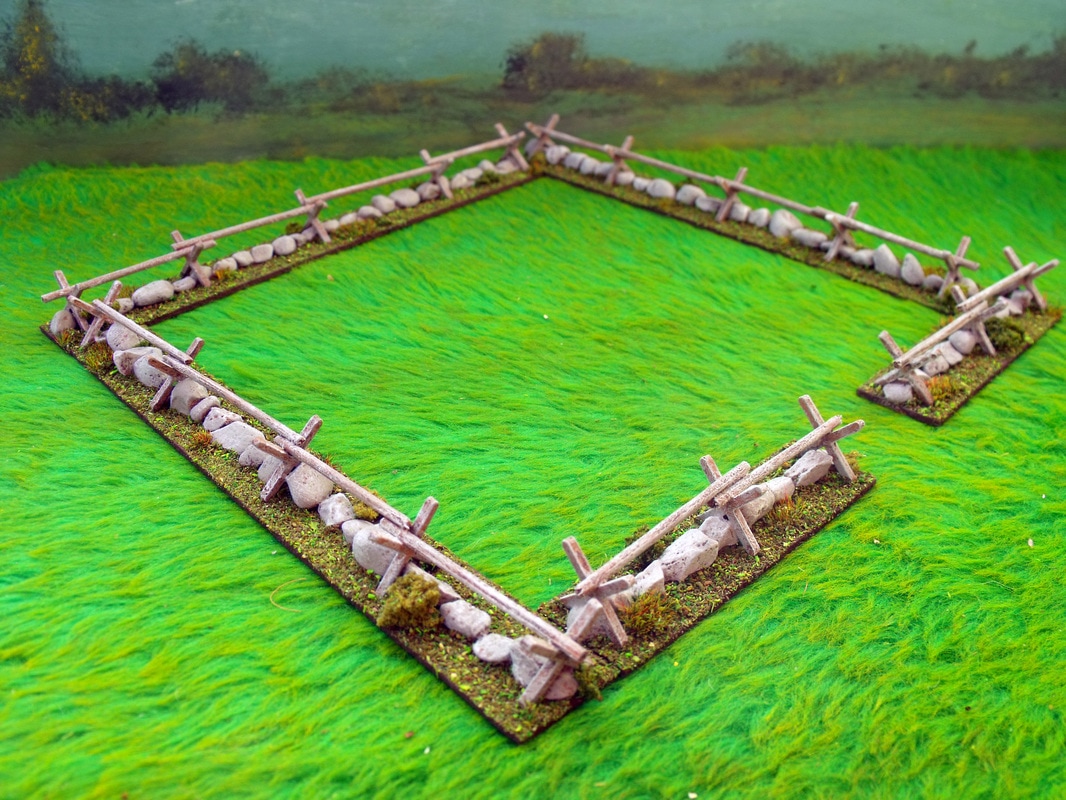
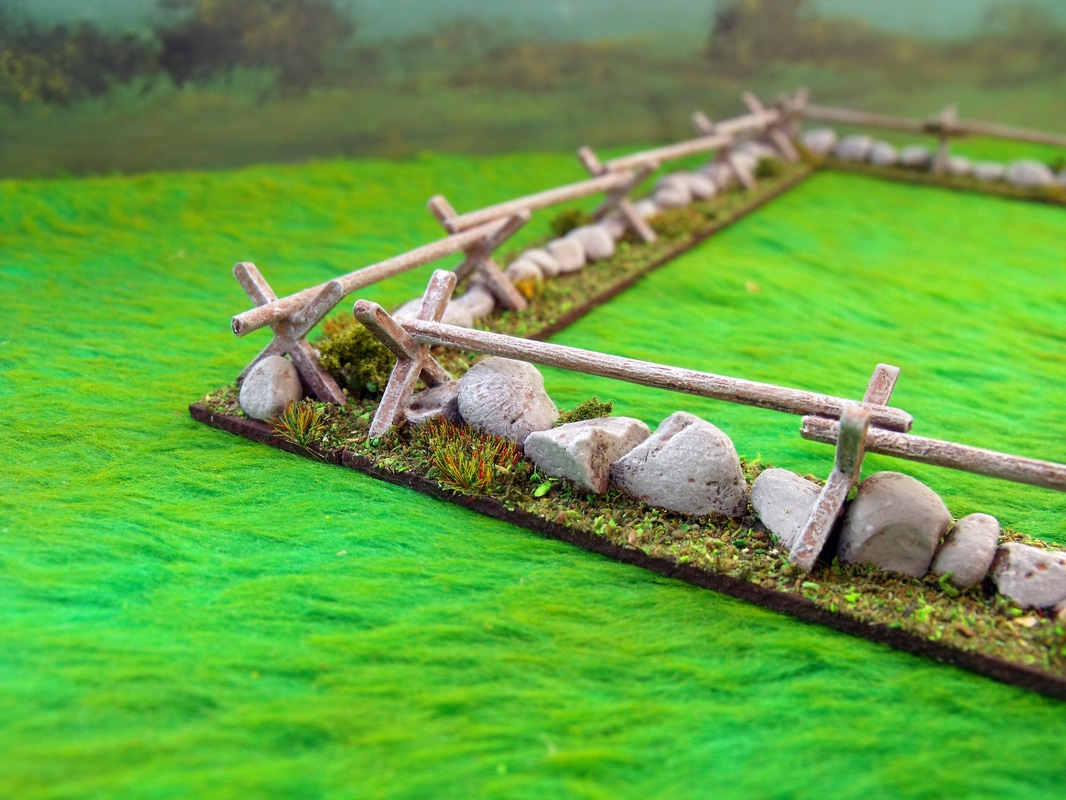
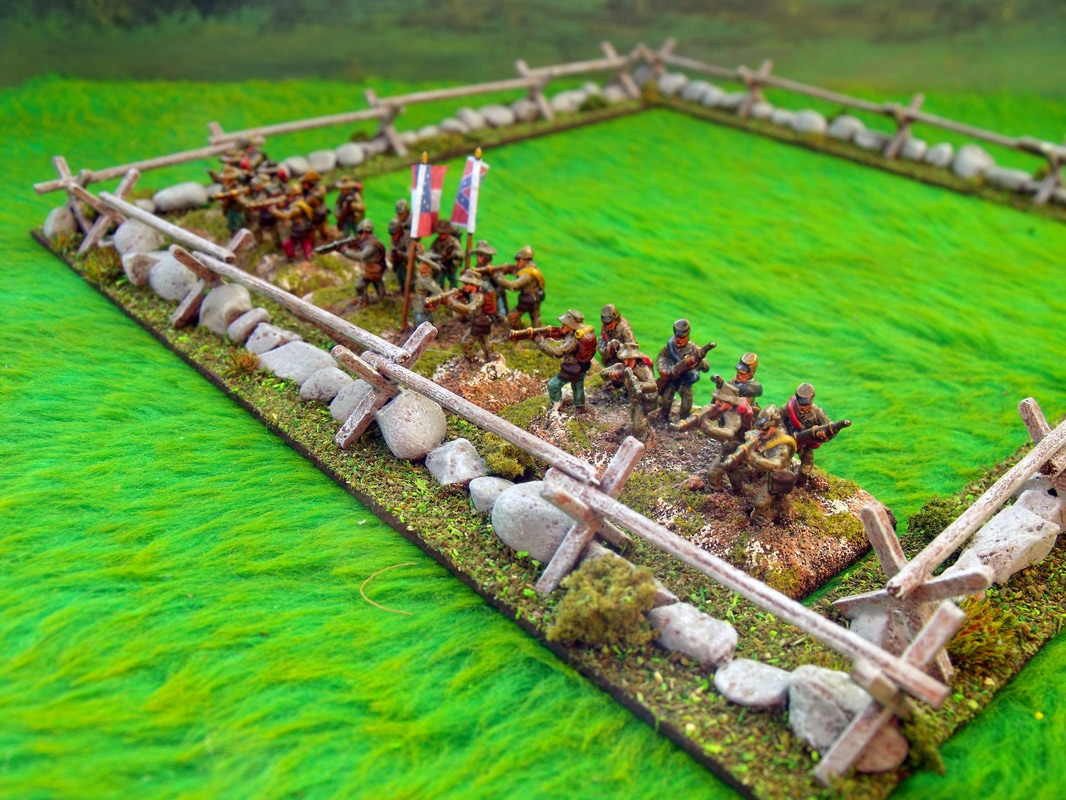
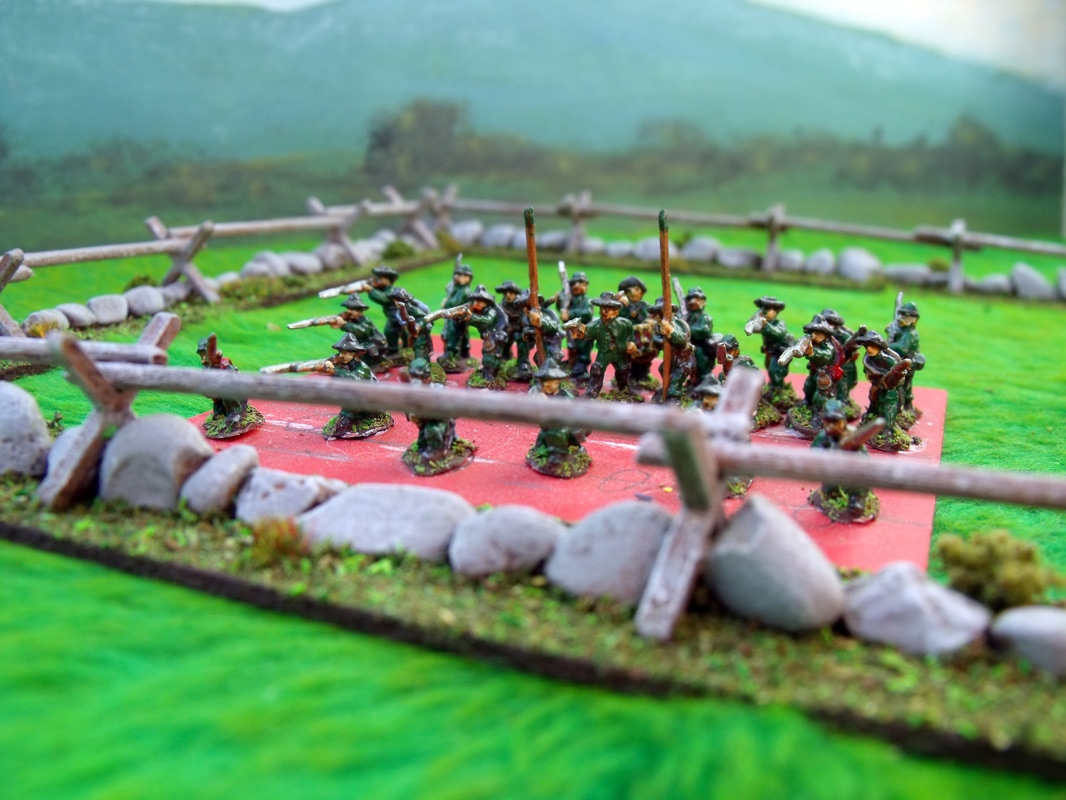
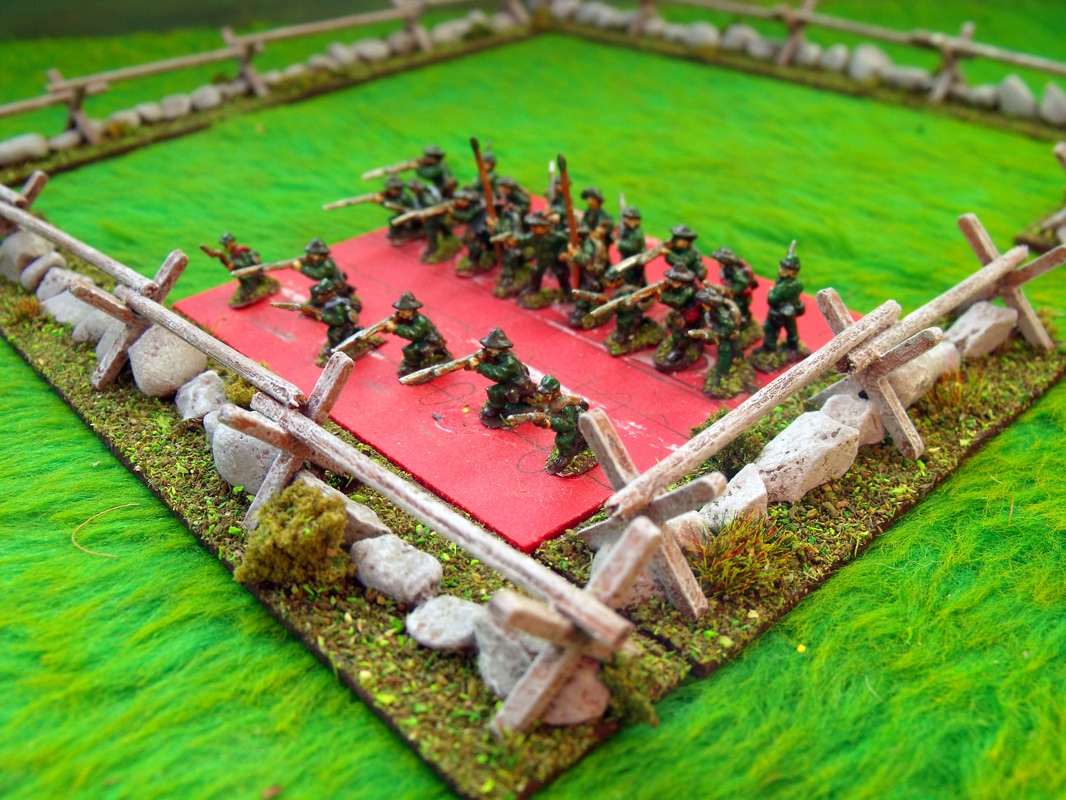
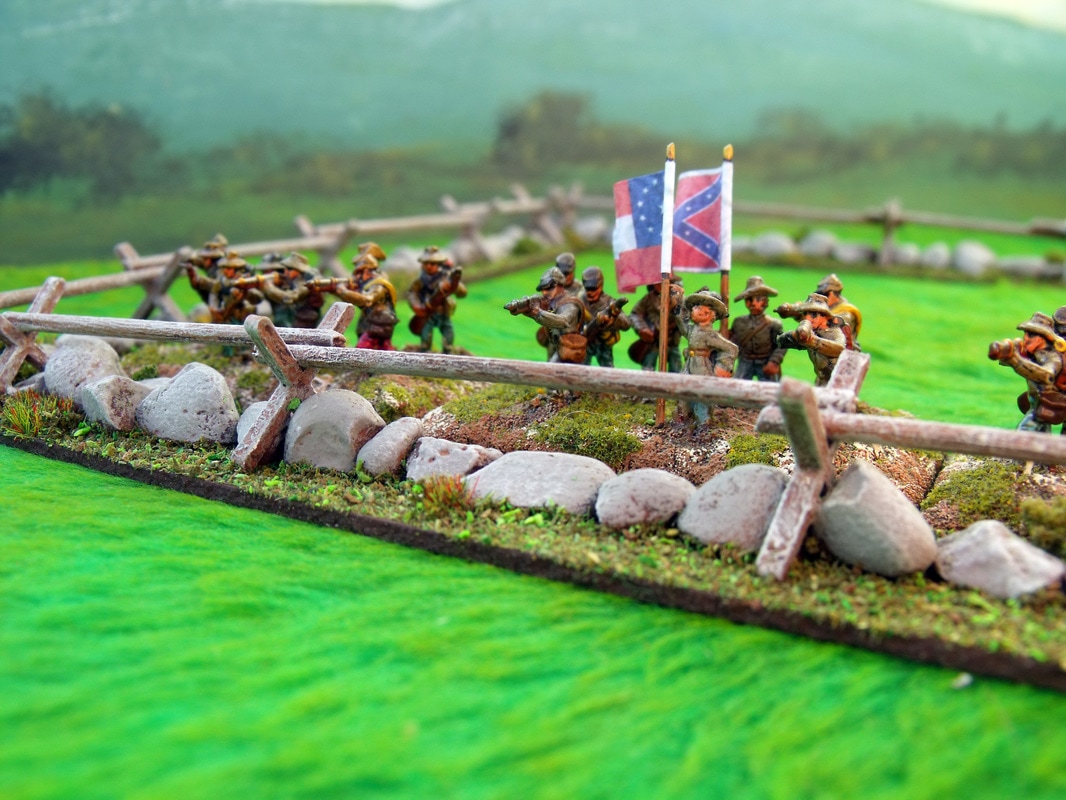
For my growing collection of 12mm Kallistra ACW figures I decided to make a selection of typically American terrain items starting with Stone & Rail Fences that would be used to line roads and define the edges of fields. I wanted enough so that I could field larger battles on battlefields at least 8ft wide and they had to fit in with my figure basing system which is for an ACW variant of Blucher and also my storage system which is box files.
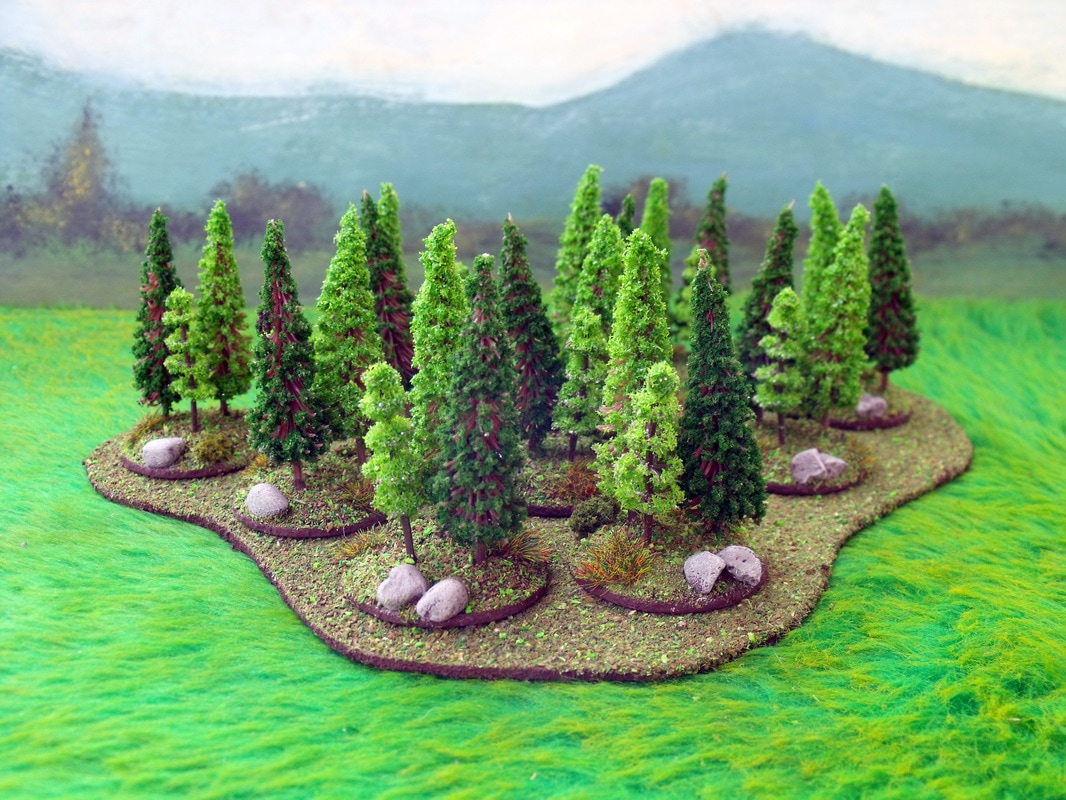
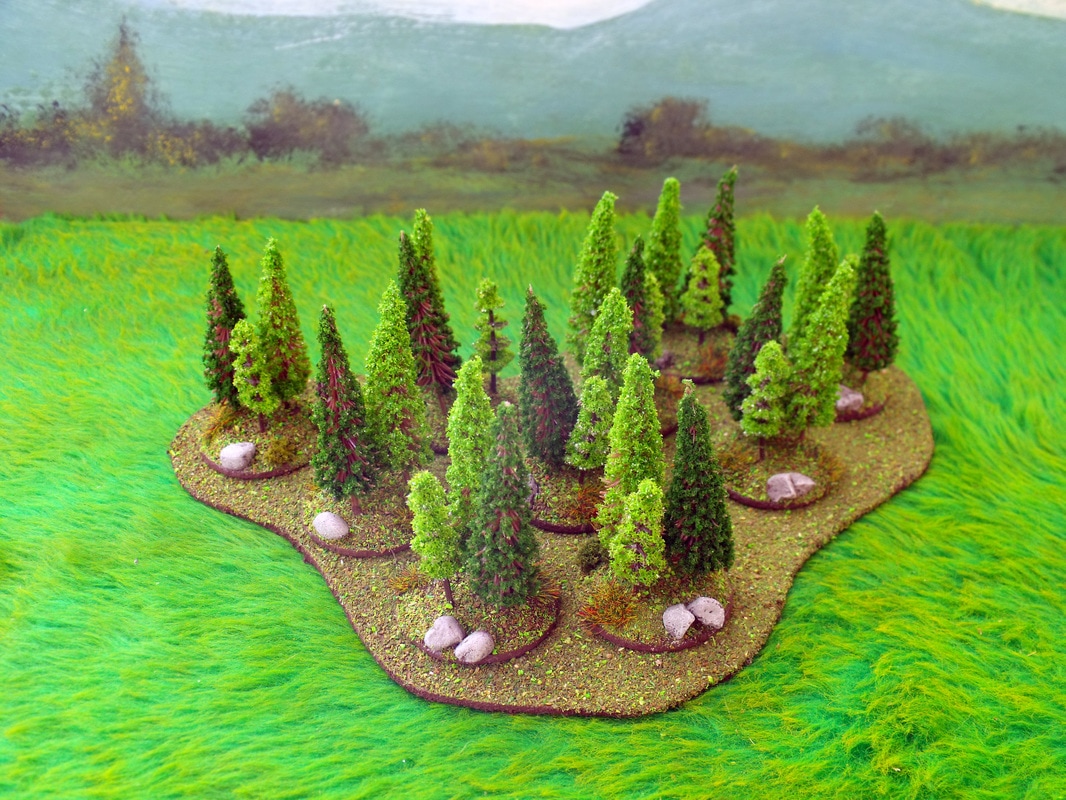
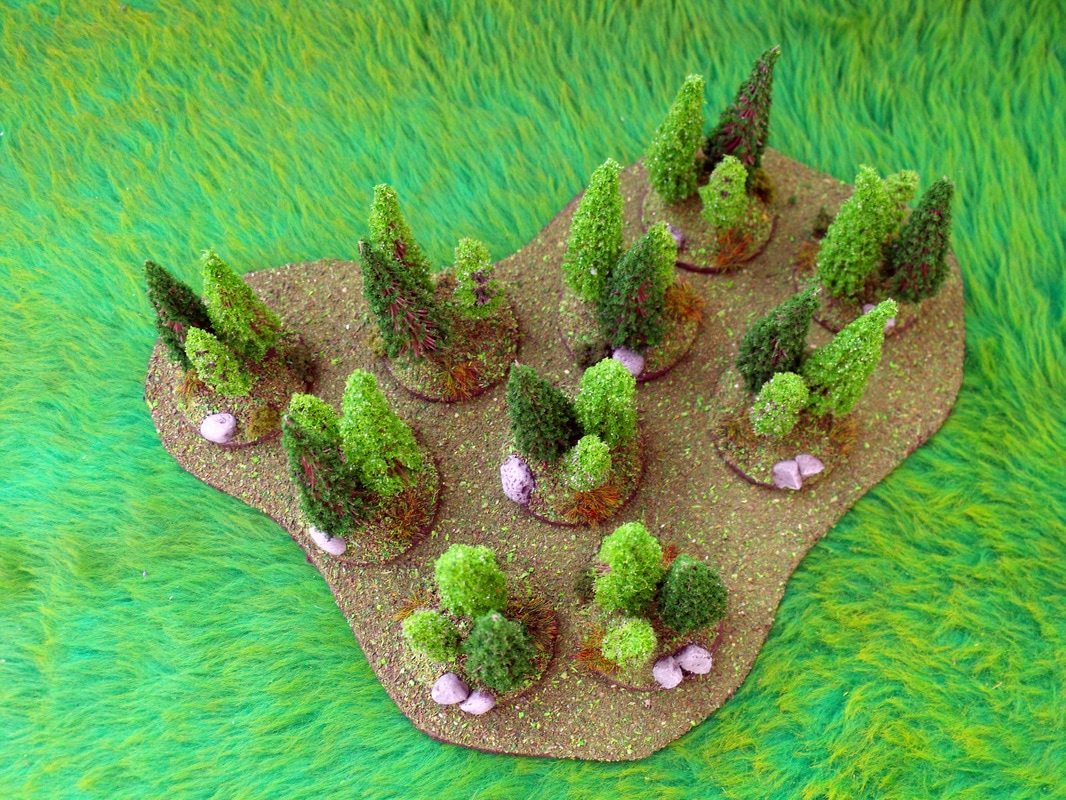
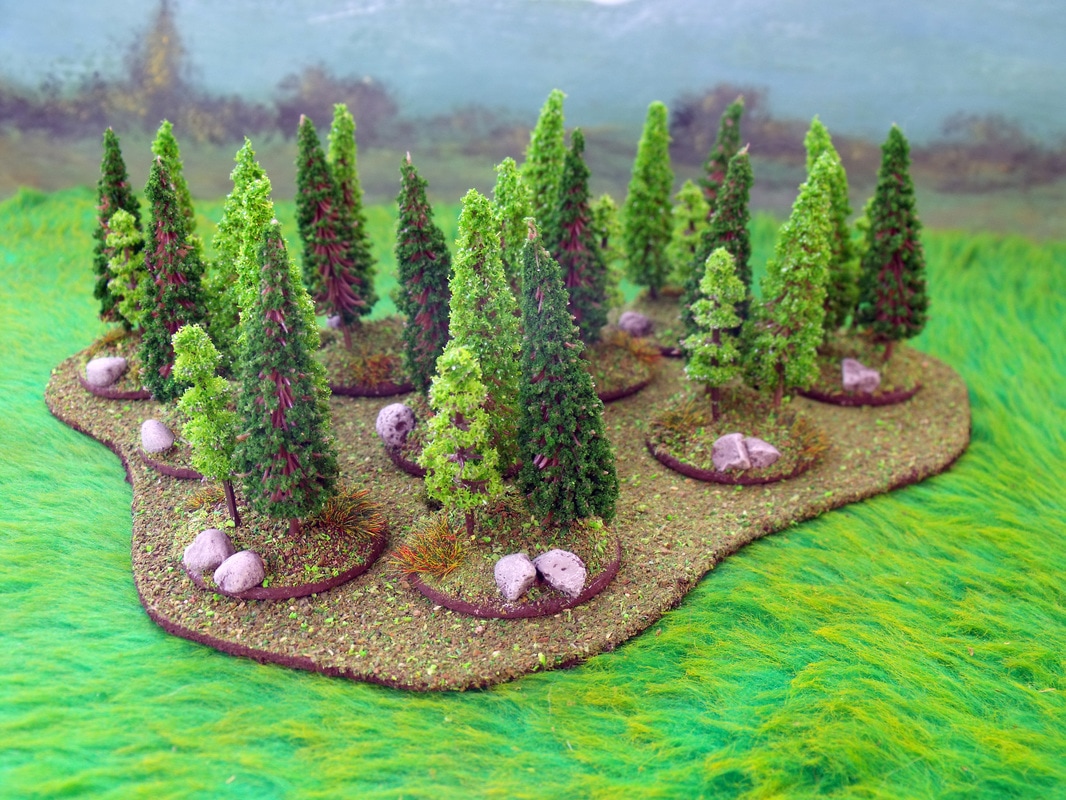
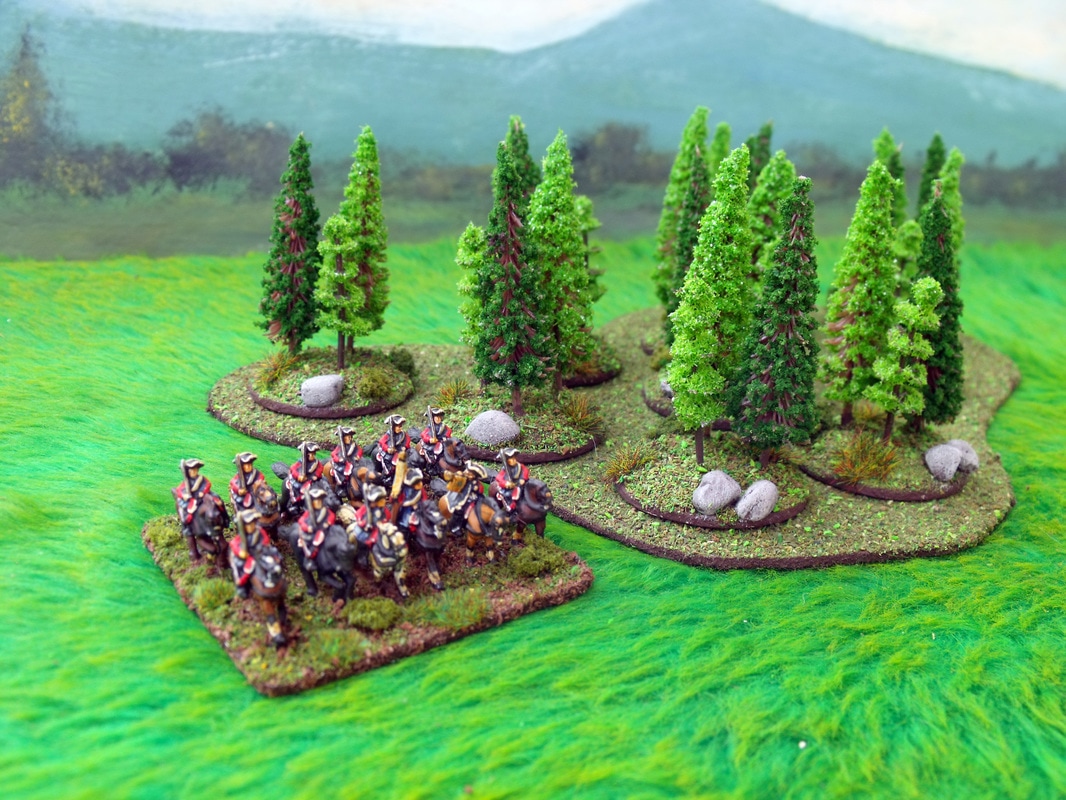
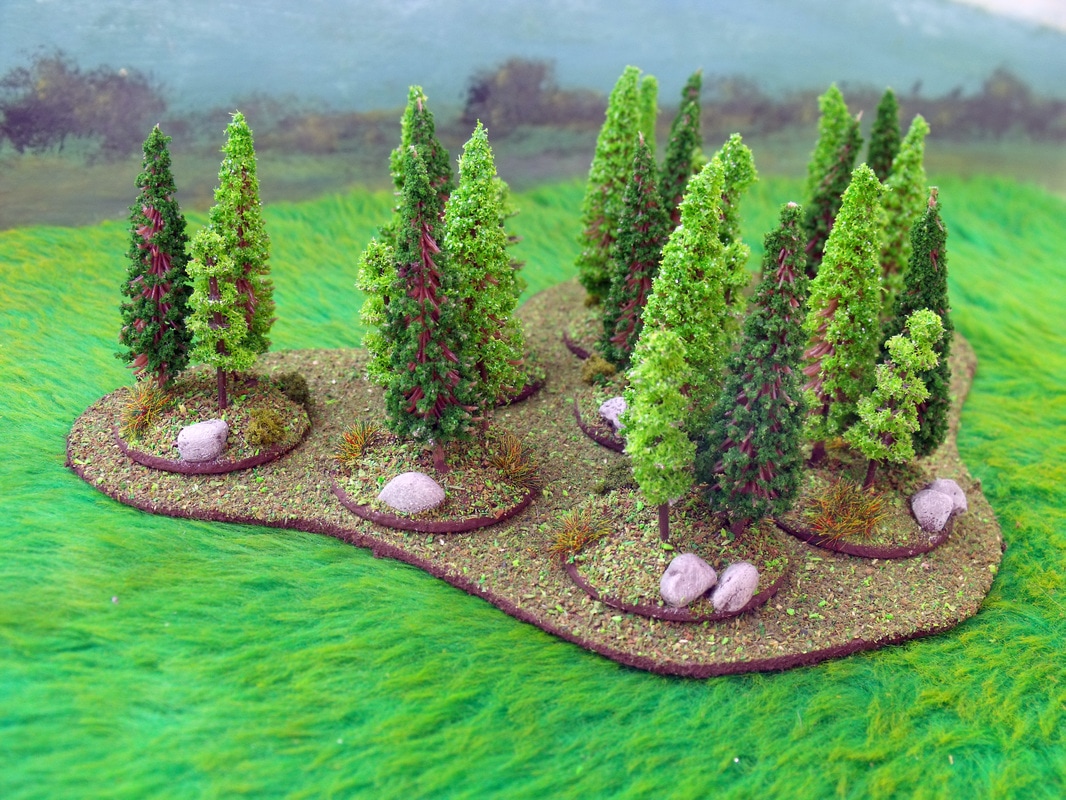
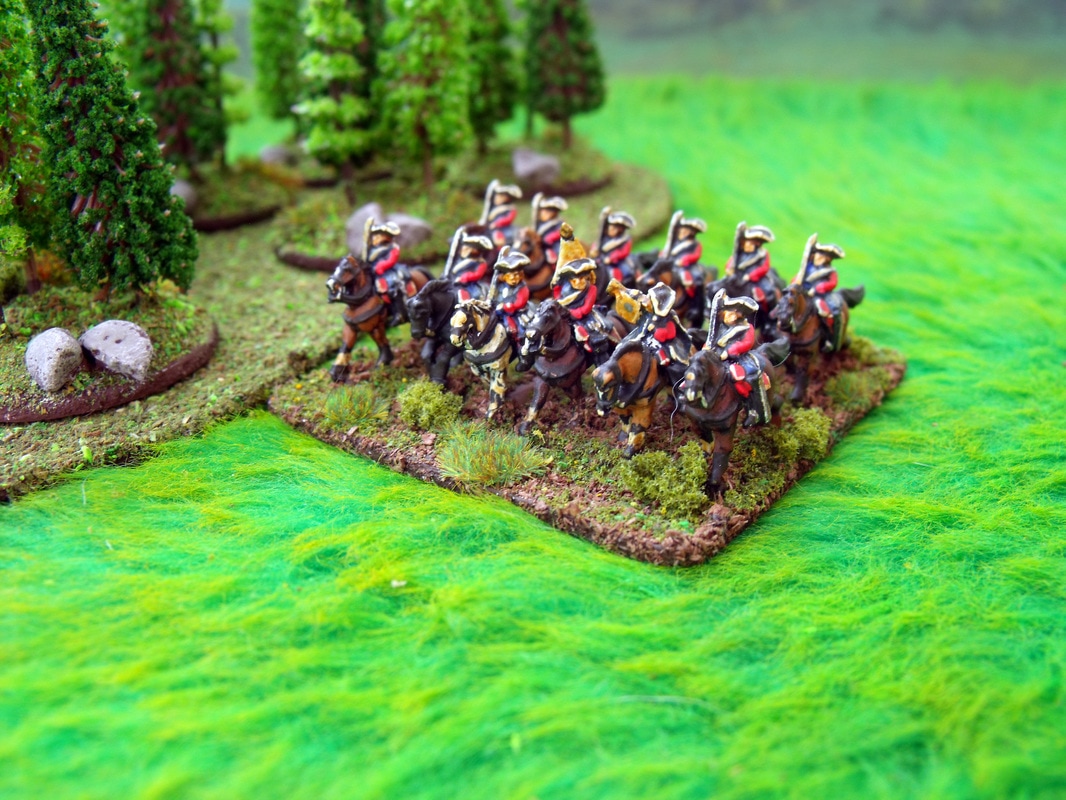
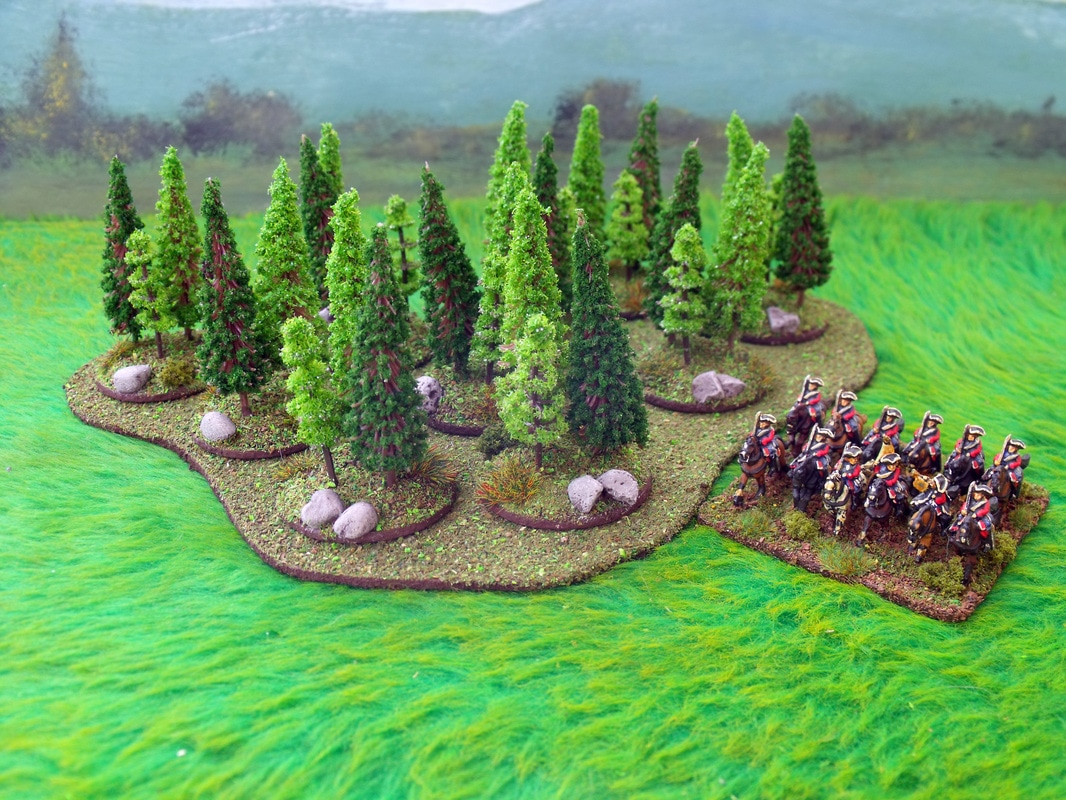
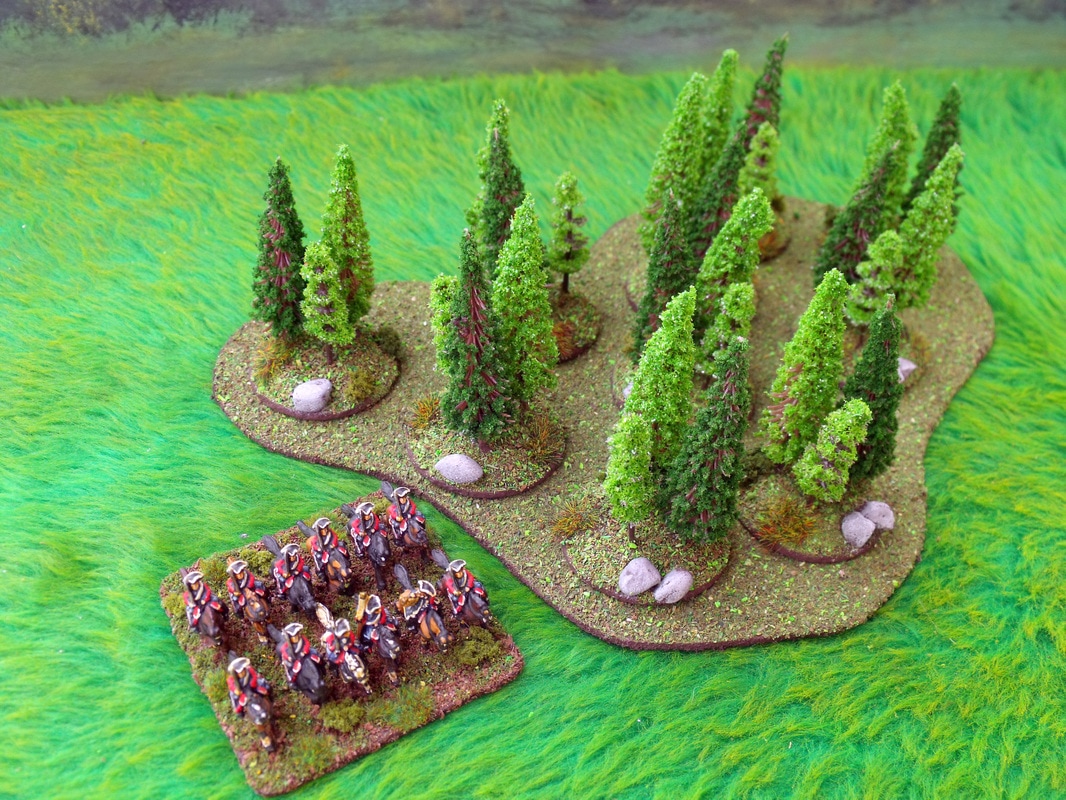
So having determined the size and amount of pieces I wanted the first thing to do was to assemble the materials being: small stones, tile spacers, pre-cut bases and thin lengths of split cane from an old window blind. The small stones were glued in a row along the length of each base and once done the tile spacers were glued at appropriate distances along the base. These were then all set aside so that they could dry to a point that the tile spacers were solid enough in position so that the lengths of split cane could be cut and glued in place, and once done everything was left overnight to thoroughly dry out before painting commenced. The whole lot were painted dark brown including the bases and left to dry out for a hour or so, and then a second coat of a medium brown was painted over the wood and stone parts. The stonework was given coat of grey paint and with the same grey the woodwork was heavily drybrushed. Finally the whole lot were drybrushed with an ivory coloured paint to add highlights and a sense of weathering to the woodwork. Finally the bases were treated to some bushes and long grass clumps and finally scattered with suitable grass scatter to give the effect that I wanted. These were extremely easy and enjoyable to make and in next to no time I had built over 20 feet of fencing which I determined was enough as it filled two layers of a file box. The materials cost me next to nothing and overall the effect was really very pleasing even though they were very simply treated in modelling terms. Here are some photo's and a comparison using 12mm & 15mm figures, although disregard the red base on the 12mm as they have yet to have the bushes, rocks and grass added. As part of my large ongoing projects being 10mm Ancients, 12mm Medieval, 10mm Renaissance, 10mm Marlburian and 12mm ACW, I decided to make some Pine forests to add to my ever growing collection of scenery. To This end I bought 300 small scale pine trees of different colours & sizes to add variety to each individual base of trees, of which there would be 100 bases in total. I had already made the larger forest bases as I have 100 bases of deciduous trees which I currently use, but I wanted Pine trees to add to this as I hadn't any at all.
To make the individual tree bases I simply cut 40mm circles out of Marley tile and then cut 35mm circles from 3mm thick high density foam which I got for free from supermarket pizza base bottoms. The foam was then chamfered to make a seemless rise in the base and glued on to the Marley tile with carpet tackifier which is a latex rubber glue. Once dry I pricked three holes in around the base for the trees to fit into and then took the smaller trees and glued them in place with the tackifier and left them to dry. The process was followed until I had 3 trees on each base and they were all left overnight to thoroughly dry. I must point out that it is best to do this in batches of around 25 to thirty as some of the cutting processes can be quite tedious. With the trees dry I decided to glue down some rocks with tackifier and left them to dry out so that I could paint the whole of the bases including the rocks with dark brown paint. The rocks were then painted grey and drybrushed with a pale linen colour and various bushes added for effect. Finally the base was again painted brown which was used as the glue to attach the scatter material and that was it. Here are some pics to show how they look and some figures to give a sense of scale, just click the images to enlarge them. |
AuthorStephen Wylde BA (hons) Archives
April 2020
Categories
All
|
Proudly powered by Weebly

 RSS Feed