|
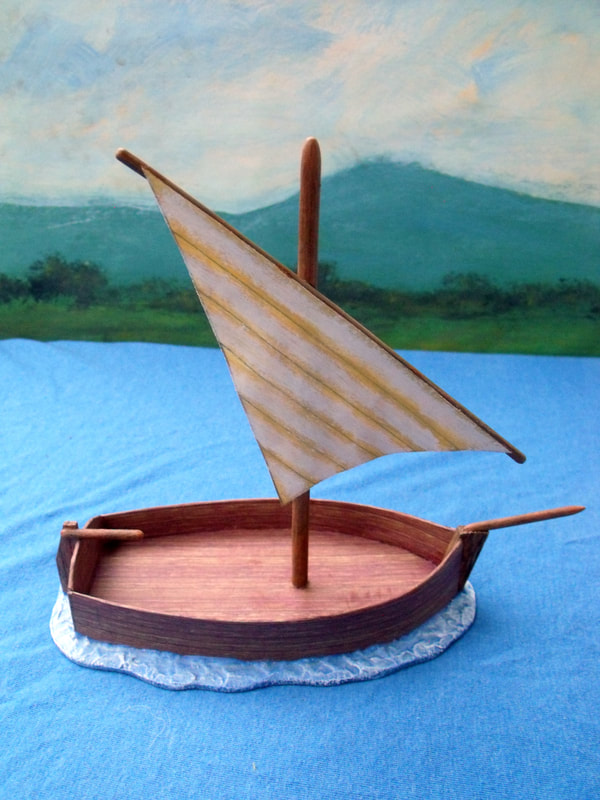
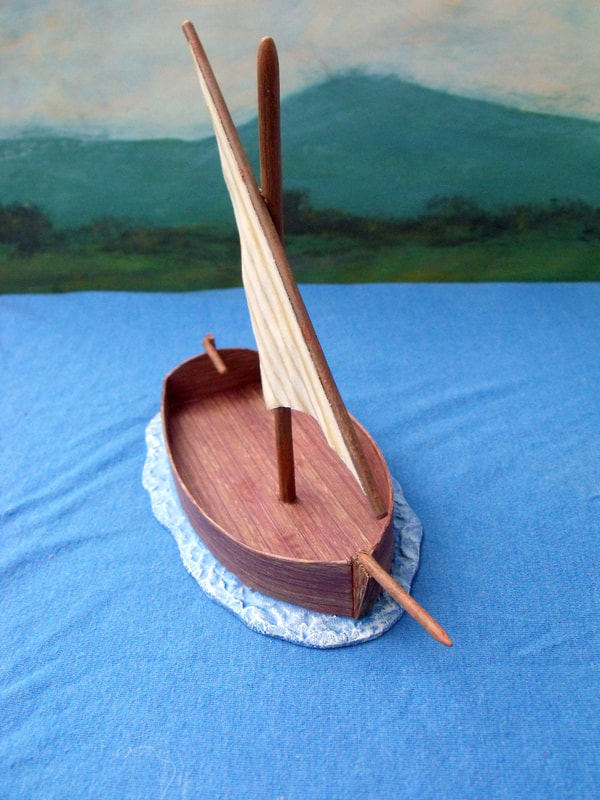
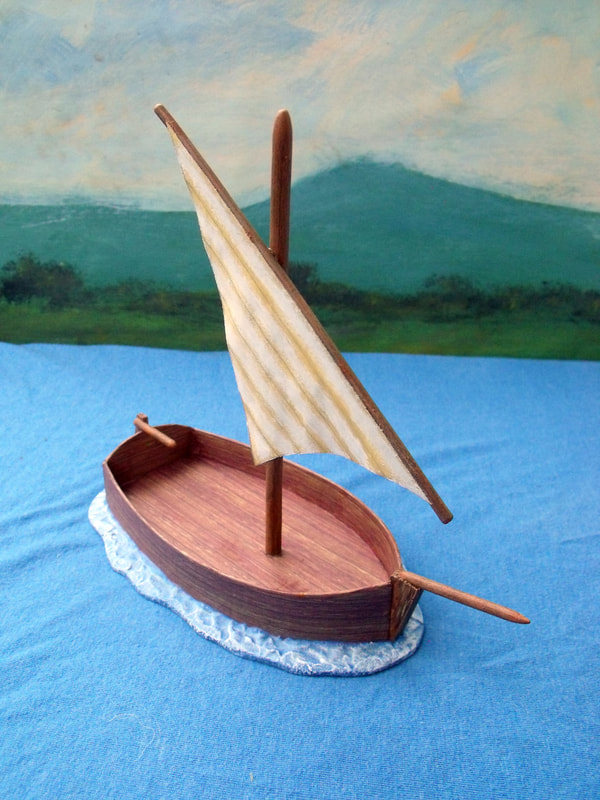
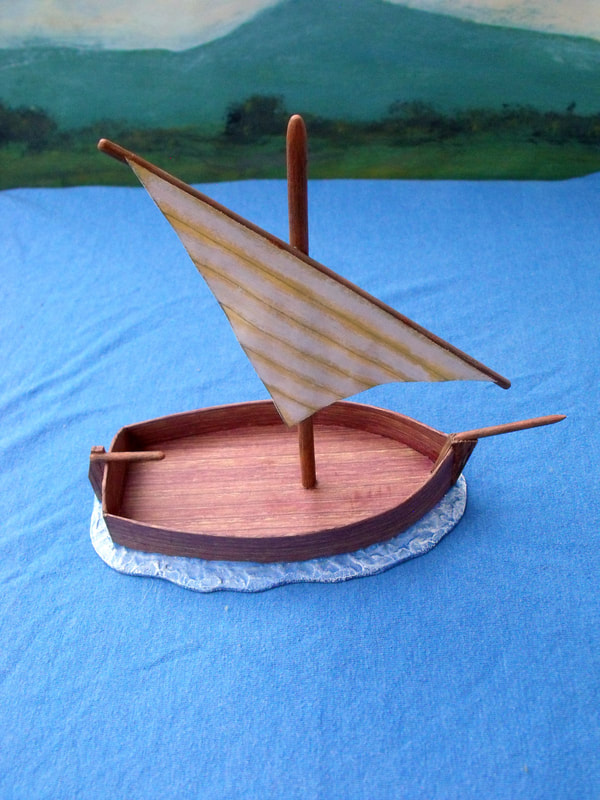
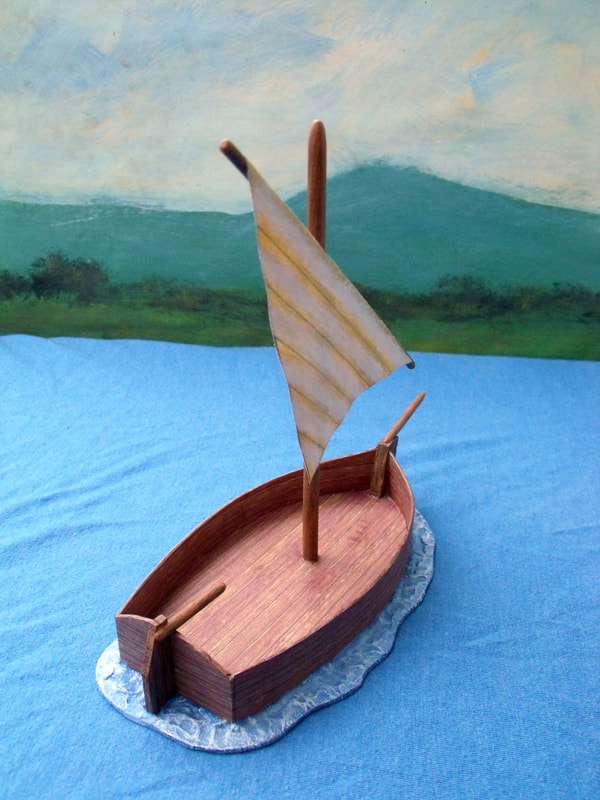
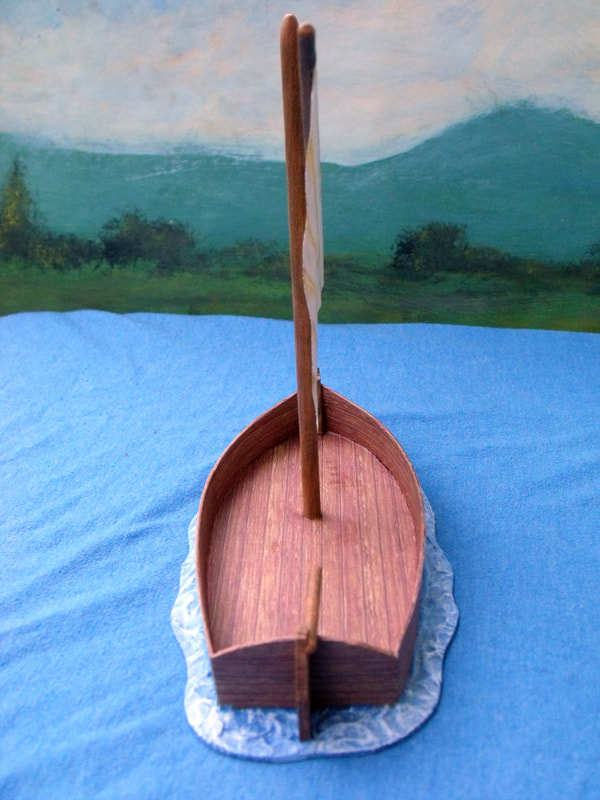
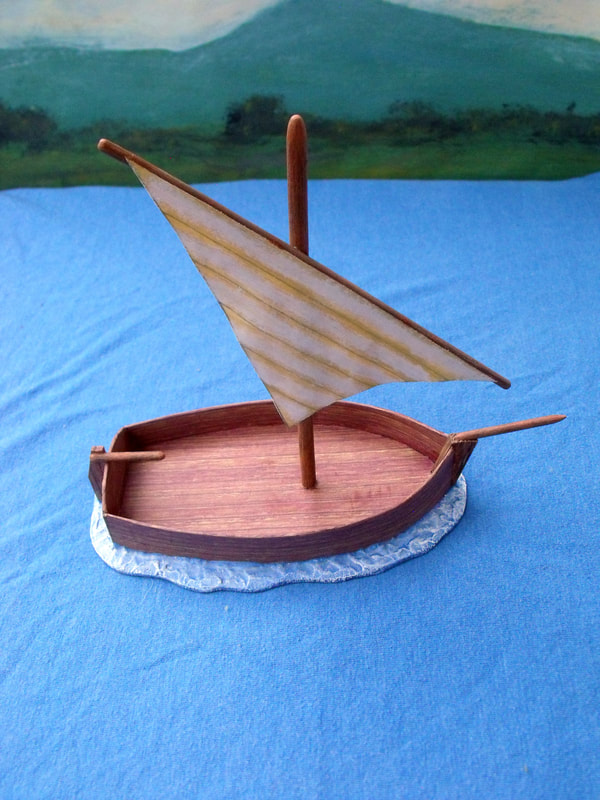
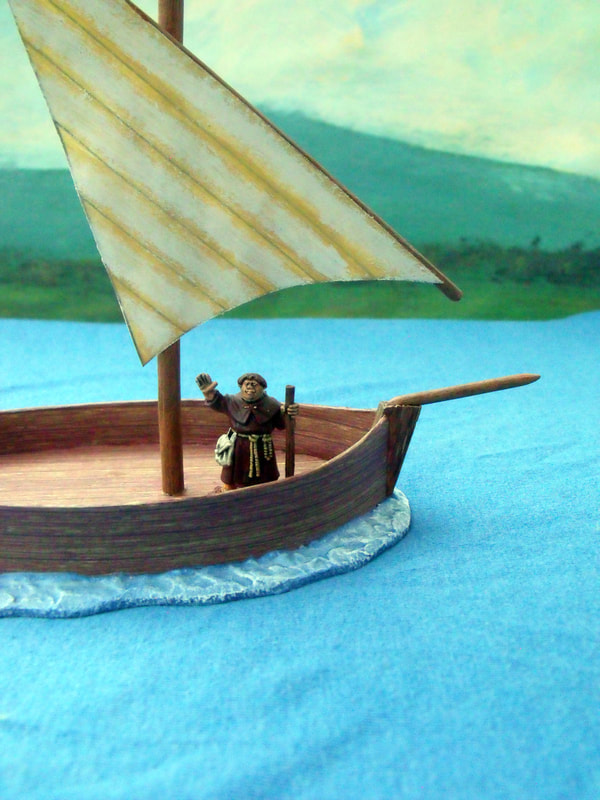
I made this small Pirate boat for my buddy Nick so that he could sail his brave band of adventurers to the Ghost Archipelago in the not too distant future, where he could have many a happy time hunting for treasure and fighting monsters.
I had an idea of what I wanted to make which was a ships longboat much in the style of ones I had seen in many a pirate movie and in particular one I had seen in a wargames magazine many years ago. I did actually find plans to the pirate ship and longboat from the wargames magazine and whilst the ship itself is a lovely piece I felt that the longboat was somewhat lacking and not well shaped. I still took inspiration from the way it was built and decided to make it more shapely and then drew out the templates for this. With the templates made which I saw as future proofing for when I want to make more of these, I decided to draw around them onto thin cereal packet card to make two sets each of side walls and stern. The deck of the boat was made from 5mm foamboard and the prow made from 5mm balsa wood. So I had a total of 8 pieces for my model being for side pieces, 2 stern pieces, 1 deck and 1 prow, an easy build. The first job was to glue the prow to the deck of the boat and once dried I cut a 5mm strips of double sided tape which I attached all the way around the side of the deck. I then took one of the side pieces and with some super glue along the front inside edge that made contact with the prow I pressed the whole piece into place until the glue has set. The other side piece followed and then the stern piece, which was glued to the rear edges of the side pieces with super glue. Once all the glue was fully dry I decided to attach the second set of side and stern pieces to the boat to add thickness and strength to the boat, this was done by attaching double sided to each new piece and pressing the pieces into place and again using superglue on the edges. Next job was to cover the whole piece with one of my handy wallpapers which I had made to simulate wood planking, which was done in a few minutes and it was at this time that I thought that the prow should have been covered or painted first. Anyway it was too late now, so I allowed the whole piece to dry out thoroughly and once dry I painted the prow to match with the rest of the boat. So now the boat was built, or so I thought and I decided to make a base which was to add some waves and also weight to the piece so I cut an irregular shaped base out of vinyl tile and put it to one side for later use. This led to me think that the boat needed a sail, so I made a mast out of 6mm dowel and a yardarm for a lateen rigged sail out of 3mm dowel. These were painted and the mast fixed into place by poking a hole through the deck in the place I wanted the mast and glued it into place with PVA glue. With the mast in place and the yardarm offered up to where I wanted to later attach it I realised that the boat needed a bowsprit and a rudder. The bowsprit was cut out of 3mm dowel and painted to match the mast and glued in place on top of the prow with super glue, and the rudder was made from 3mm balsa wood which which was glued in place and painted to match the plank effect sides. A rudder arm was made from 3mm dowel and painted to match the mast and glued to the rudder with super glue. With the construction almost complete I glued the boat to the base and left it to dry while I tackled the sail. Funnily enough and most coincidentally the lateen sail on the original plans from the pirate ship from the magazine was exactly the right size for what I wanted and so I printed out a copy and simply cut it out and painted it cream with white highlights. Once dry I ran a bead of superglue along the top edge and offered up the yardarm and pressed it into placeand once dry I attached it to the mast in a position I felt looked good. The next job was the sea effect which was simply ready mixed filler applied to the base to make choppy little waves, something I used to do years ago when I owned a fleet of WW2 micro ships, this was left to thoroughly dry out on a totally flat surface. The sea was painted a darkish blue and again left to dry thoroughly as I had to thin the paint so it would carry into all the nooks and crannies of the choppy surface. the next thing was to paint over the dark blue with a nice mid blue allowing a little of the darker blue to creep through in places and finally a few minutes later I dry brushed some white over the waves to complete the painting. The boat was left to dry out for a few hours and then I varnished it all with a coat of matt acrylic varnish and left to dry out again. At this stage I decided I did not was to rig the boat as it would only get in the way when playing a game with clumsy hands putting figures in and out of the boat. The only thing left to do was varnish the sea with some gloss varnish which Nick decided he would do himself at a later date. So that was it, a simple relatively easy to build model boat which cost pennies to make and looks really nice on the table top and it carries a crew of 8 if they are on 25mm circular bases.
0 Comments
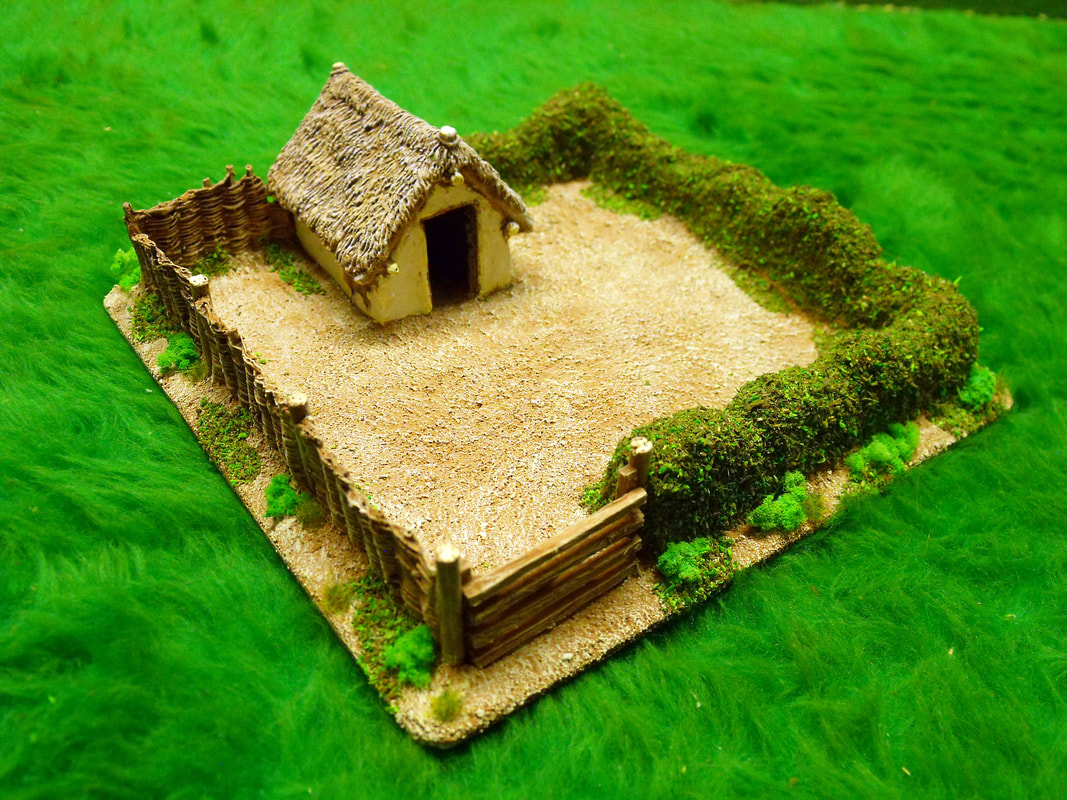
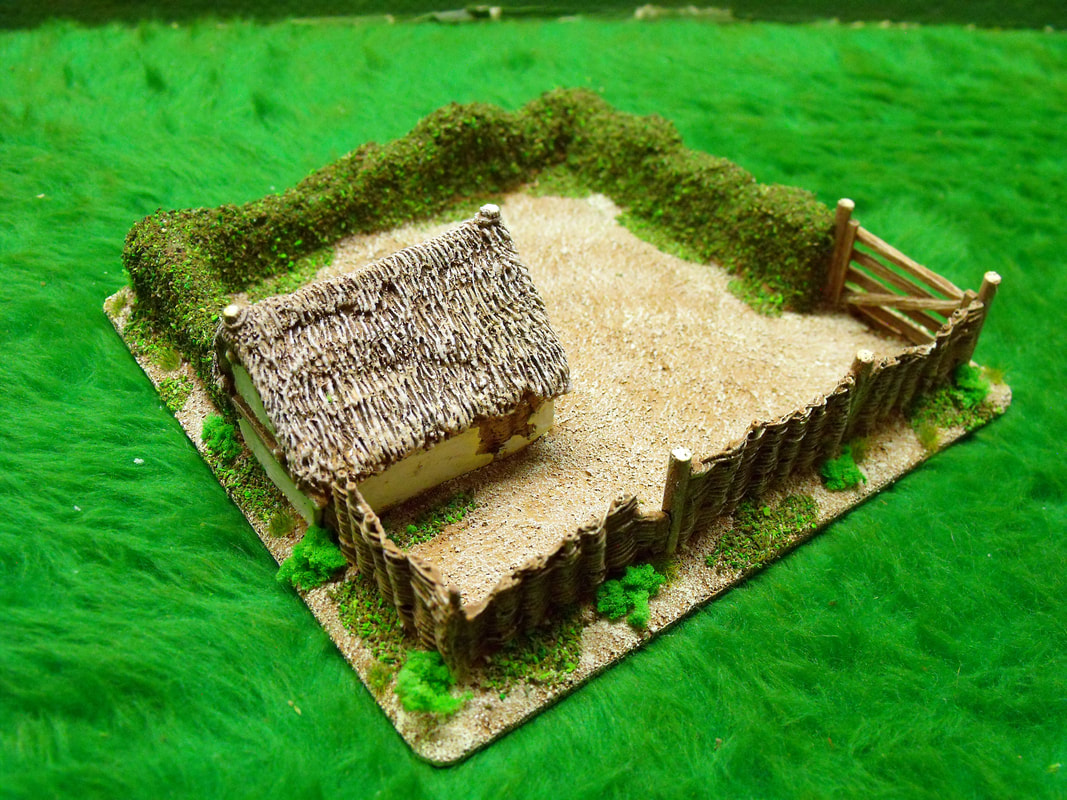
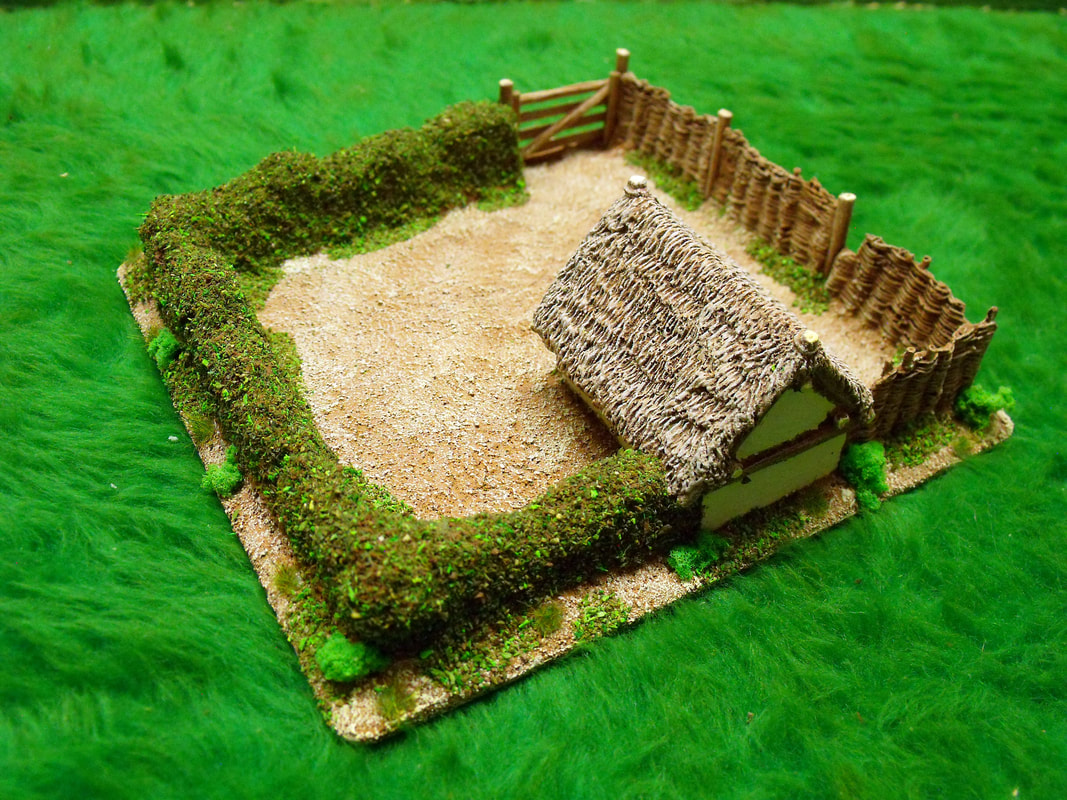
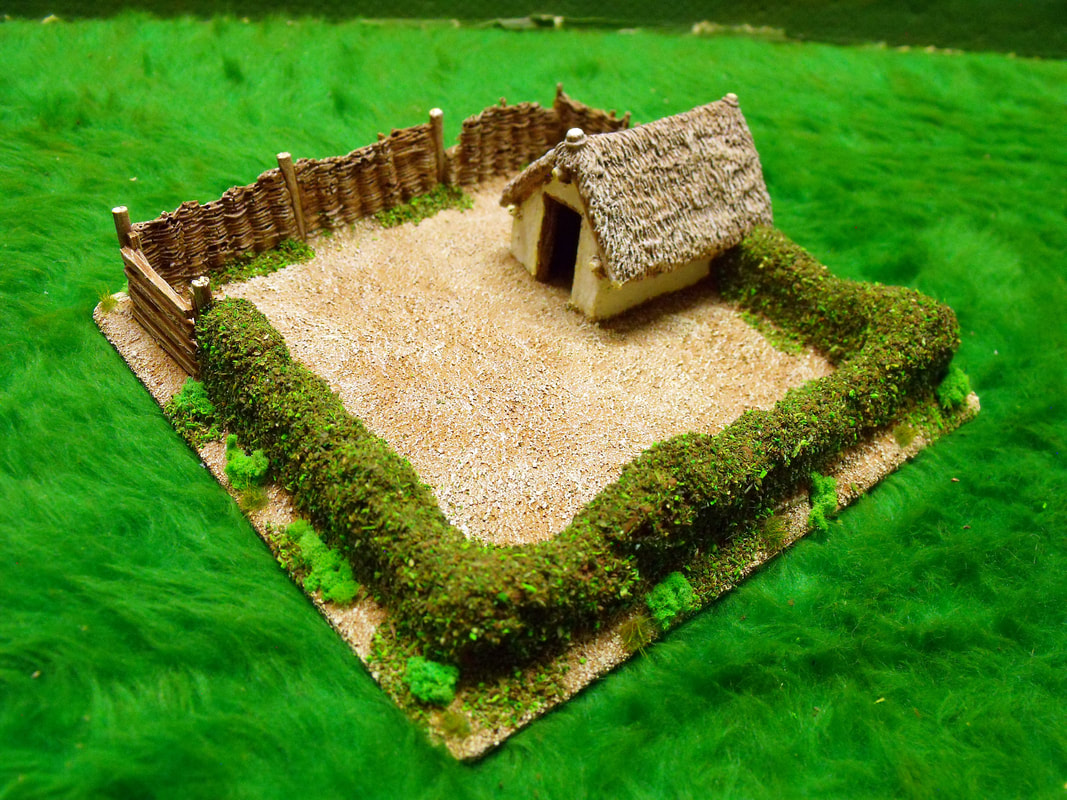
I finished this piece recently for a customer as part of an ongoing project. Basically it was a resin Pigsty with a few broken bits of wattle fencing that he wanted making into an enclosure to hold many bases of pigs and piglets. There wasn't enough wattle fencing to make a useful enclosure so I decided to add a hedge made from some sample resin pieces that I had lying around. This just left me needing a gate which was made from matchsticks and a few dowel fence posts and I had all that I needed. With all the pieces glued in place on a piece of vinyl tile I painted everything and then applied the basing, which is a mixture of sharp sand and brown paint (like Basetex, but far cheaper). Once dry I applied bushes and long grass then I covered the hedge with scatter flock and a lighter flock applied in patches around the base to finish it off. That was it, all done and ready to be used on the wargames table, a really useful building that could be used for many periods or settings.
After a few days of enforced rest due to my back giving out whilst overexerting myself with manual work (old recurring injury and not being as young as I once was) I hope that by the weekend I can get back to sorting out a couple of forces for my fantasy Medieval forces for Lion Rampant.
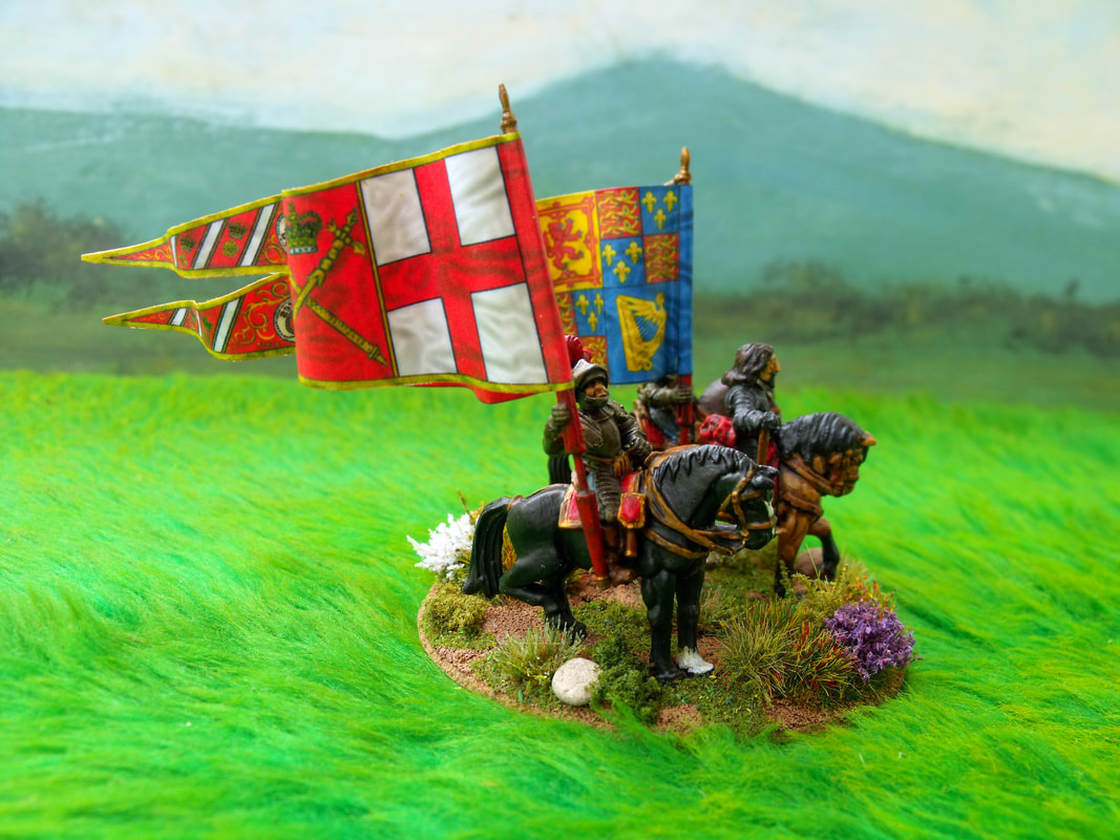
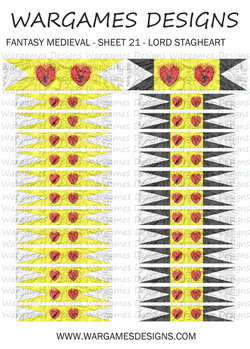
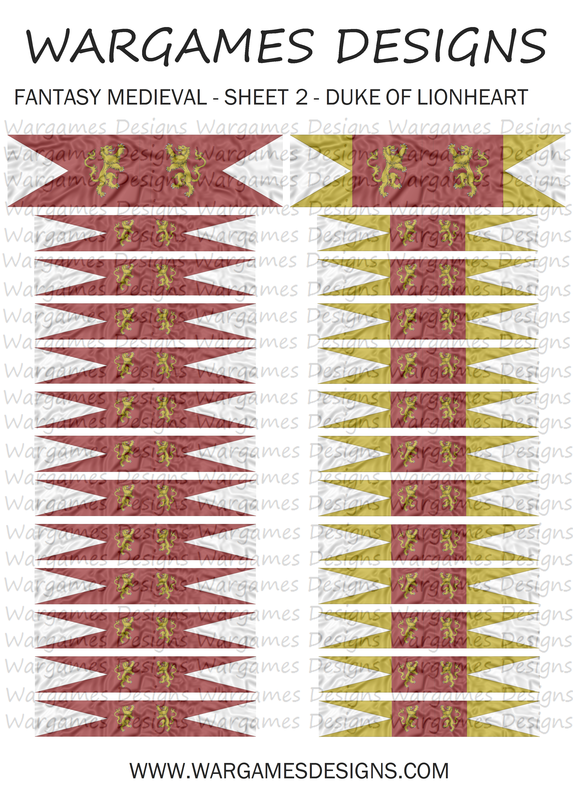
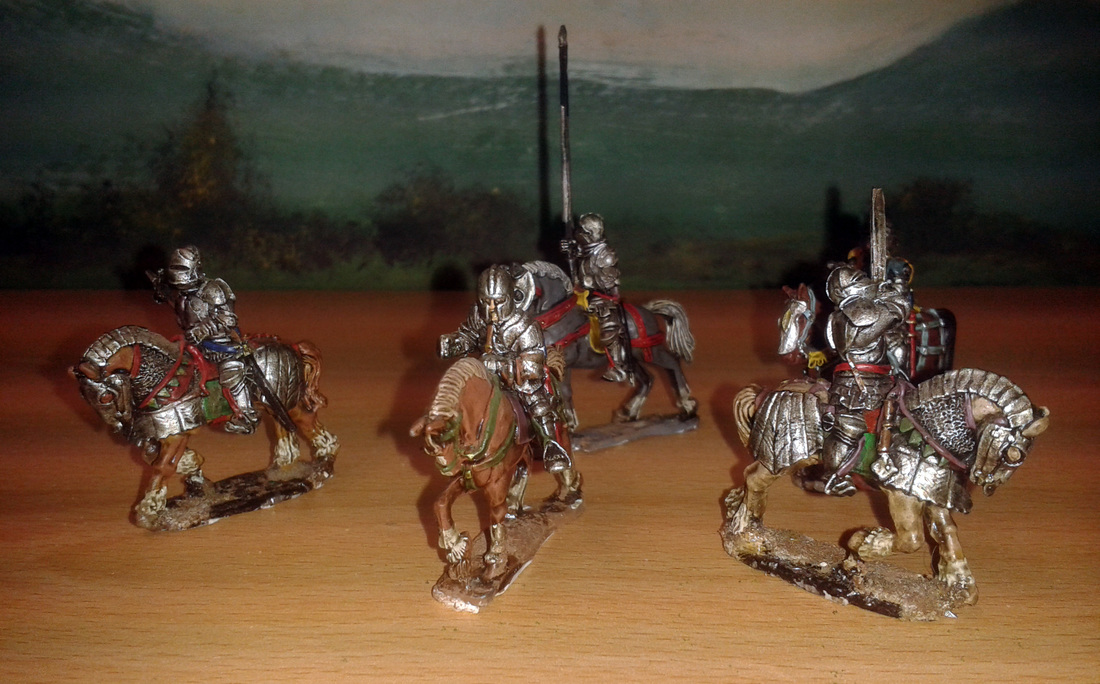
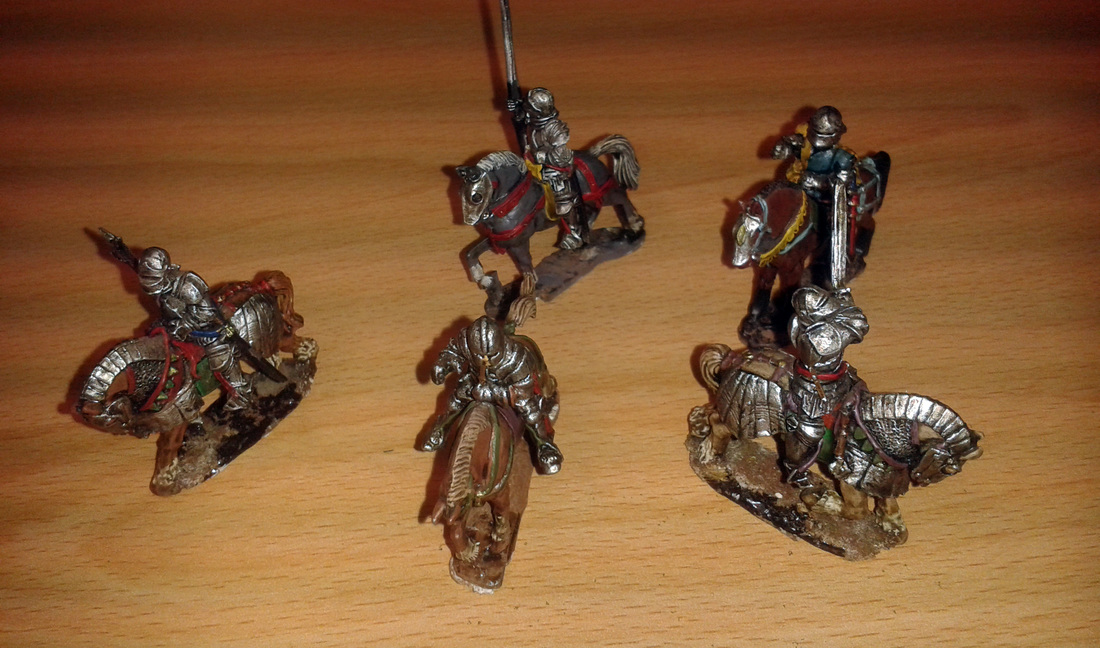
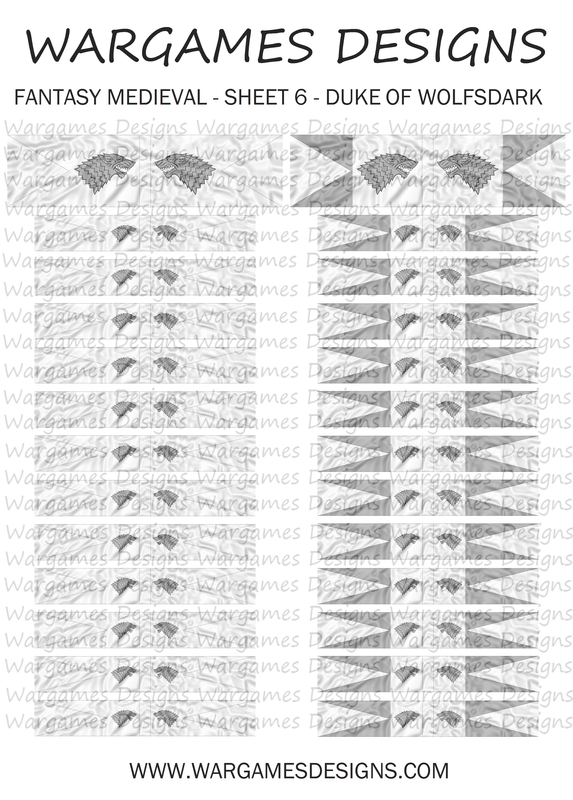
Before the injury I was sorting through literally thousands of 28mm figures that I had in different boxes of all sorts of makes. A hell of a lot were painted & based, but even more were not and they ranged from the around 12th to 15th centuries. Also I found that there are three distinct sizes of figure with the biggest being Front Rank & Essex figures, the middle sizes are mostly Old Glory and some later Foundry and the smaller figures being Hotspur and the original Citadel figures. From this I decided that the best option was to separate the three sizes out and use them for different purposes and armies. Apart from this I have been almost unable to walk and basically bed ridden so I decided to make lots more flags for my new 'pet' project. I suppose that I have possibly gone a little overboard on this as I now have 15 full flag sheets and more partially finished so it could be that I end up with dozens of different clans to choose from by time I am finished. Well, to kick off my new blog I want to talk about Fantasy Medieval using Lion Rampant skirmish rules. I have for a few months owned a copy of Lion Rampant and to say the least they are pretty damn good! I have a massive collection (1,000's) of Medieval figures in 15mm & 28mm and most of which are currently unpainted or half painted, depending upon which new rule set they were originally intended for. But having bought Lion Rampant my interest in all things Medieval has piqued once again and this coupled with my new found interest in Game of thrones has inspired me to create my own Fantasy Medieval forces. Although not wanting to attempt to faithfully recreate GoT forces the idea of a mishmash of Medieval forces all doing battle in skirmish games is one that I am open to, and moreover allows me to use all sorts of odds and sods that I have collected over the years in the same forces. Generally Speaking though it seems to me that the Northern clans seem to be more rough & ready early Medieval and the further South the clans are high Medieval in appearance. Obviously the Horse clans from across the sea don't fall into this category but so far my interest is confined to the knightly types. With this in mind I decided to gather the forces for a couple of 28mm starter armies of 24 points representing a Northern Clan and the other a Southern Clan who are obviously sworn enemies. The Northern Clan I decided to call Wolfsdark and the Southern Clan are called Lionheart. Apart from armour styles I decide to make the Wolfsdark troops carry either spear or bows whilst the Lionheart troops carry either bills or crossbows. Both Clans I decided should to be uniformed in a way with the Wolfsdark troops being dark and moody looking in earthy tones and the Lionheart troops being more properly uniformed with a brighter red tone on their cloaks and tabards. Where possible shields again would be uniformed with the Clan sigil on flags, banners and shields. Obviously this led me to wanting to make flags and banners for these two Clans and so I did. As a flag maker I decided that these were to have multiple options and even variety in the sigil itself as who knows at some point I may want to build a massed battle force for each of these Clans.For anyone interested in buying any of these you can find them by clicking the button below. Thinking ahead to the finished forces I am in two minds as to how I want to base them with the options being; square or round, single or multiple bases. I want to future proof my forces against the option of making them into larger massed battle armies so conventional wisdom would say that squares are the better option, but for skirmish games found bases do have a certain appeal. I am sure that over the coming weeks I will sort this out and come up with a good compromise or even simply decide to make them as I please now and worry about anything else as it comes along.
Now I guess I must sort out the forces from all the figures I have and see what best fits in with my ideas so far. |
AuthorStephen Wylde BA (hons) Archives
April 2020
Categories
All
|
Proudly powered by Weebly

 RSS Feed