|
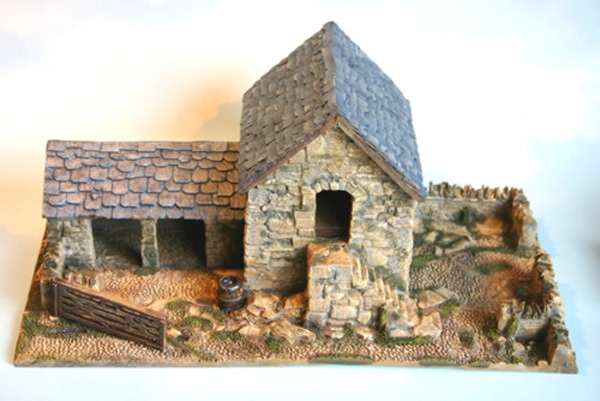
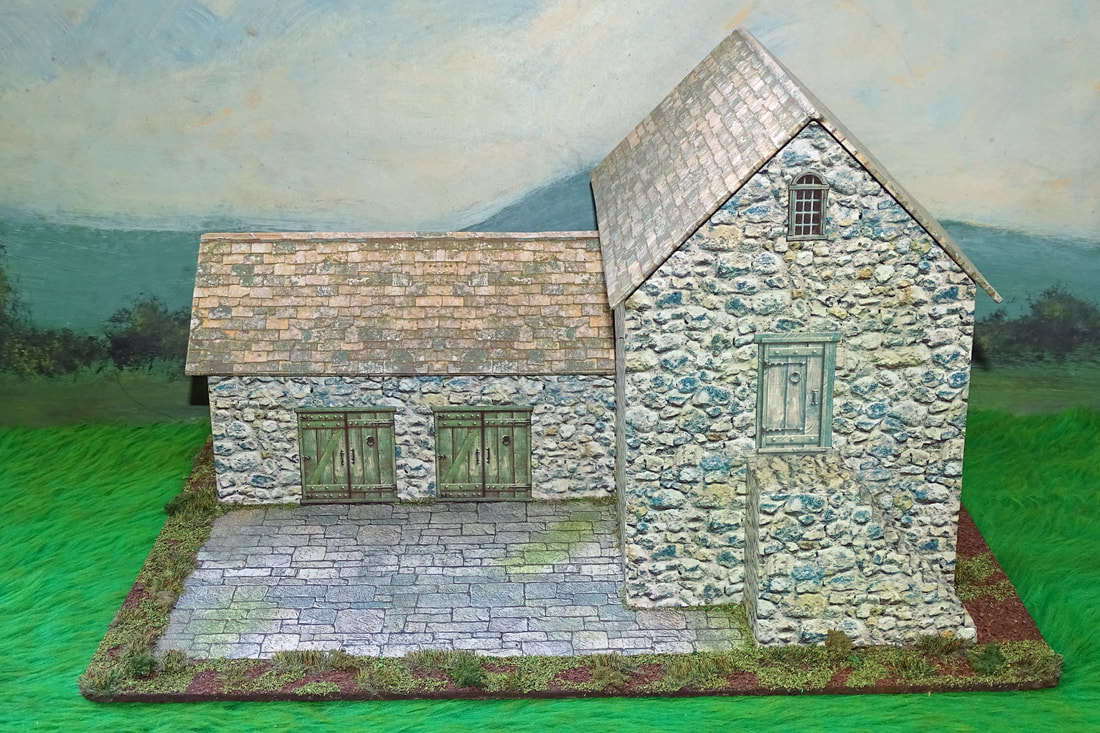
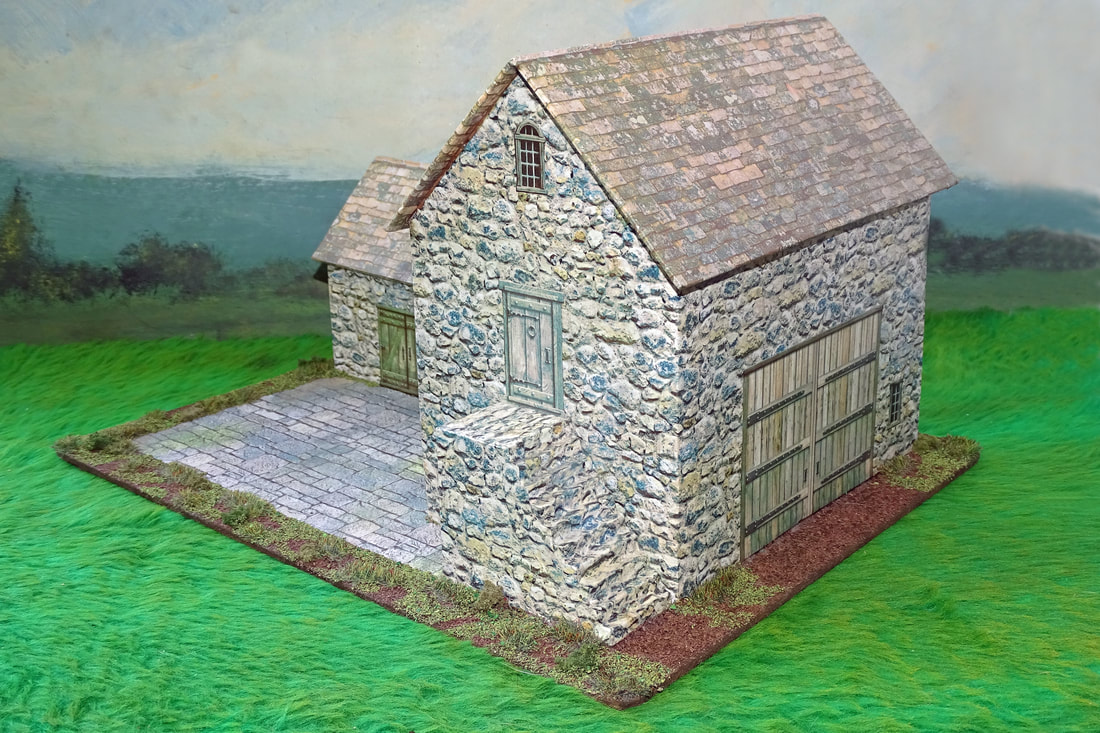
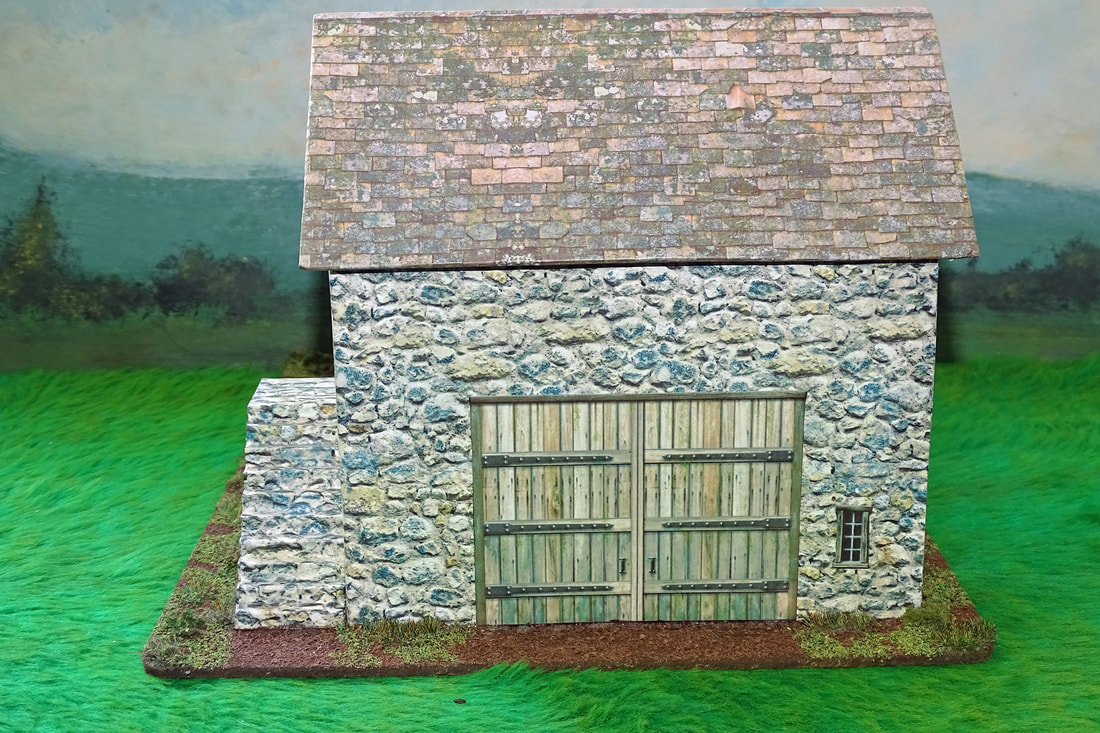
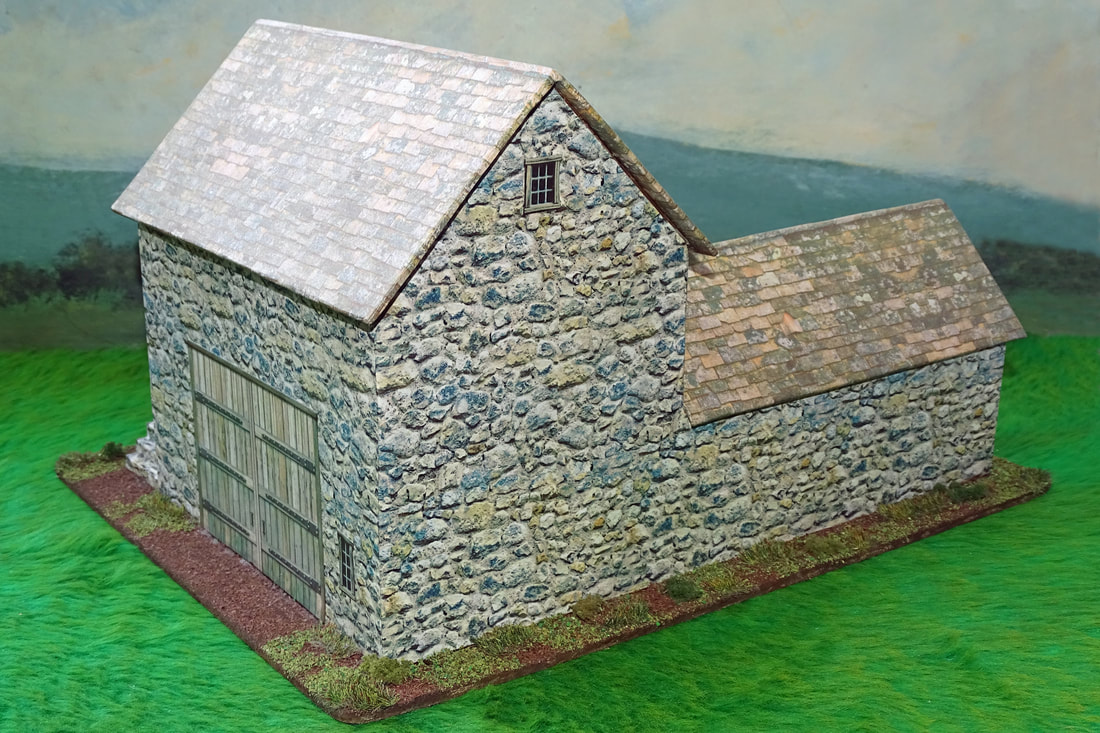
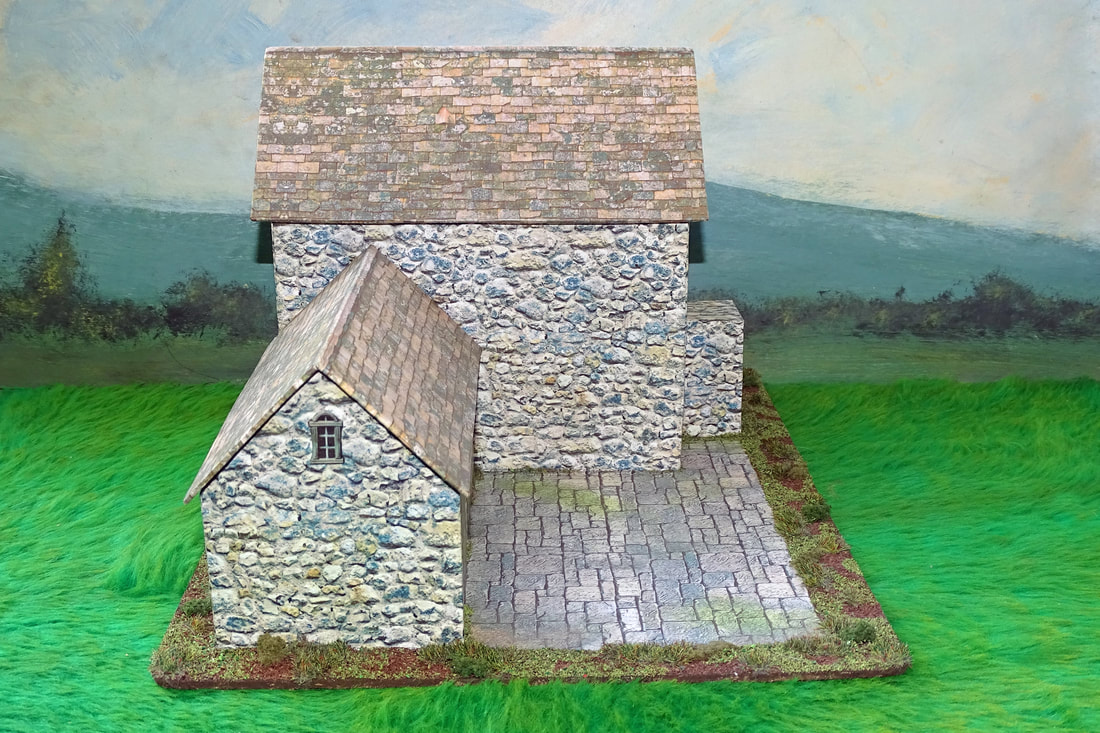
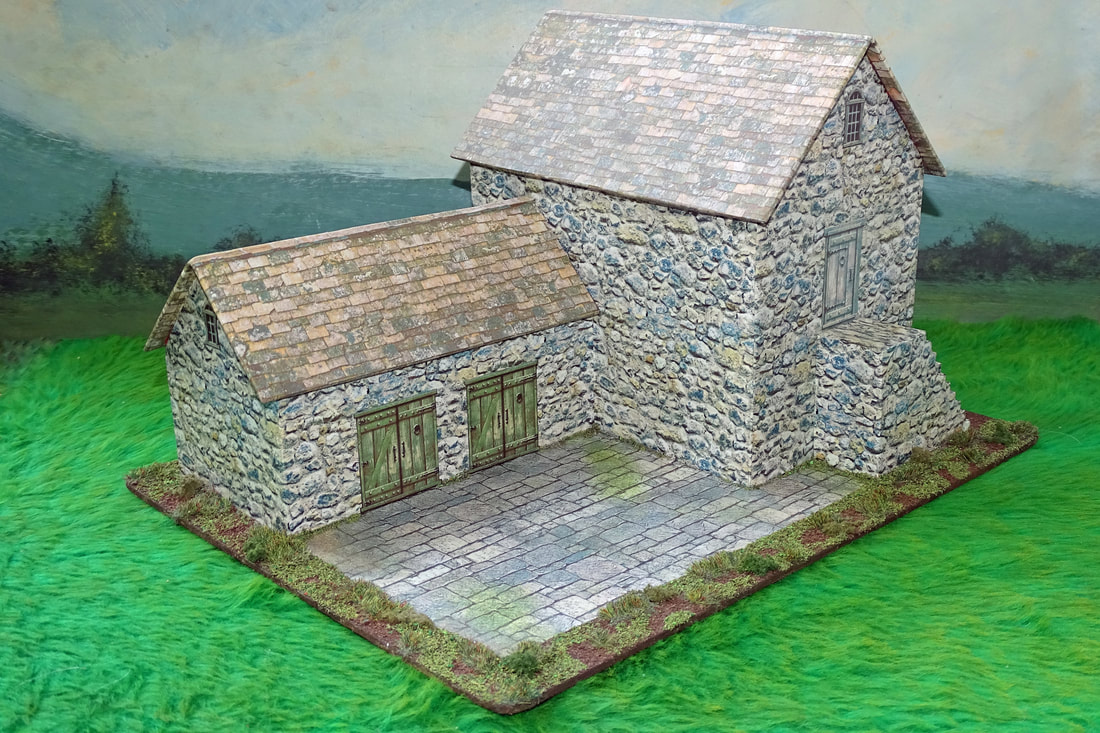
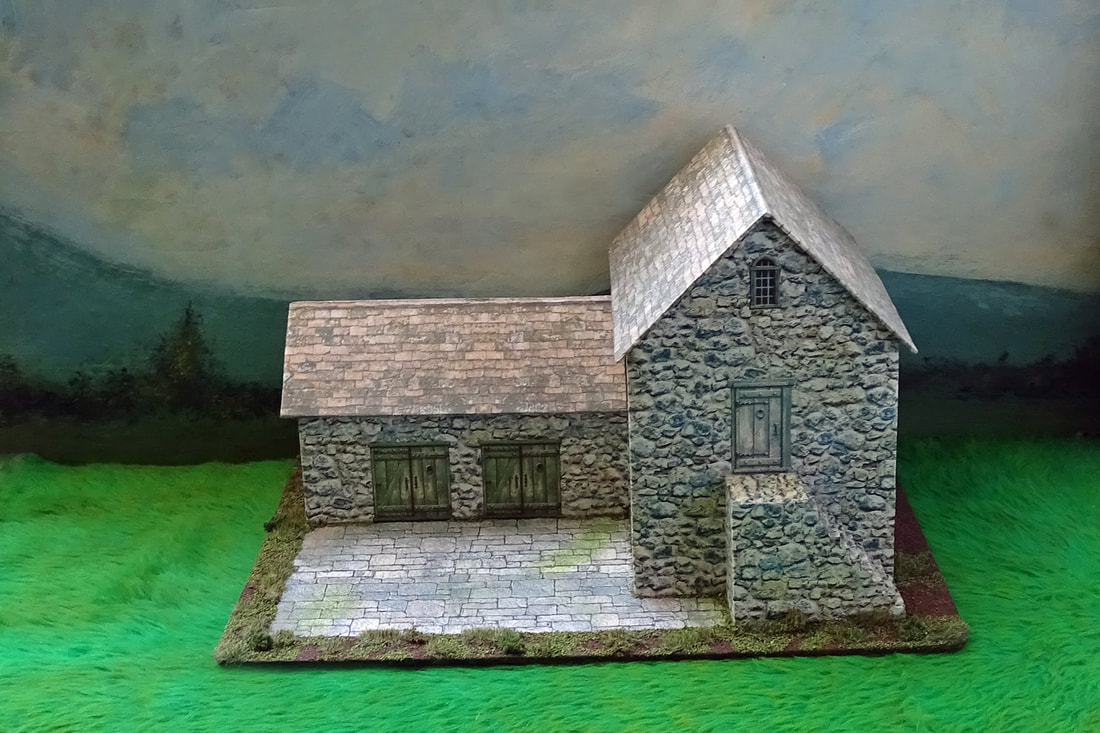
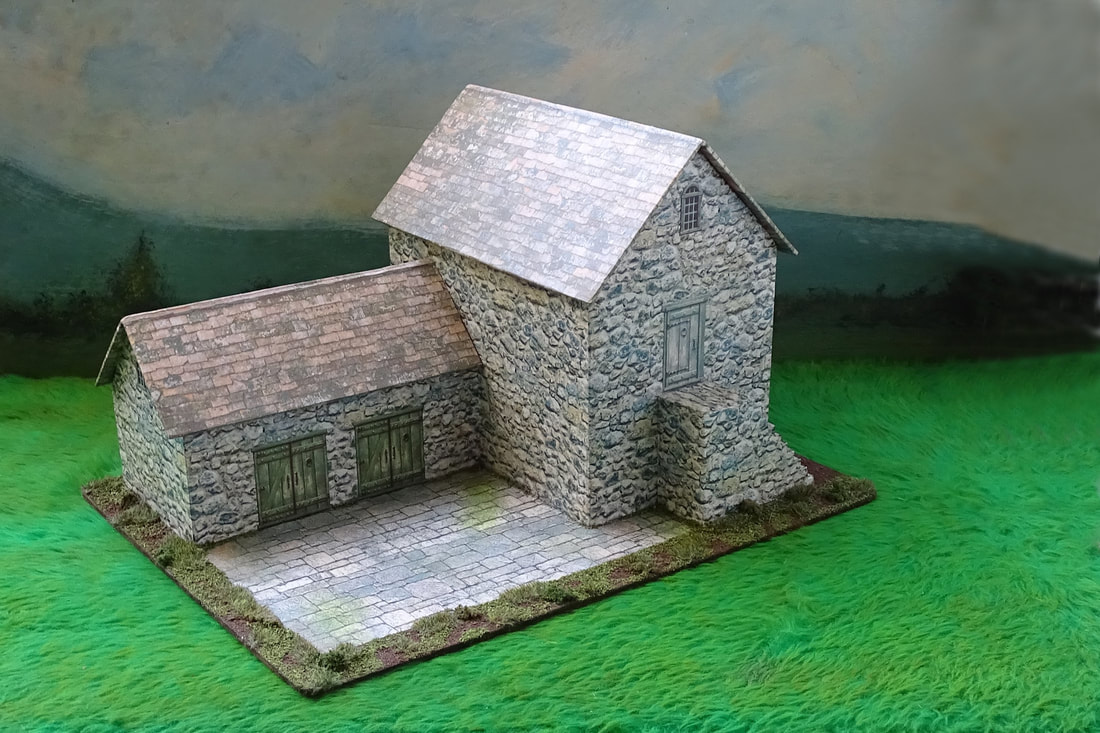
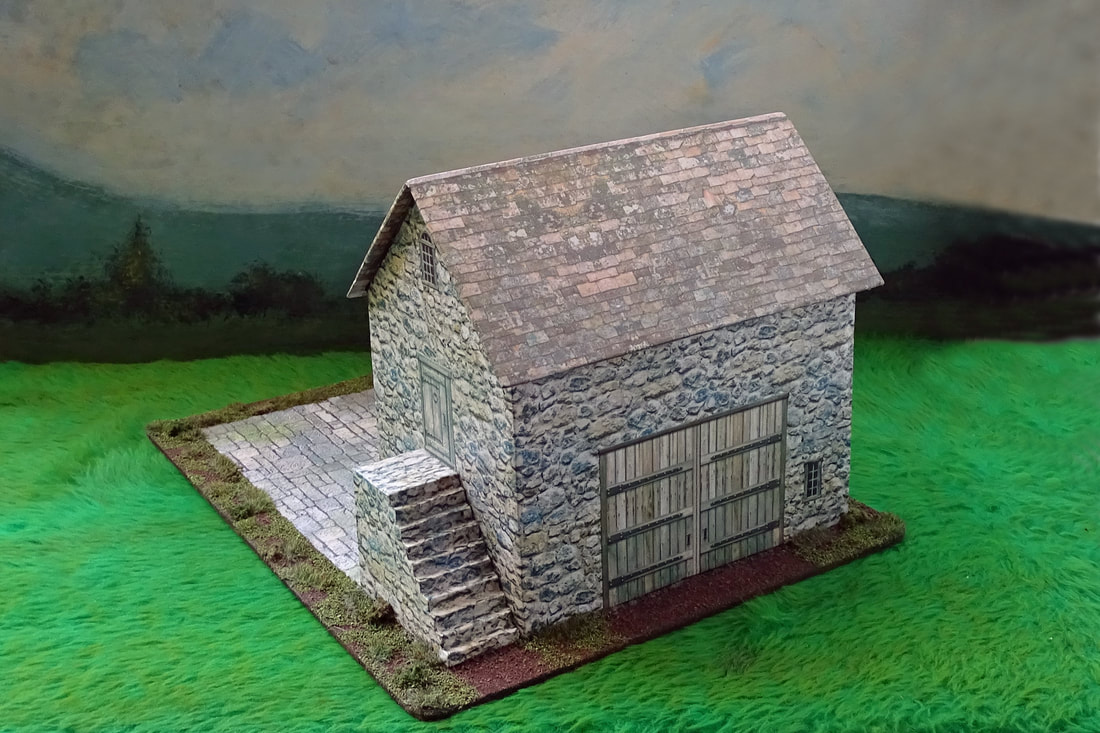
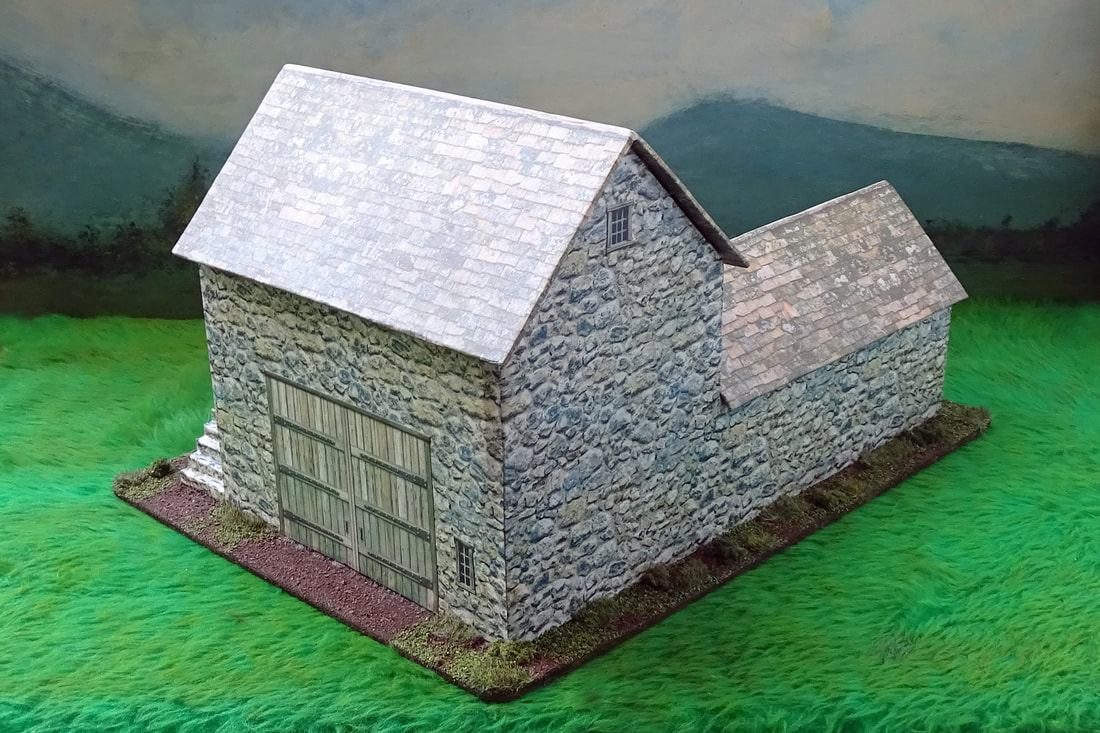
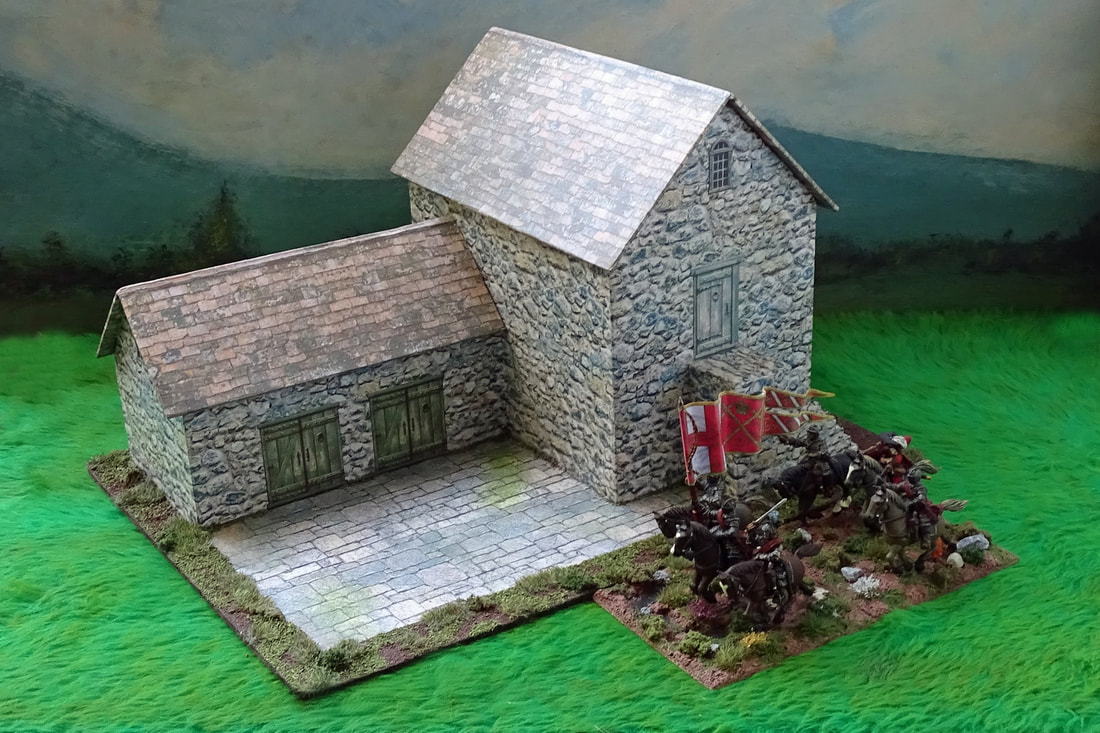
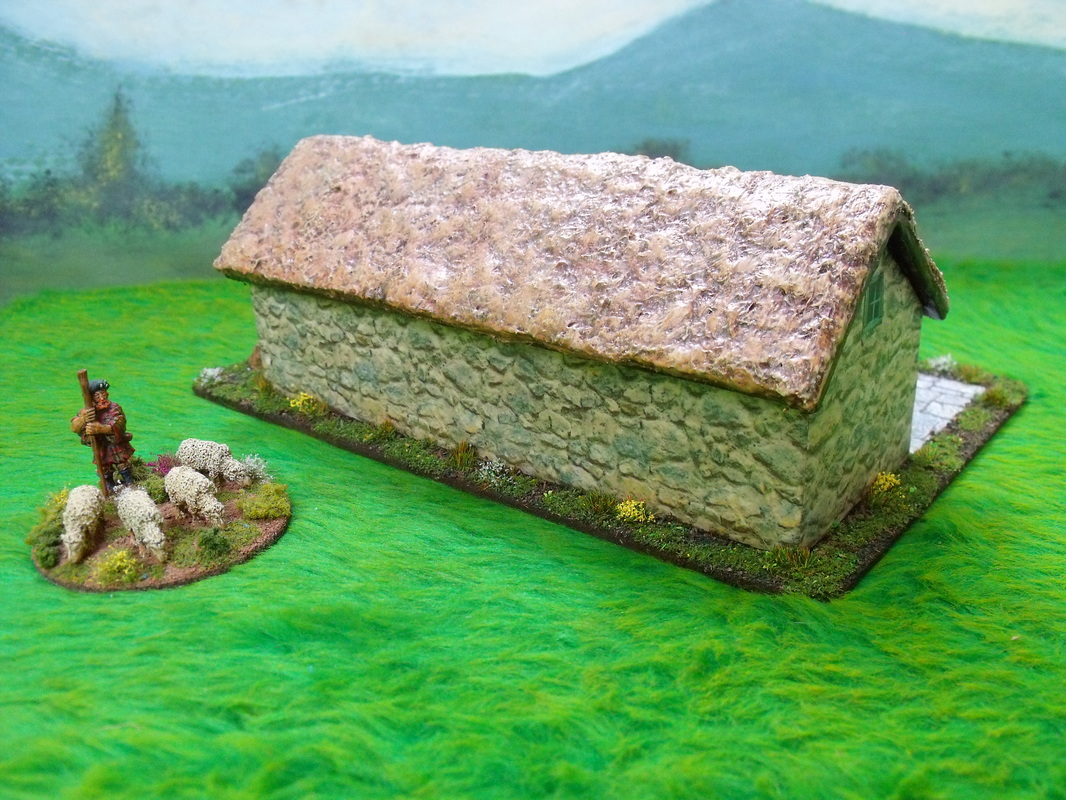
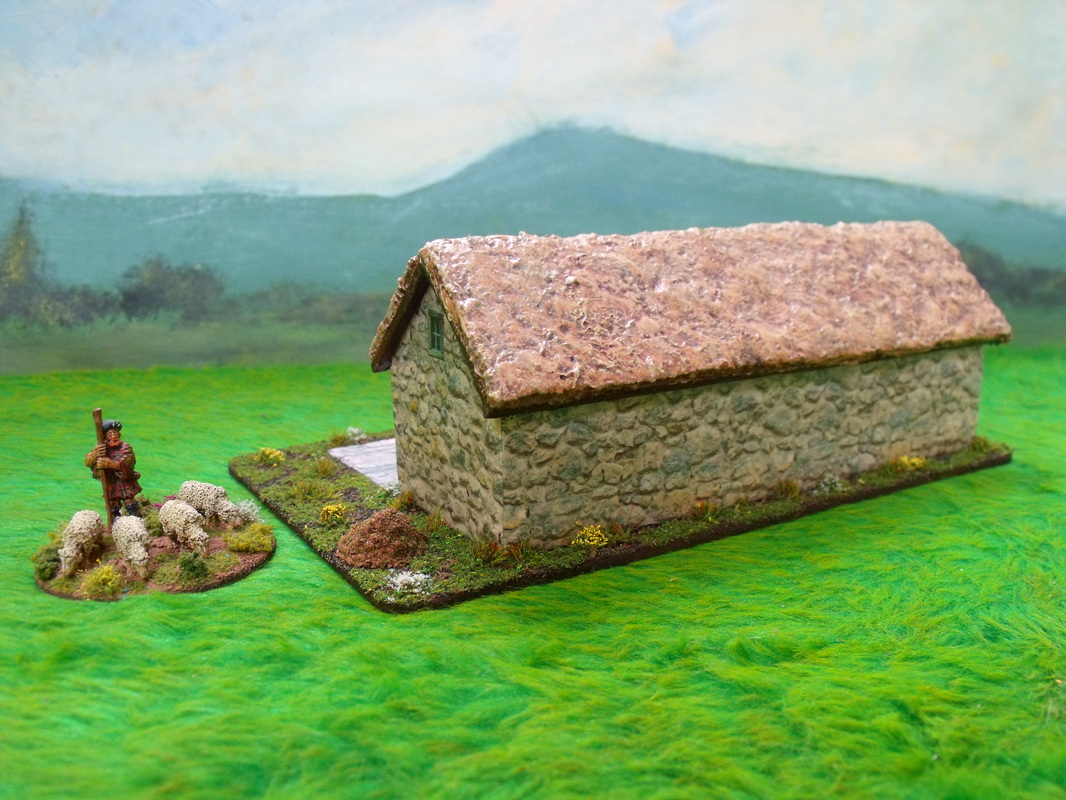
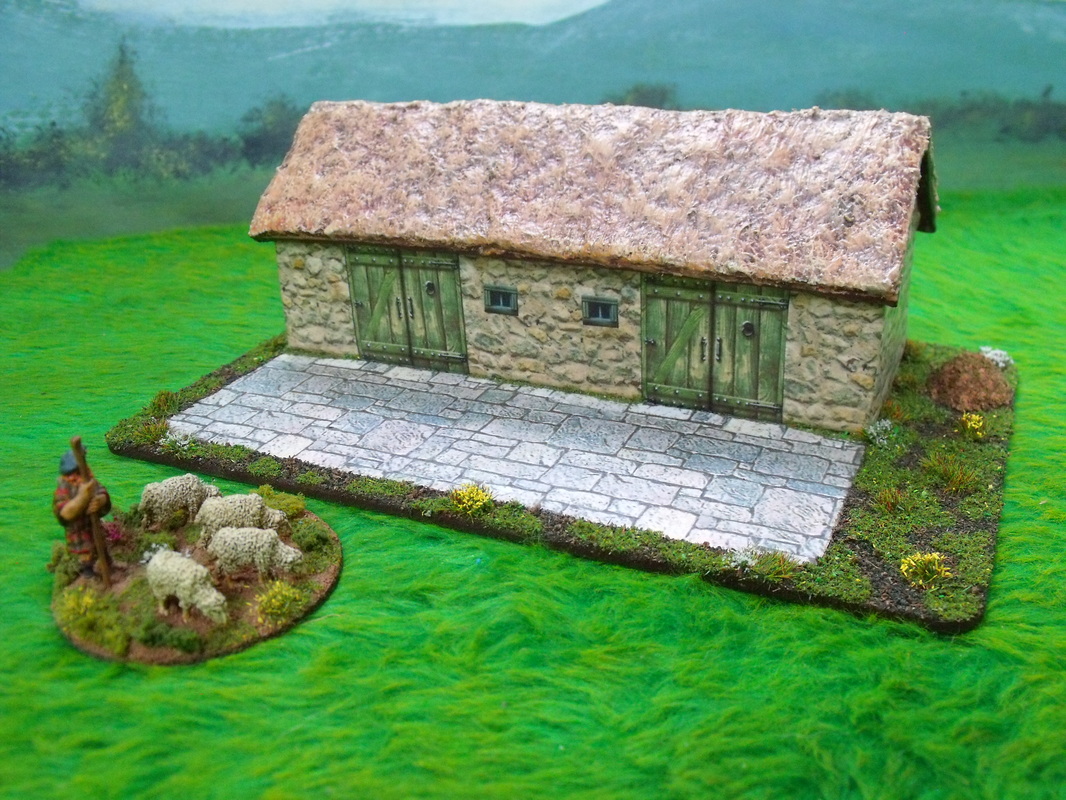
I decided to write down a list of buildings that I thought would be really useful for a village or small town setup and all the usual building types were on there including a stone barn. Having decided to pluck this one from the list as it would be a relatively simple build I looked for inspiration and the first stop was the internet. Looking at loads of pictures I came upon a picture of a 28mm Barn & Stables from Grand Manner and it did look really pretty indeed! From there I looked on their web site for more details and hopefully more pictures as I really did like the look of this structure and although there was only one picture there were some references to the base size which gave me an idea how large it might be, and here it is below. The size given for the base was 340mm x 175mm and it has a lift off roof, which to me was not something I wanted as this is a pet hate of mine lift off roofs as they always seem to get plonked on the side of the table for most of a game when figures are inside which tends to ruin the aesthetic for me. These guys make some really lovely buildings and if you can afford to pay £360.00 painted to this standard then you are indeed very lucky indeed, even the £104.50 unpainted price is way more than I can afford to pay for one building and therefore this is why I choose to build my own. Back to the plot. Taking the base size as a reference I decided I could more or less work out the width and height of the model which I deemed to be approximately 10 inches wide by 5 inches high and the depth I could only guess at. Either way I decided that this would only be a basis for my own model and dimensions I could change to suit my own taste as well as the need to fit in with the rest of my models. Certain features I wanted to make larger such as the courtyard between the stables and the steps, other features such as the surrounding wall area I decided to completely omit as they weren't needed. As with all my buildings this was made from a foamboard shell as this is very easy & quick to build, very lightweight and surprisingly strong once constructed. The next job was to wallpaper over the shell with a cobblestone wallpaper of my own making and once done the roof was added using thin corrugated card. With the roof glued and the wallpaper left to thoroughly dry for about a hour I decided to use a roof tile wallpaper and glue this down ensuring that it would overlap the edges so it could be turned under and trimmed neatly. This part was a little fiddly at first, but I soon got the knack of it and it looked really good when finished. The steps were my favourite part of this model but the hardest part to make, in fact it is fair to say they took as long to construct and wallpaper as the rest of the building had done. To make them I used layers of foamboard each 1/4 inch longer than the last until I reached the height I wanted and then glued them together, once dry I faced up the sides with cereal packet card to make them smoother. The wallpaper was applied to the side walls first and overlapped onto the steps and then the top and step wallpaper was applied with particular care to line up the leading edge so that it blended seamlessly with the facing side. Finally the steps were glued in place against the gable end of the barn. The next job was to decide where to put windows and doors and even what type I wanted on the model. These were all chosen & placed accordingly and glued into position, the basic building was now complete and ready for its base. The base was hardboard which was cut to a suitable size and the corners snipped & rounded off as with most of my models and the position of the building marked out ready. The model was glued into position and left to dry out fully ready for the base work to be done. The courtyard wallpaper was picked out and glued into position with the base itself then being coated in dark brown paint. Before any texturing of the base I painted the whole model including the courtyard with acrylic matt varnish to add protection to the wallpapers used and also as an added bonus it strengthens the model itself. The base was then textured with various earth and grass textures In my usual way and then bushes, flowers and long grasses applied to suit. The addition of a barrel was a nice touch that was on the Grand Manner model so I will no doubt use that idea on my model. As a guide here are the basic measurements of my Stone Barn & Stables which did prove to be somewhat larger than the original estimate being: Barn gable end 4 1/4 inch wide x 4 1/4 inch to eaves x 6 1/2 inch to ridge. Barn side walls 6 1/2 inch long x 41/4 inch to eaves. Stable gable end 3 inch wide x 2 1/4 inches to eaves x 3 3/4 inches to ridge. Stable side walls 6 inches long x 2 1/4 inches to eaves. Barn Steps 2 1/4 inches high x 2 3/4 inches long x 1 1/4 inches square at the top. Finally the pictures which show it in all its glory and something that I am really happy with especially the price at well under £1.00 in total and an evenings worth of build time. Please click on the pictures to enlarge
1 Comment
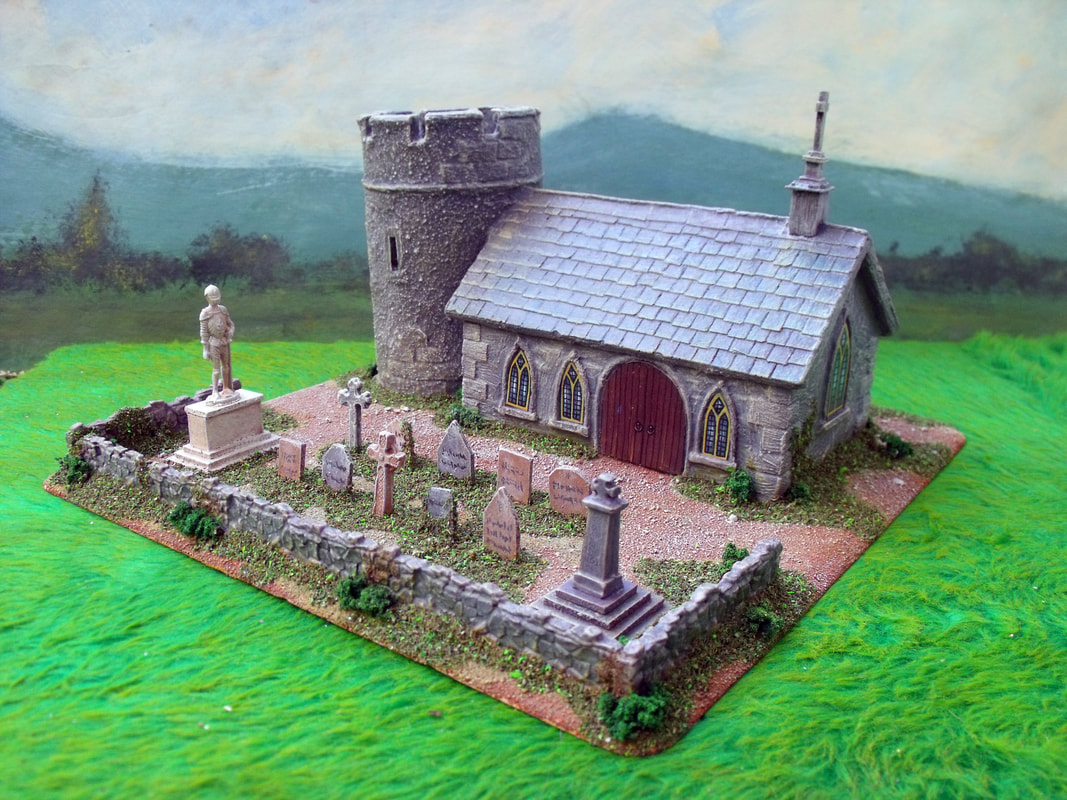
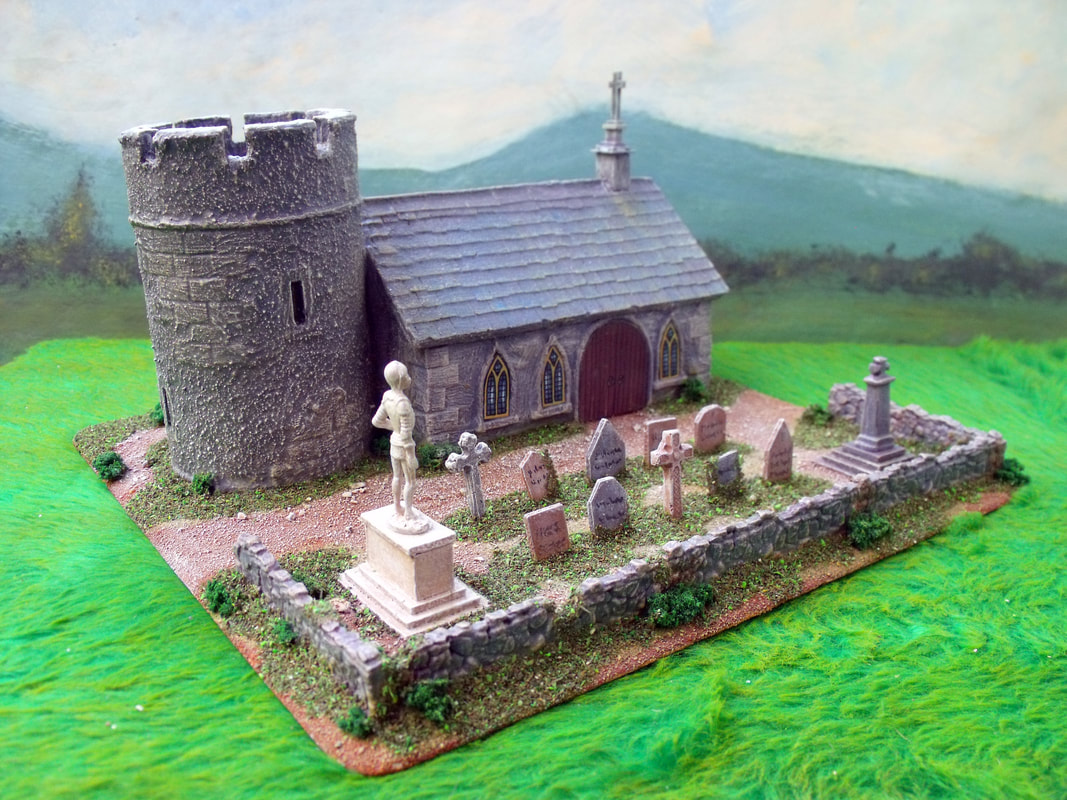
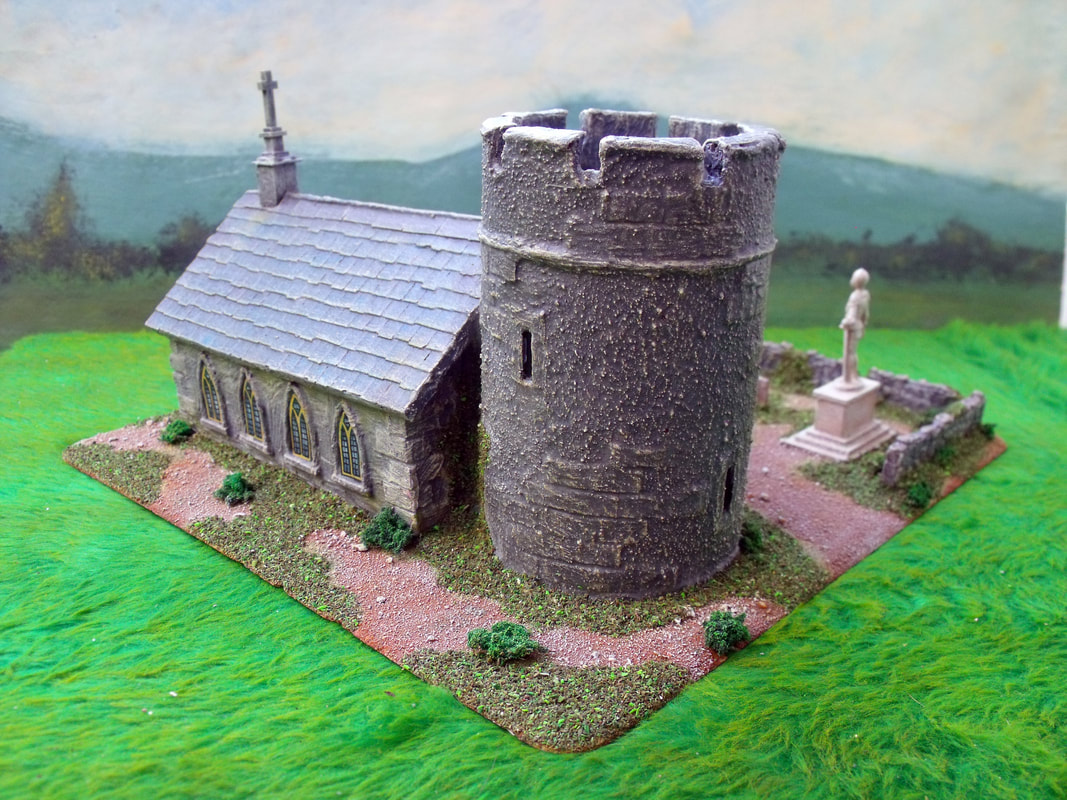
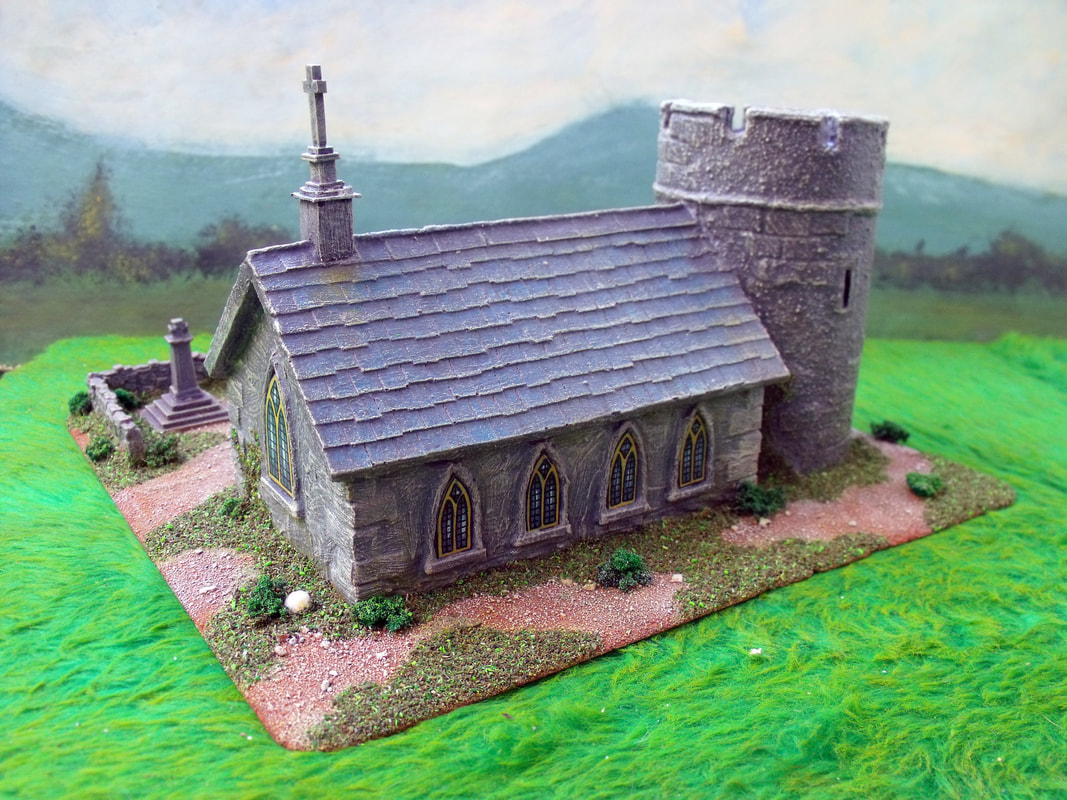
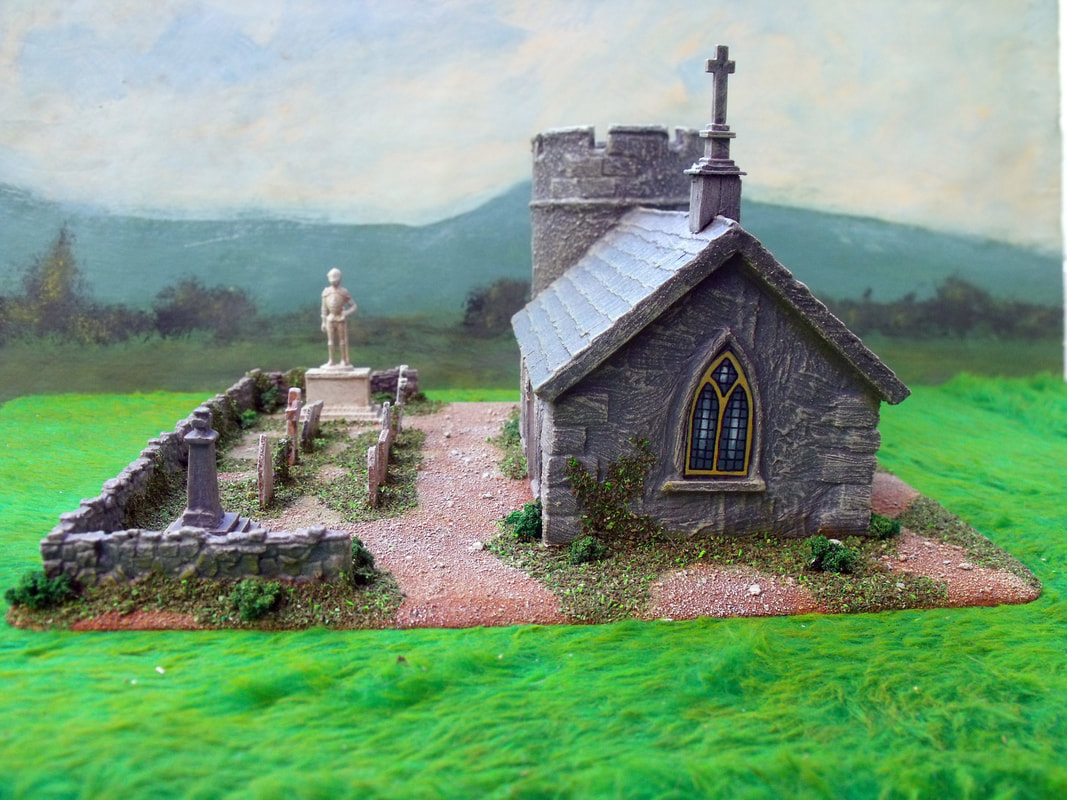
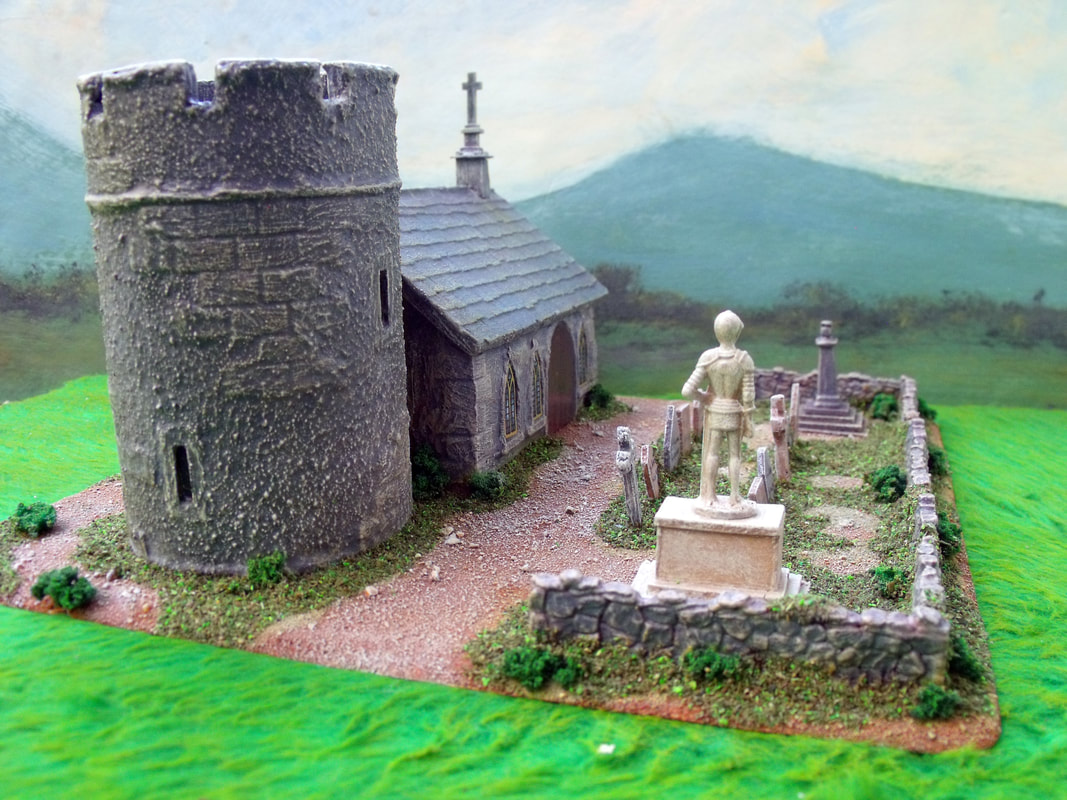
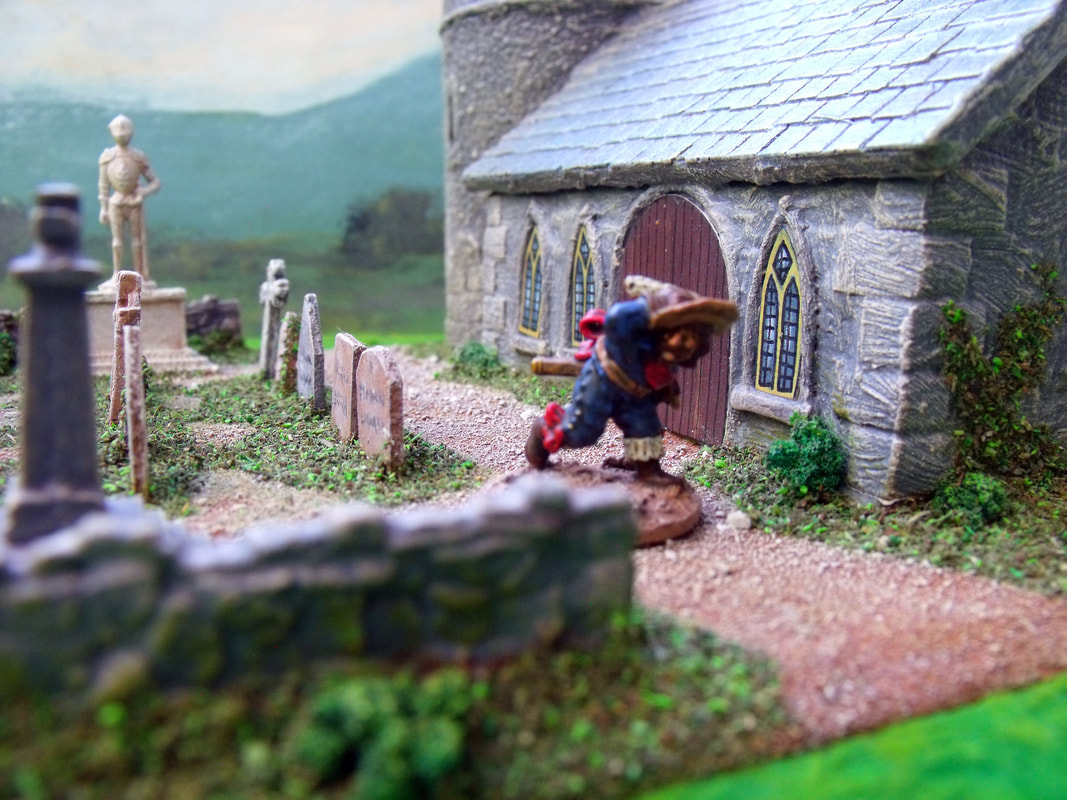
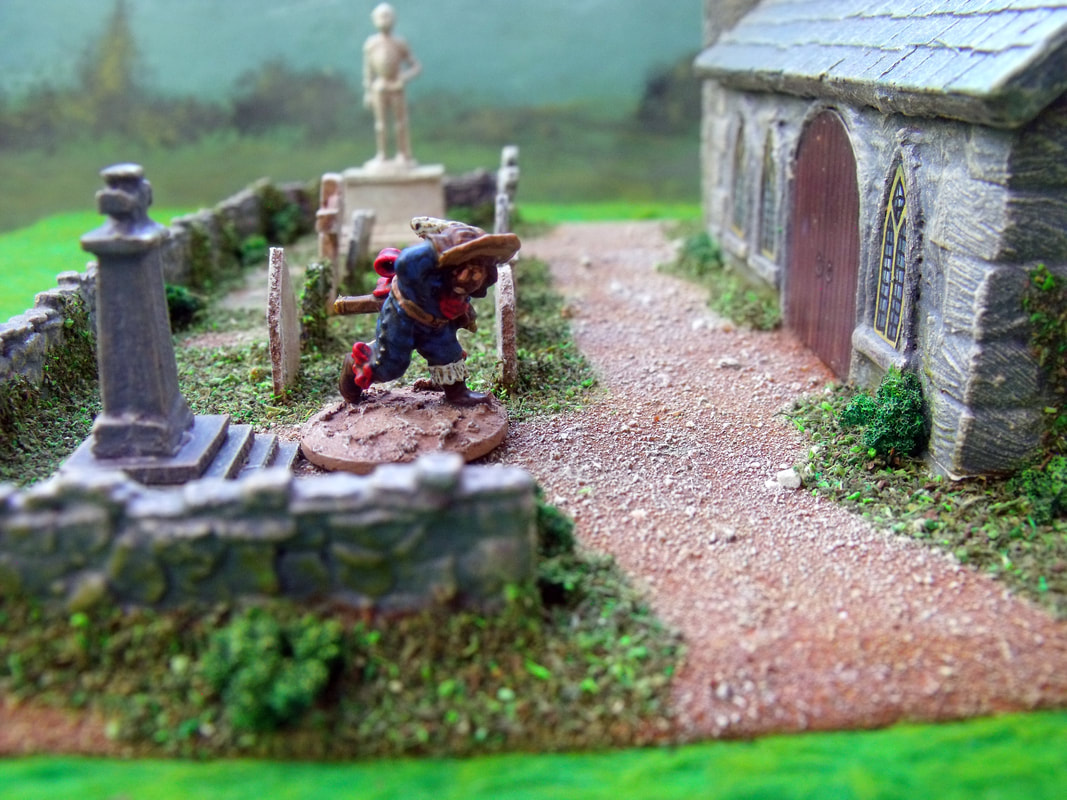
I made this model church a while ago and recently sold it to someone in the USA as unfortunately it was surplus to my requirements as I am in the process of making another church using stone effect wallpaper. This one was made in the usual time honoured fashion using card, plaster, sand and glue which for me at least was the only way to make buildings until I converted to making models with printed paper with stone, brick or tile effect.
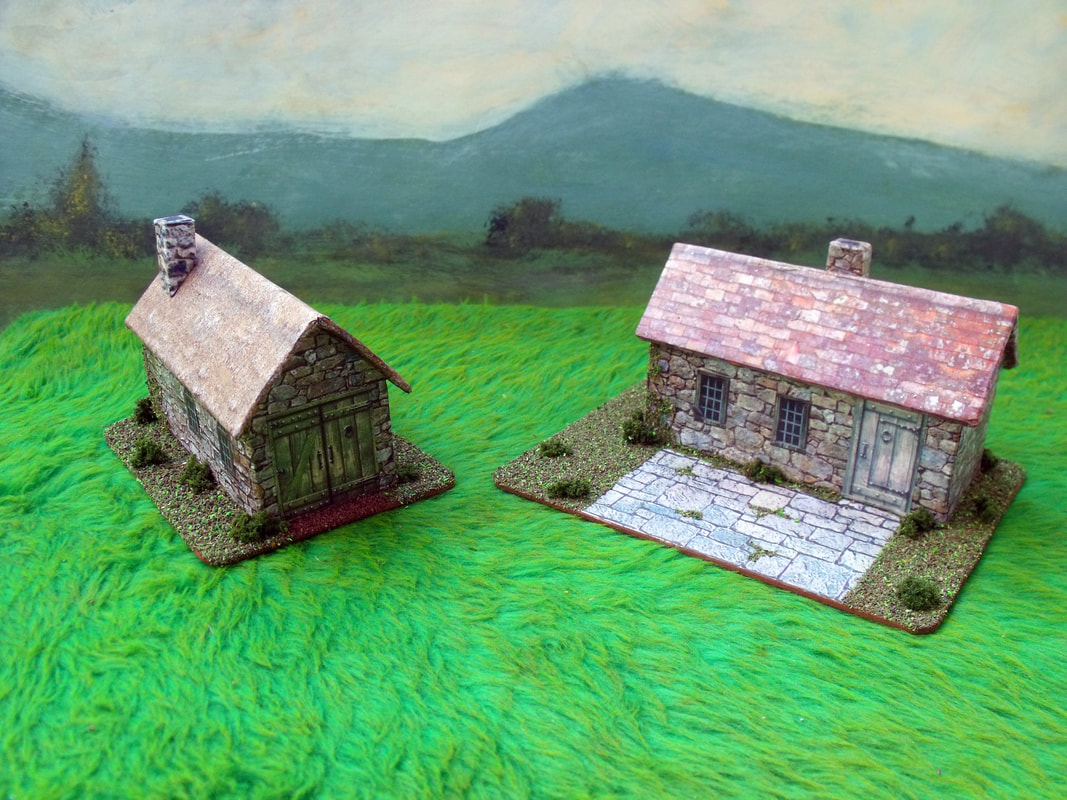
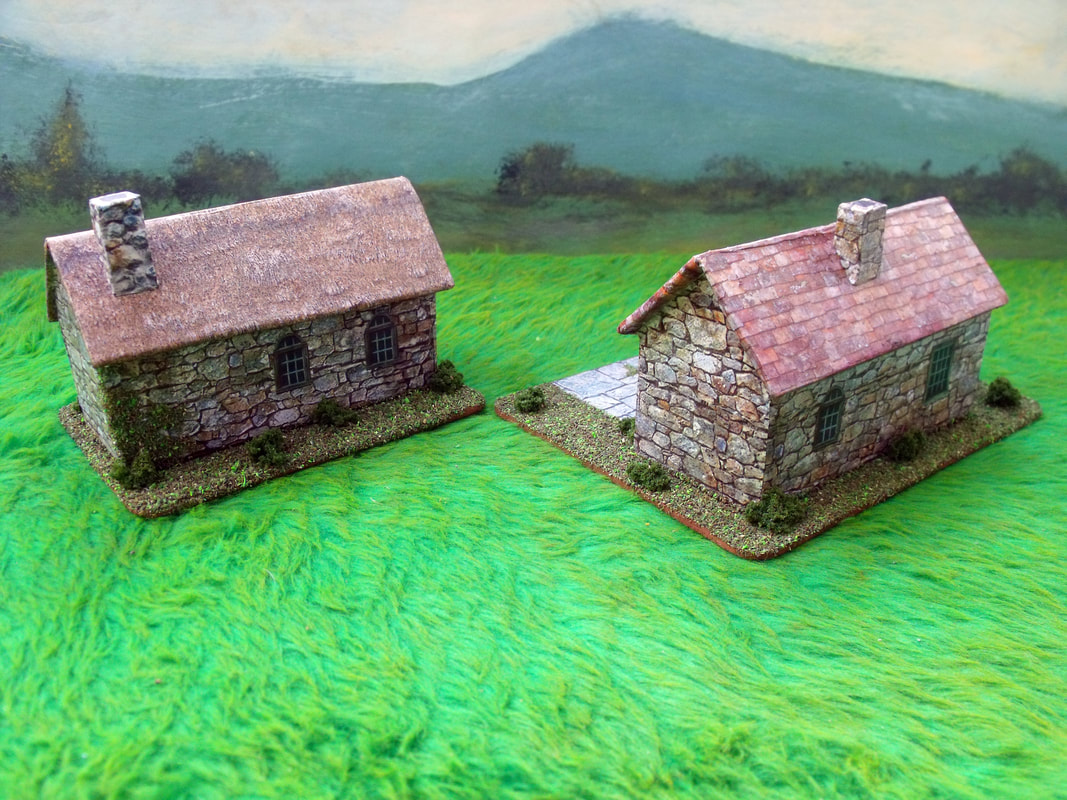
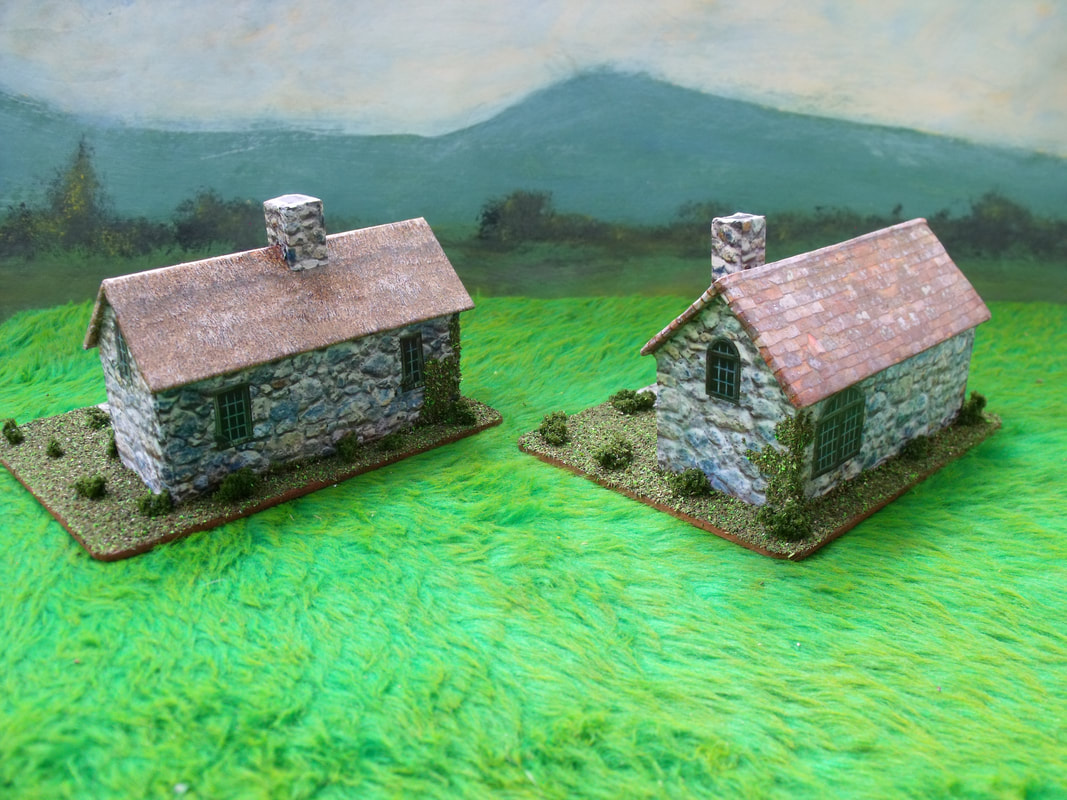
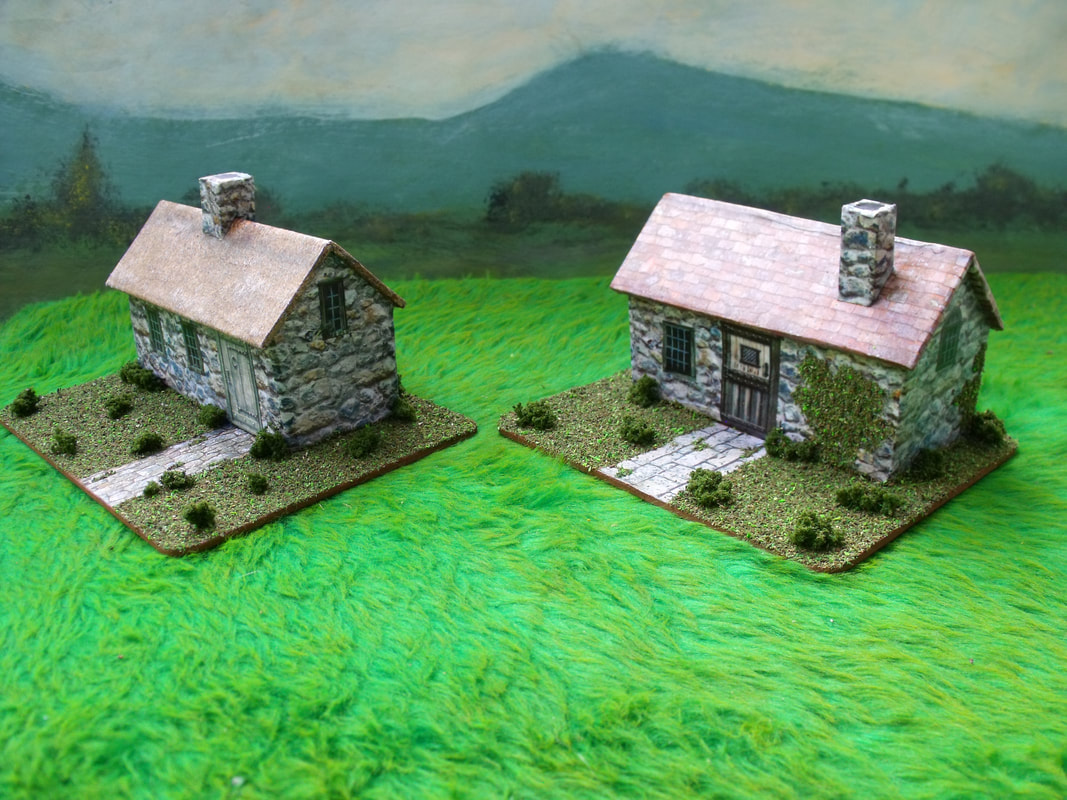
I have been making a fair few ECW buildings for my 28mm collection for a while now and decided that I needed some small generic buildings that could be used for anything from small cottages to stables and workshops.
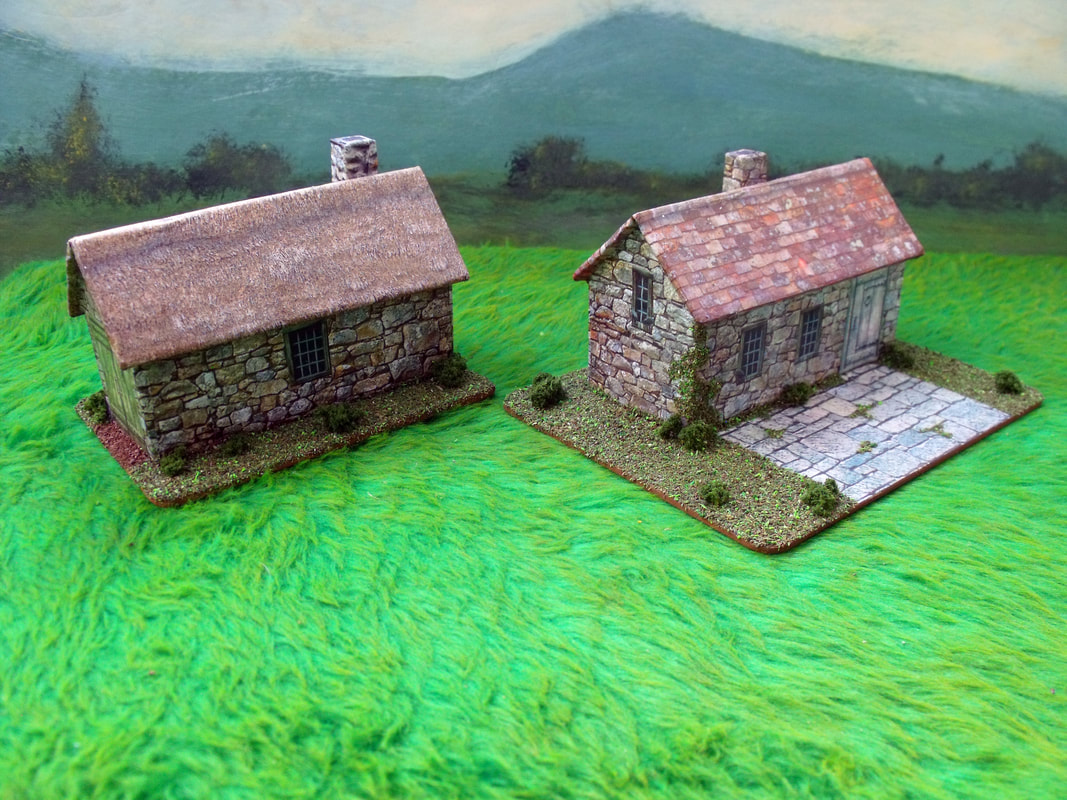
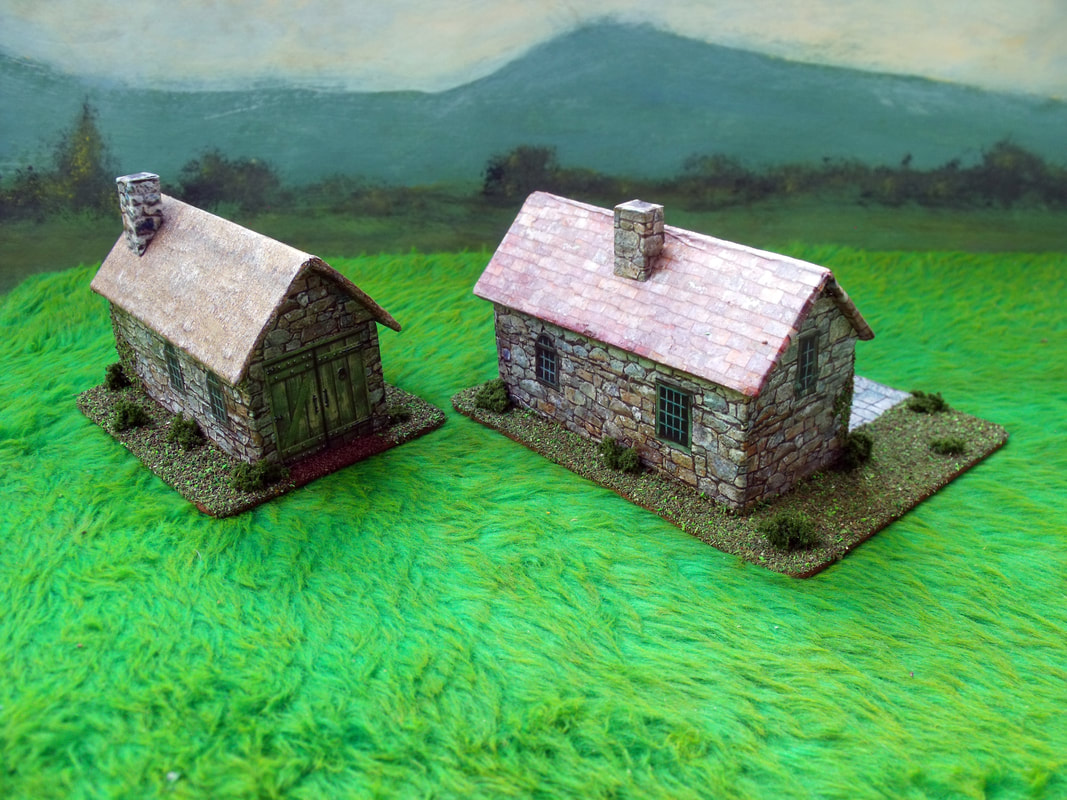
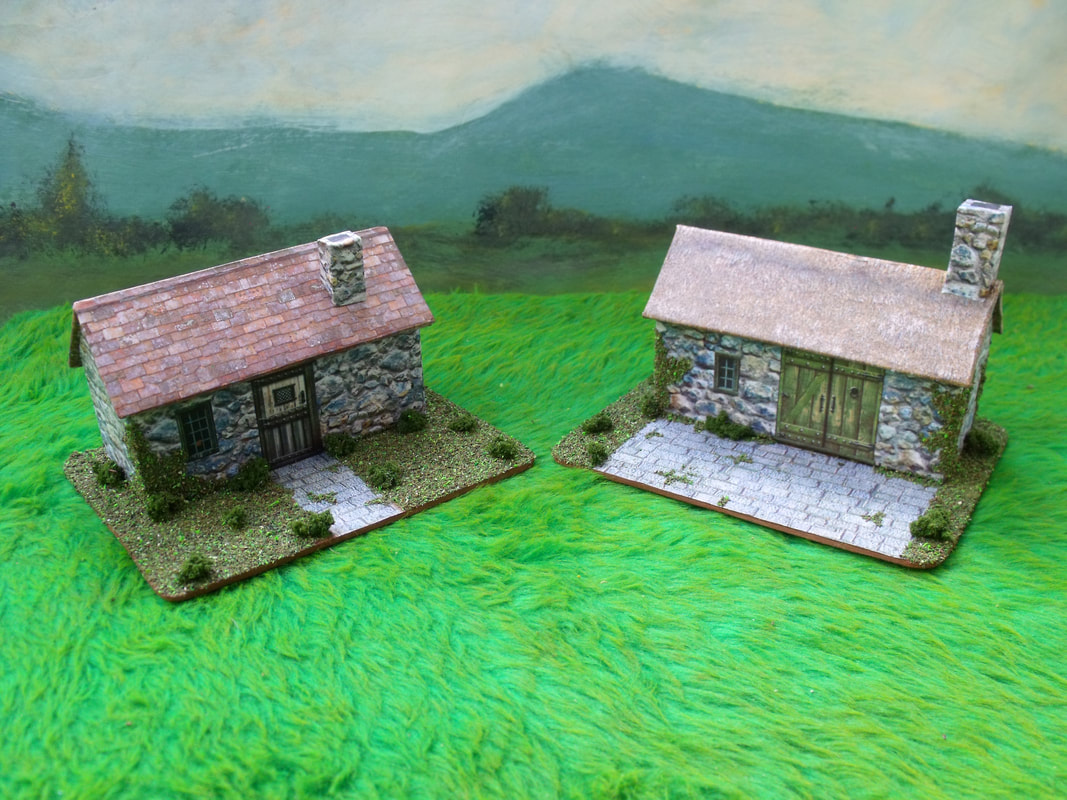
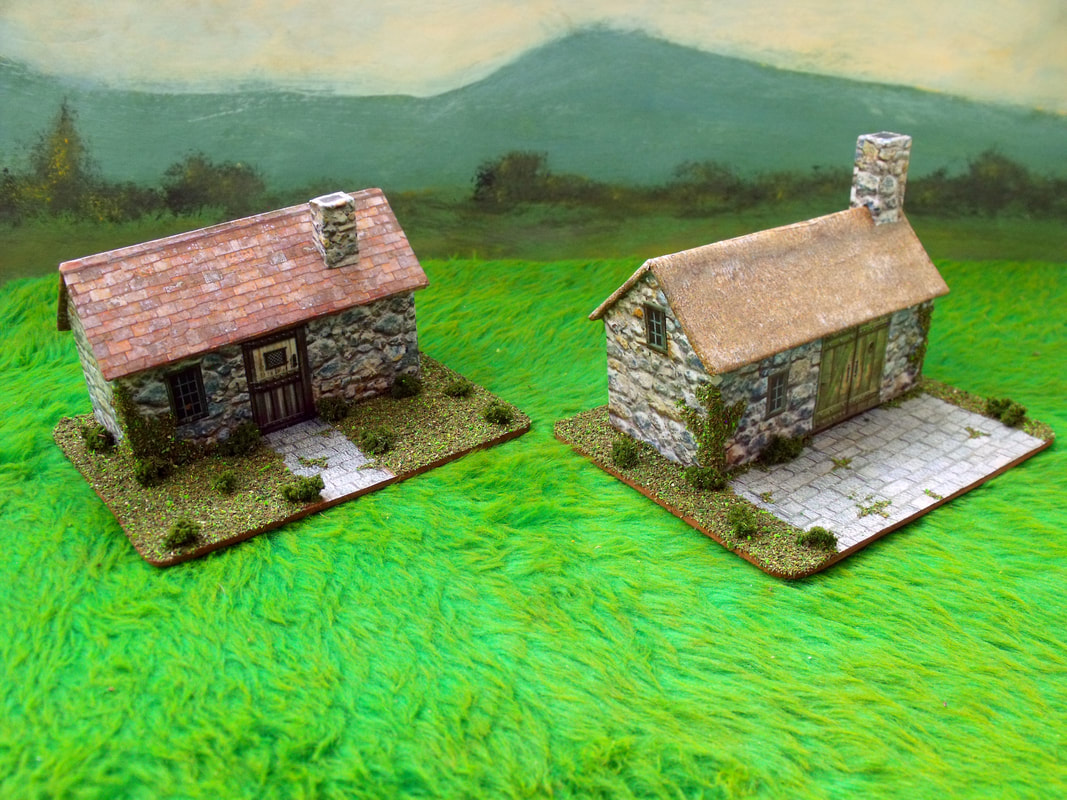
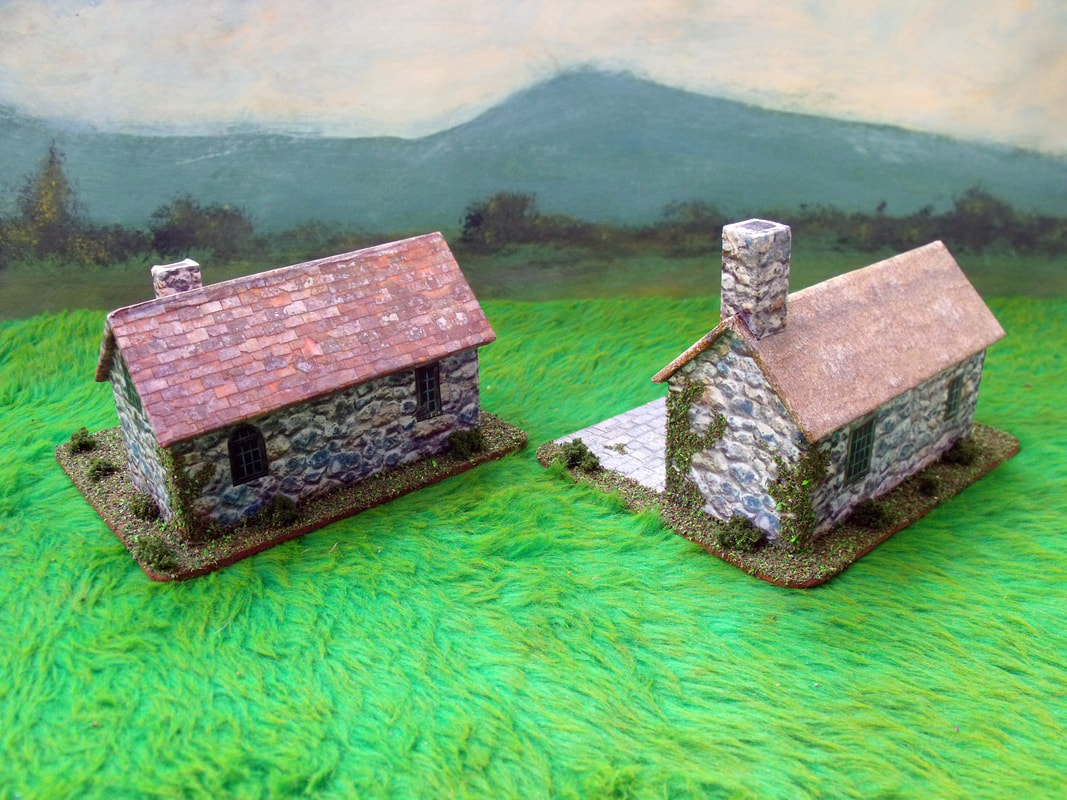
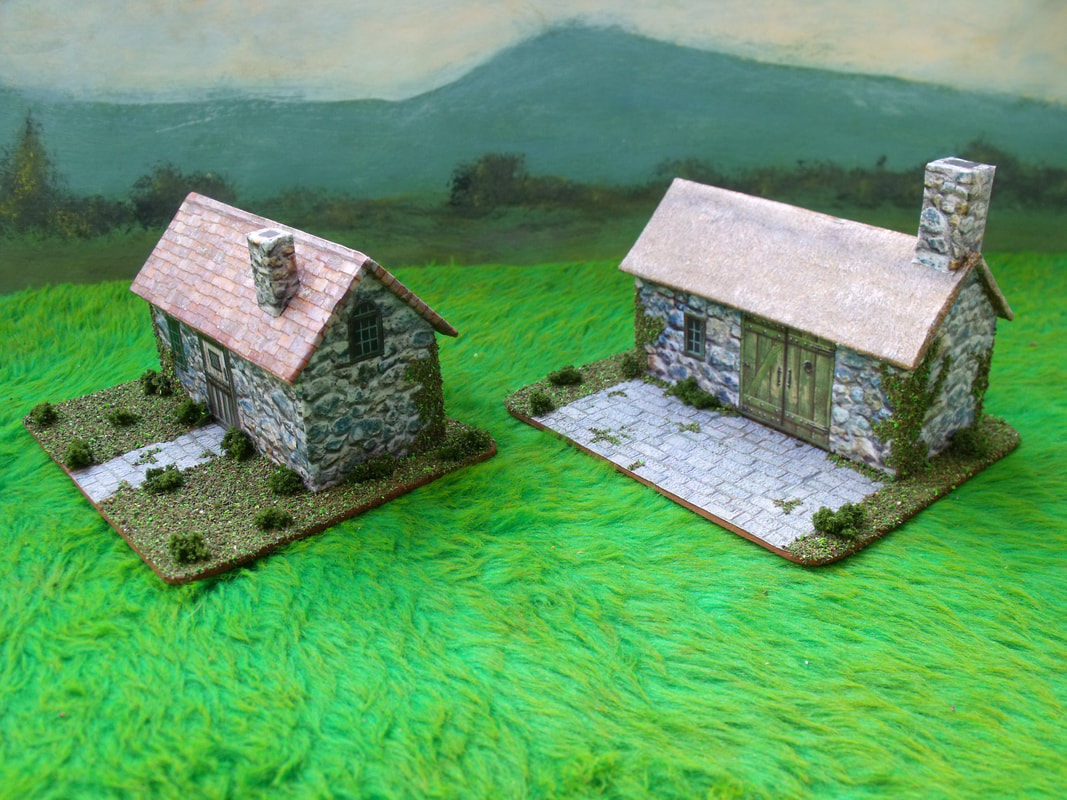
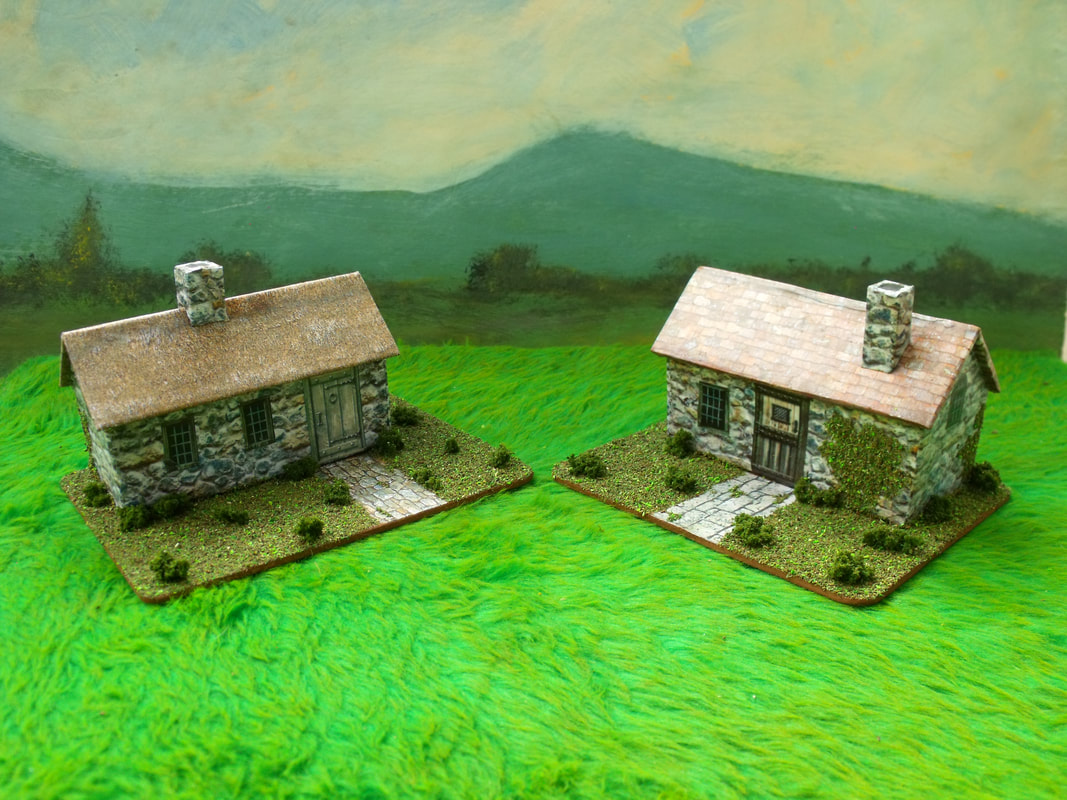
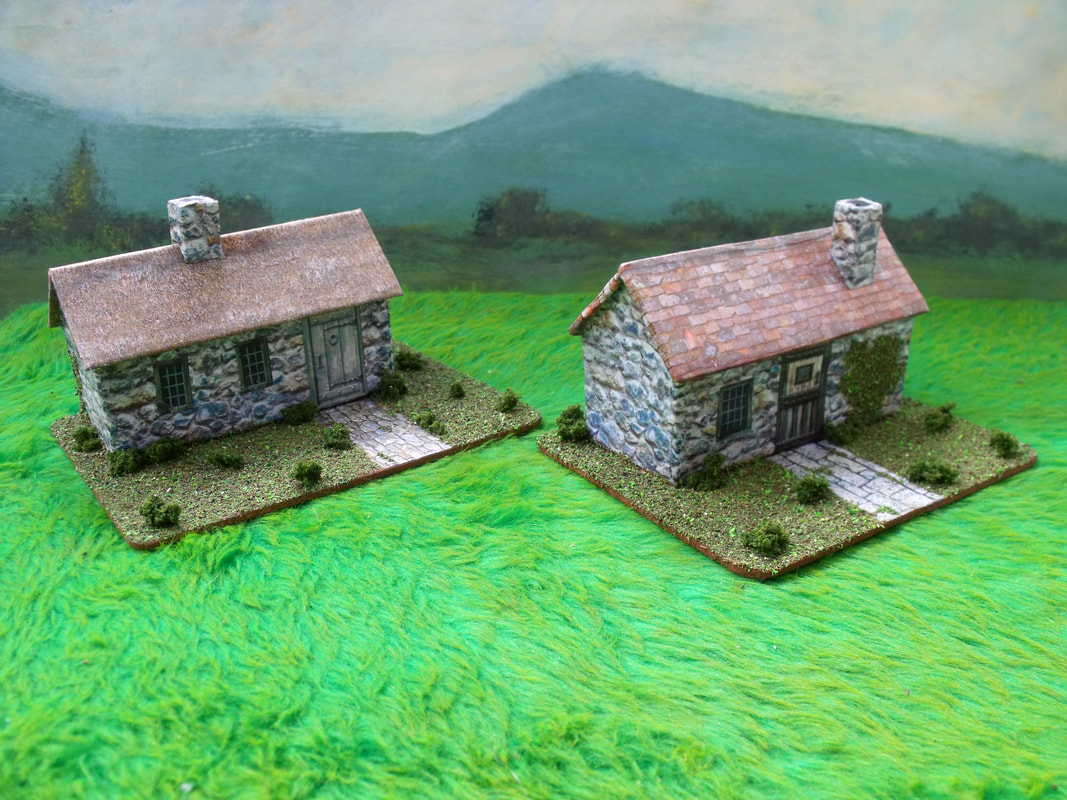
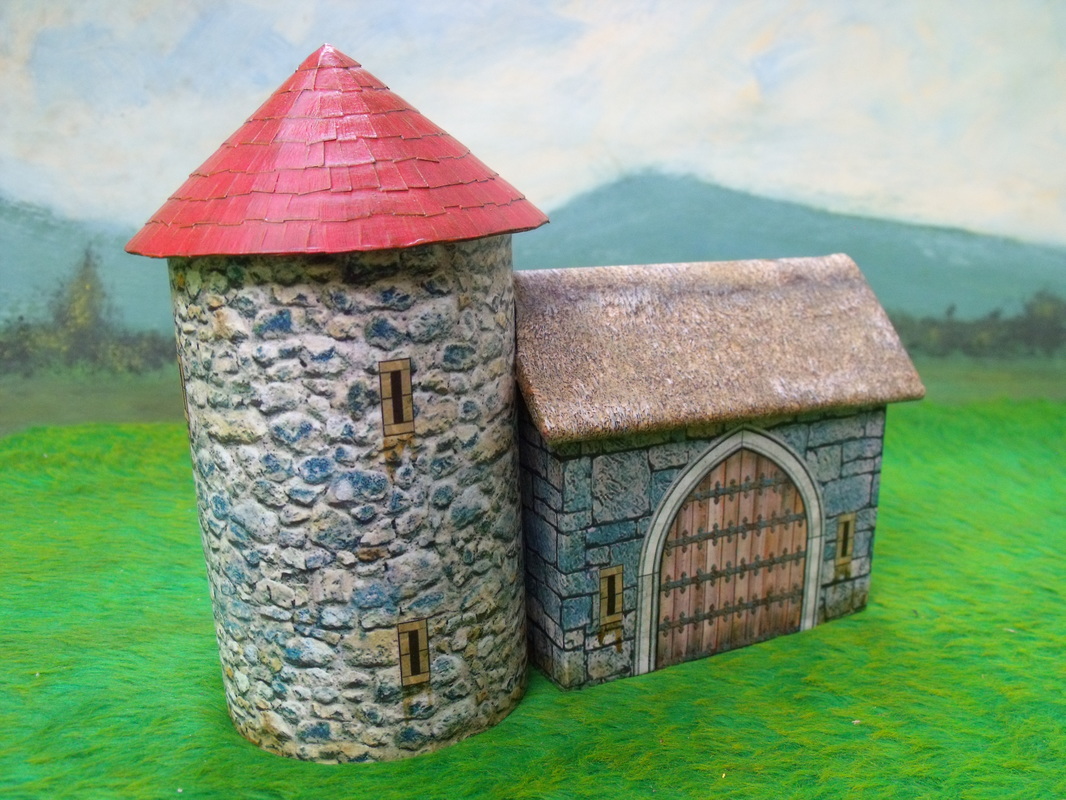
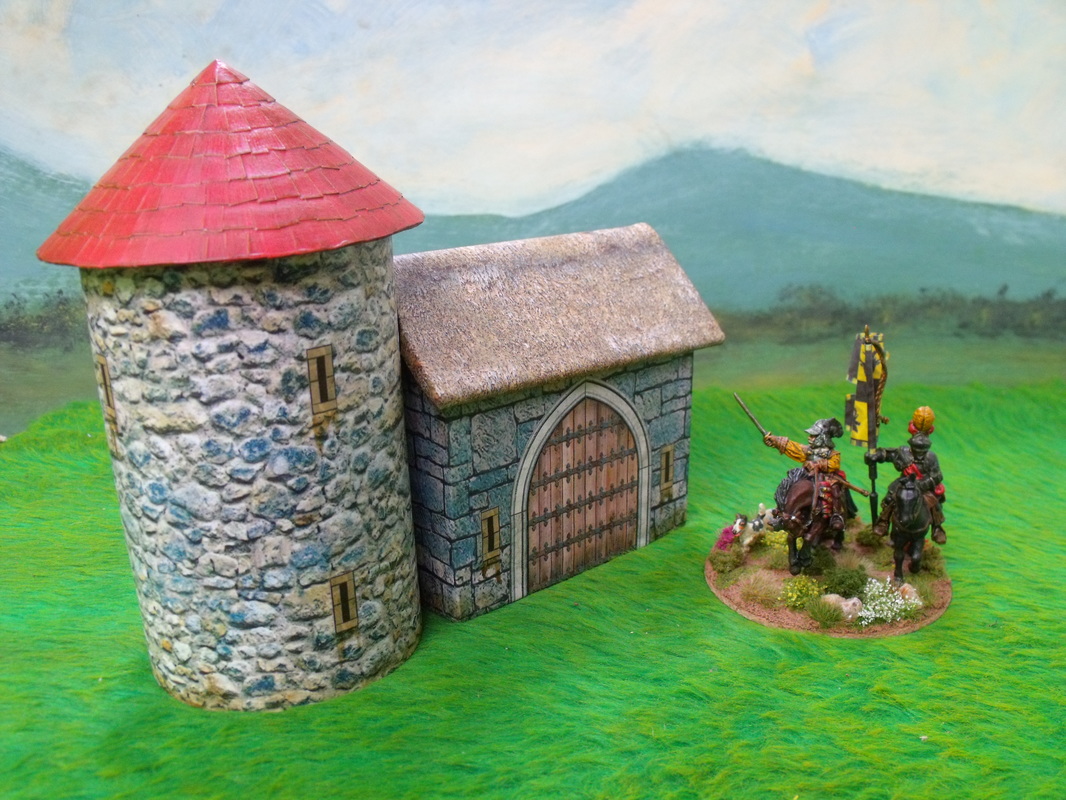
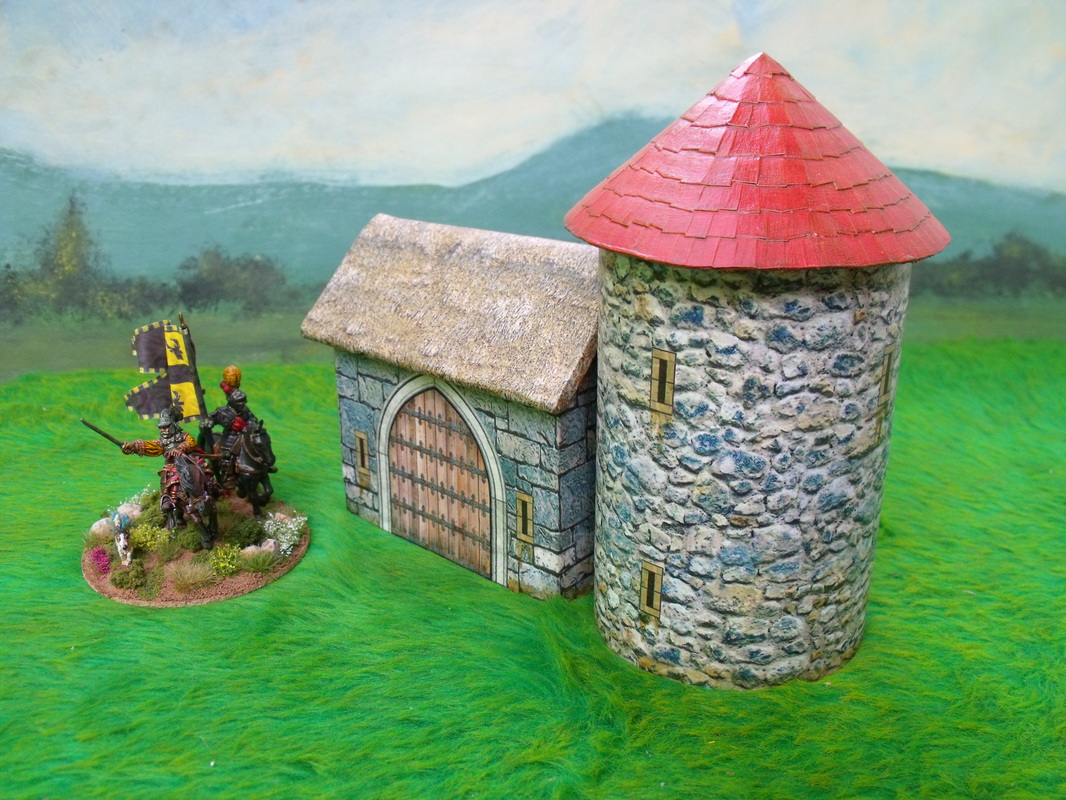
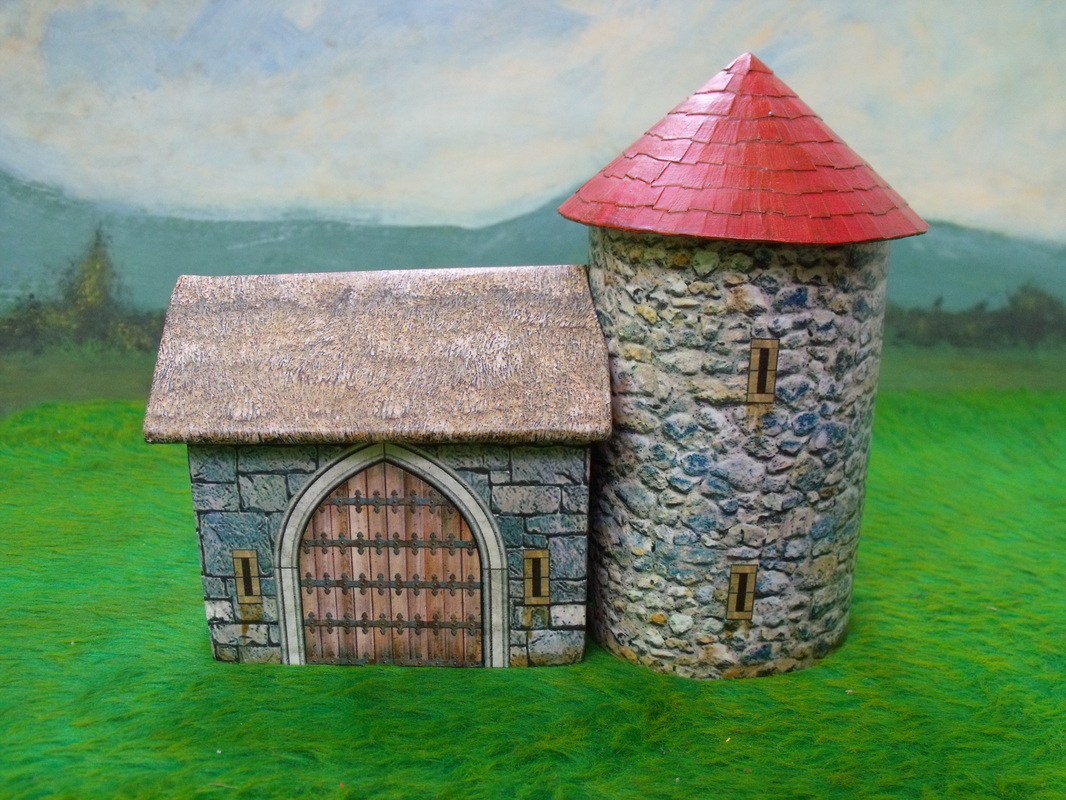
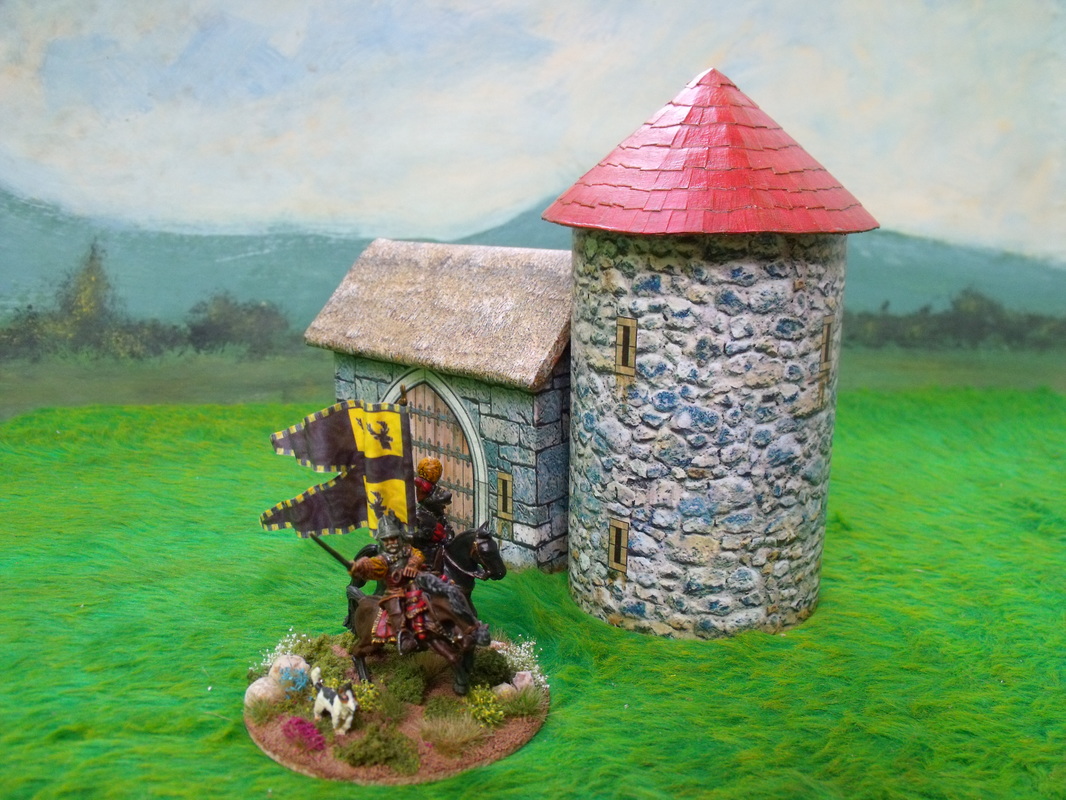
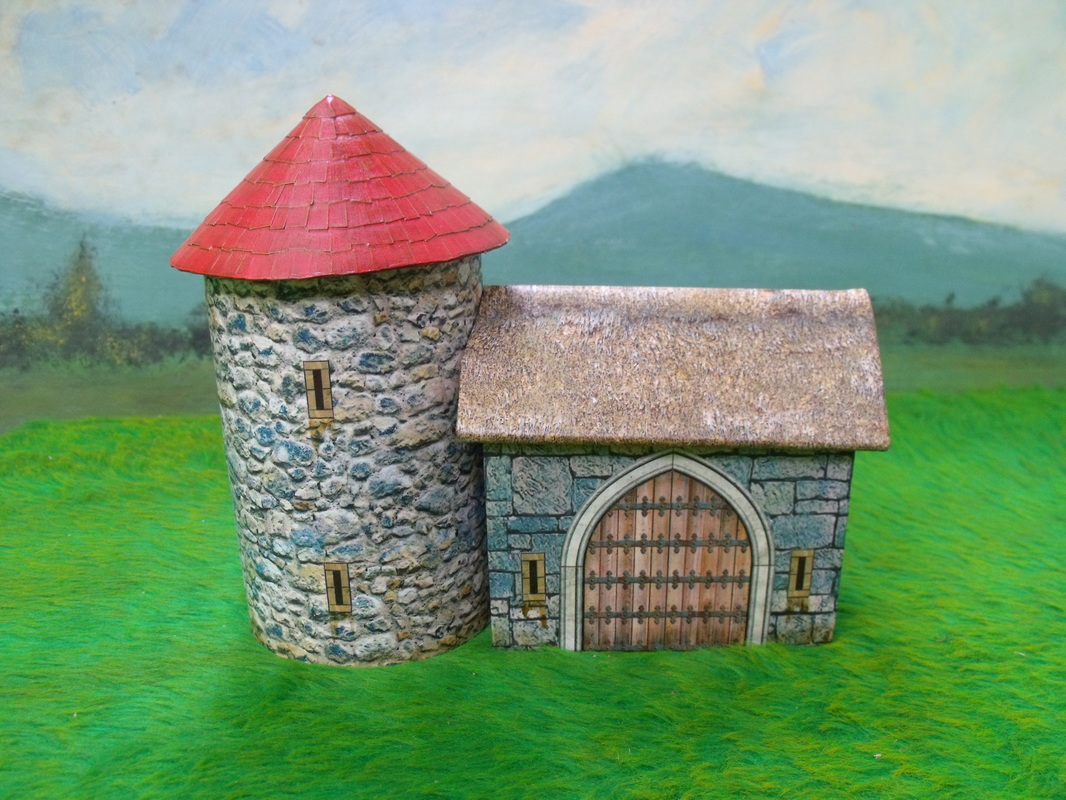
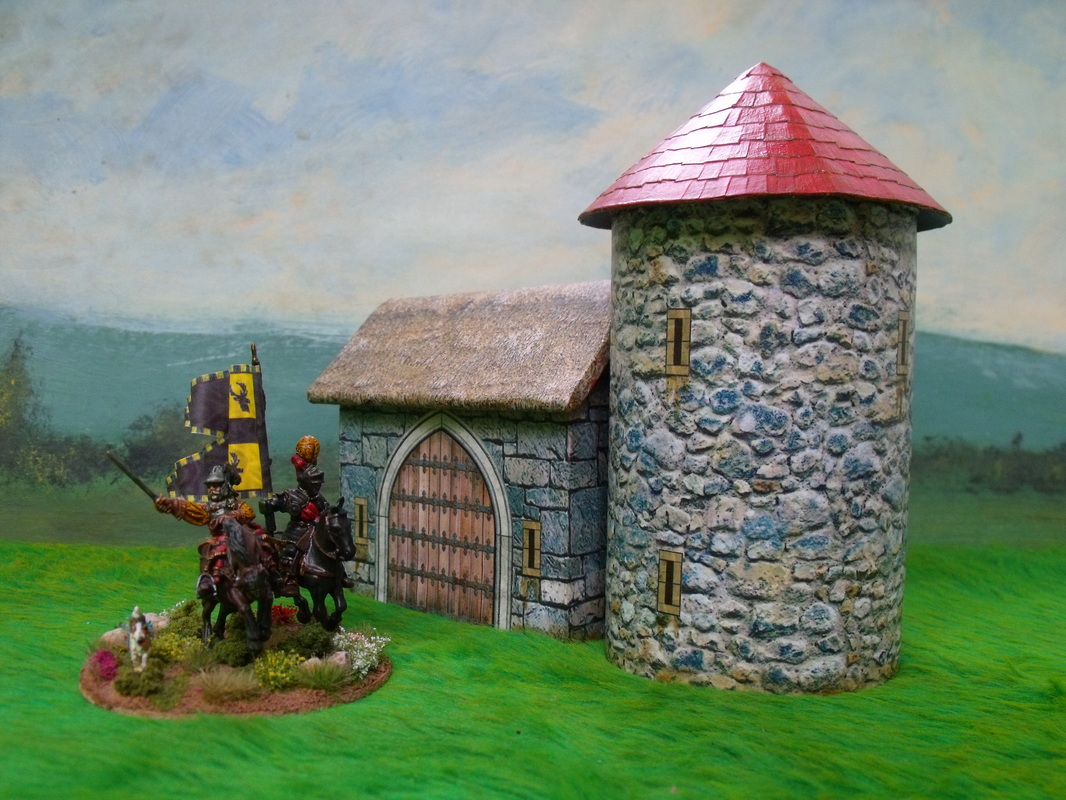
With that in mind I decided that some small stone buildings would be good as a starting point and as it happened I had 6 small blocks of polystyrene ready cut in the shape of buildings. I wrapped these with stone effect paper and glued them with PVA and then glued on the roof sections which were wrapped with tile or thatch effect paper. Once dried the the widows and doors were glued in place and chimneys made from polystyrene carefully wrapped with stone effect paper were also glued on. This completed the basic building stage and I then cut out some hardboard bases of various sizes rounding off and sanding the edges in the process. The building were glued in place and courtyards and paths were also glued down. The buildings were all left to dry thoroughly and then varnished with acrylic varnish to protect them from wear and tear. Again they were left to dry and the bases were scattered and finally some small bushes added for effect. All in all a really easy build which took only an afternoon to complete and cost next to nothing to make. I decided my next project for my ECW building collection would be a Gatehouse that I could use as a Tollgate or slot into the walls of a Medieval town or fortified manor. To this end I remembered a German Gatehouse that the great late great modelmaker Ian Weekley had built many years ago for Miniature Wargames I think and wanted something of a similar nature as I liked the way it looked, plus I had already made a version of the model myself a few times over the years.
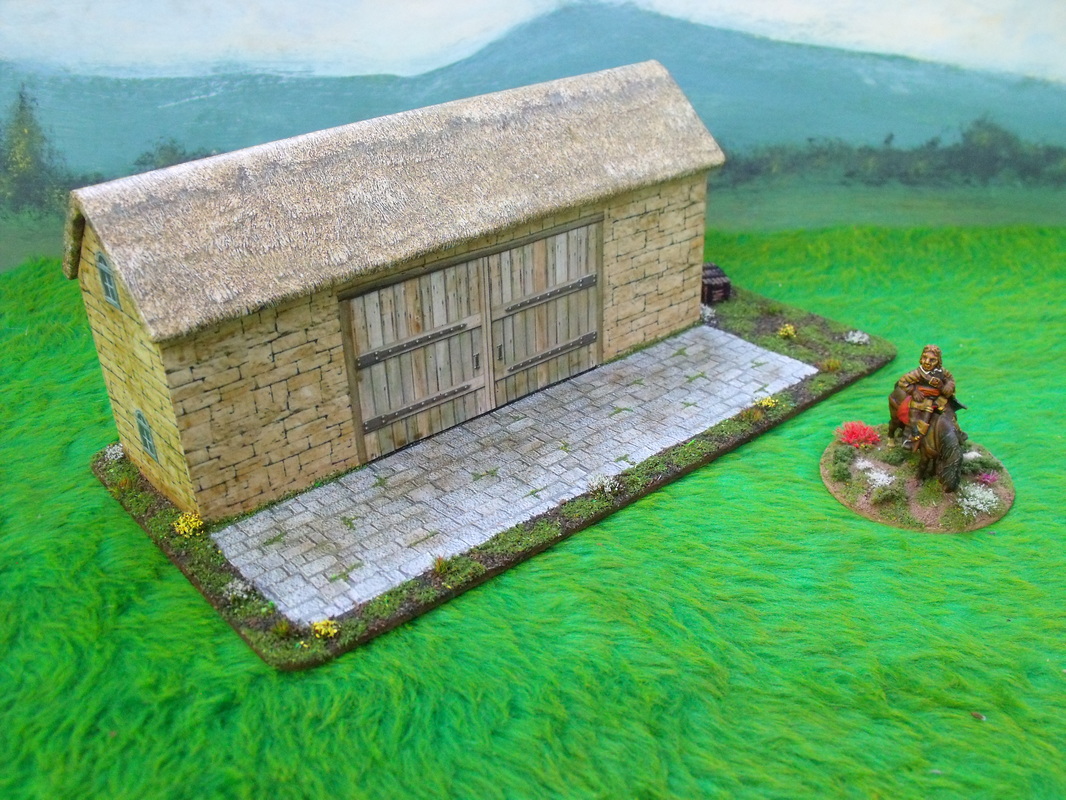
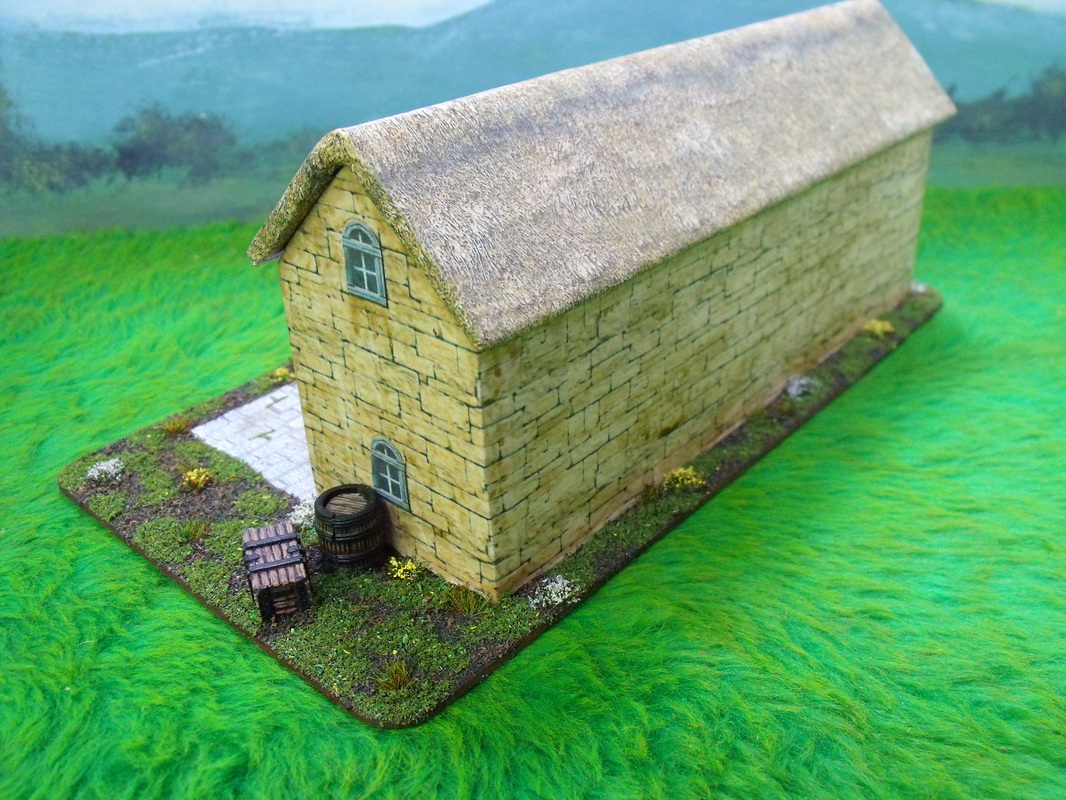
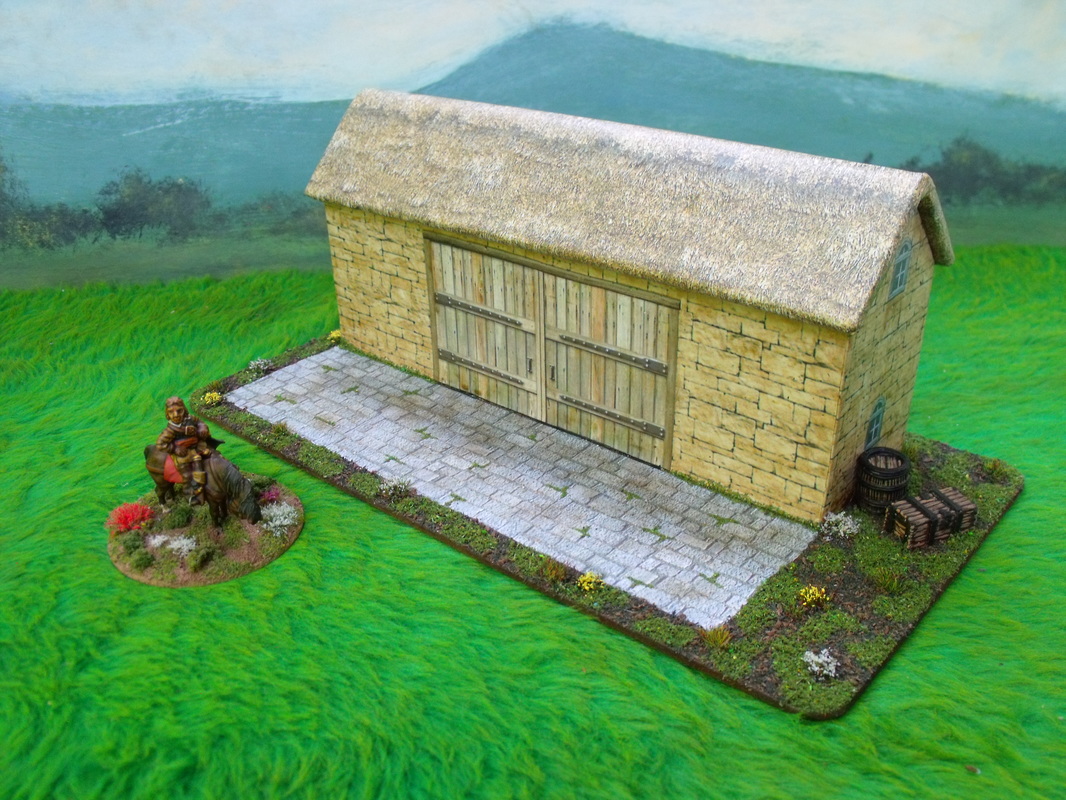
With this in mind I cut down a Pringles tube and then made and assembled the conical roof as detailed in another post on my blog. I do have a nifty template that I made for the tiles on the conical roof that saves me a lot of time and effort cutting the tiles as I can cut the whole row of tiles to fit around the roof in one go. With this done I turned my attention to the main part of the gatehouse and cut the preformed roof section to the desired length and shaped one end so that it fitted snugly to the round tower.Once that was done I was able to make the building itself from some foamboard making sure that the gable ends fitted well under the roof section. At this stage I had the tower with the roof fixed on and a separate roof and house section that all needed to be finished and fitted together. To this end I painted the roof of the tower and left it to dry out thoroughly while I papered the thatch onto the gatehouse roof followed quickly by the paper stone onto the gatehouse. Finally I returned to the tower and papered the stone onto that but this time I used a different type of stone as I liked the idea that the tower and gatehouse were built at different points in time. With all the components papered and dry I glued the roof onto the gatehouse and then glued to gatehouse to the tower ensuring that they lined up correctly. Next job was the gate itself and I took this off a paper model that I had bought and then I made a template for some arrow slits and printed off some of those to be glued in place where I wanted them. At this point I used an acrylic wash over the conical roof to dull it down a little and then with the same wash I added some damp around the base of the structure and some drips under the arrow slits. Finally once dry I varnished the whole structure with clear acrylic matt varnish which really helps to protect and strengthen my model buildings. Usually I base the buildings I make on hardboard or MDF but on this occasion I left it off the base so that I could decide later how this would link up to the road sections that I intend to make at some later date. But for now it will remain unbased and here is how it looks. I built his building as a sort of experiment really just to try out some new wallpapers and see how they looked on a finished building. I wanted a new barn or warehouse for my ECW collection but also I wanted to try out a Cotswold stone wallpaper that I made a few months ago as I wasn't at all sure that I liked it, at the same time I had bought a thatch wallpaper and again I wasn't sure that it would look so good on a finished building.
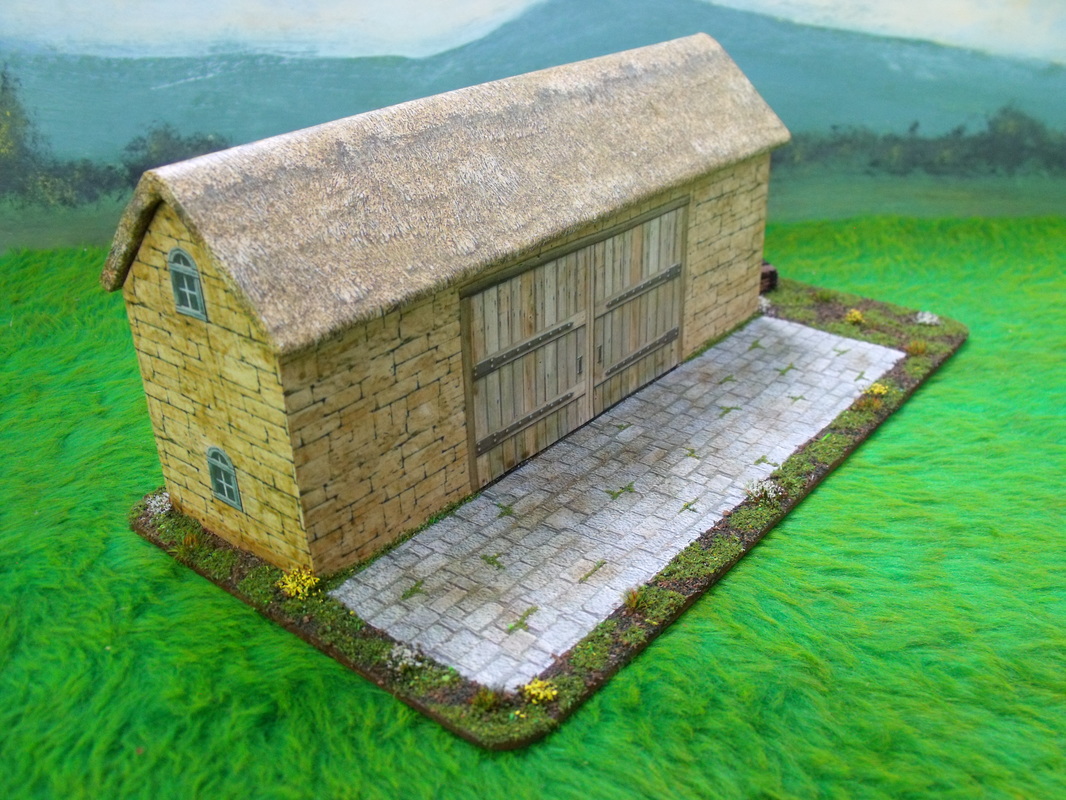
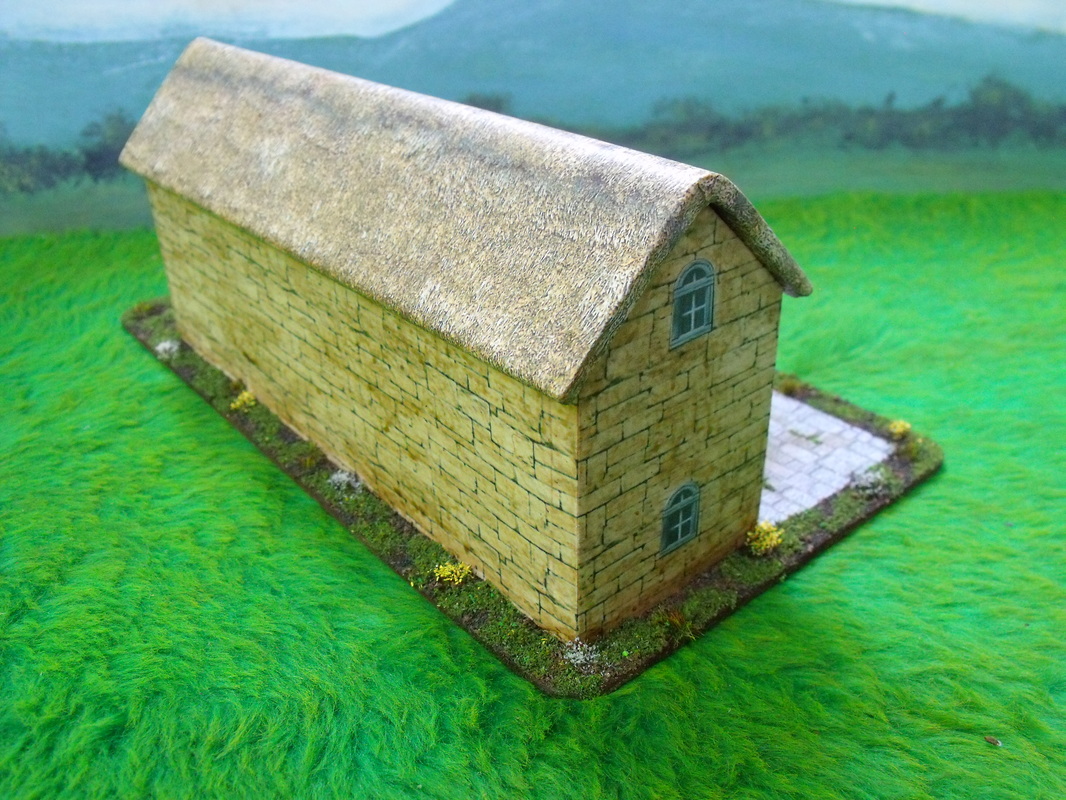
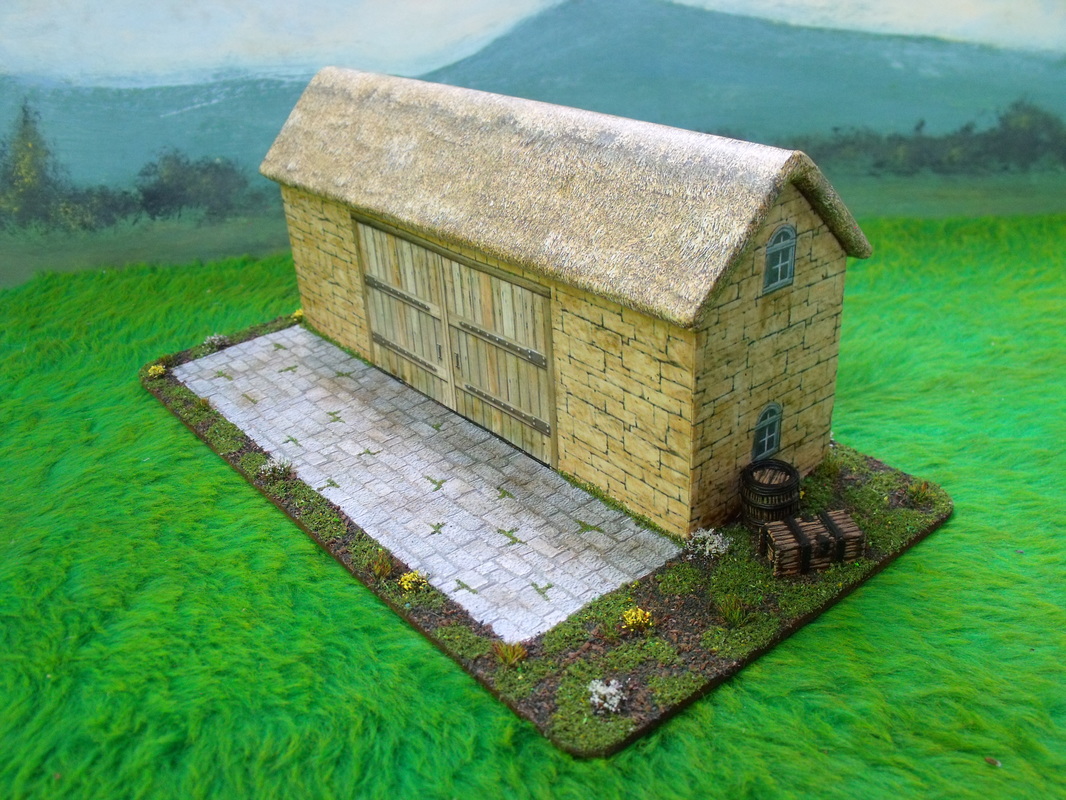
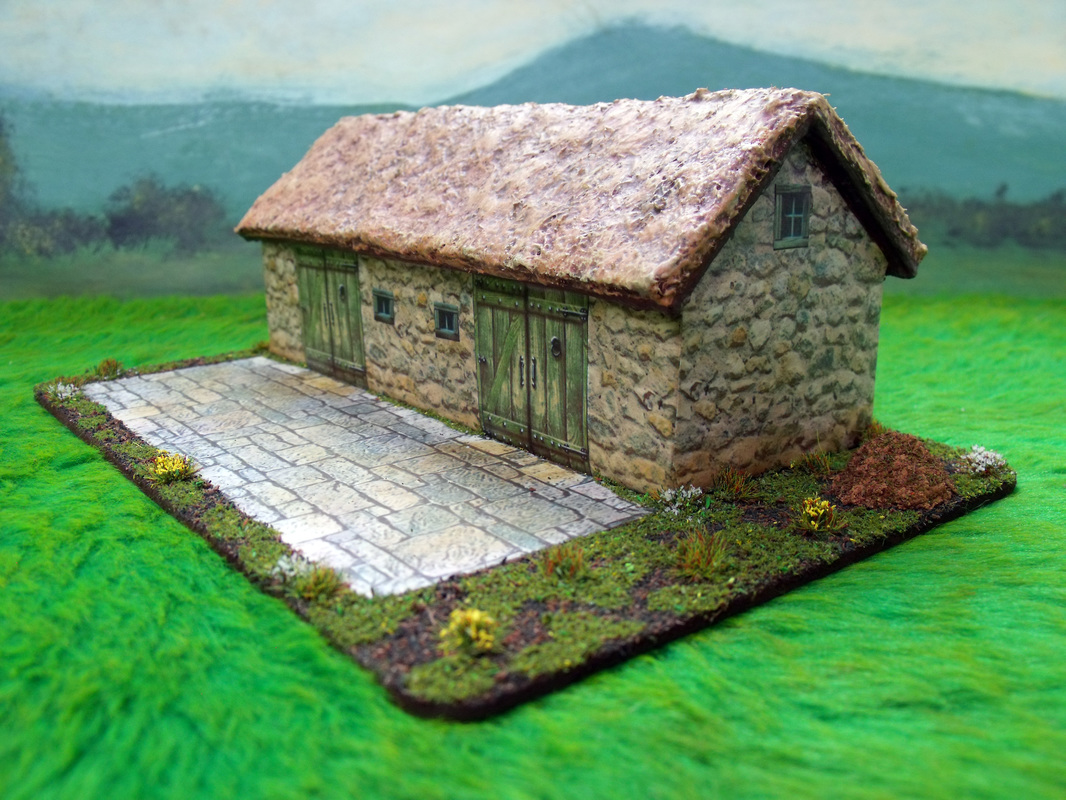
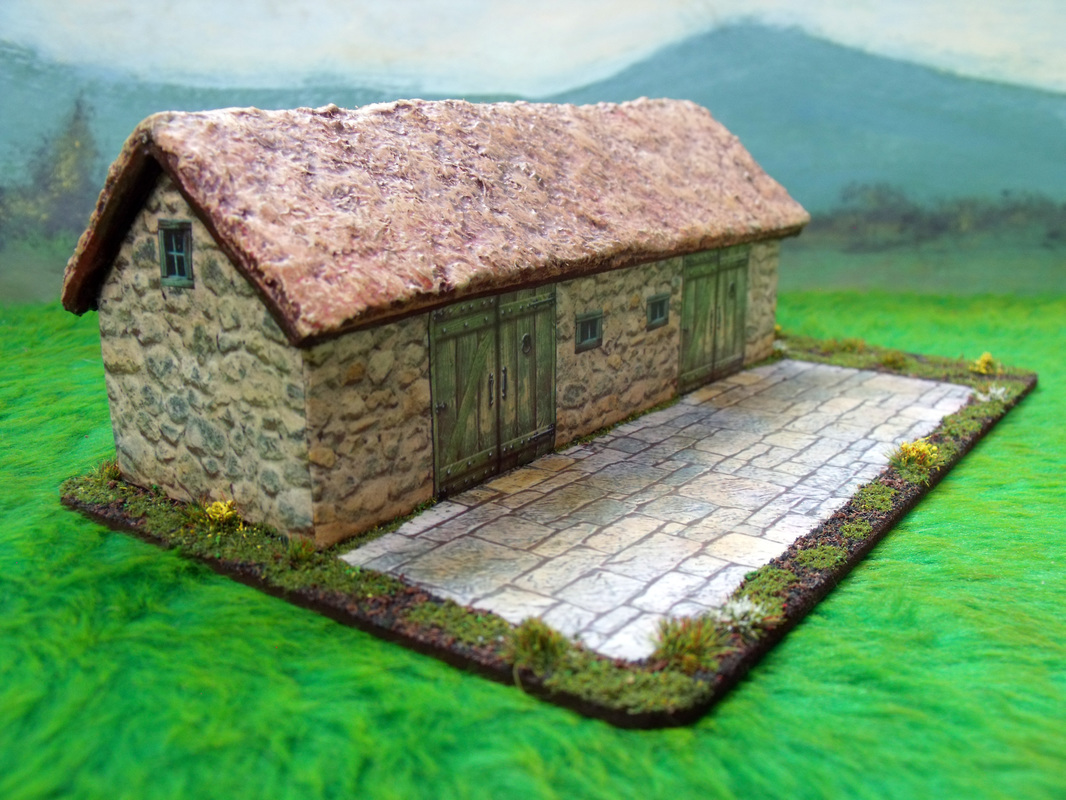
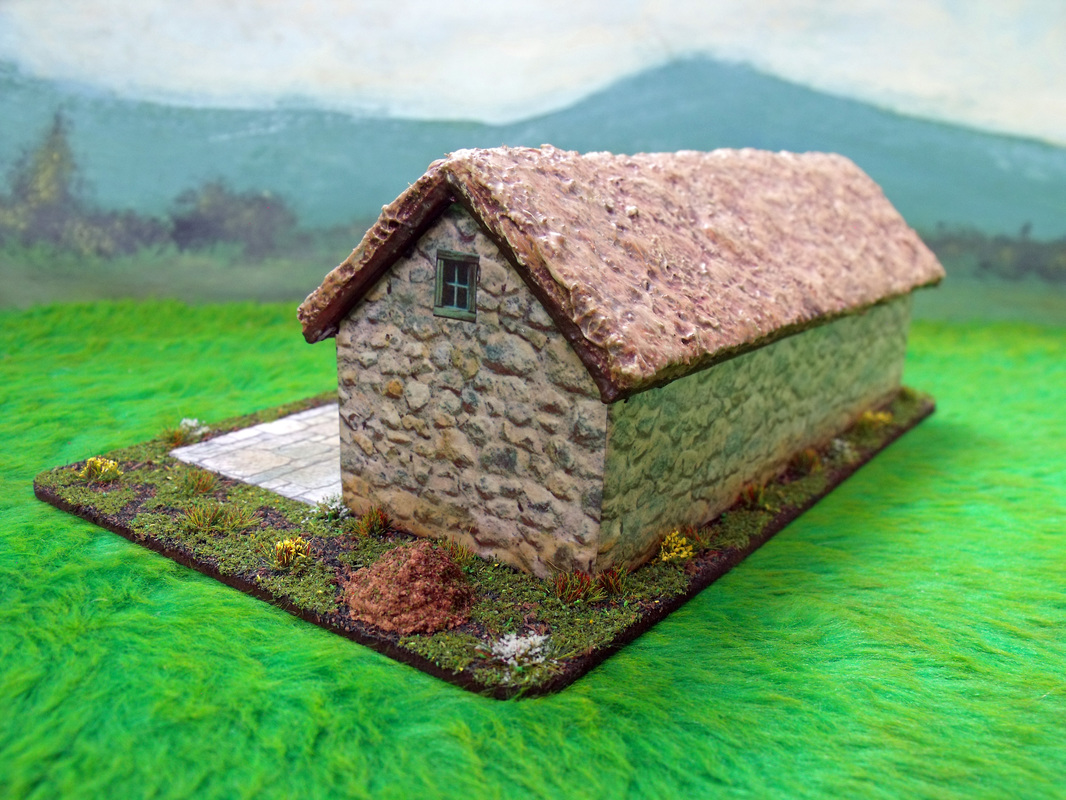
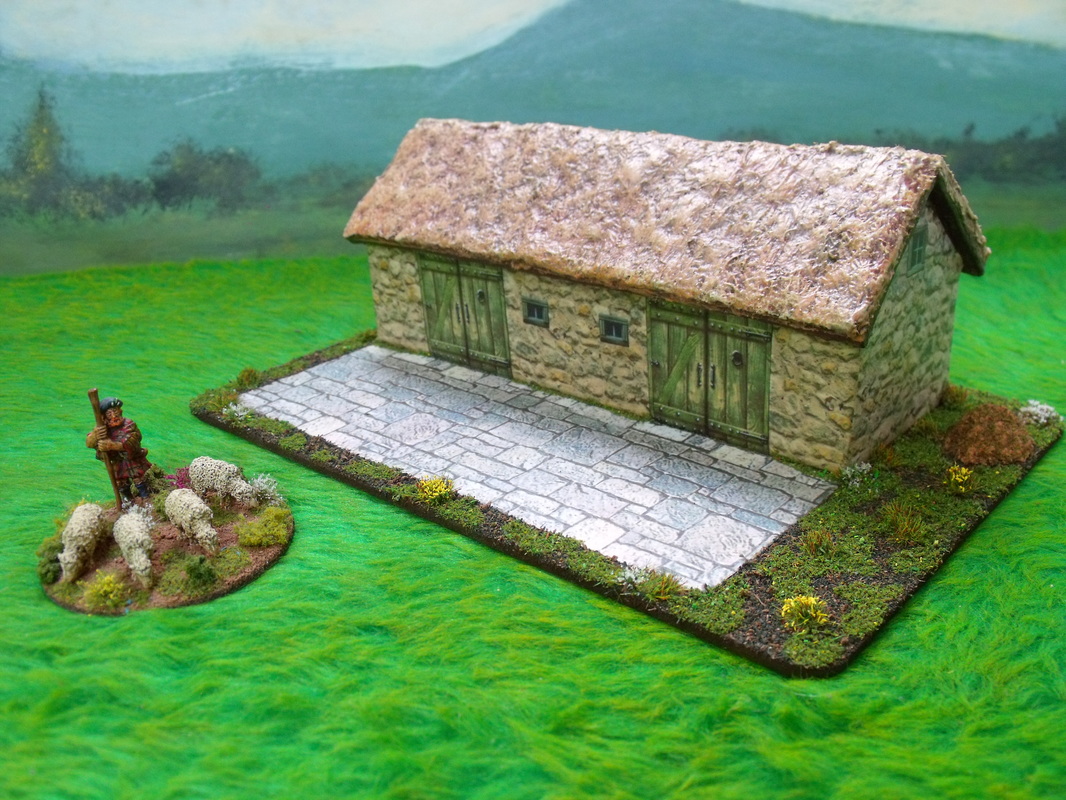
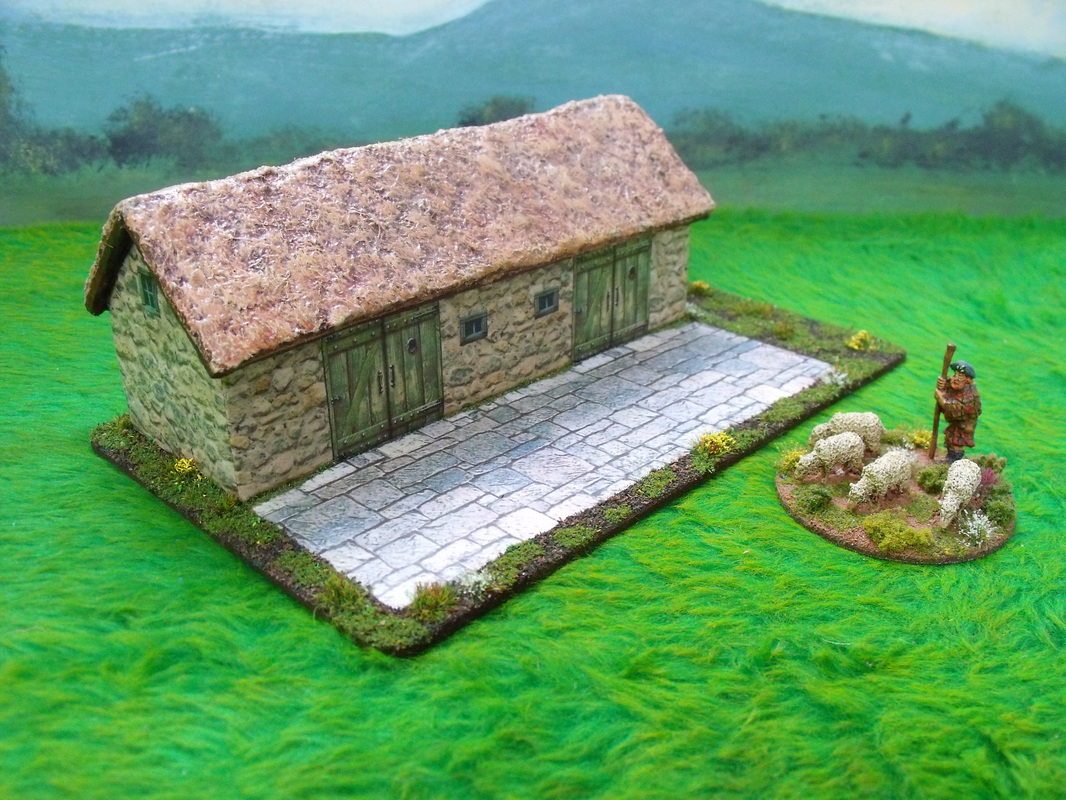
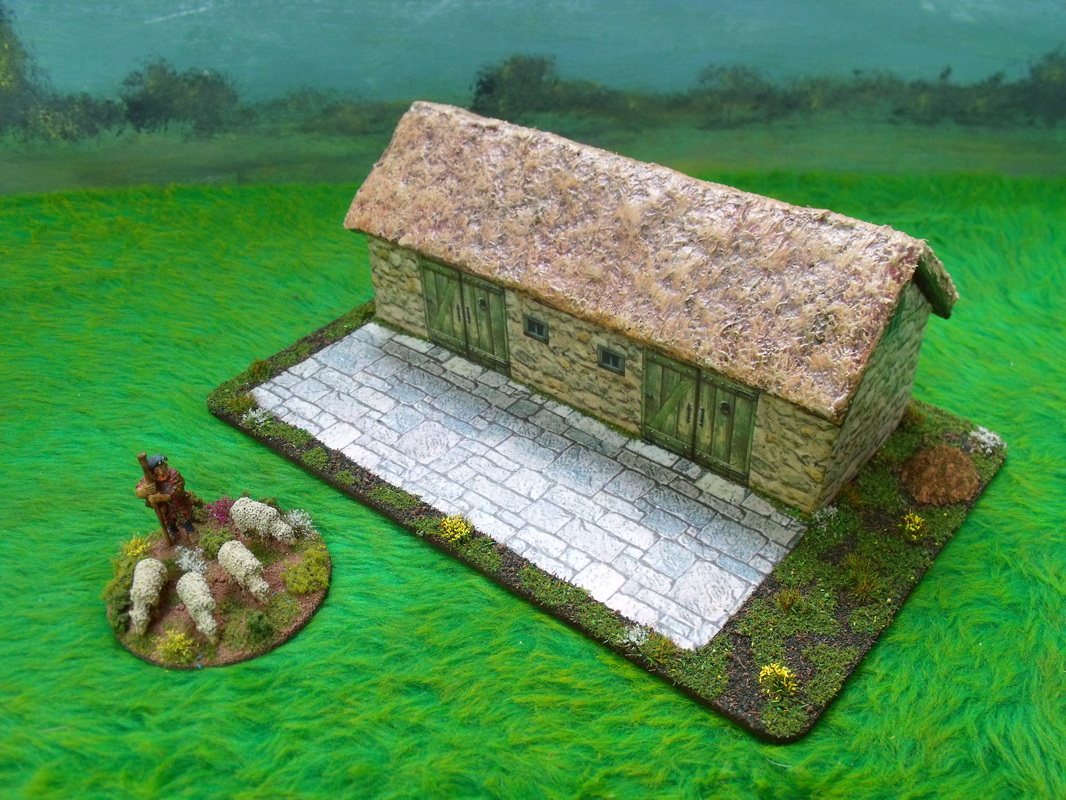
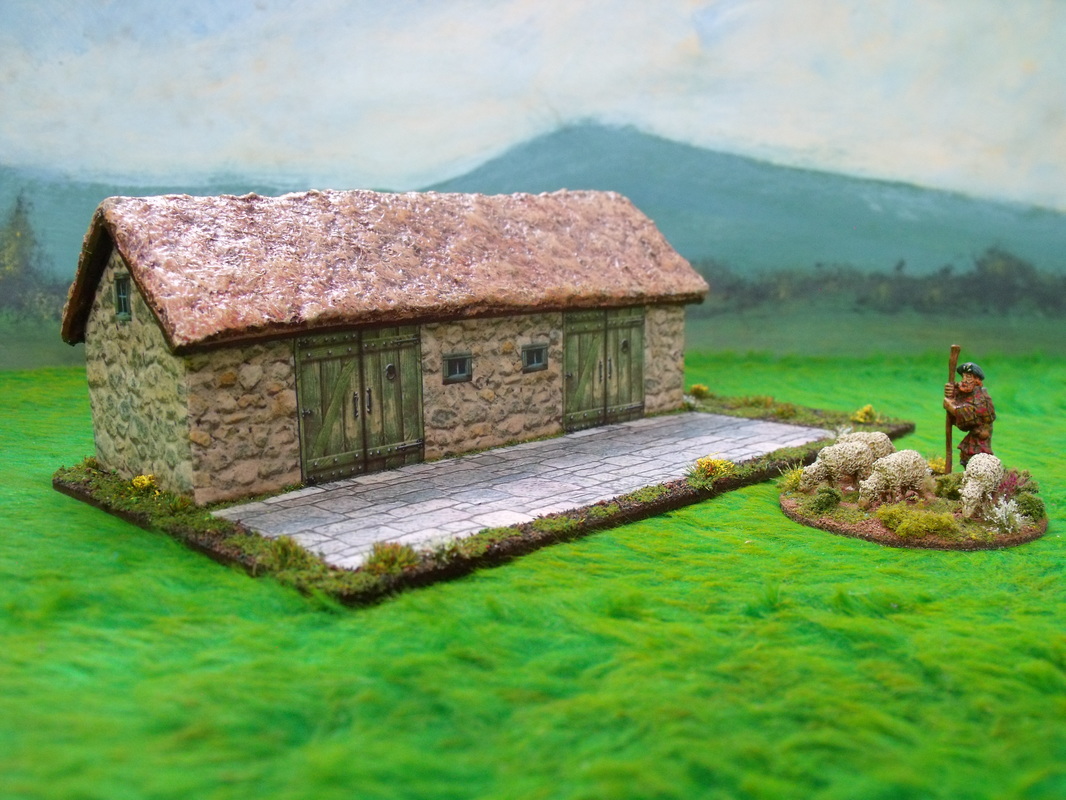
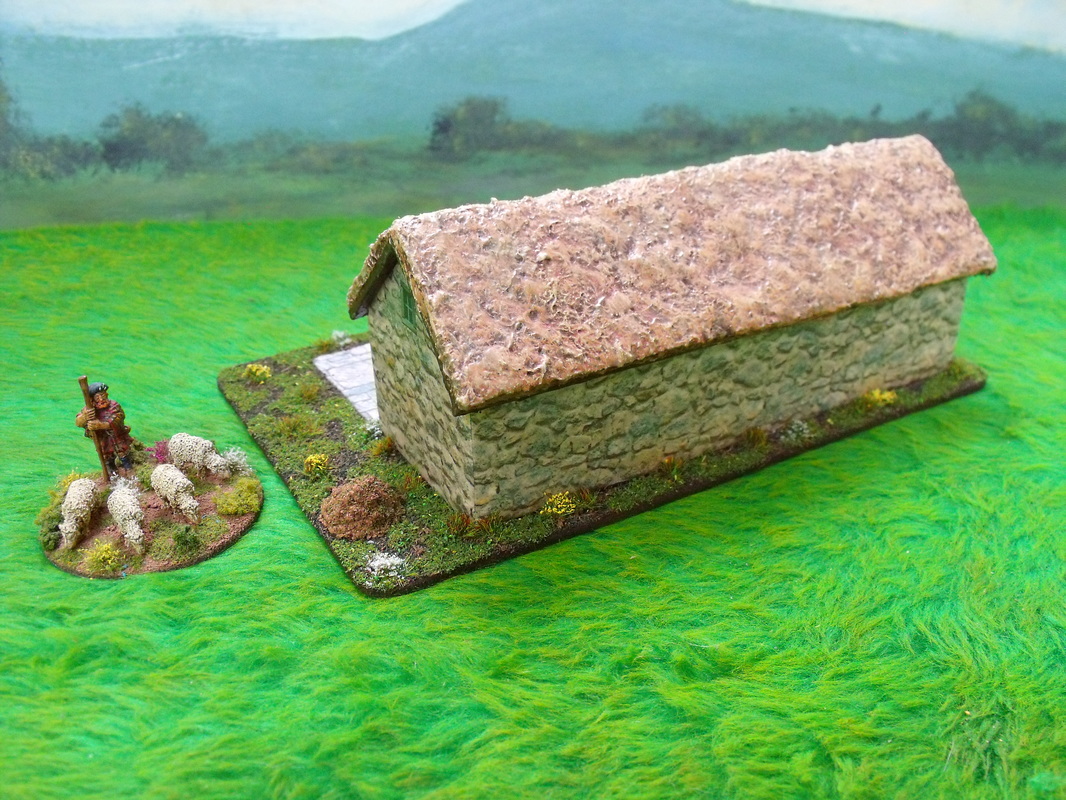
The structure itself was made in the usual way using a foamboard shell and this time I used a pre-formed roof made from a single piece of packaging that I got from a local supermarket. As the roof was pre-formed it dictated the size of the barn in both width and length but the height was determined by the barn doors, hence the long thin appearance of the building. With the bare bones of the building completed I decided to wallpaper the walls and then the roof, which was not attached at this time. Once dry the roof was glued to the walls and the windows and doors were cut out and glued on and the whole building was then glued down to the base board. The next job was to glue down the paved area and then I painted the bare areas to the colour of the dirt coloured scatter material that I would later use to cover the base. The walls looked too new and probably too light for my taste at this stage so I decided to apply a brown wash to tone it down and make it look a little more weathered. Back to the base I fixed down all the bushes and flowers and then added a crate and a barrel as in my mind at least I pictured this building as more of a warehouse than a barn. I then turned back to the building and coated it all over with acrylic varnish to protect the paper surfaces and also help to bring out the colours a little more. Finally the scatter material was added to the base, firstly the dirt and once dry I added the grass areas, this time though I decide to add some grass/weeds coming through the paved area to complete the look I was after and also again as an experiment to see how it looked. Once it was finished I set it aside and had a good look at it from the distance it would be viewed at from the tabletop and I was actually really impressed with how well the stone looked but especially impressive was the thatch effect. I have to say that wallpapers are so much easier to use than scratchbuilding in the normal way and in my opinion look just as good. After some excellent feedback I decided to add some muck stains to the courtyard and a bit of weathering to the bottom of the walls to suggest damp. Also as noted in the last post I have re-varnished the thatch with solvent based matt varnish to take away the slightly glossy sheen. I think that the result was well worth the extra ten minutes of work.
I made this Pigsty for my ECW collection a good while ago and decided to finish it off the other day by putting the groundwork around the structure and courtyard. The building itself is made of a polystyrene block cut to the right shape and wrapped in stone effect wallpaper with the doors and windows added later. The roof is felt lagging over thick card with a polyfilla wash over it and several coats of paint to give a nice thatch effect. The base is an off-cut of hardboard and the courtyard is again a stone effect paper and the groundwork is several layers of various shades of scatter material with some long grass and flower tufts added to make it look extra pretty. The pile of pig muck is strategically placed for an assassin to hide in just in case an enemy general decides to go looking for some free bacon. With all of my buildings I give them a coat of matt acrylic varnish or protection but sometimes a coat of matt solvent based varnish is required over that to really matt down such things as the shiny a thatch that was caused by the acrylic varnish. All in I am really pleased with the result and especially now that the thatch has had an extra coat of matt varnish.
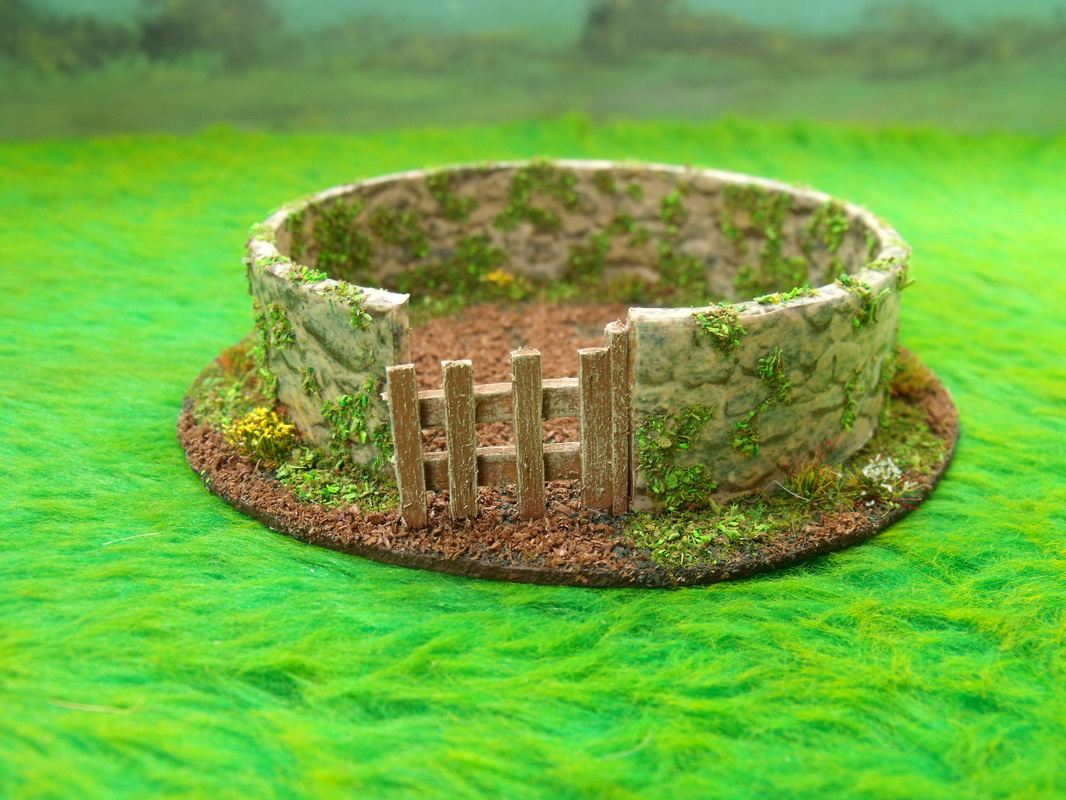
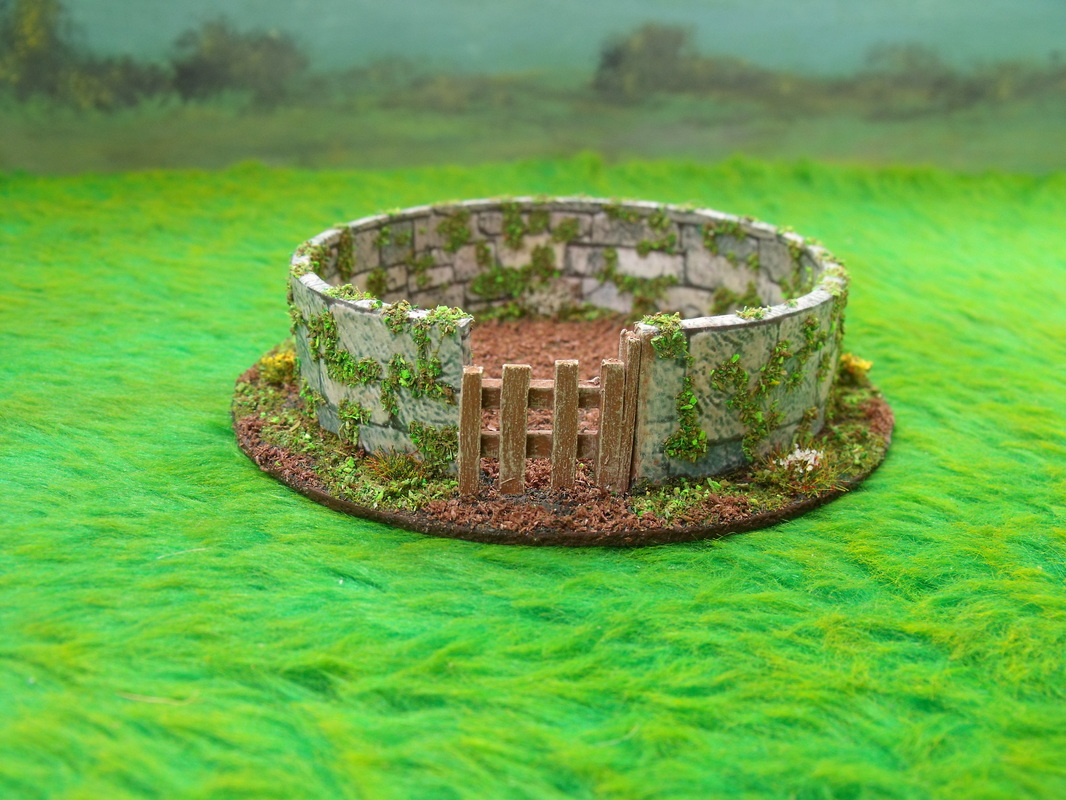
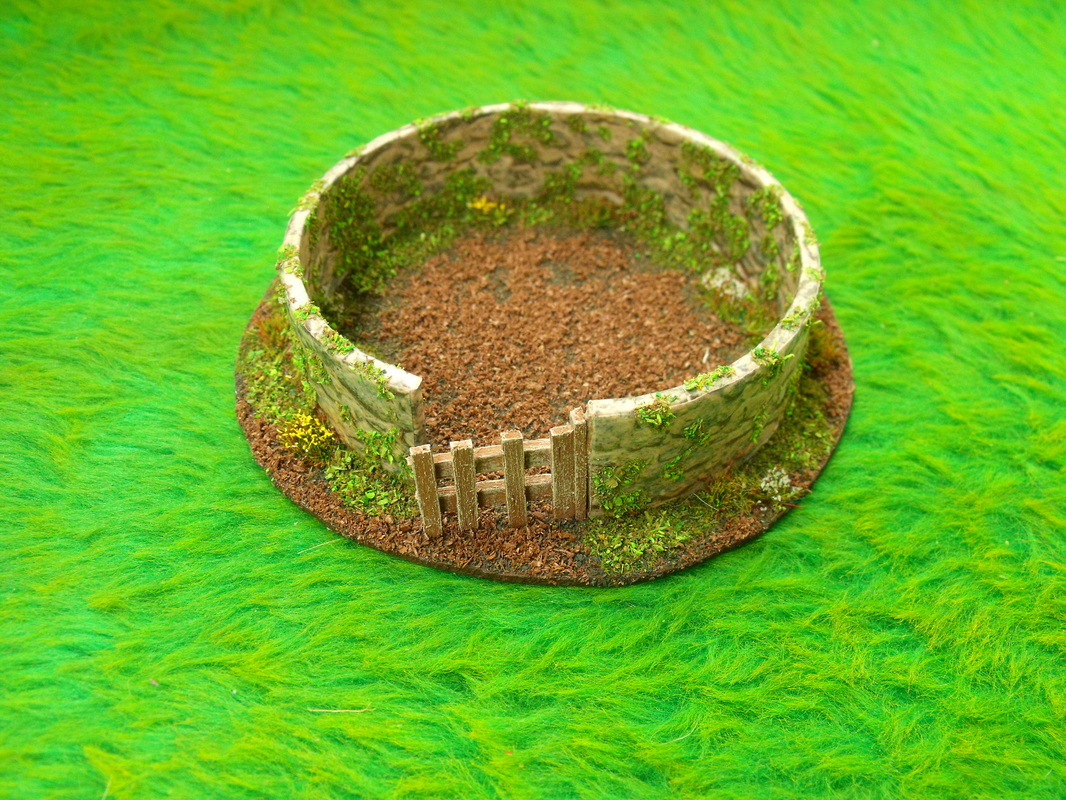
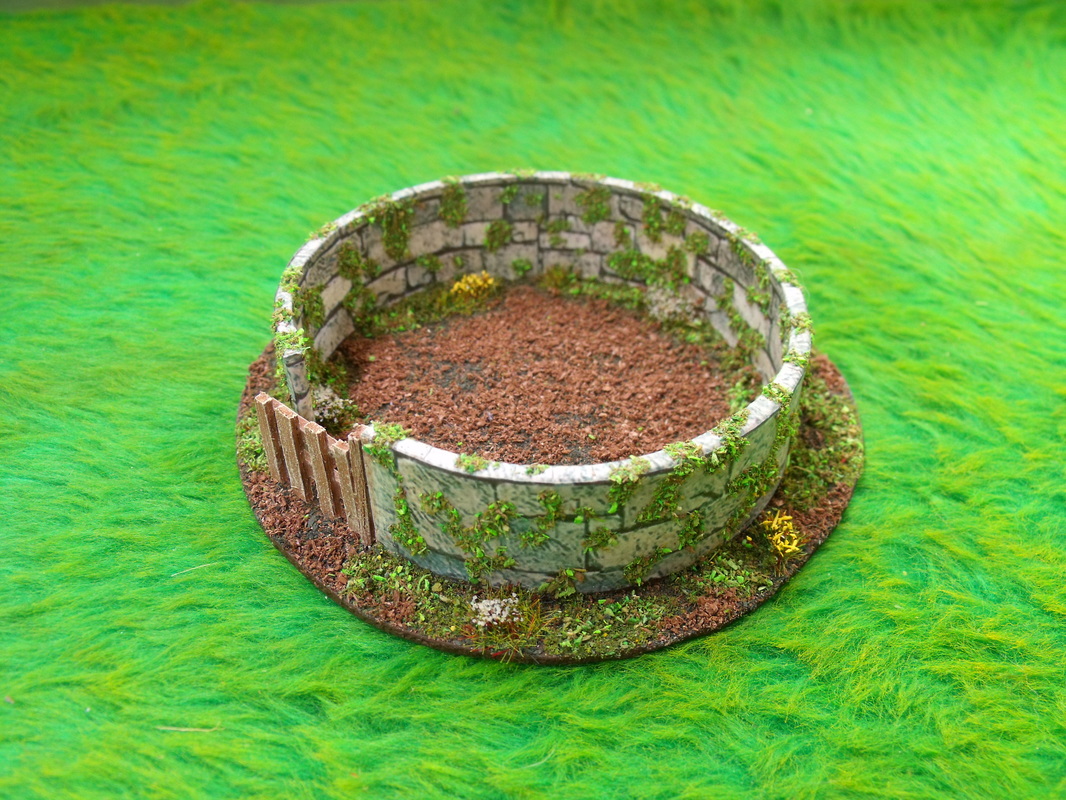
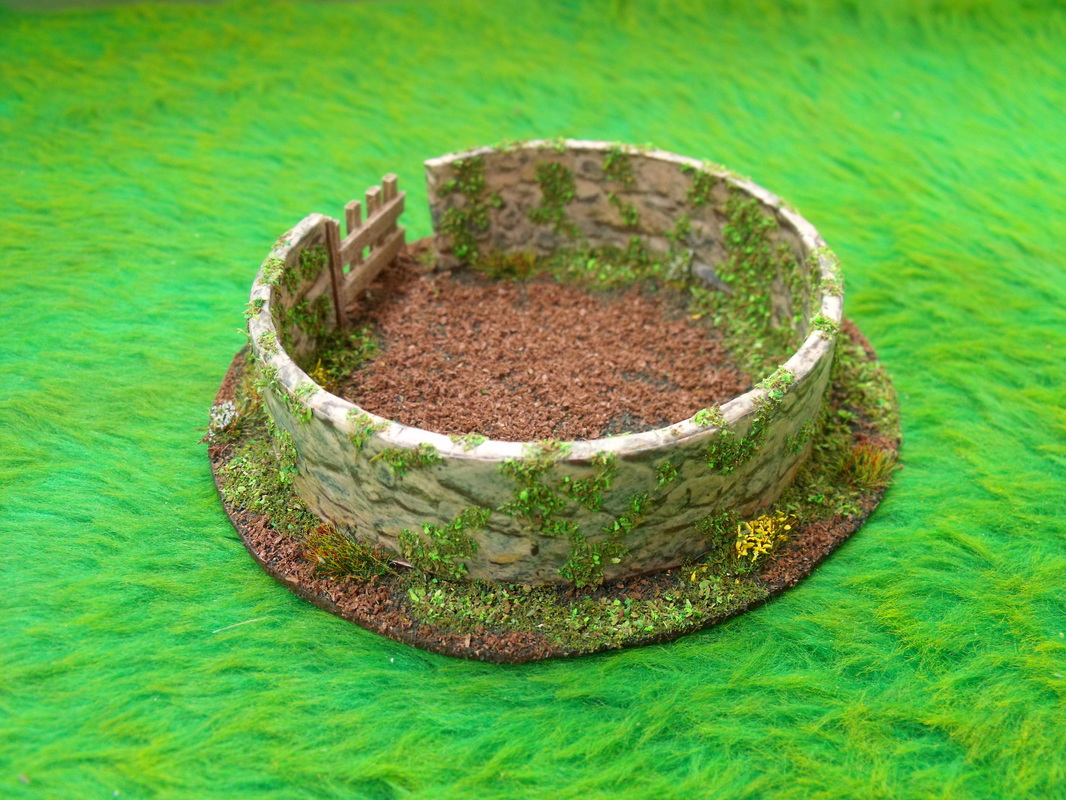
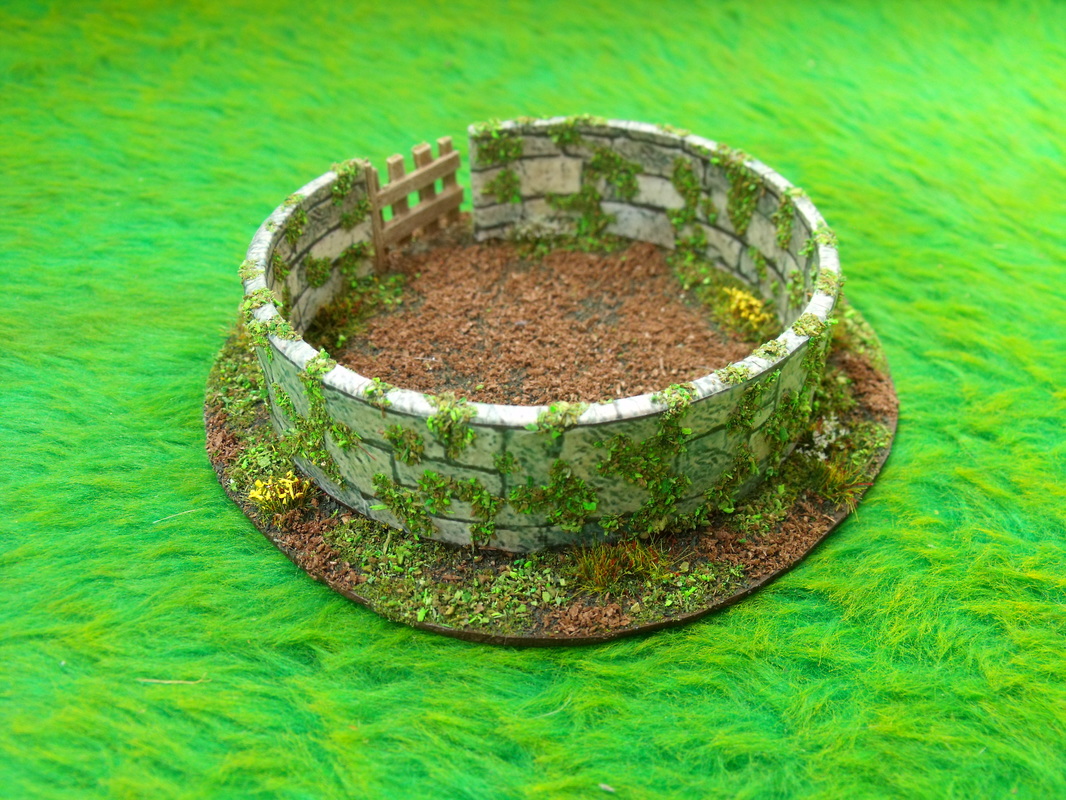
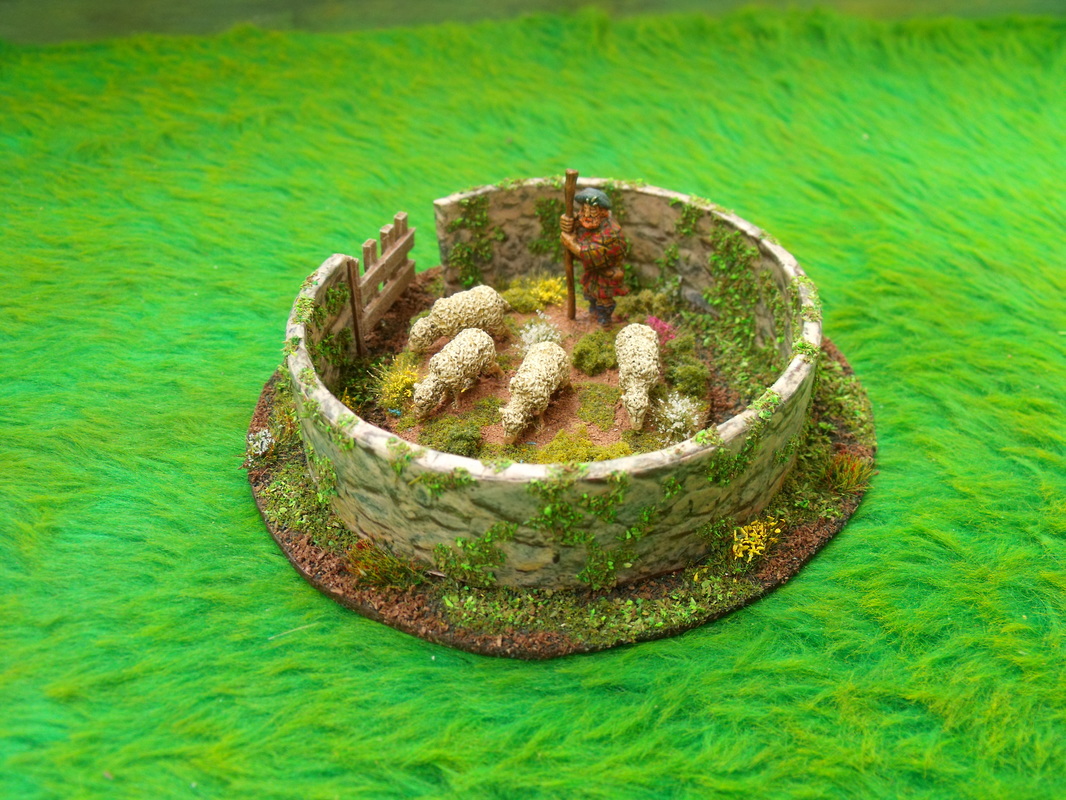
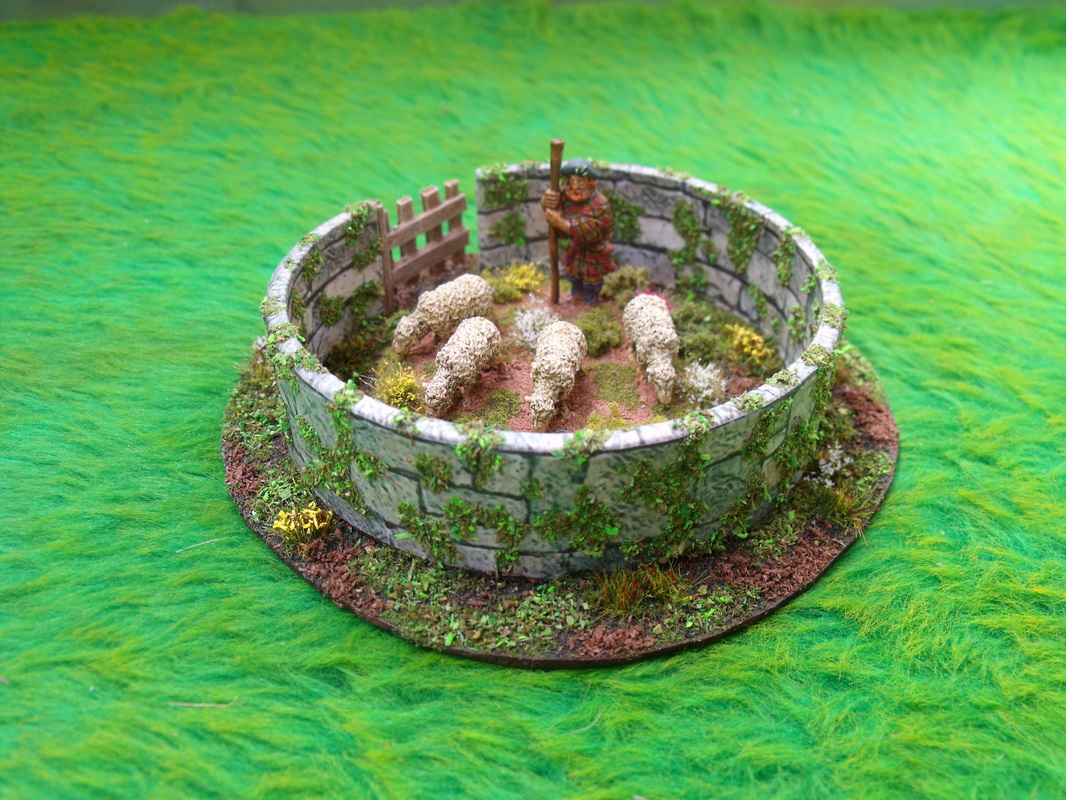
I decided to make some animal enclosures a few days ago for my ECW collection as part of a steadily growing number of rural building and scenic items that I am in the process of building. I was partly inspired by looking at the Warlord Games livestock pen and it seemed a nice and logical addition to the pig sty, barn and other rural buildings I had been working on. To make my livestock pens I simply took two 1" tall cardboard rolls saved from sellotape used at Xmas (although any similar size tube will do) and proceeded to snip them with clippers to make an opening. Then I teased them to make the opening bigger for a gateway and once done and roughly circular I then decided that I would cover them with stone effect paper. This was simple enough to do by cutting the paper in a strip that was about half inch deeper than the wall of the roll I simply painted the inside wall of the roll with PVA glue and then positioned and smoothed down the paper to cover the inside but allowing the overhang to be at the top of the roll. Once done I snipped the overhang at roughly 1/4" intervals and then applied more glue to the overhangs and smoothed them down so that they covered the top of the roll. The next thing to do was to trim off any slight overhang at the bottom with a sharp knife and then cut another strip of stone effect paper for the outside of the tube, this time allowing less overhang. Next I painted the outside of the roll with PVA glue and positioned the paper to that and smoothed it down, again trimming off any overhang at the bottom. At this stage (about 5 minutes after starting) you have a fully functional Livestock pen that can be put straight onto the table and used for a game if you wish to. I decided that I wanted a base for my pen so I positioned onto a Marley tile and marked around it making note of where the gate was positioned, from this I then drew a rough circle around this that was about 1/2" wider all the way around so I could add some scenery to the base. I used a sharp knife to score the tile and simply snapped off the excess and then trimmed up any rough bits so that it looked nice all the way round. At this stage I glued the pen down to the base with superglue and then painted the livestock pen with clear matt acrylic varnish to protect it (use solvent based varnish if your printing ink is not water resistant) from wear and tear. I then painted the complete base with dark brown paint and left it a few minutes to dry whilst I decided to make the second animal pen. by time the second pen was complete and the base painted the first coat of paint on the first pen was totally dry and ready for the second coat of brown paint and scatter material. I make my own scatter material, but for reference it is simply very dark brown in colour and simulates damp earth very nicely. I applied the brown paint again and this time threw on a load of scatter material and left it to dry while again I turned to the second pen and did the same scatter material effect on that. While I made a cup of tea the scatter had dried out and was ready for the long grass clumps and flowery bushes to be added, again these are home made and simply clumps of long scatter grass with coloured scatter material added for the flowers. These clumps are self adhesive so took no time at all to position and I did the first pen and then went straight on to doing the second pen. After that I diluted some PVA glue and applied it around the edges of the wall both inside and out of the pens and scattered with dark green grass scatter. Again at this stage you have a really serviceable livestock pen that looks nice, but I decided to go the extra mile to make it look even better. After leaving the scatter material to dry out I decided to lightly brush over the green scatter material with slightly diluted PVA glue and lightly scatter on a light green grass scatter material to add a contrast and highlight to the dark green tones of the first layer. Again I lightly brushed over the dark earth areas and again using a lighter colour I sprinkled lightly with a mid brown scatter material to highlight the earth areas. At this stage I decided to go for something a little different and applied neat PVA glue in little patches all over the walls of the pens both inside and out and applied green scatter material to simulate weeds, moss etc growing over the walls. I really liked the effect so I decided that the second pen would also have the same treatment. The last part of the projedt was to make gates for the pens and I did this with balsa wood, although matchsticks or even twigs could have bee used to make these. A quick coat of paint and a final lighter drybrush and I glued the gates in place with superglue and they were all finished and ready to use. Below are the fruits of my labour which was less than a hour in total to build and base both of the livestock pens. Click on the Images to Enlarge
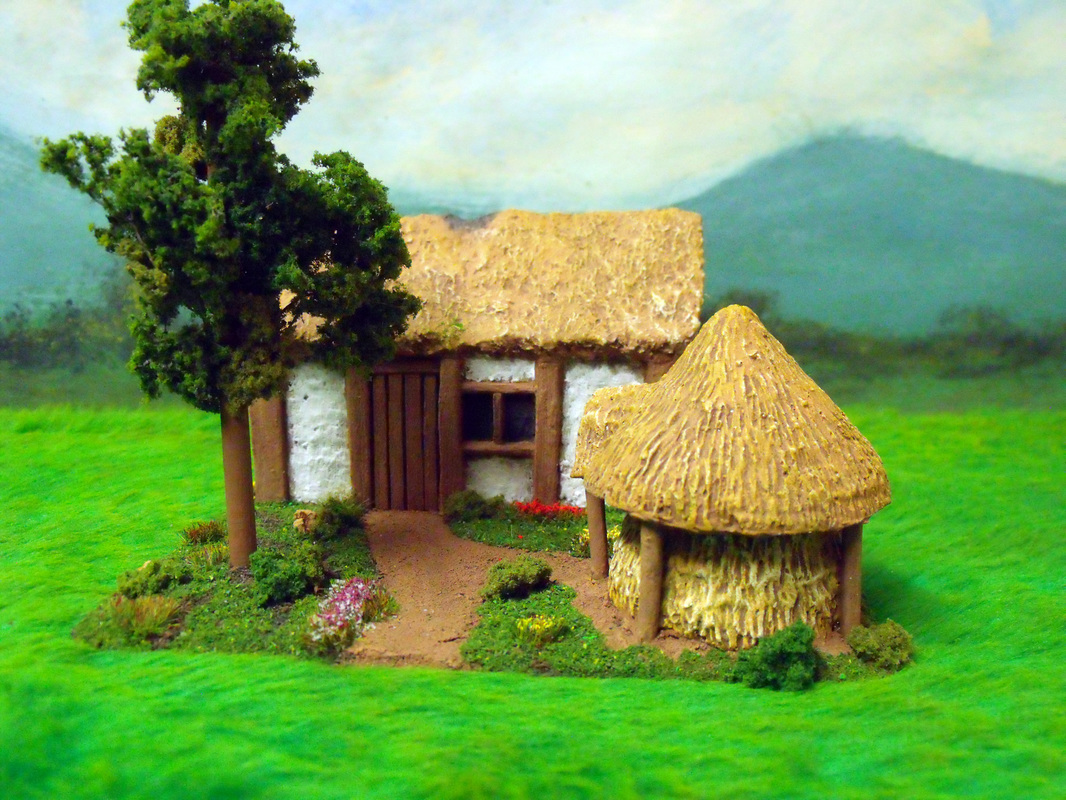
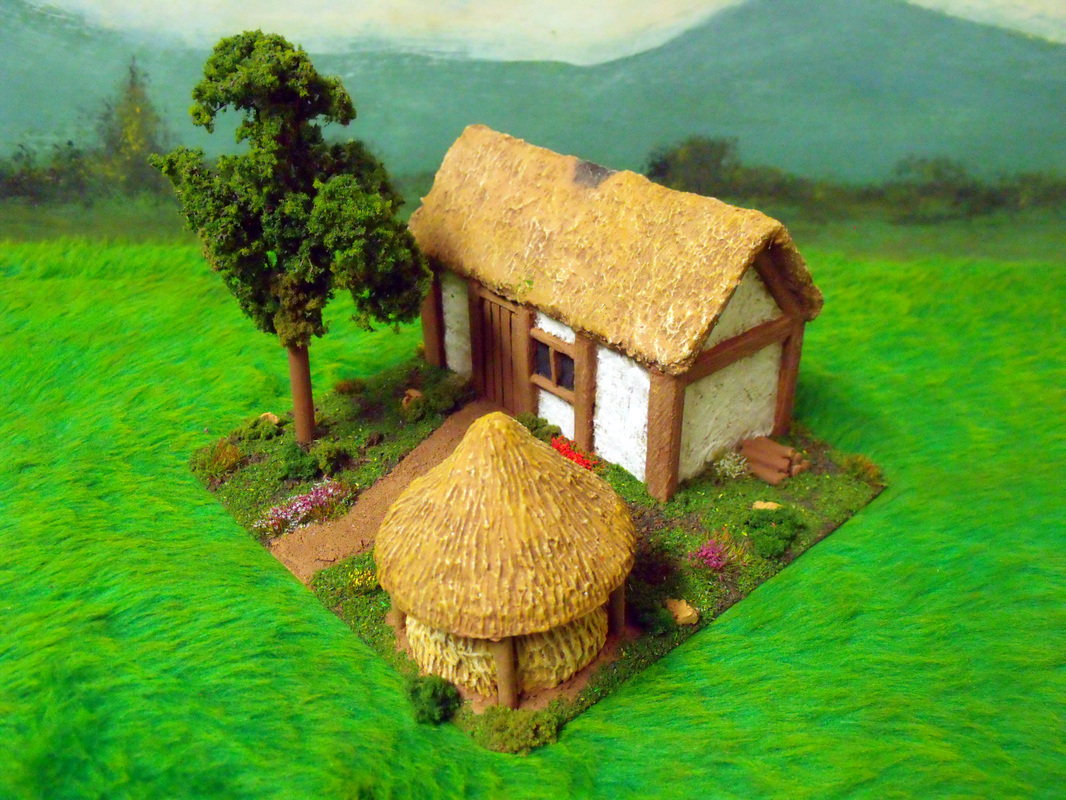
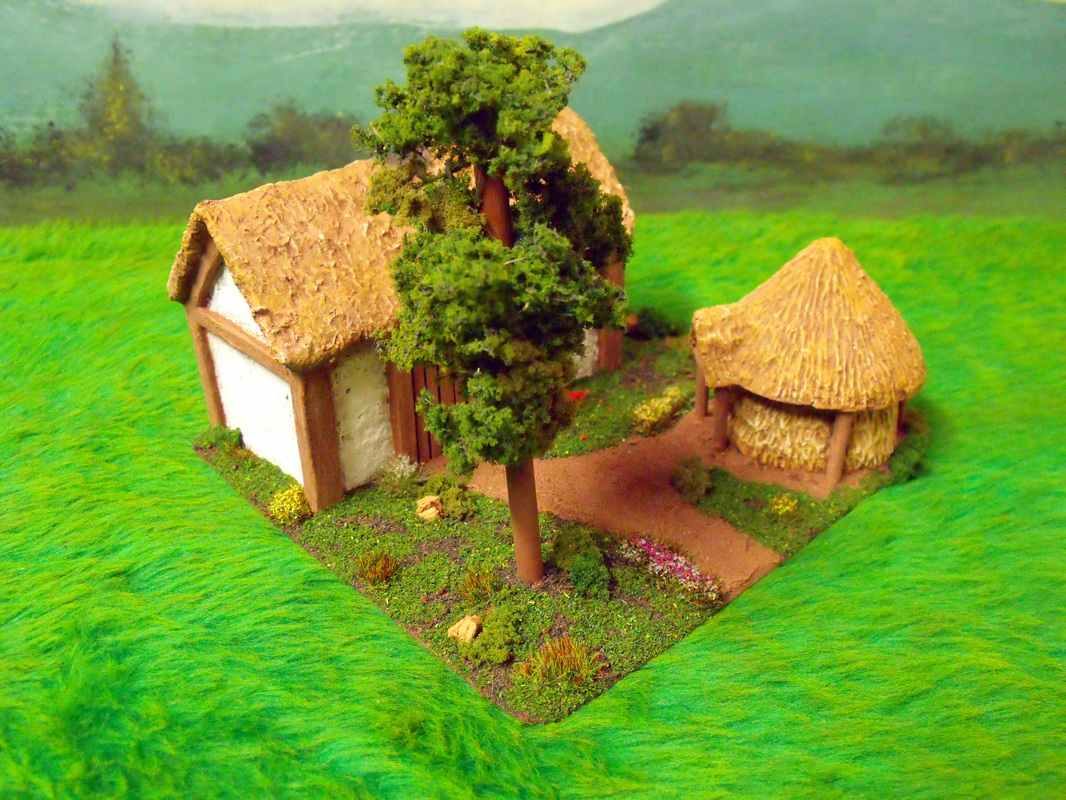
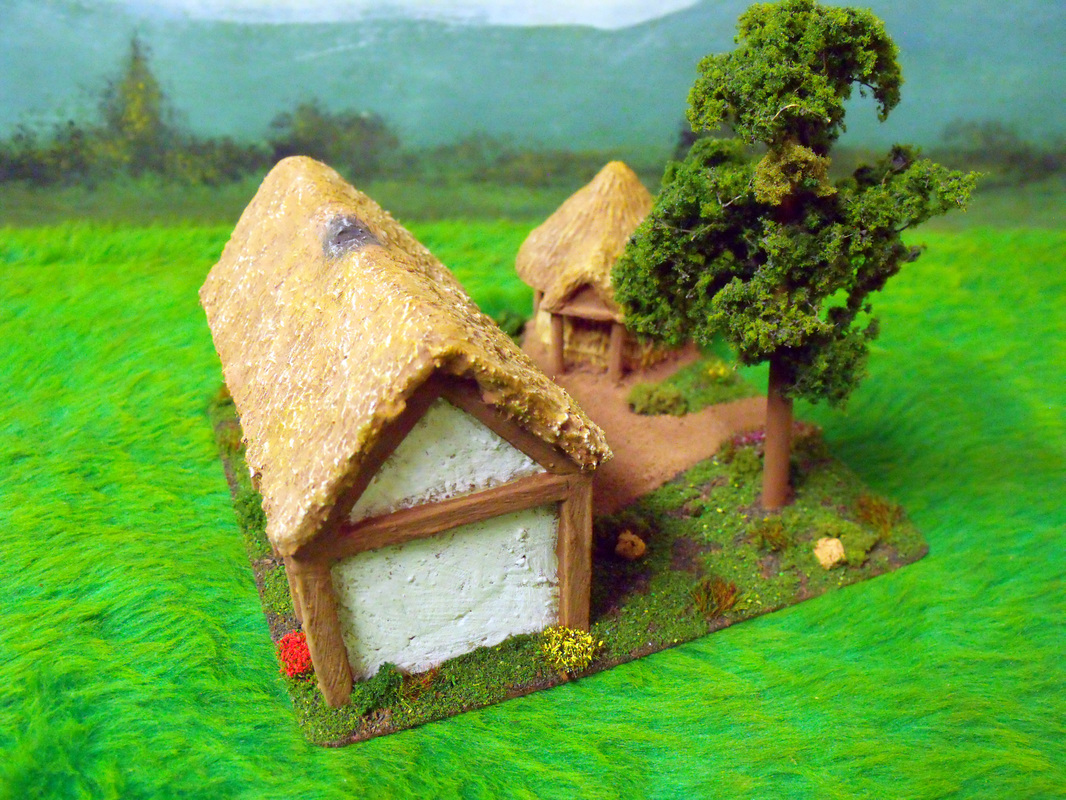
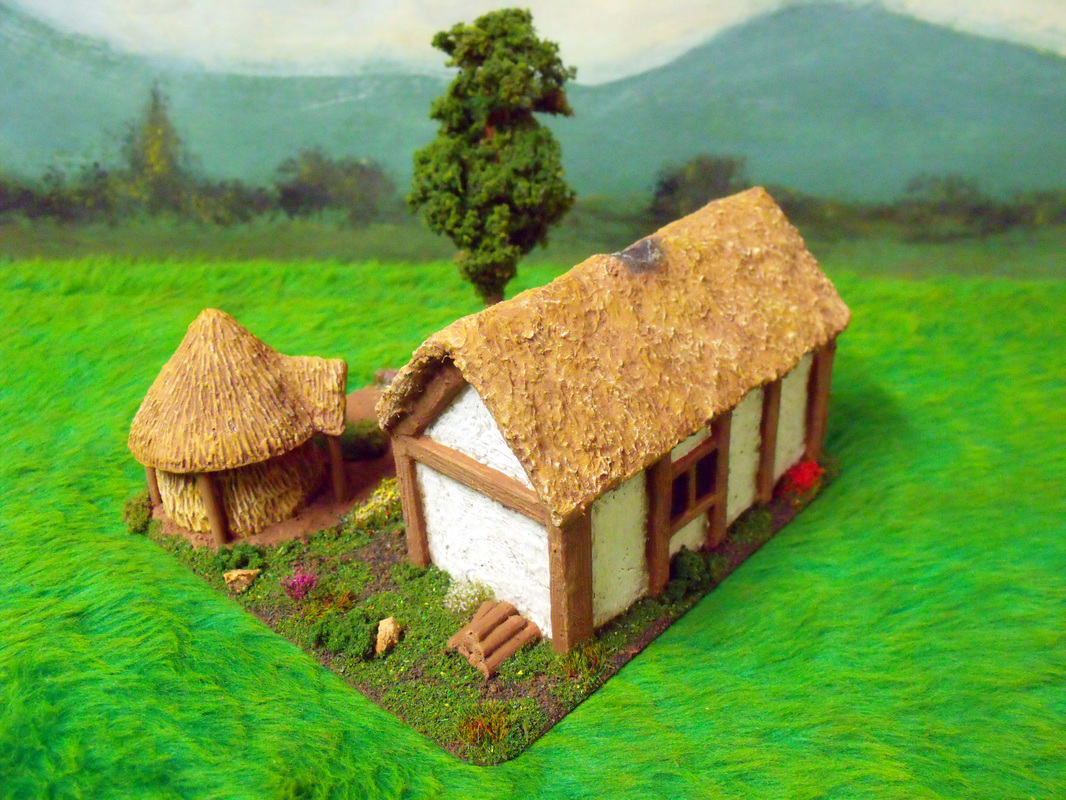
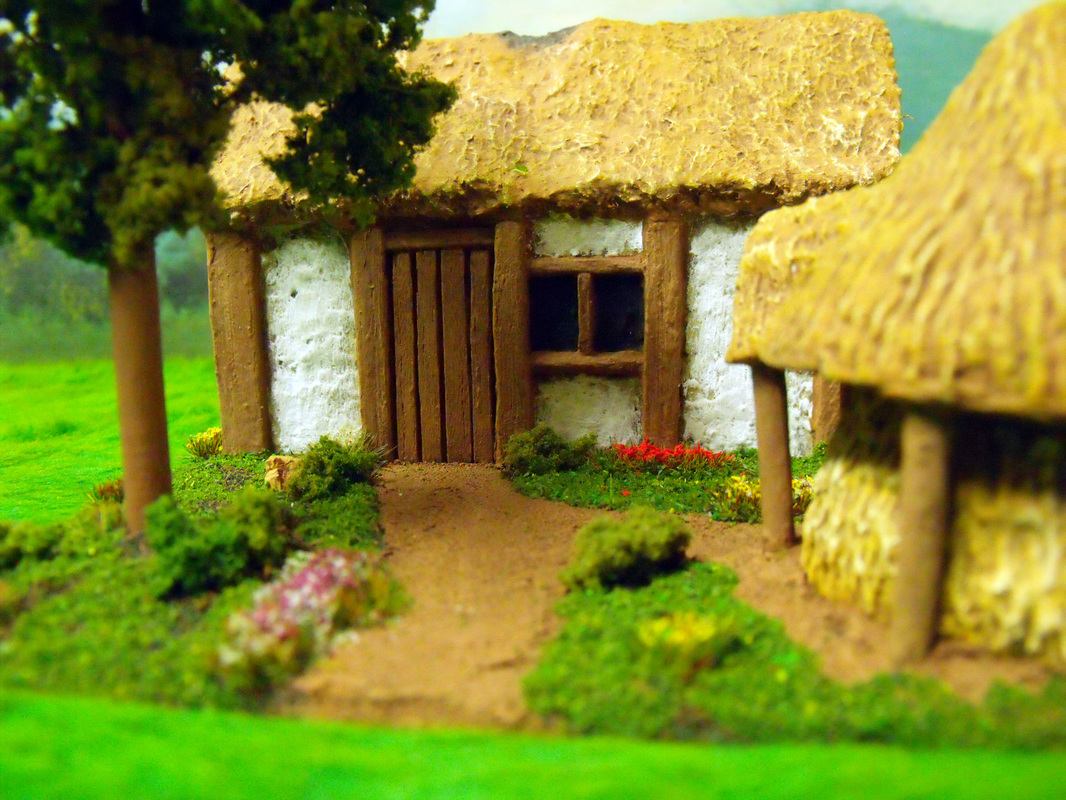
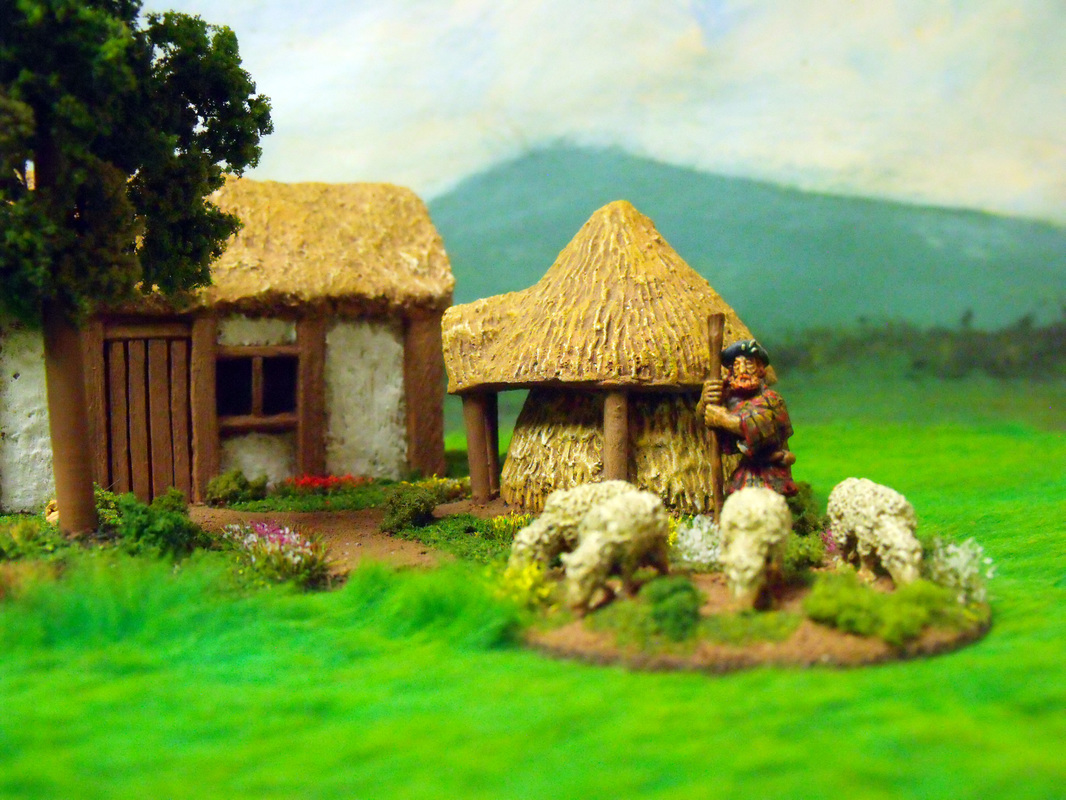
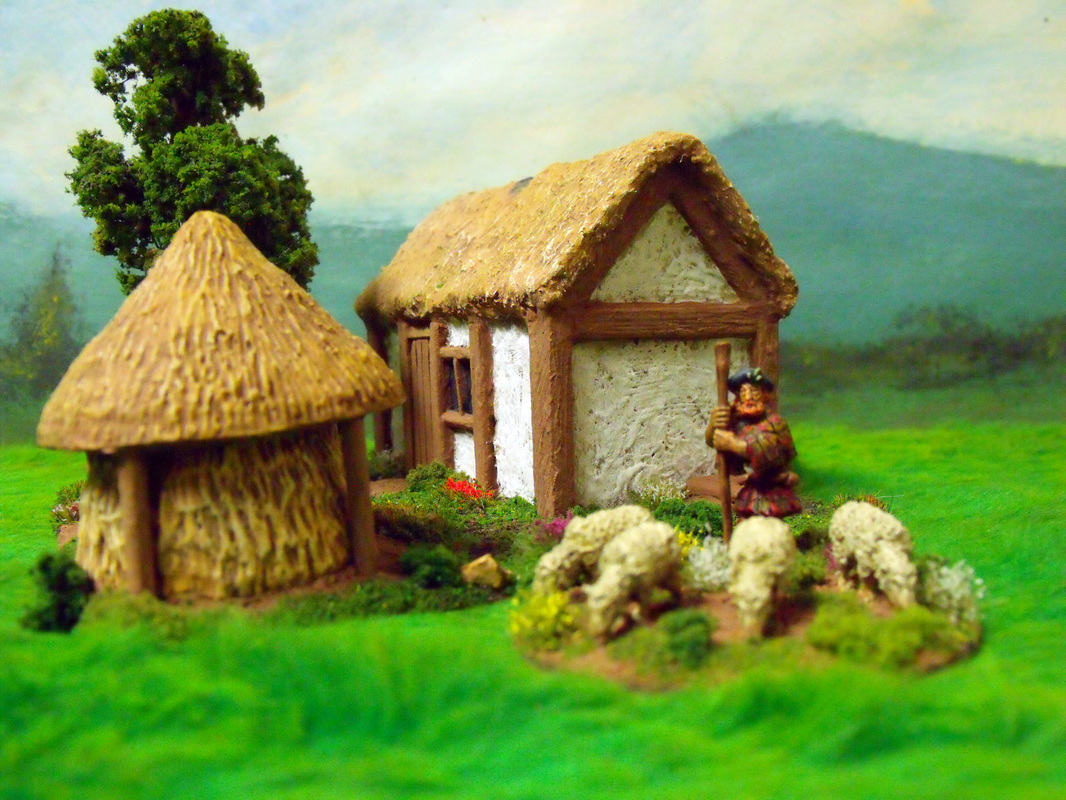
I actually made this building a couple of years ago and then left it half painted and unbased only to find it recently whilst clearing out some cupboards. First off I made a 6 inch square base out of thin MDF and glued down the cottage adding a small pile of wood to the one side of the building. Next I made a hay shelter from a cast haystack and 15mm scale Celtic round house roof, with some poles added as the support posts. Once that was painted I made a tree from a garden cane and some clump foliage, this was followed by making a small path from my own base texturing mixture. When the path had dried I drybrushed it with some lighter browns and then painted the whole base with brown paint and scattered my own mix of earth brown scatter flock. After leaving this to dry thoroughly overnight I started adding lots of different bushhes made from static grass clumps and spomge clump foliage, some of which I later scatter with different flower mixes of scatter flock. Lastly I painted areas of the dark earth scatter with thinned down PVA glue and scattered with my own grass blend of scatter flock, being careful to brush any excess off the bushes and flowers with a small soft brush.
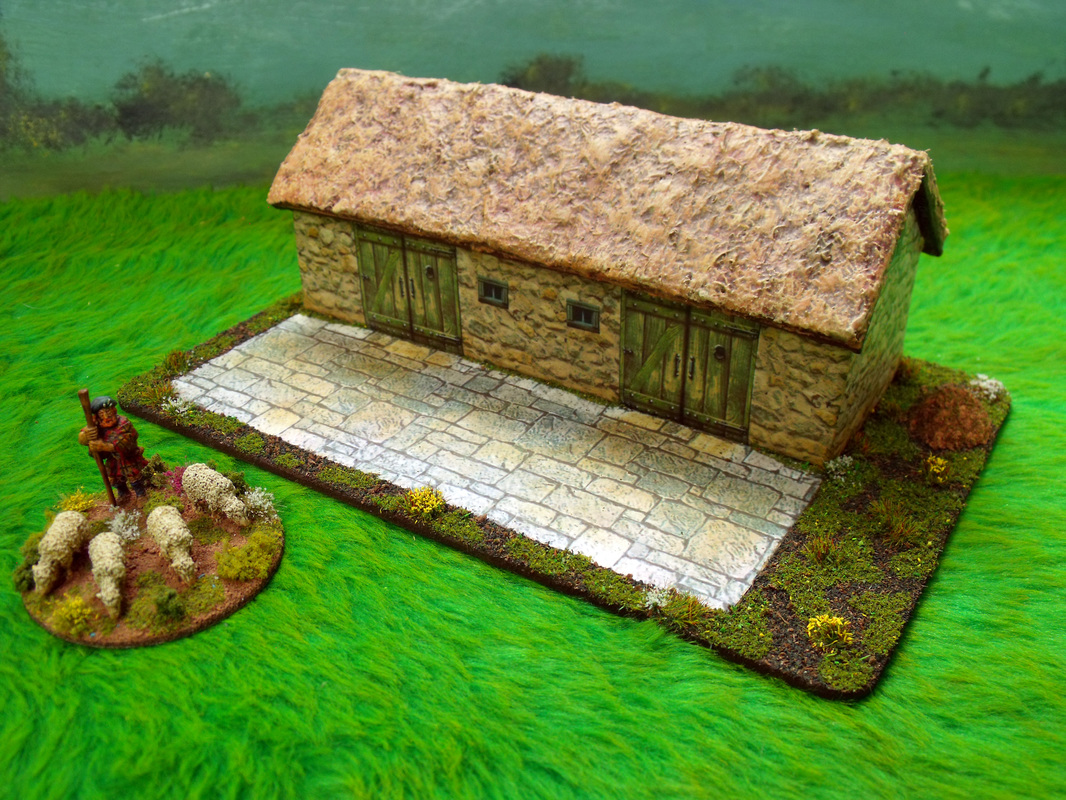
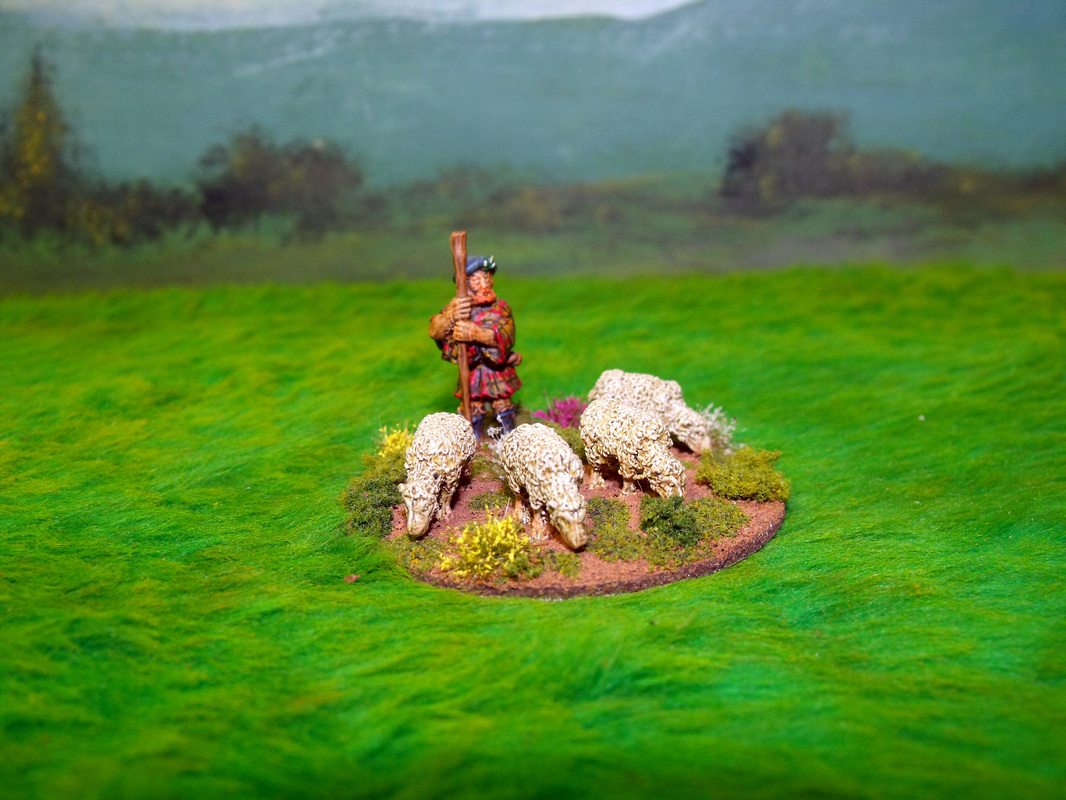
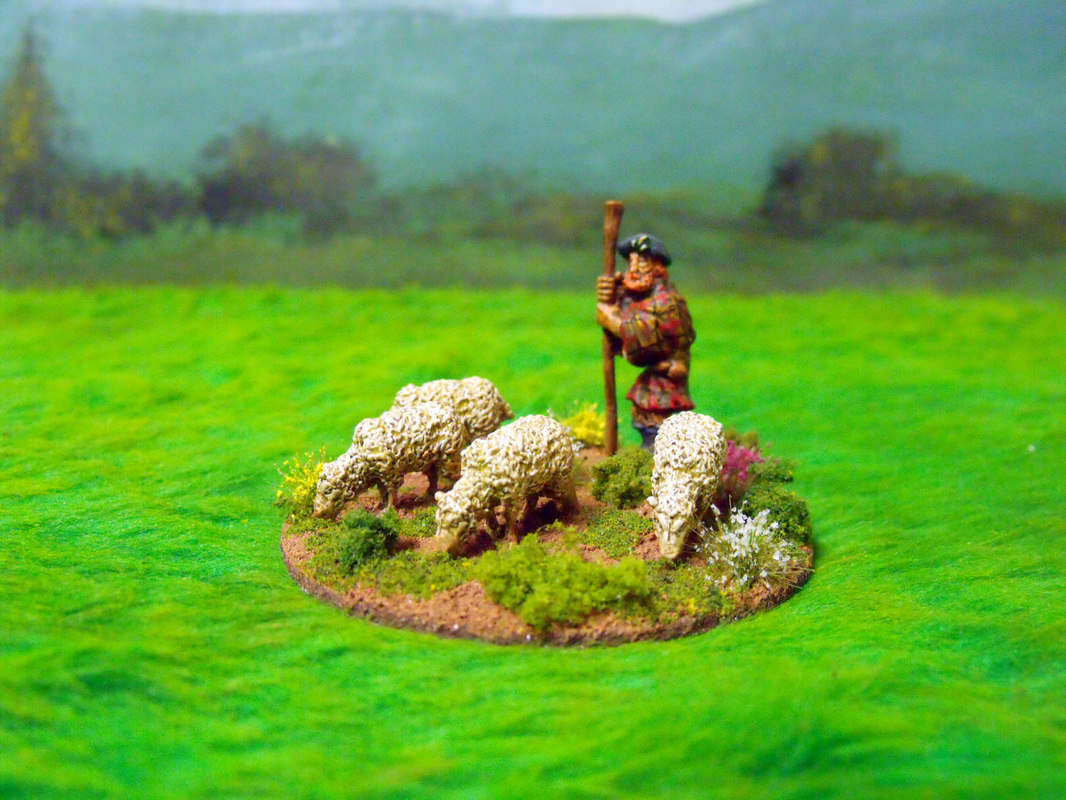
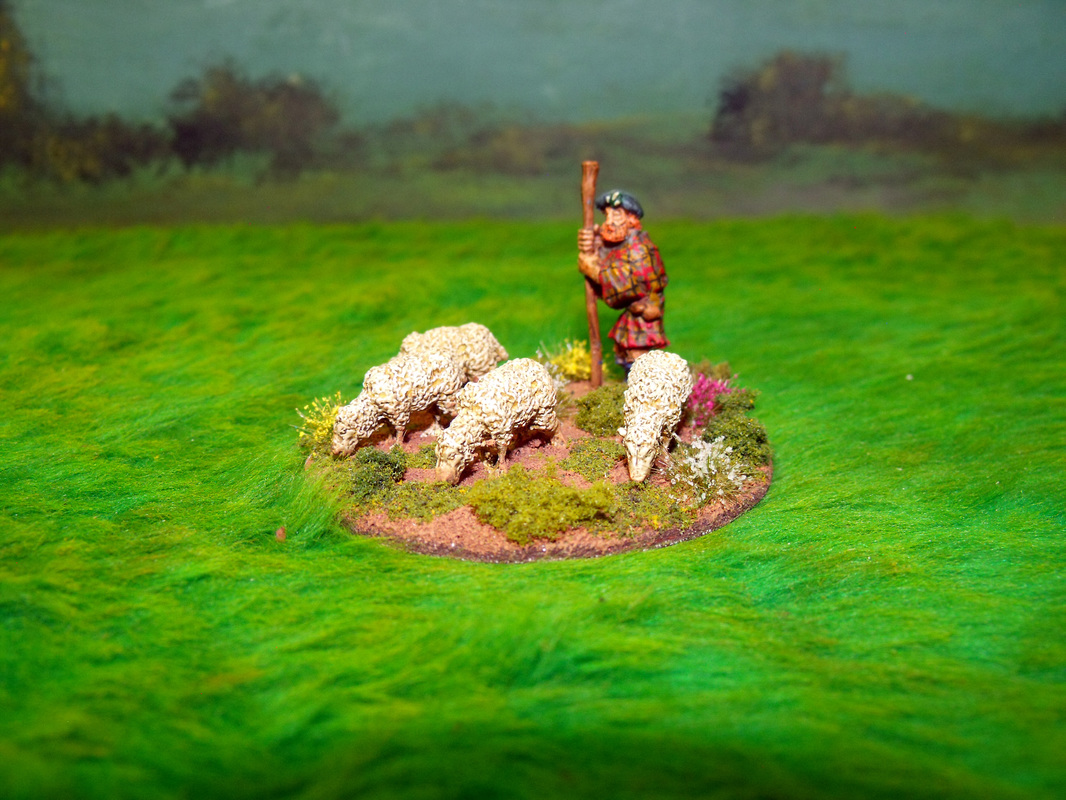
Well, that was just about it and the pics below are how it looks now complete with a Scottish peasant farmer and his small flock of sheep. |
AuthorStephen Wylde BA (hons) Archives
July 2022
Categories
All
ECW Blogs
ECW Sites
|
Proudly powered by Weebly





 RSS Feed