|
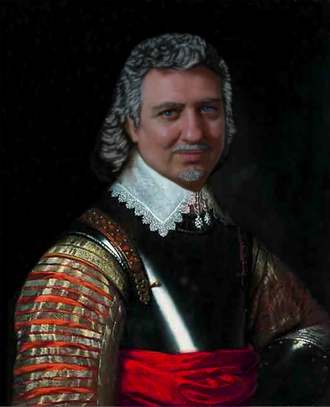
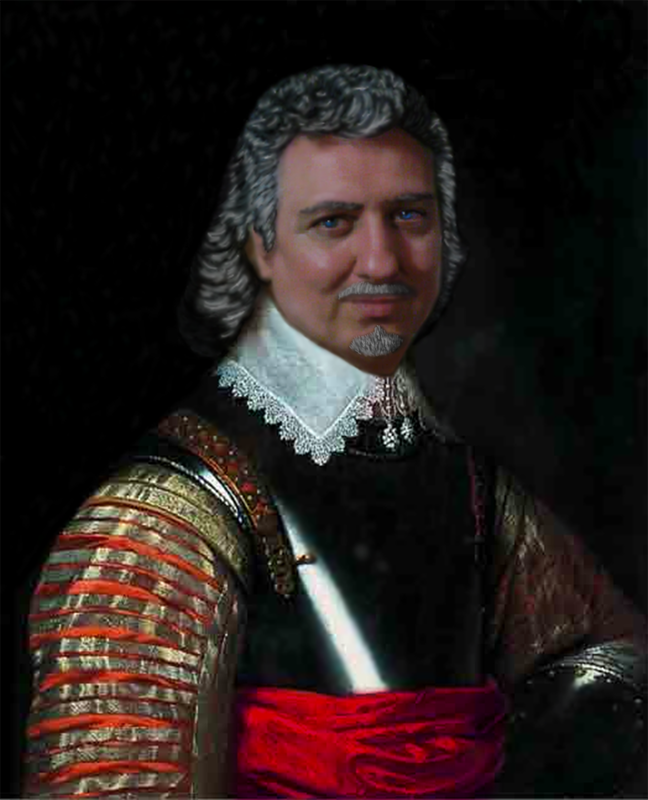
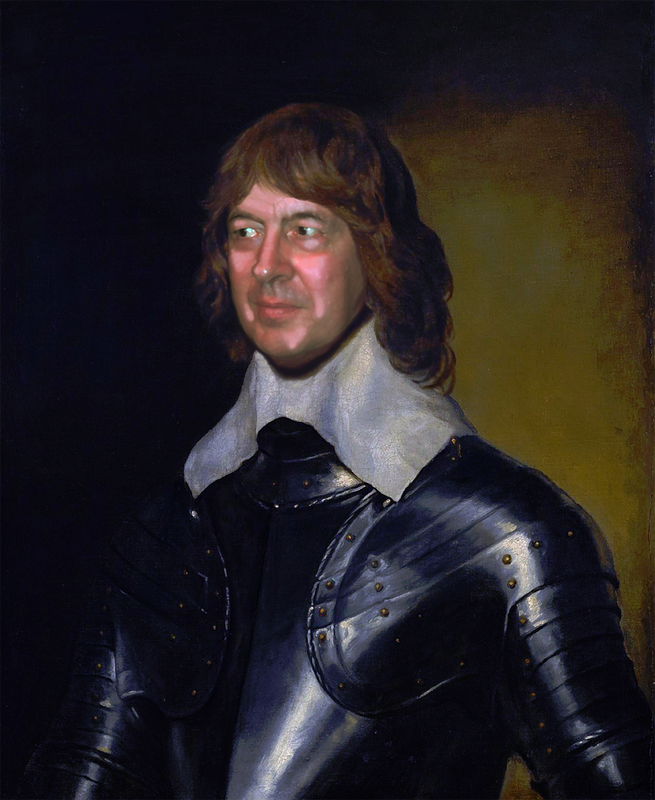
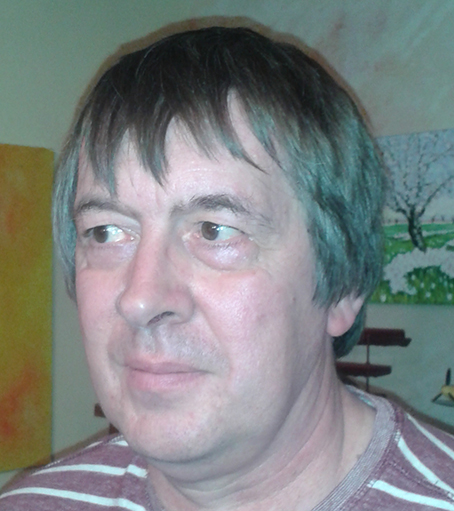
As the title says this is a guide of how to make a portrait of yourself to adorn your wargames room and to personalise your wargames in whatever period you wish to partake, although this is obviously enough the ECW for the purposes of this post. I am obviously taking for granted that you have some knowledge of Photoshop or similar type of software, if not then go to you tube and search for a tutorial such as: how to swap a head on a photo in Photoshop. There are some great tutorials on there by some extremely talented people. Okay step one, find a suitable portrait that you wish to personalise. This is easy enough, just browse the web and look for English Civil War portraits and paintings. There will be a fair few and all you need to do is pick one you like and download to your PC. Step two, examine the painting and look especially to the face and see whee it is lit from and the facing of the head, as you need to get a photo of yourself in the same pose and light conditions. It doesn't matter about trying to match the colouring of your photo to the painting, but if you can then you have done very well indeed. Do try to keep your hair back away from your face if you can unless you intend to use your own hair in the painting. Once you have a suitable image simply upload it to your PC. Step three, using a suitable image editing or paint program crop the image until only your head is left. Once done save the image and remember tat this is your master image and all other saves should be saved with a slightly different file name. Step four, upload your chosen ECW portrait to the same program in a different window so that you can compare both images and ensure that they will be a suitable match. At this stage the first thing to do is resize your mugshot to ensure that it will fit exactly with the portrait and once done save your work. Step five, look at the colouring on the portrait and compare it to your photo, at this point it is very easy to adjust colouring or lighting to make your photo match your chosen portrait. Once you are happy then save your work. Step six, careful using the cutting tool on your image program cut out the required part of your face or head so that it will fit in with the donor portrait. Paste the head onto the portrait and postion it until you are happy with how it sits. Now save the portrait to a new file name. Step seven, using the blend tool soften the edges of your face to the portrait so that they fit together more naturally. Once you are happy save the work. Step eight, using the colour sampler and paintbrush tool blend in areas that don't fit together so well and highlight any areas that need to be emphasized more or darken areas that need toning down. Don't overdo this as it needs to look right, also refer to the original portrait as it will be a good guide to making this look effective. Also bear in mind that you are trying to make a painting so a painterly style is quite appropriate. This is the longest and hardest part and if you make mistakes then undo them. Once again when you are at the stage that you are happy with then save the file. Step nine, using the artistic effects part of your imaging software run the portrait through an oil painting effects editor and fiddle around until you like the effect you see. This will finally blend your face in with the rest of the portrait so that it seems like it was all painted at the same time. When you are happy save your work. Step ten, simply sit back and admire your handiwork and if you are feeling particularly happy, print it off onto good paper or canvas and frame it for all to admire, or laugh at depending upon your chosen audience. If they don't share your admiration for your work as much as you do then pity them for their ignorance and lack of good taste. So that is it, I hope it inspires other wargamers to do their own portrait and if you can't use computer programs too well then take up oil painting and do it the hard way. The whole process does take a fair few hours especially if you use your own hair as well and need to make it longer, or you wish to add facial hair. Here are some example of my handiwork the first and might I say devilishly handsome one is myself The very famous ECW General Sir Stephen Wylde - Royalist and the second one is my good pal and wargames nemesis The dastardly infamous ECW General Sir Nicholas Perks - Parliamentarian. Here are the original mugshots so that you can see how they have progressed into the paintings as shown above.
2 Comments
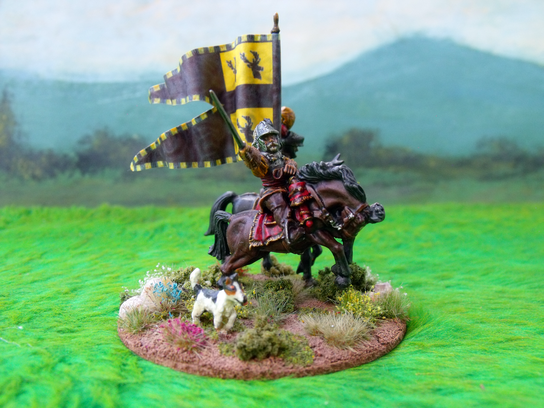
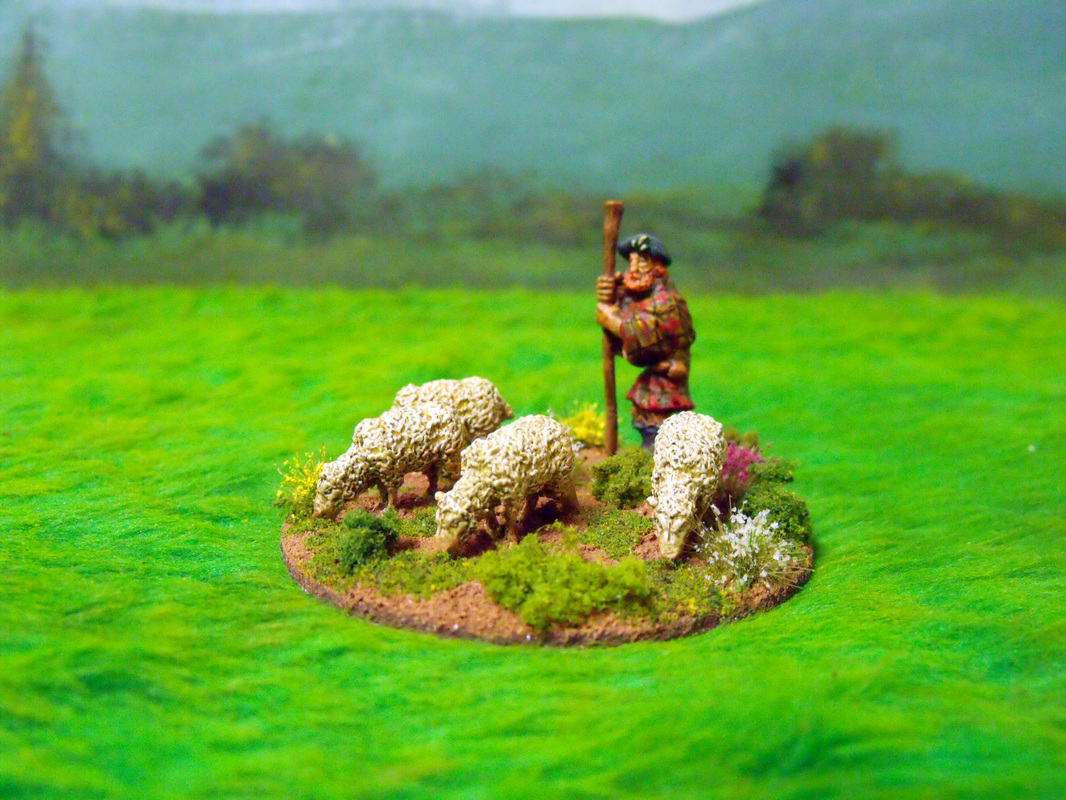
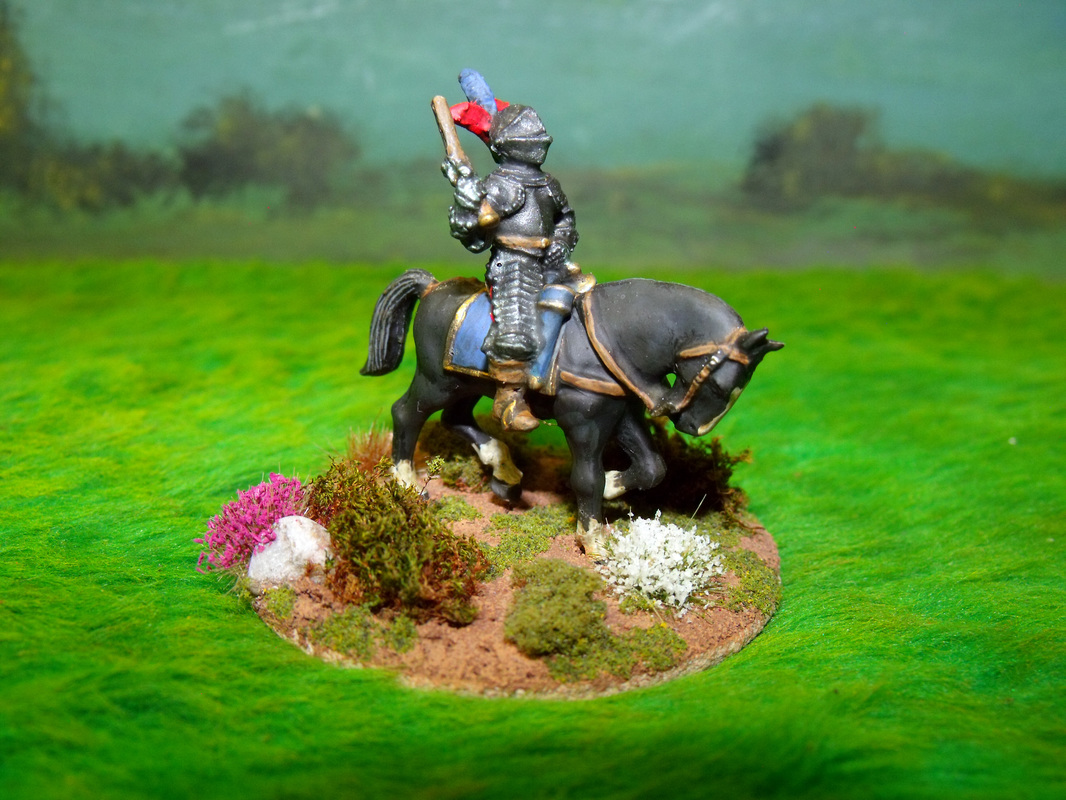
As it says in the title here are some more characters for use with Pike & Shotte or any ECW rules you wish to use them with. The Shepherd This Character is based as a single vignette with a flock of sheep. The Shepherd with his flock are placed mid way between the wings of cavalry on either flank as per the discretion of the owning player. Further to this roll one d6 to determine how many inches in from the flank the Shepherd is: d6 Effect 1 6 inches from flank edge 2-3 12 inches from flank edge 4-5 18 inches from flank edge 6 24 inches from flank edge Both wings of the armies must call a halt to hostilities until the Shepherd has safely moved off the table. The shepherd moves after both sides have completed their movement and travels at a speed of 6 inches per turn off towards the flank edge of the table until he is removed from play. No actions of any sort are allowed to the battalias or brigades on this flank that have any unit with 36 inches until such time that the Shepherd is off the table. The Shepherd vignette may be swapped out for a Gentleman walking his dogs, a travelling wagon, a group of civilians or any other similar group that takes your fancy. The Buffoon This Character is simply based as single vignette depicting any normal commander or general figure. The character is played upon your opponent at the start of the game after all deployment. Upon receiving this card off your opponent you must nominate one of your commanders and declare that he is the Buffoon for the rest of the game. Now that the commander is the Buffoon his command rating declines by one point such as from an 8 to a 7 and further to this each time this commander rolls dice to make an order he will Blunder on a roll of 11 or 12 following all the normal rules for Blunders. Once declared as the Buffoon, the commander cannot be swapped out for another commander or retired from the game unless injured in some way. He is blissfully unaware of his shortcomings and will carry on in his role as befits his rank. The rationale for Buffoons is that your general may not be quite as good as he led you to believe, or that he may on the day of battle be under the weather or still suffering the effects of last nights drinking bout. No matter how you want to explain it to yourself for the coming battle at least the general is not quite up to the task ahead. The Assassin This Character is based as a single vignette which may or may not include a dung heap, bush or tree from which he leaps to make his deadly attack. The Assassin will hide in a predetermined spot until the enemy commander comes within 6 inches of his position, even if this is just passing by whilst moving from one place to the next. At this point the owning player declares that the Assassin has been activated and rolls one d6 with the following results: d6 Effect 1 The Assassin is killed outright and removed from play 2 The Assassin is wounded, captured and removed from play 3 The Commander is unhorsed and suffers a -1 to his command rating next turn 4 The Commander is unhorsed and suffers a -1 to his command rating for one d3 turns 5 The Commander is wounded and must receive treatment or else he will die 6 The Commander is killed outright and removed from play Placement of the Assassin is made after deployment and before the first turn begins, the owning player draws an accurate map of exactly where the Assassin is to be placed and this must be on a terrain feature that could give natural cover. Suitable terrain would be hedges, walls, ditches, river or stream banks, under a bridge or in a building, fields, copse or orchard, marsh or broken ground, or any other similar terrain type. The Assassin may not be placed in the enemy deployment zone for obvious reasons and may not be placed within 6 inches of any enemy unit. If an enemy unit moves over the position where the Assassin is hiding then there is a chance that he is discovered. The enemy player is cordially asked to roll one d6 after by the owning player without being told the location or which unit has moved onto the Assassin, and on a score of 6 the Assassin is discovered and captured. This is done each time a unit moves over on stays on the Assassin's position. Remember that the Assassin is very well hidden and is sneakily trying to avoid capture at any cost. Once he has been discovered or used the Assassin is removed from play. If you wish to download a fancy dandy PDF version of these Characters, including the original three Characters, then click on the link below.
|
AuthorStephen Wylde BA (hons) Archives
July 2022
Categories
All
ECW Blogs
ECW Sites
|
Proudly powered by Weebly


 RSS Feed