|
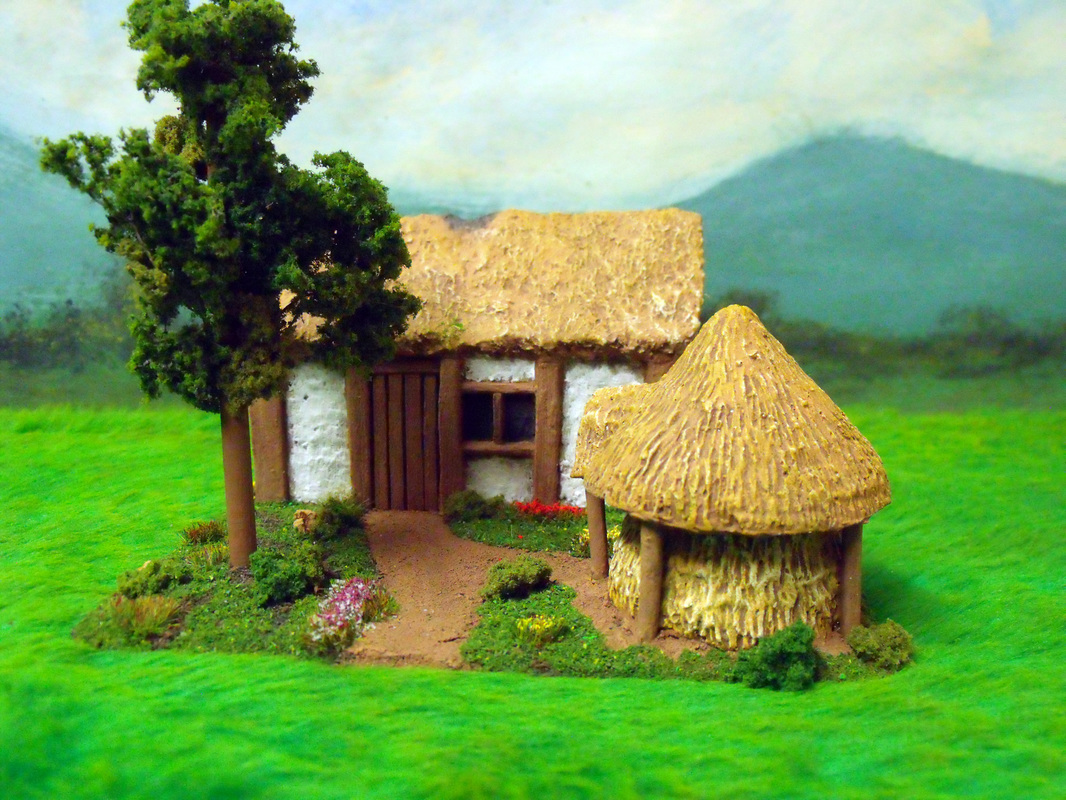
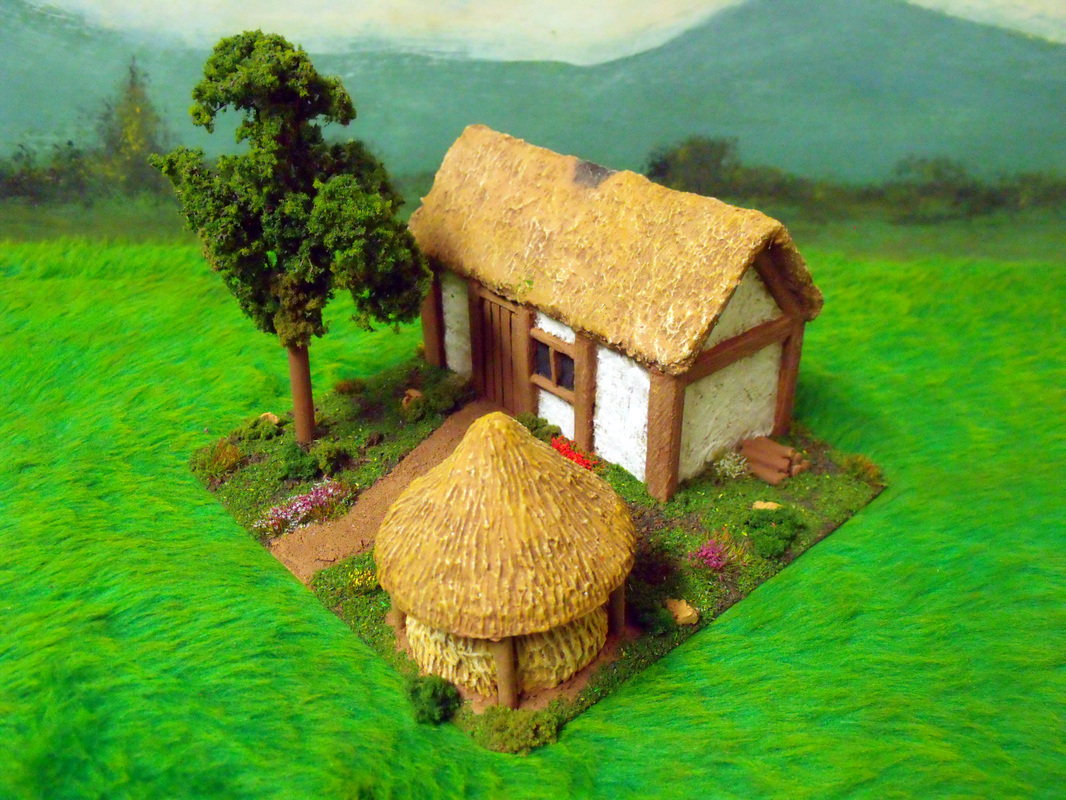
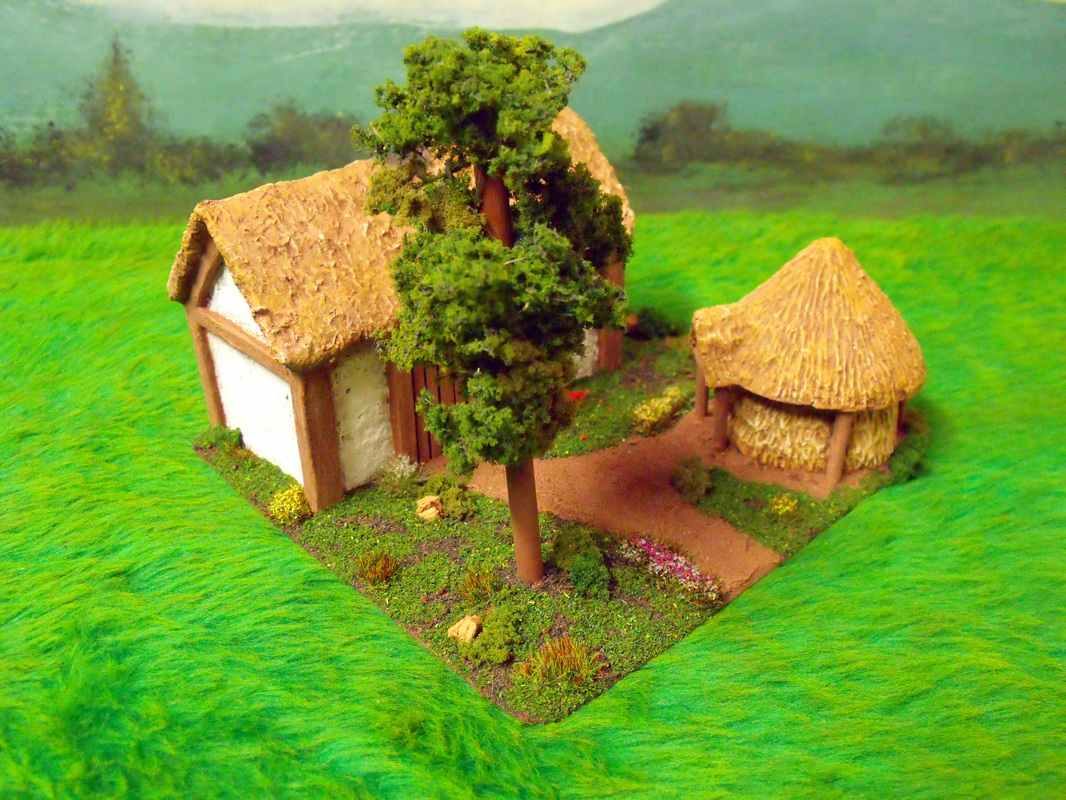
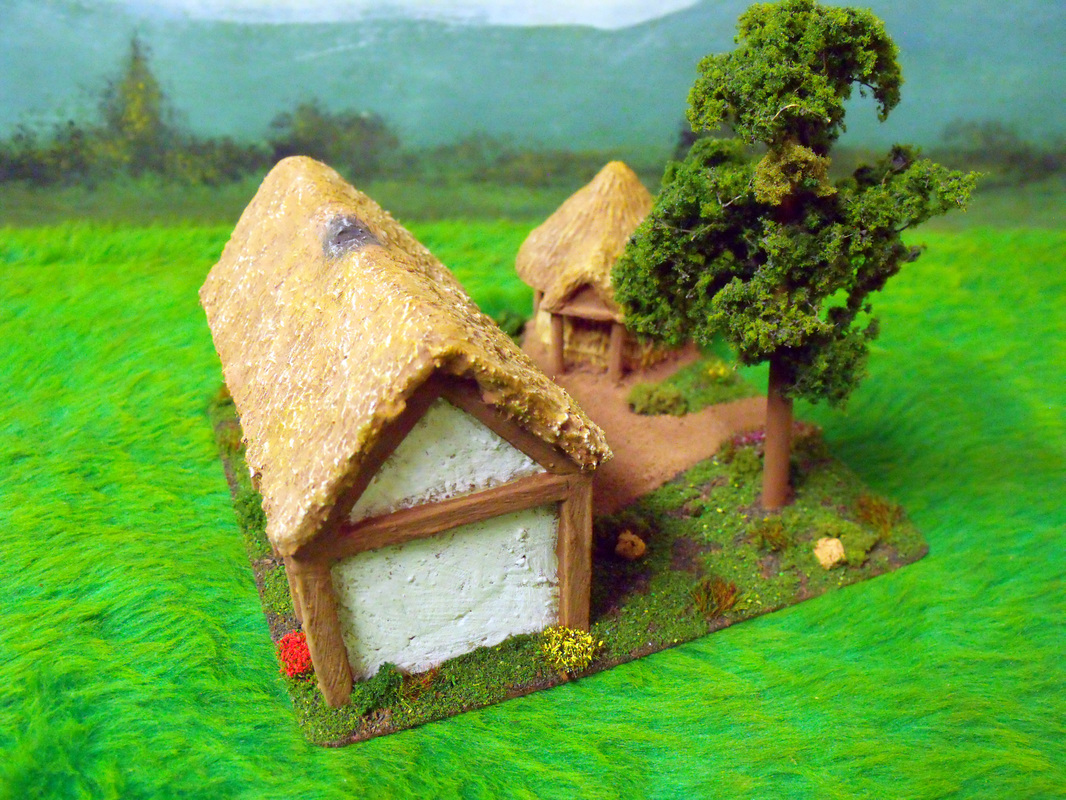
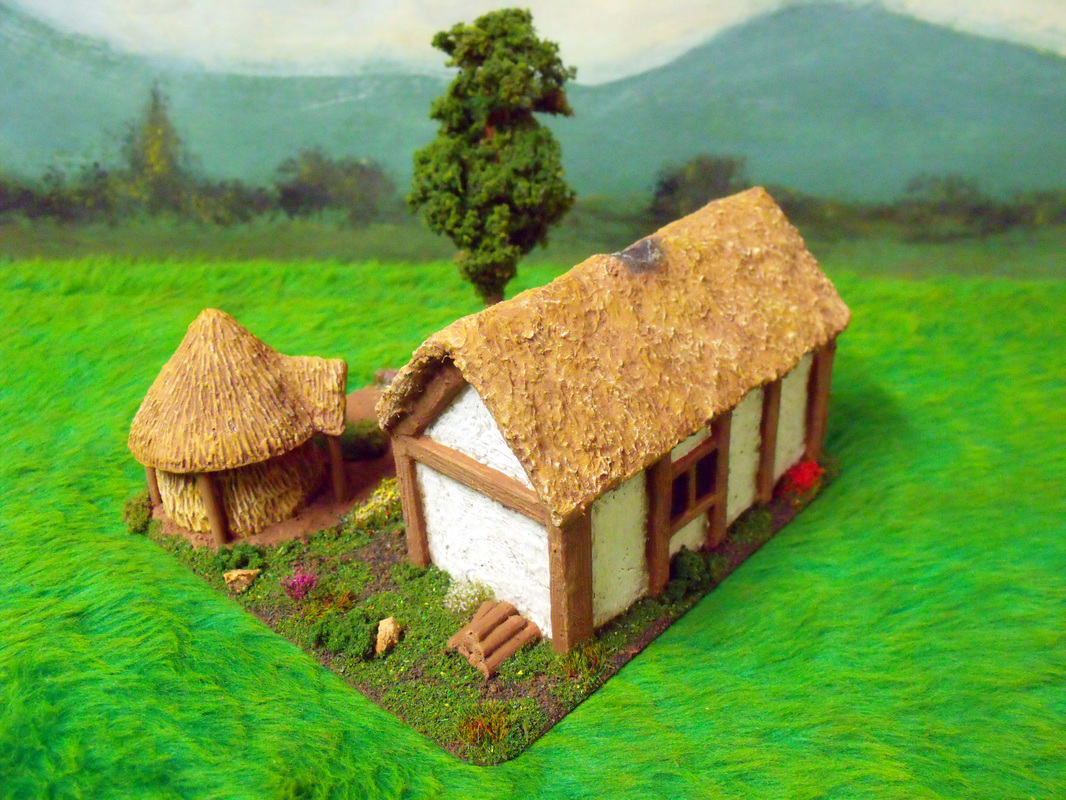
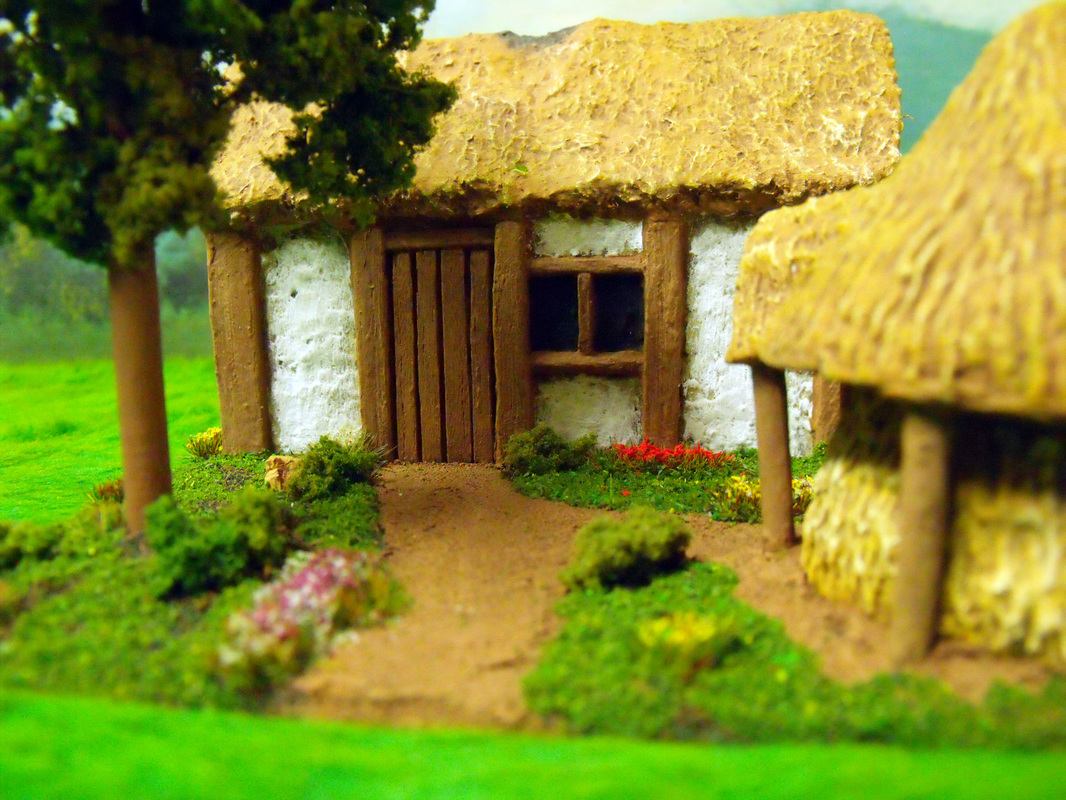
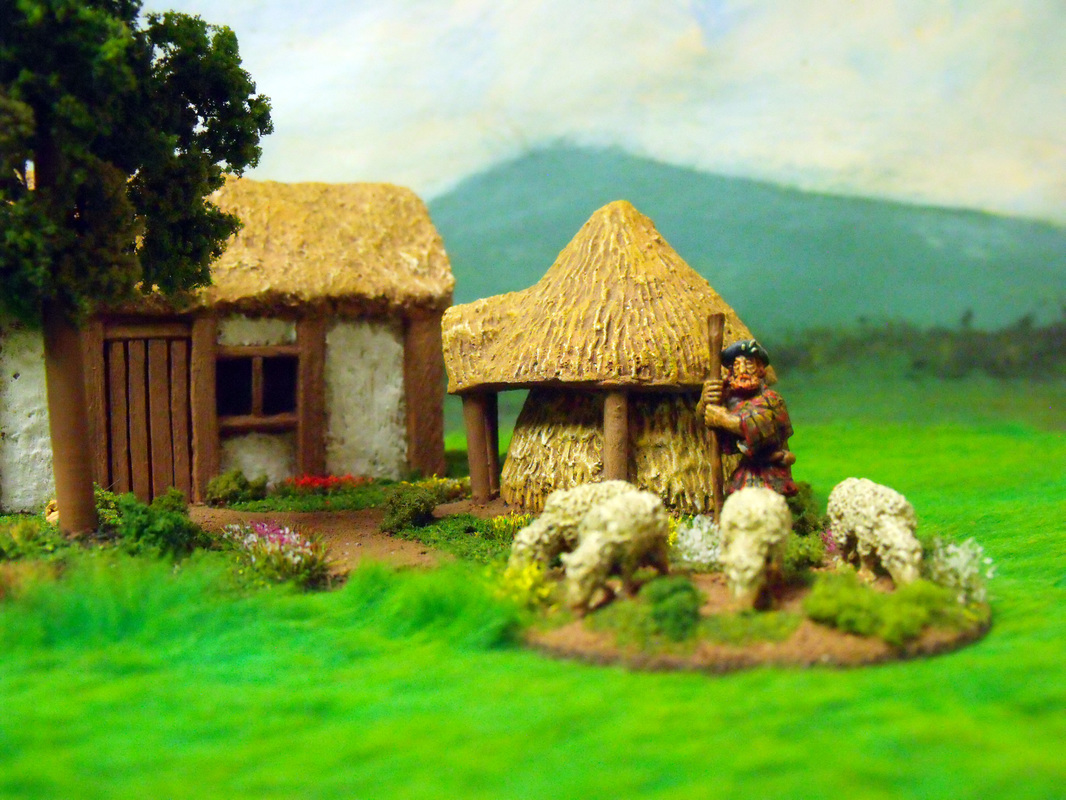
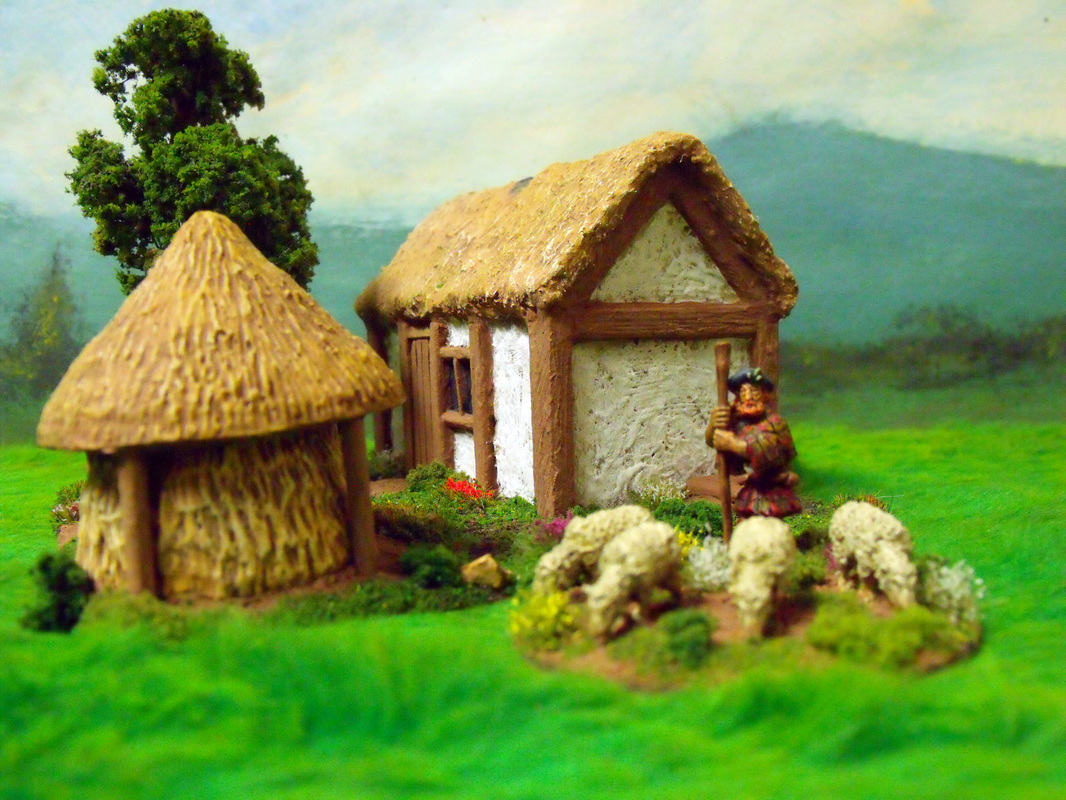
I actually made this building a couple of years ago and then left it half painted and unbased only to find it recently whilst clearing out some cupboards. First off I made a 6 inch square base out of thin MDF and glued down the cottage adding a small pile of wood to the one side of the building. Next I made a hay shelter from a cast haystack and 15mm scale Celtic round house roof, with some poles added as the support posts. Once that was painted I made a tree from a garden cane and some clump foliage, this was followed by making a small path from my own base texturing mixture. When the path had dried I drybrushed it with some lighter browns and then painted the whole base with brown paint and scattered my own mix of earth brown scatter flock. After leaving this to dry thoroughly overnight I started adding lots of different bushhes made from static grass clumps and spomge clump foliage, some of which I later scatter with different flower mixes of scatter flock. Lastly I painted areas of the dark earth scatter with thinned down PVA glue and scattered with my own grass blend of scatter flock, being careful to brush any excess off the bushes and flowers with a small soft brush.
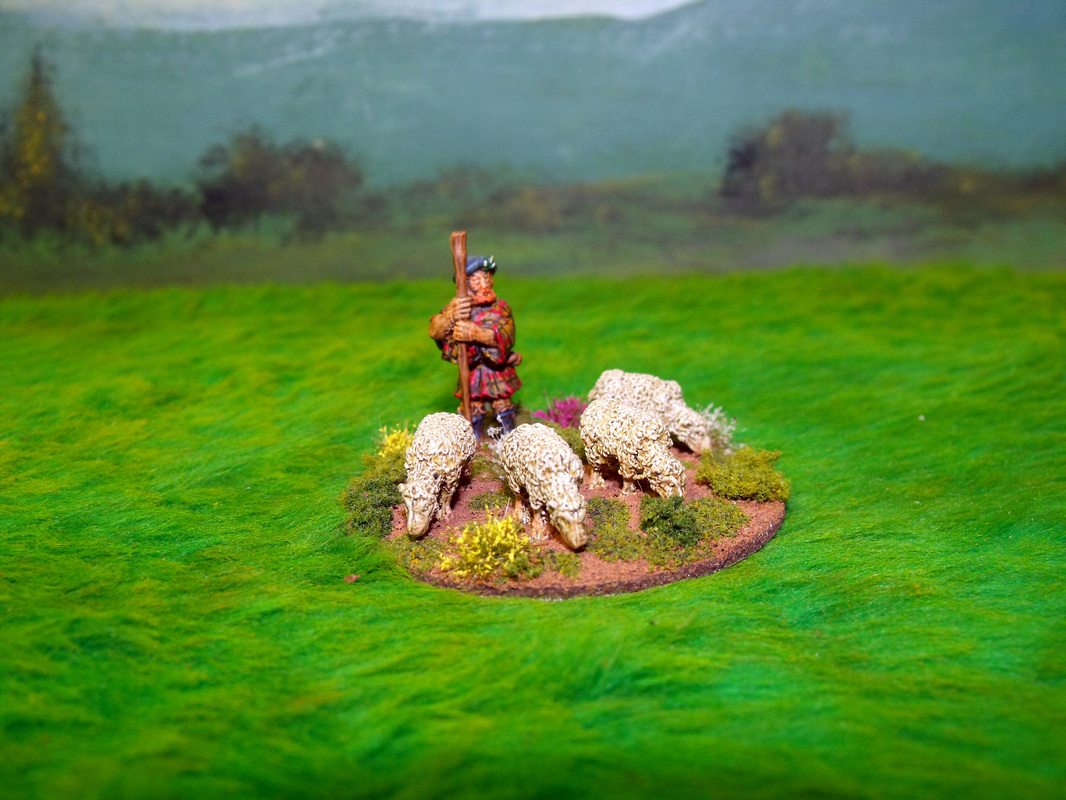
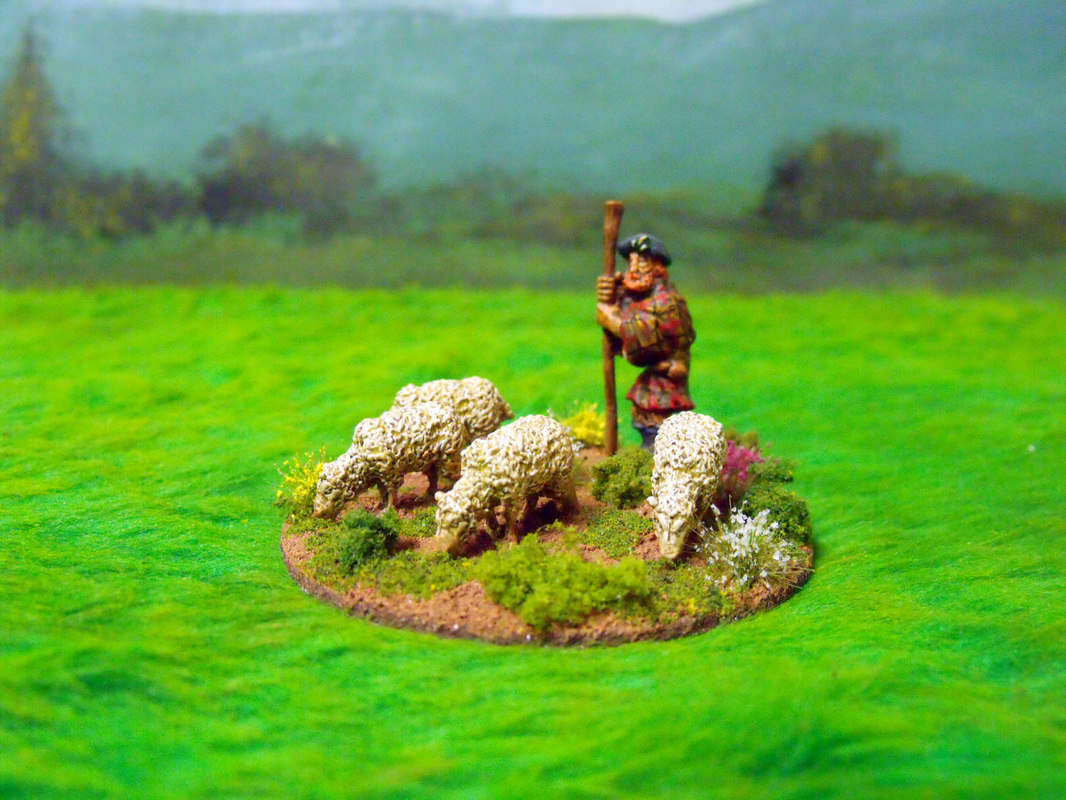
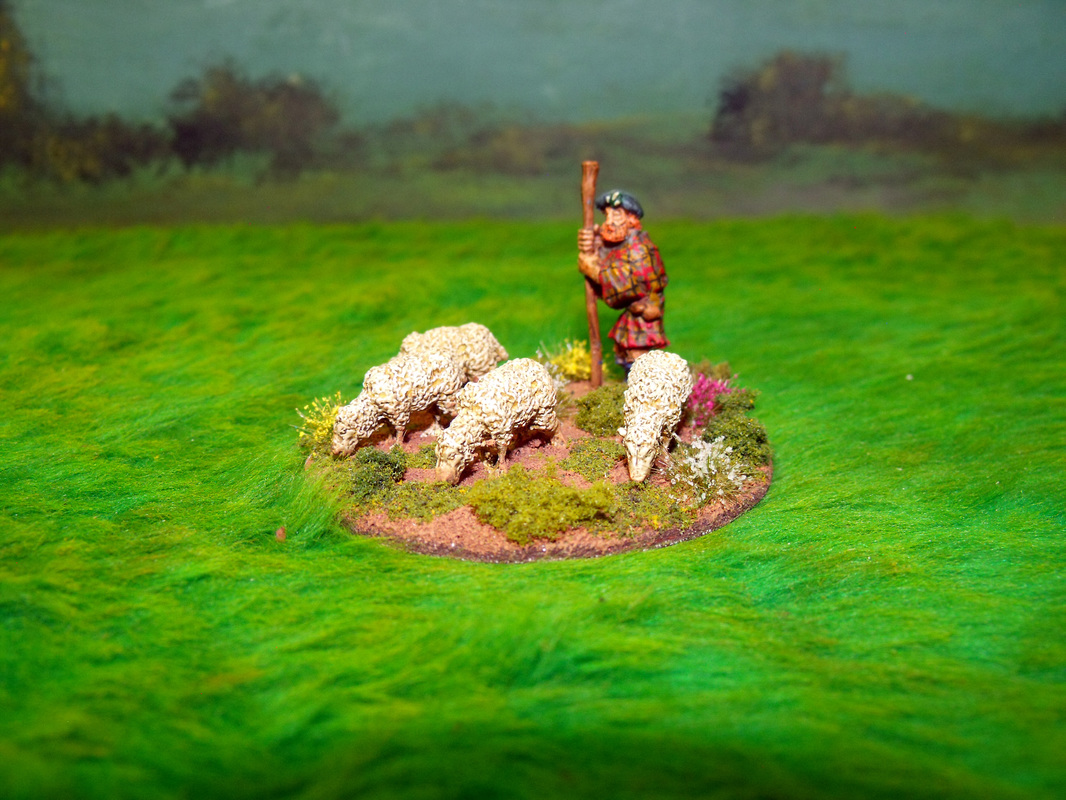
Well, that was just about it and the pics below are how it looks now complete with a Scottish peasant farmer and his small flock of sheep.
0 Comments
For some time now I have been looking for a decent, fun set of skirmish rules for use with my ECW figures that involve very small amounts of figures, anything really from about 10 to 50 figures. I have looked at other sets and found them not really to my taste, either being too complex or for too large an action. Recently I started looking elsewhere and found 'Lion Rampant' which although not ECW they looked worthy of converting as they are a really good fun set of rules. A few days ago however I found 'Smooth & Rifled' which is a set of skirmish rules for use with multiple periods from ECW to Colonial and they are a great little set of rules. They are just perfect for low level actions and you have the freedom to make units as you wish, what's more the army lists are all free to download. I go my copy as a PDF for only £8.00 from Wargames Vault and are great for use on my tablet PC as well as being able to have a back up printed version. On the subject of PDF rules I do wish that many more companies would make their rules in this format as it is very much the way forward for wargames rules in this digital age.
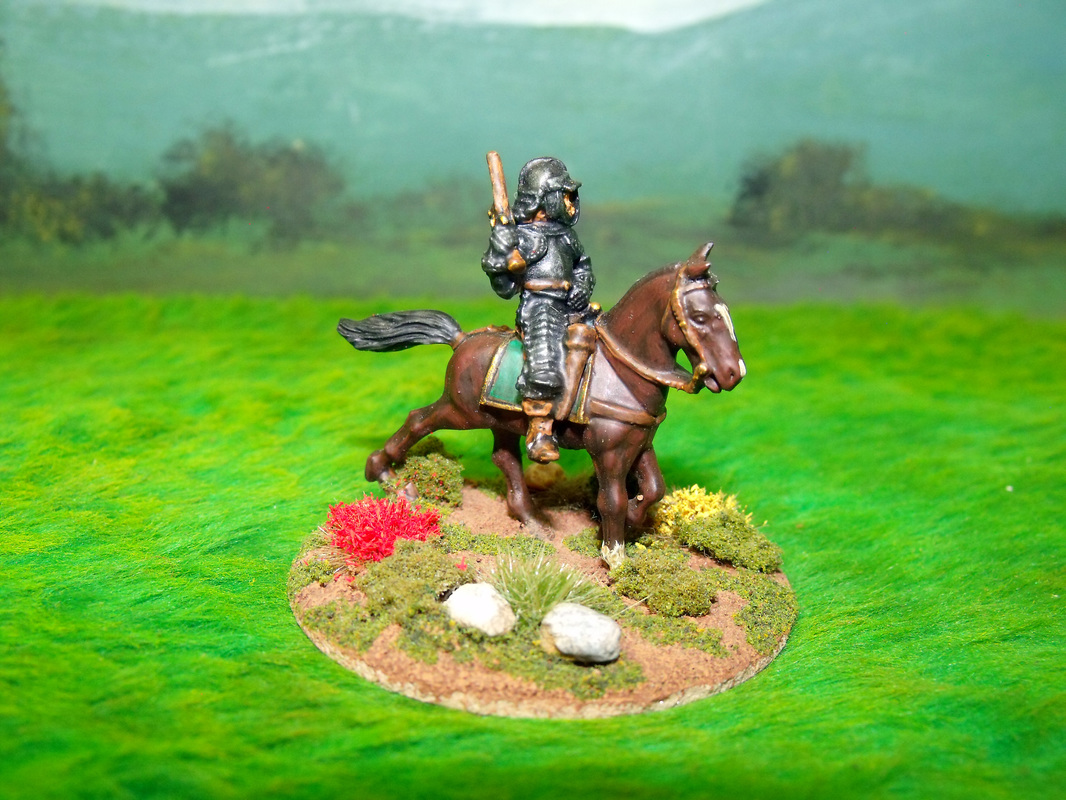
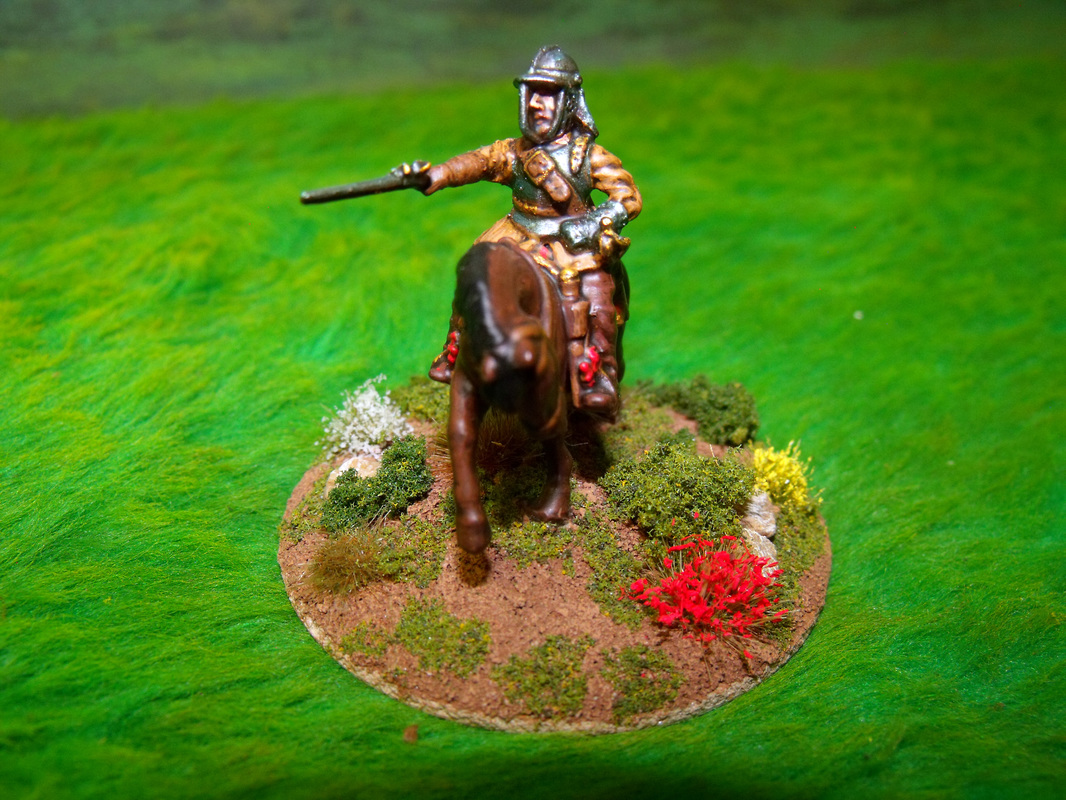
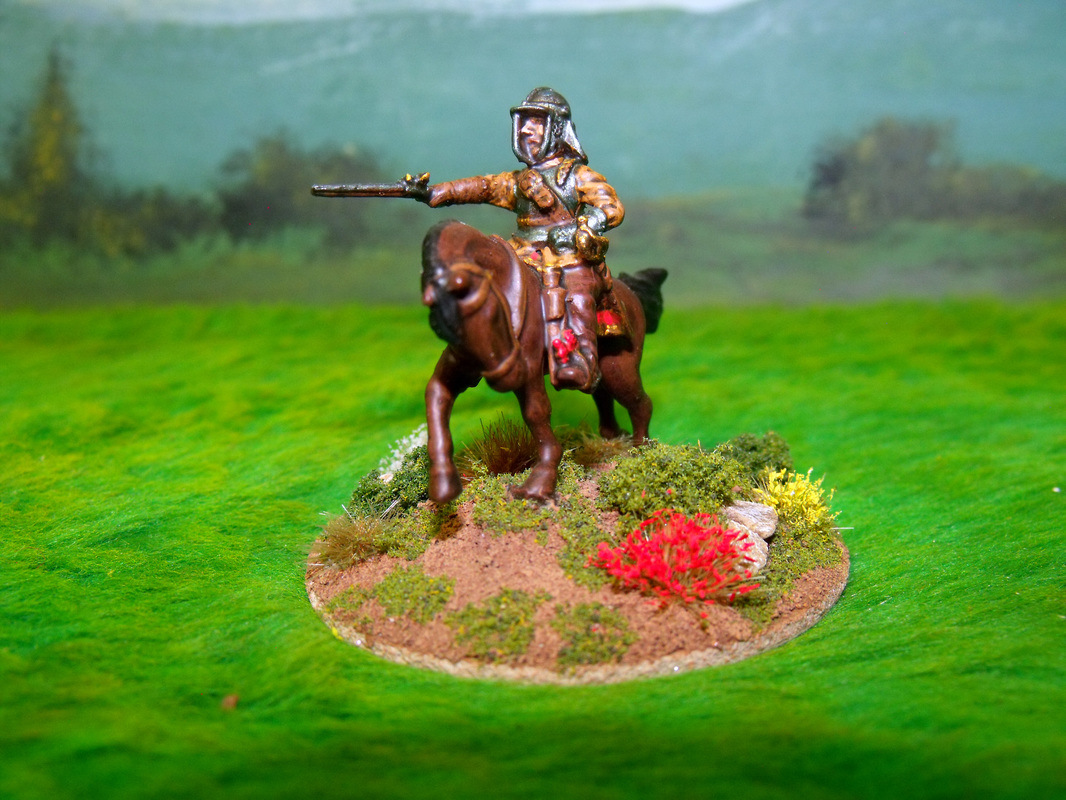
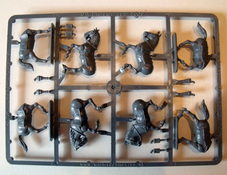
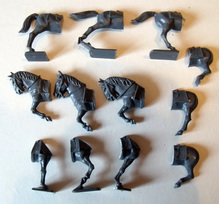
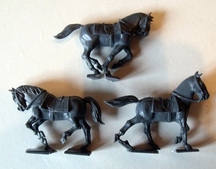
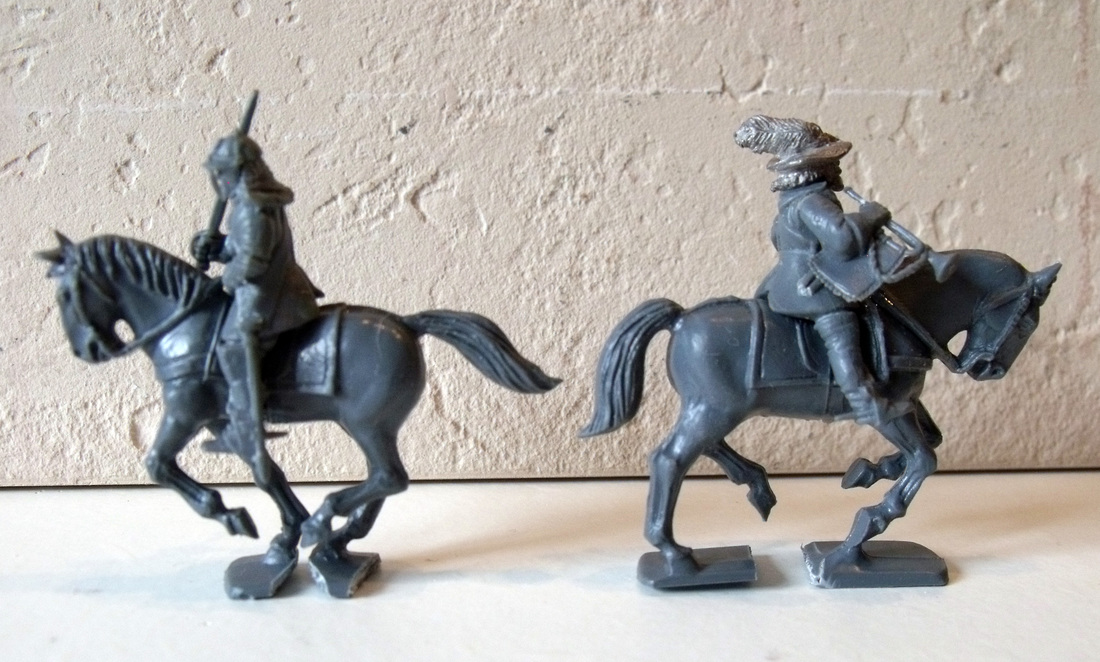
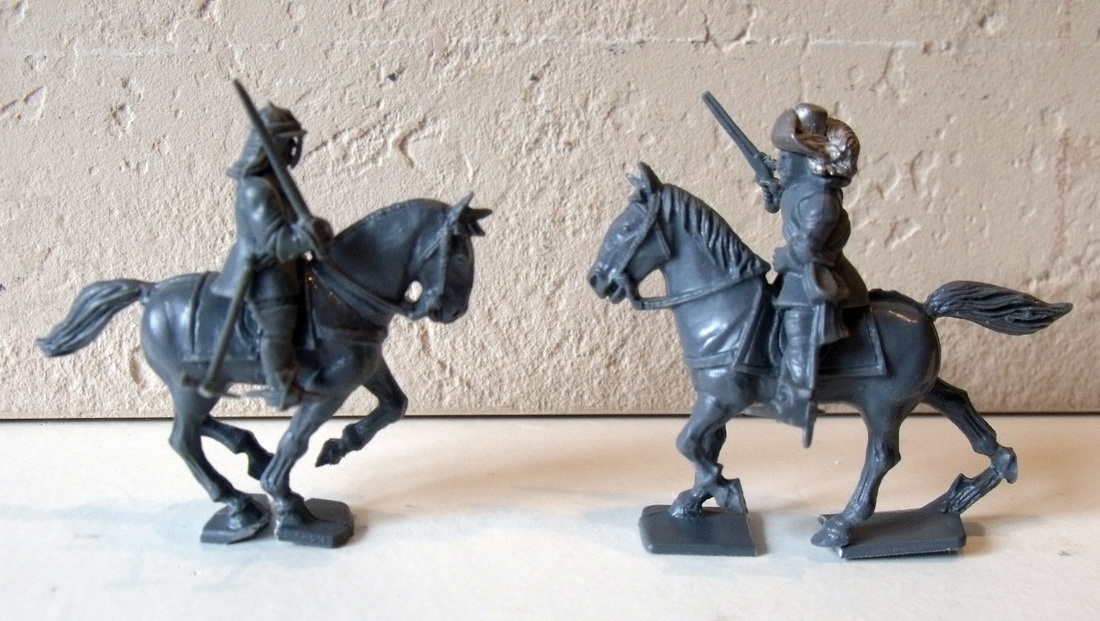
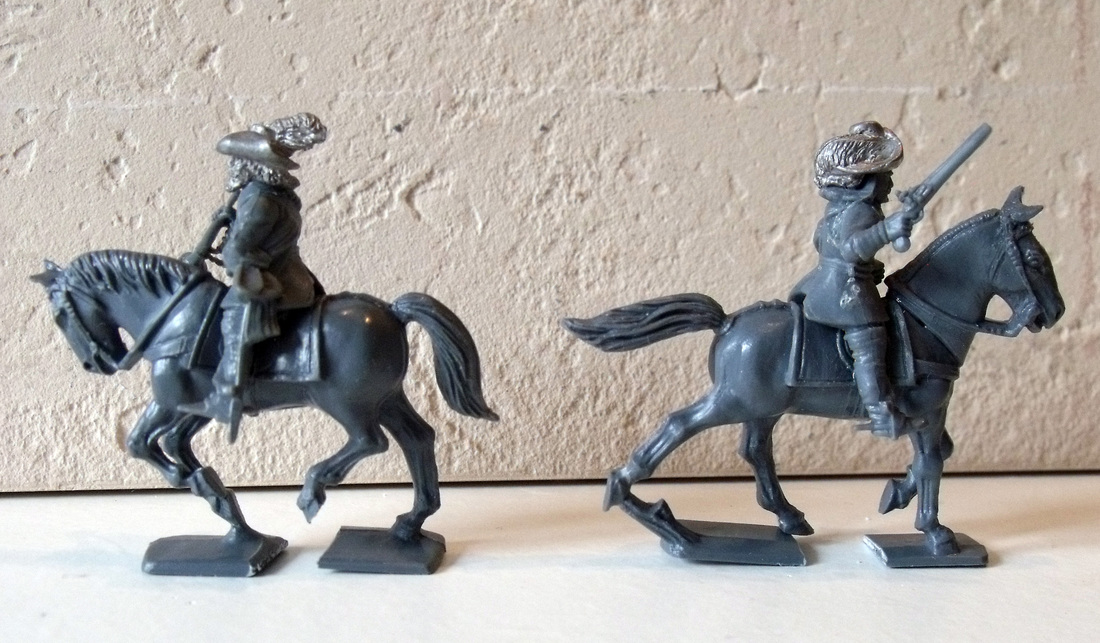
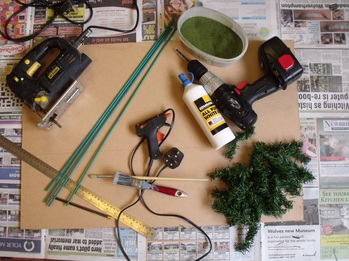
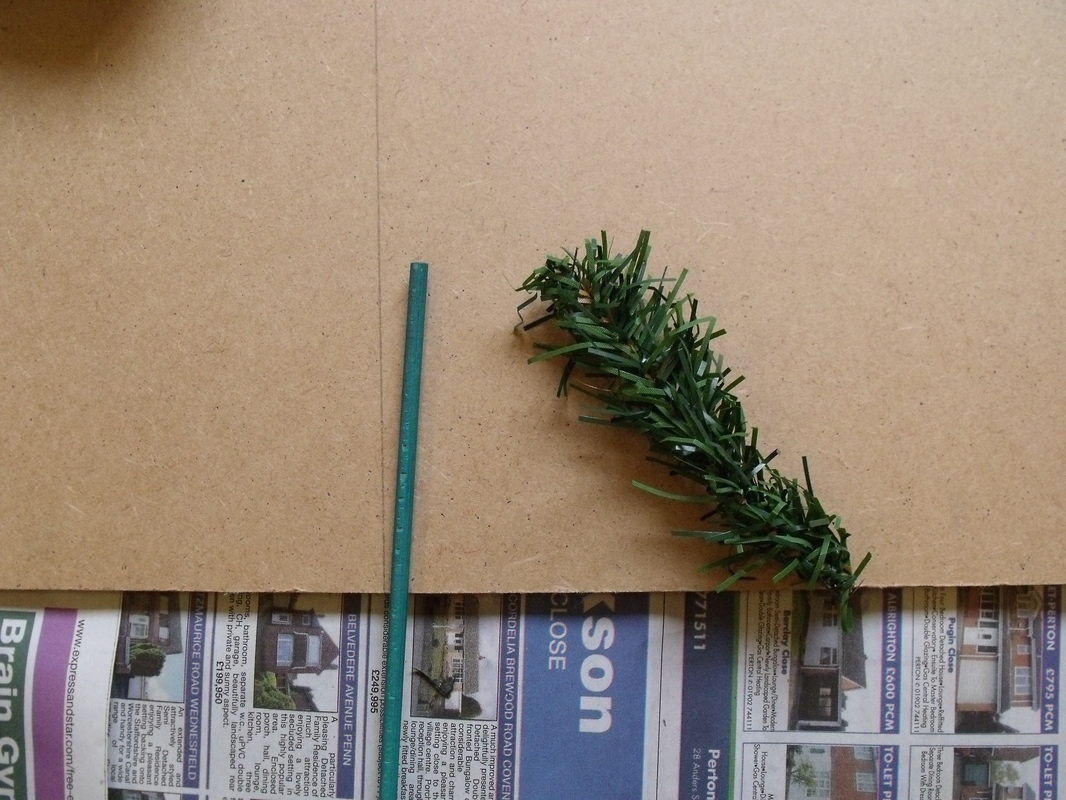
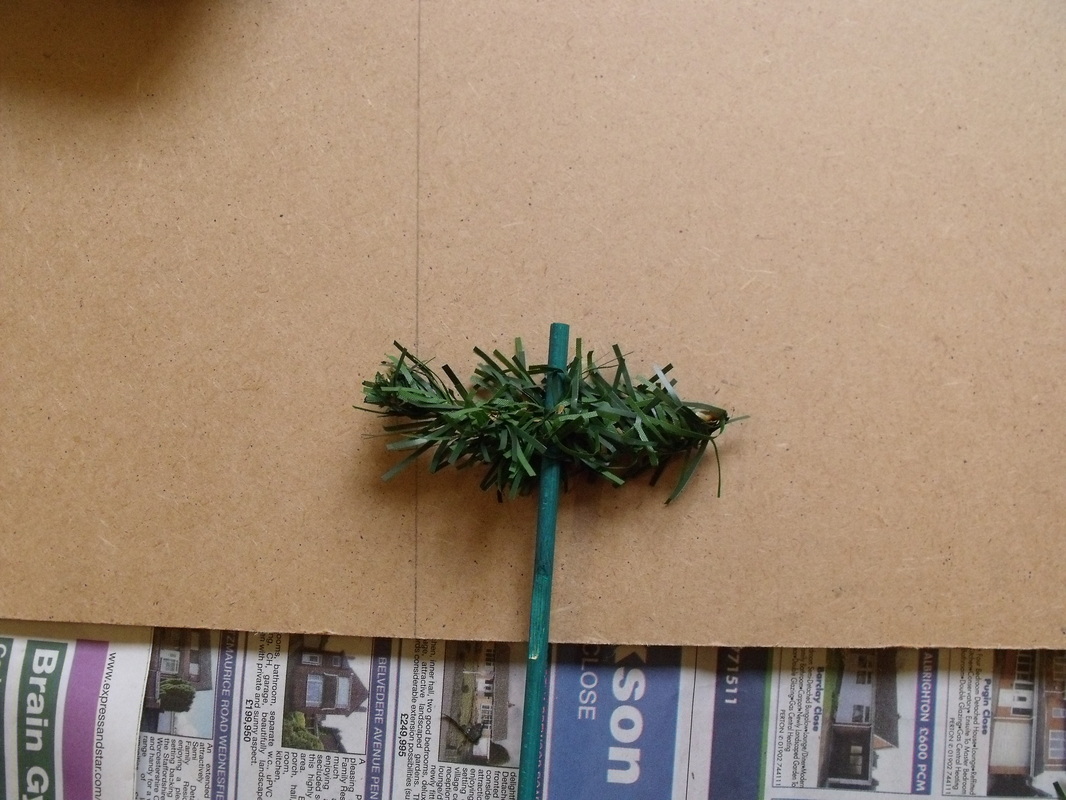
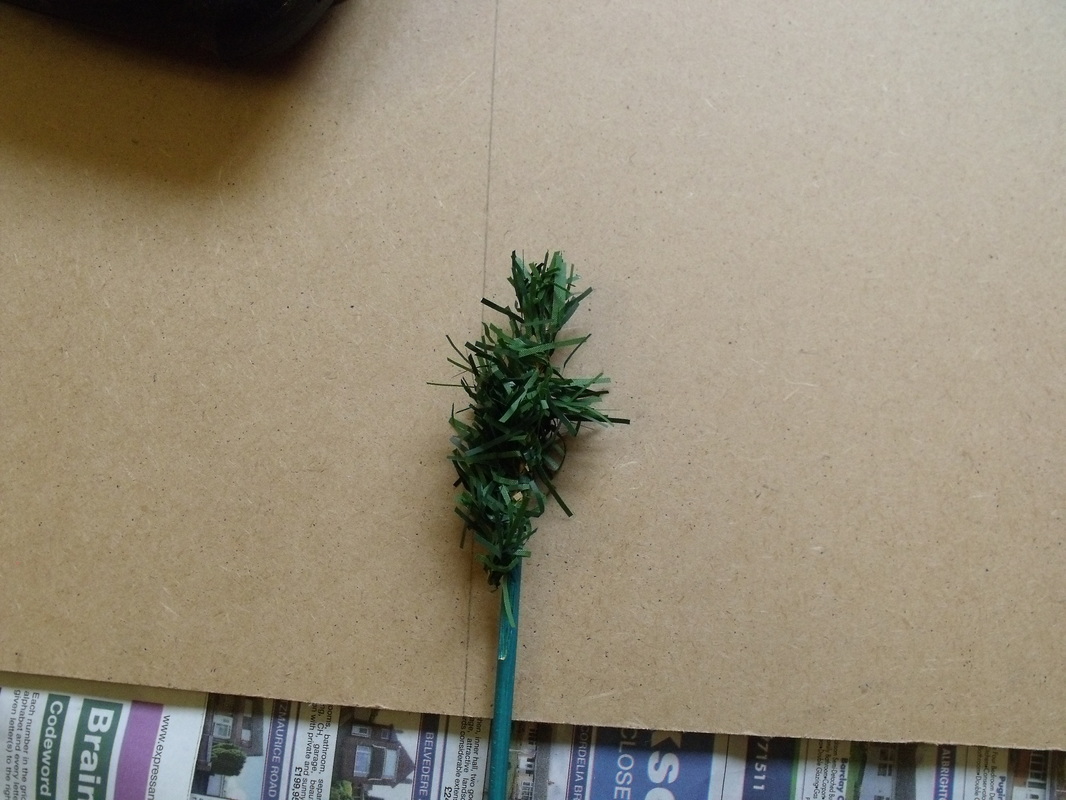
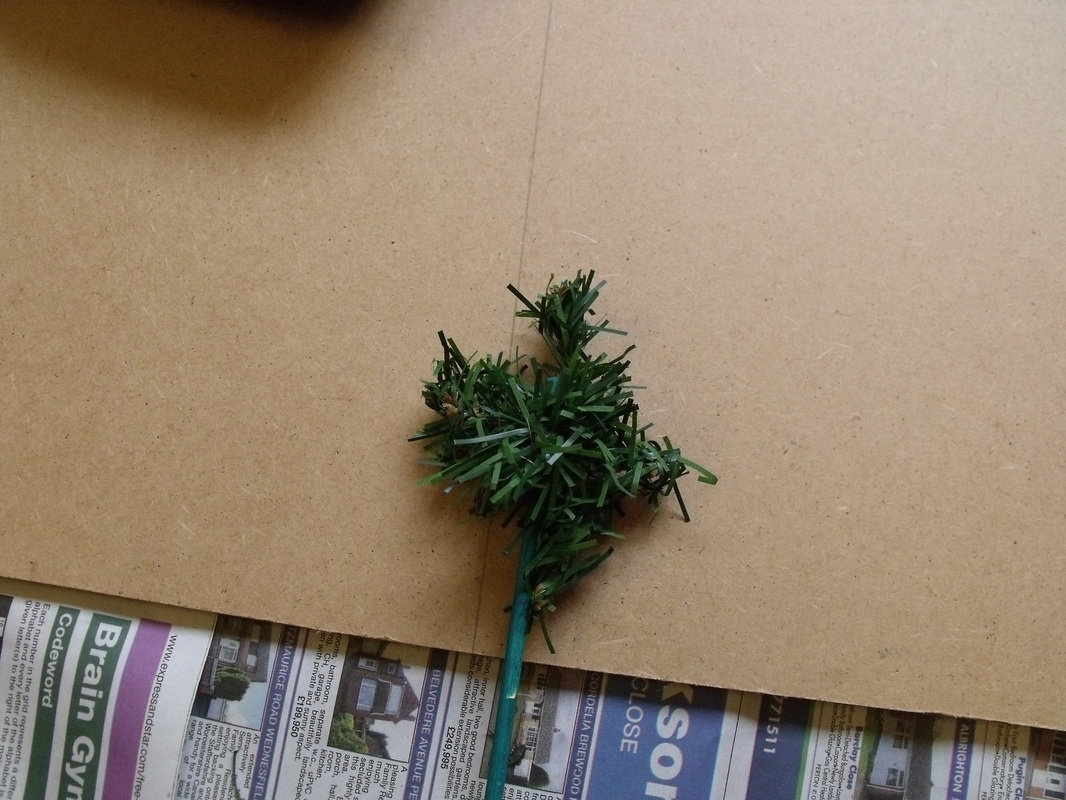
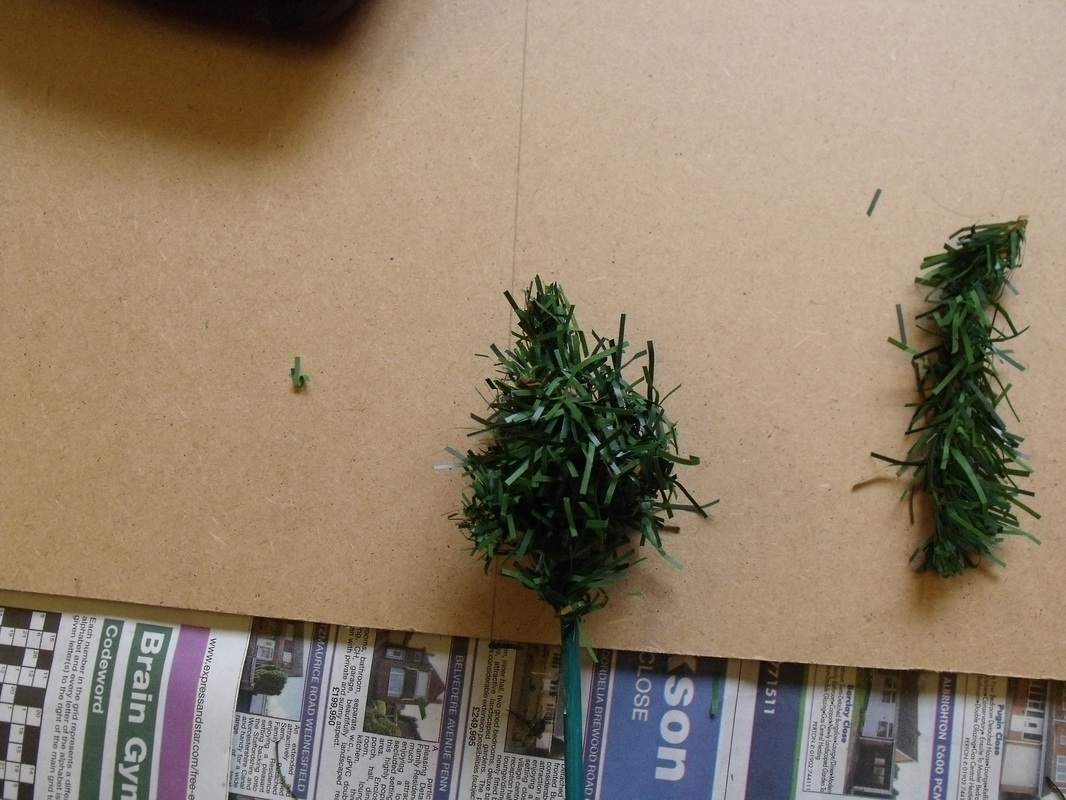
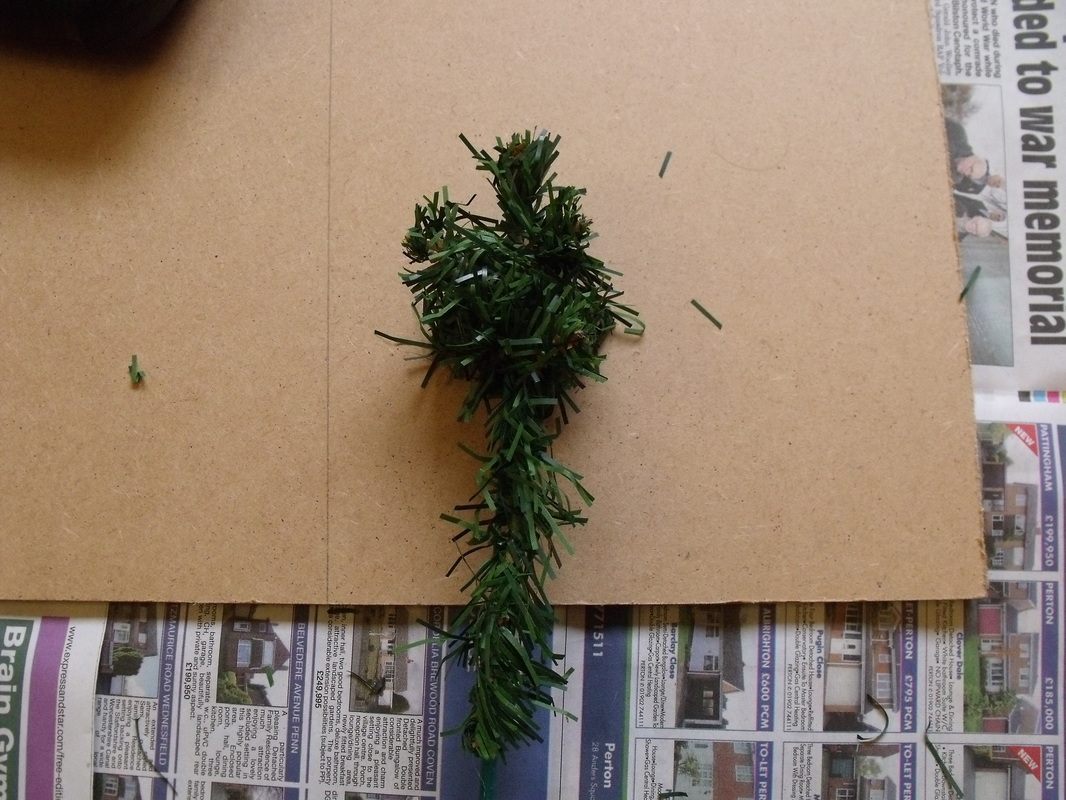
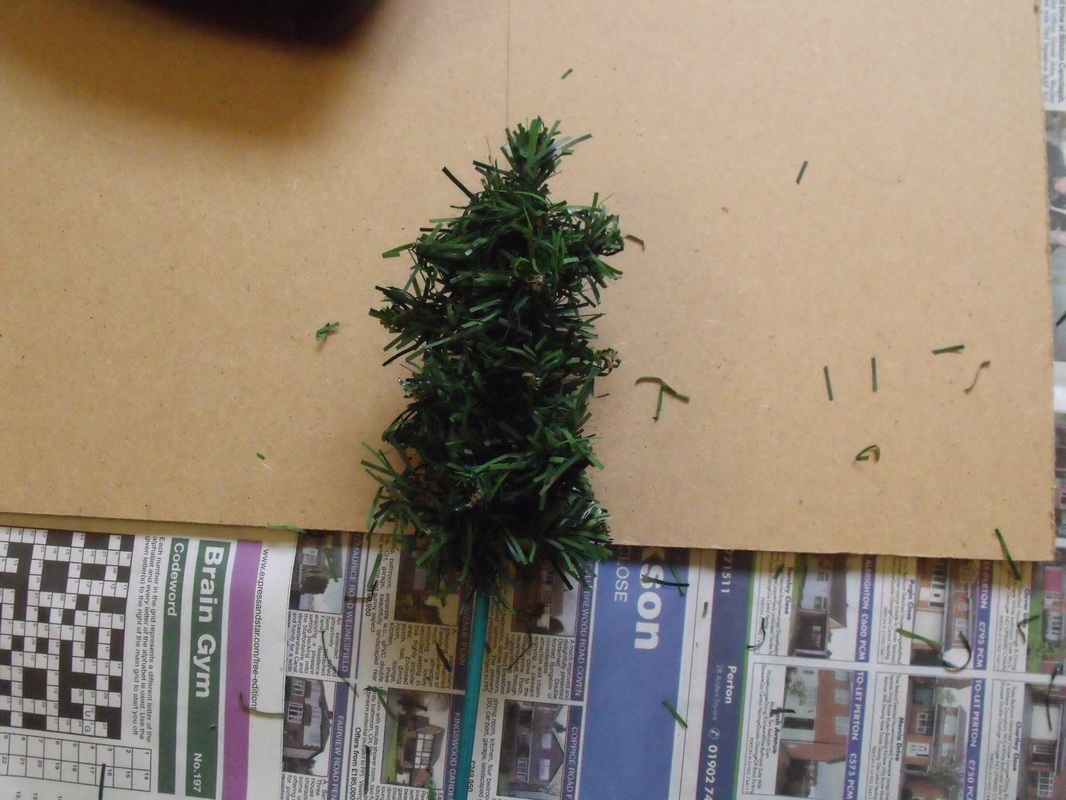
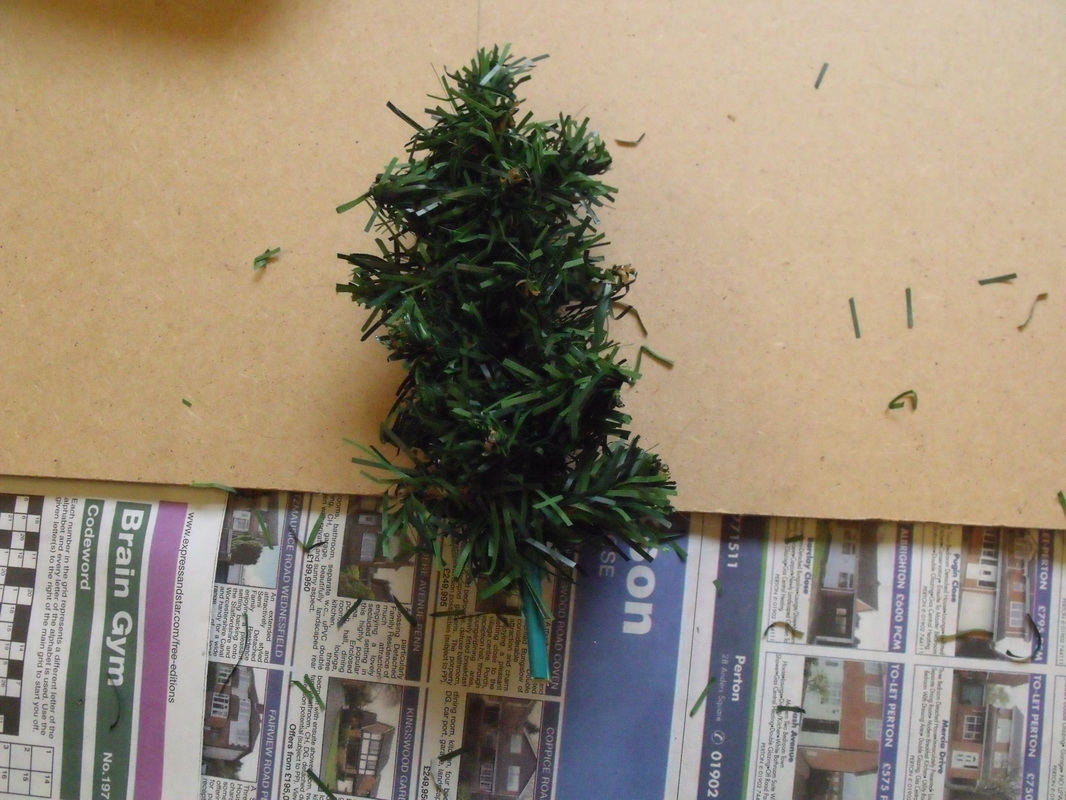
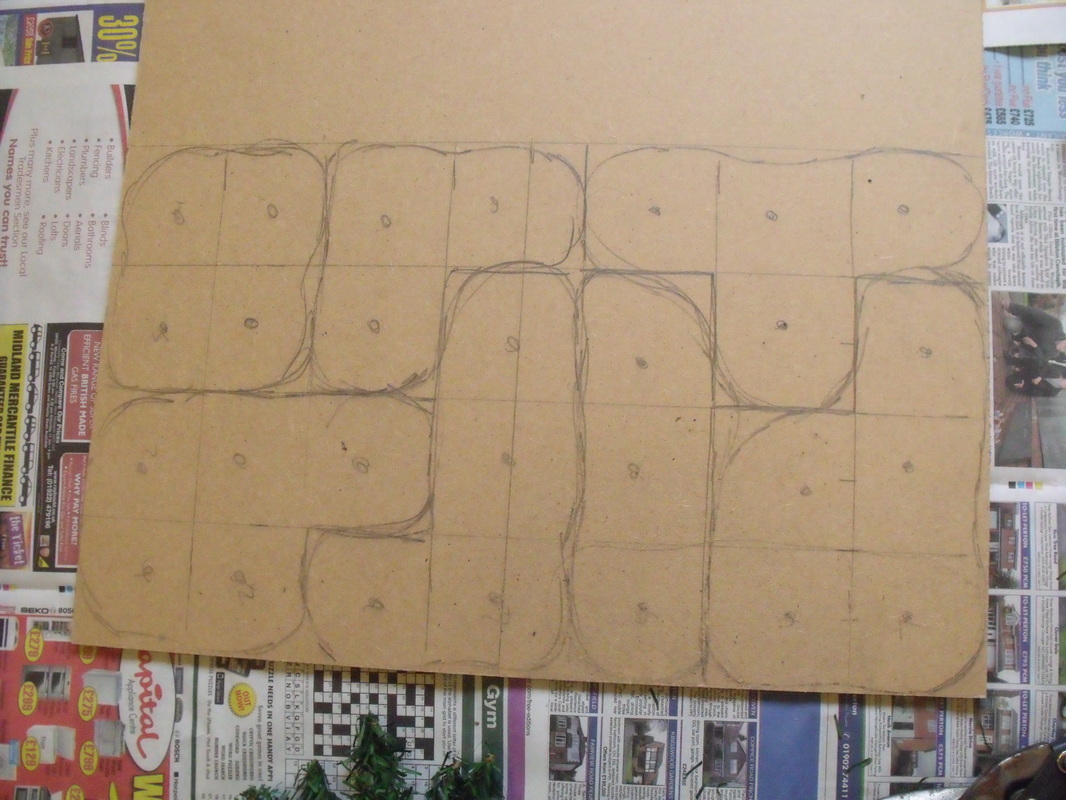
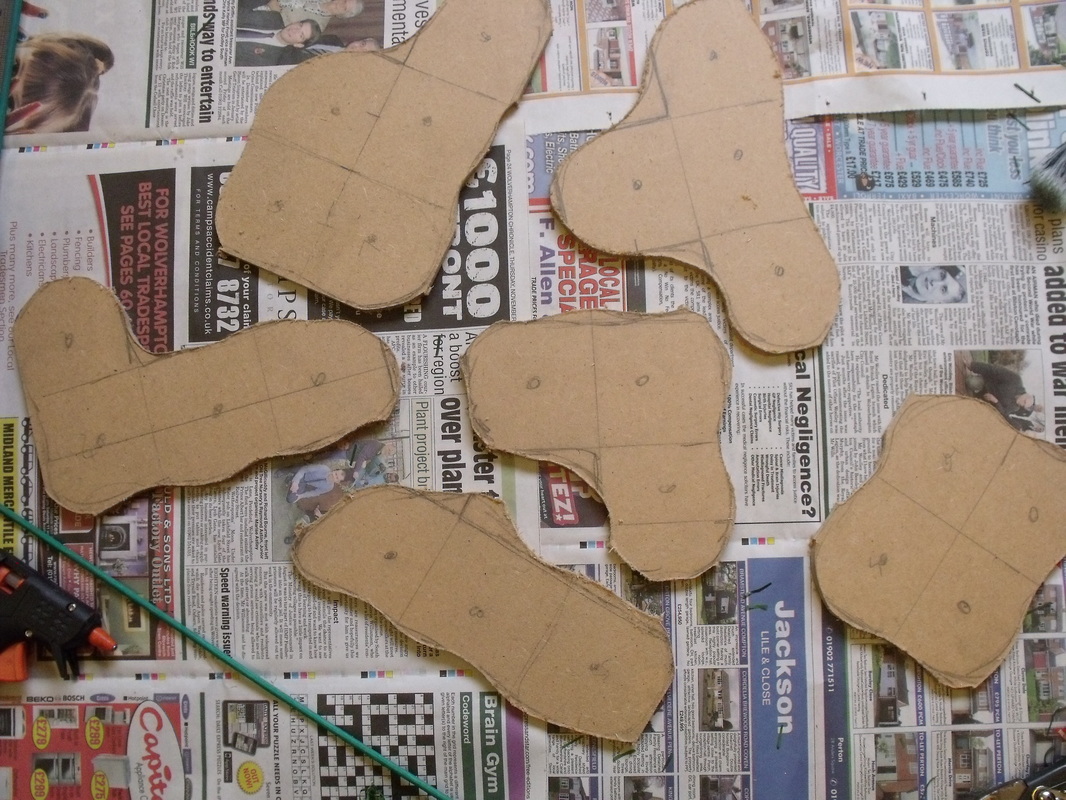
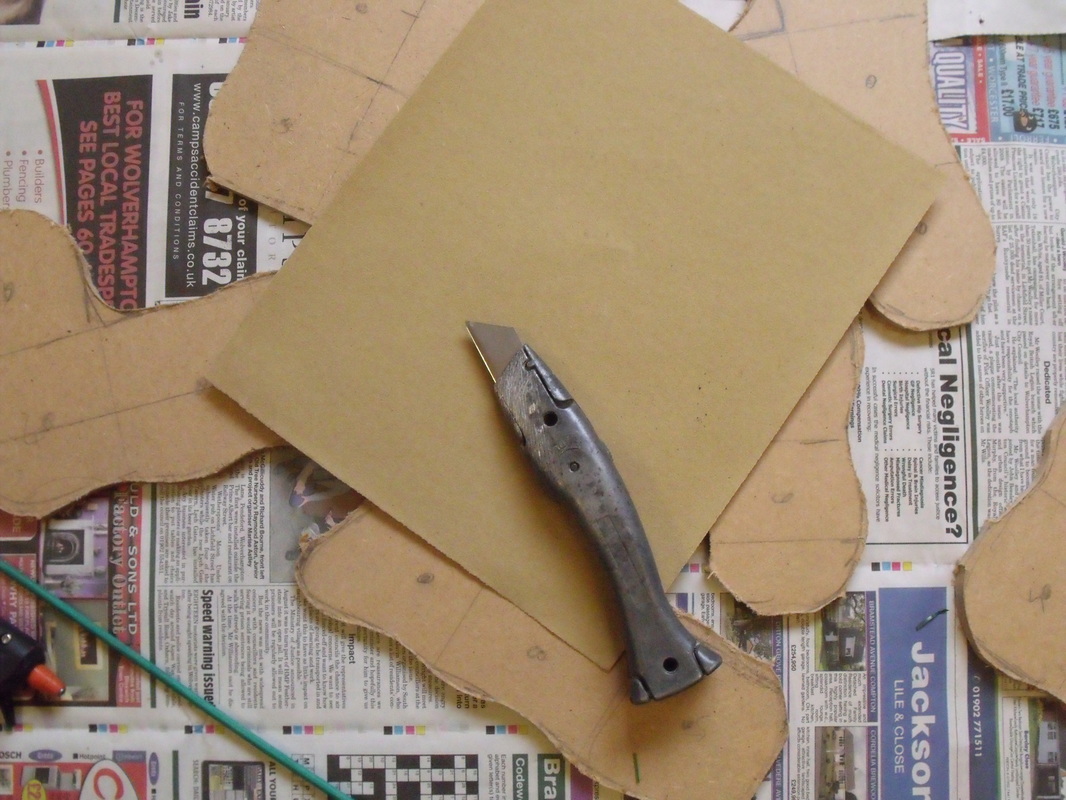
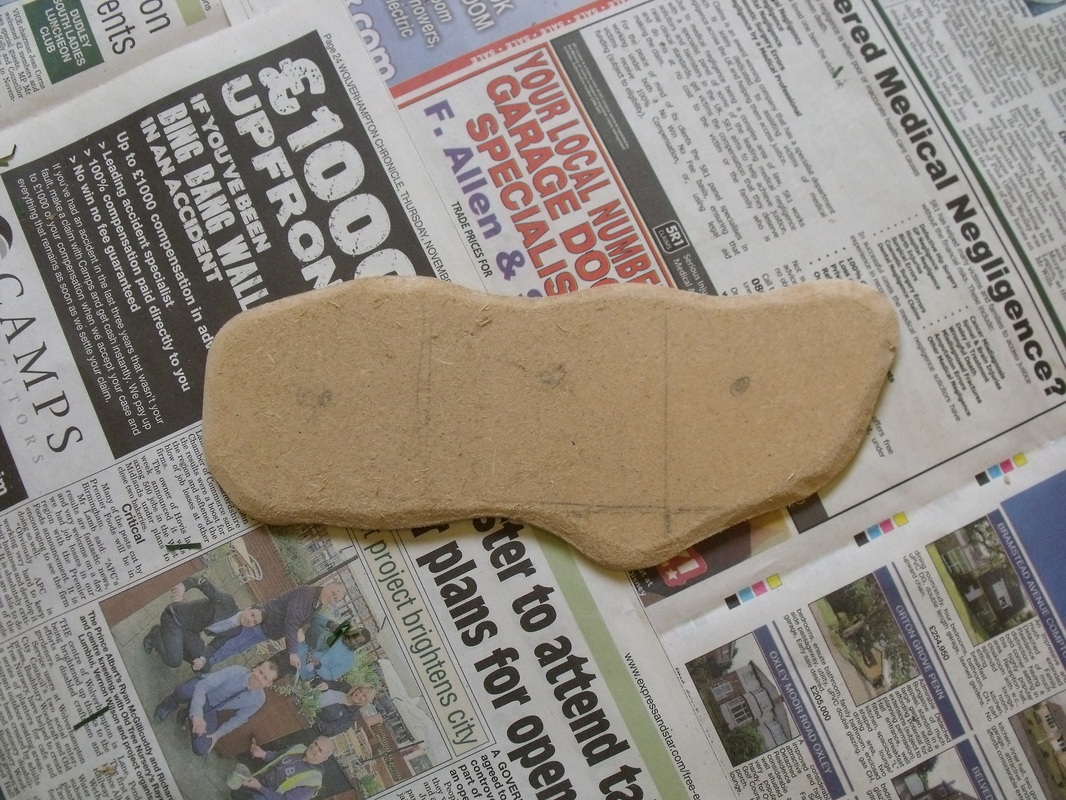
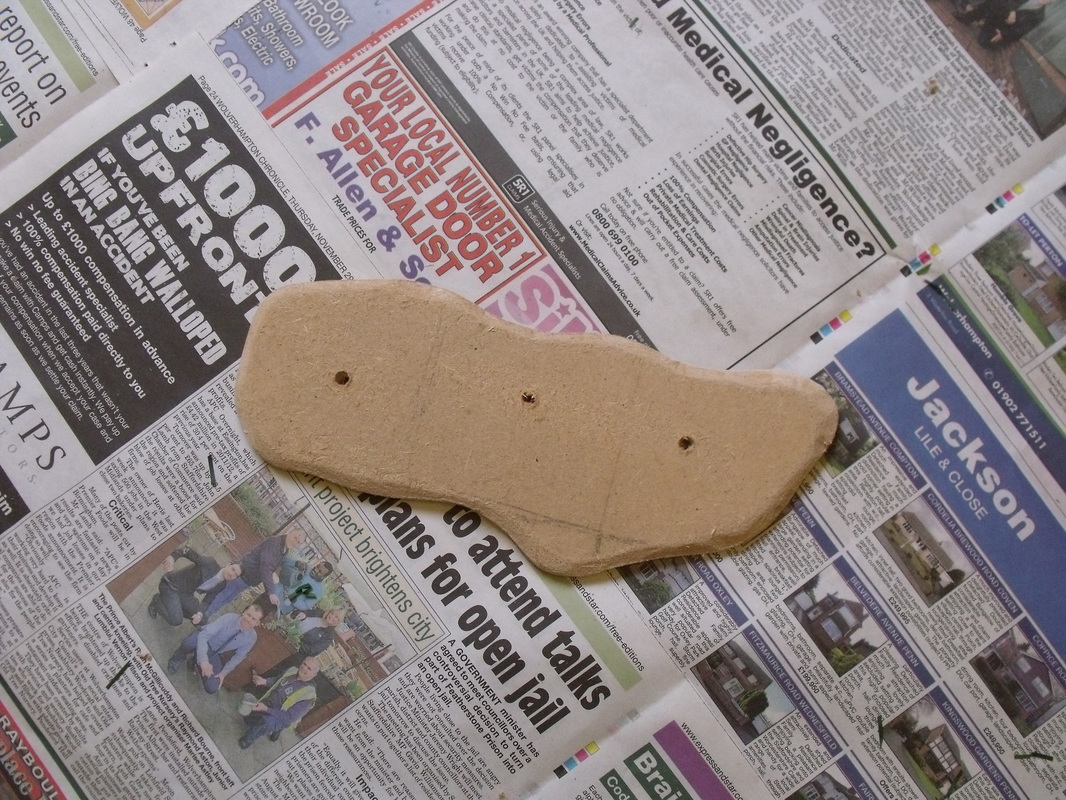
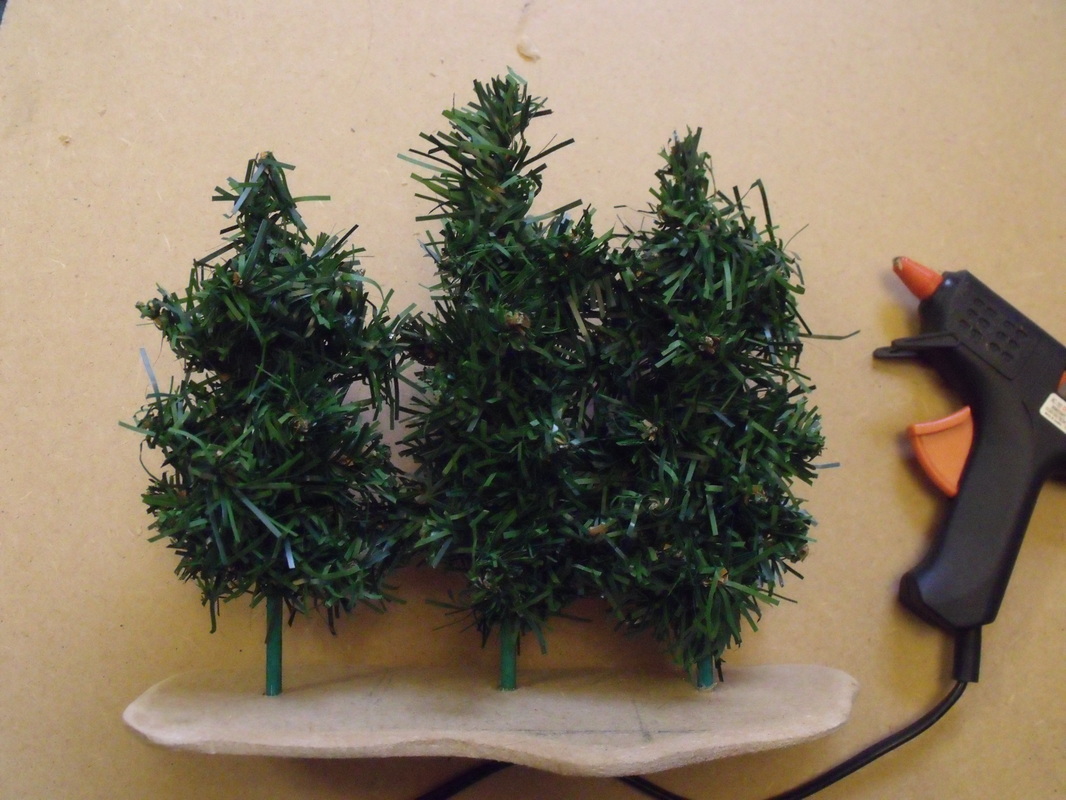
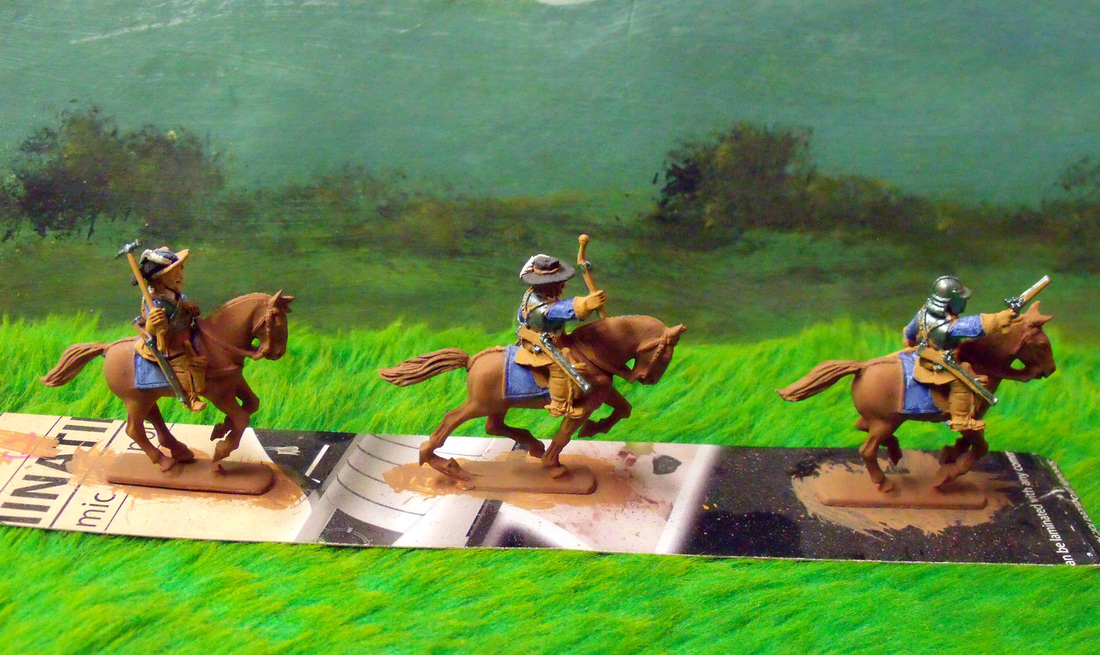
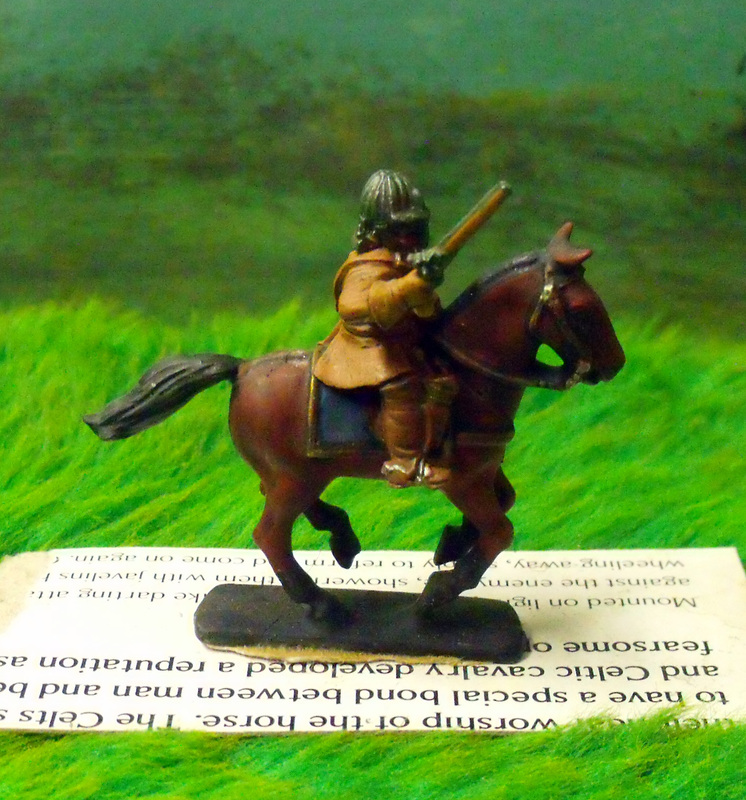
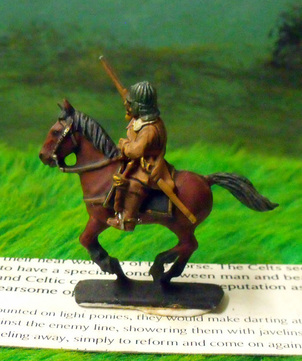
Warlord Games ECW horses are a really great set of plastic horsesand these horses are each made up of 2 separate parts giving a total of 9 variants from three horses (I know there are 4 horses on the sprue, but two are the same), and it looks like this. If you take a very knife and cut each horse half in two just behind the saddle strap to make each horse four separate parts it makes a total of 81 variants from three horses, and it looks like this. Once you start to glue them back together in a variety of new poses they look like this. When the riders are added the cut lines are hidden and they look like this. All in all a very simple and effective way of adding extra variety to the horses. A bit of a weird title especially at this time of the year, but nonetheless quite apt when you discover the details of this posting, and without beating around the bush it's all about trees and the use of old (or even new) Christmas trees. Basically, just over two and half years ago I was sorting through the Xmas decorations in readiness for them being put up when I discovered one of the trees had an issue with its legs, a missing one to be exact, and as it was old I decided to throw it out and buy a new one. As is the the usual way with wargamers all over the world I started looking at it wondering how to use it productively in my hobby and obviously came to the conclusion that trees could be made from this tree. Not much of a leap to be fair, but it was a leap in the right direction, so I duly set about cutting all the little branches up with my heavy duty clippers. What I ended up with was lengths of branch between 4 and 6 inches approximately and lots of them as it was a six foot high tree. The next thing was to assemble the tools and materials needed to transform these into useable model trees being: a jigsaw, drill, hot glue gun, metal ruler, paint brushes, pencil, heavy duty clippers, sharp knife, PVA glue, sandpaper, lengths of 4mm garden canes, 6mm MDF board, scatter flock and an old newspaper. With all the tools and materials assembled I cut lengths of cane between 4 and 6 inches long, trying to vary the lengths but not have any waste from the 2 foot long lengths of cane. Once done I sorted out the lengths of branch so that I had a pile of short lengths and a pile of long lengths, this makes things much easier as you make the trees. Next I took a small length of branch and a length of cane and wrapped the branch around the cane about 1 inch from the top and then I bent one end up and one end down as per the photo's below. Then I took another short length and again wrapped it around the cane about half inch from the top and bent both ends of the branch slightly upwards. This was followed by another short length wrapped just below and this time its branch ends were left facing at right angles to the first ones and bent slightly up. At this stage I had the top of the tree done so I took another short length and placed it parallel to the trunk overlapping what was left of the first piece of branch going down the trunk. I took another piece of branch and wrapped it around the trunk securing the trunk piece again bending the branch ends slightly upwards. At this stage there was no glue involved as the branches held each other in place, again the photo's below help explain the procedure. So, I carried on down the trunk adding new branches at about three quarter inch intervals until I had enough left to look like a lower trunk. This I repeated until all of the branches were used up. With the trees made I decided to make bases, now these could be single grouped, removable or done in any way I wanted but I decided to go for groups of between 3 and five trees. I simply took my MDF and marked a 3 inch grid in pencil, after which I marked a circle roughly at the centre of each grid square. Then I marked on the shape of each group of trees rounding off edges and making the group shapes look more organic. Once done and happy with the configuration I took the jigsaw and cut them out, trimming off any unwanted bits. With a sharp knife and sandpaper I bevelled the edges of the bases and and sanded them until they looked nice and neat. I took each base and drilled out an hole as marked at the rough centre of each grid box and lightly sanded them to take off any burrs. with the bases totally ready I started gluing the trees in place with my hot glue gun, making sure the bottoms of the holes were well filled with glue and any extra trimmed off with my knife. At this stage I had 53 trees each between 5 to 8 inches tall all ready to be flocked. Now this could be done with spray glue and flock, but I used PVA glue and a paint brush, which to be fair was quite quick and easy to do especially as the trees were on bases. The PVA also glues the trees to each other which helps to strengthen them. The last thing to do was to texture the bases and that was it, 53 very large trees for the price of an old Xmas tree and some pretty cheap materials. As you can see in the photo's above the trees are pretty large and imposing and look far more natural than perfectly shaped bottle brush trees. As for getting trees, now isn't a great time of the year to shop for such things, but I do happen to know that on ebay you can get them for less than £15.00 including postage.
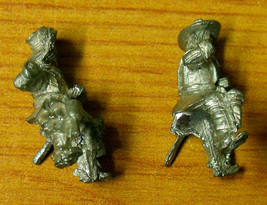
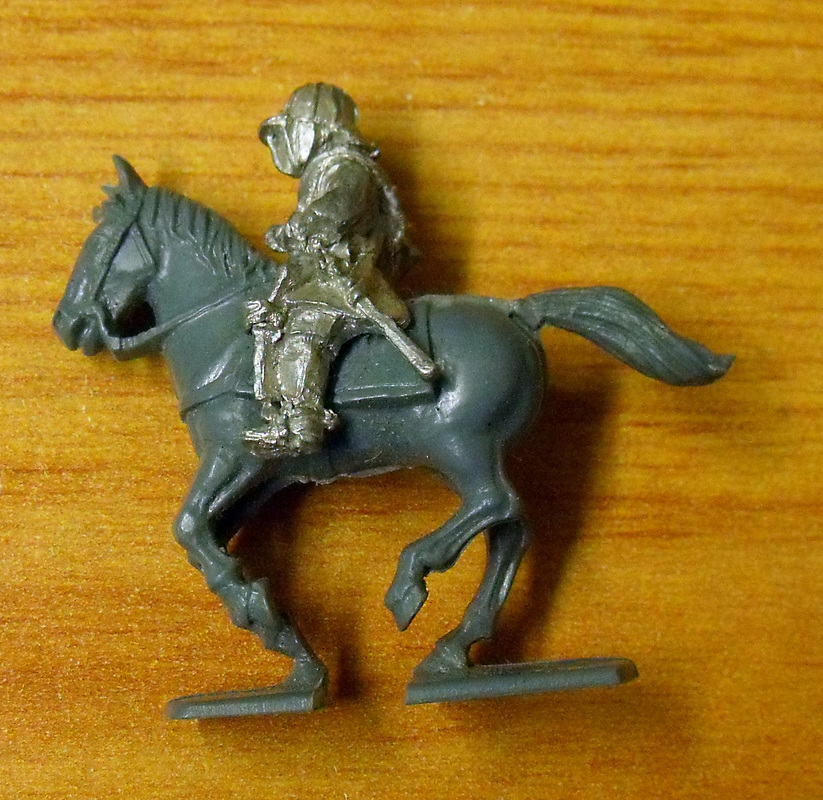
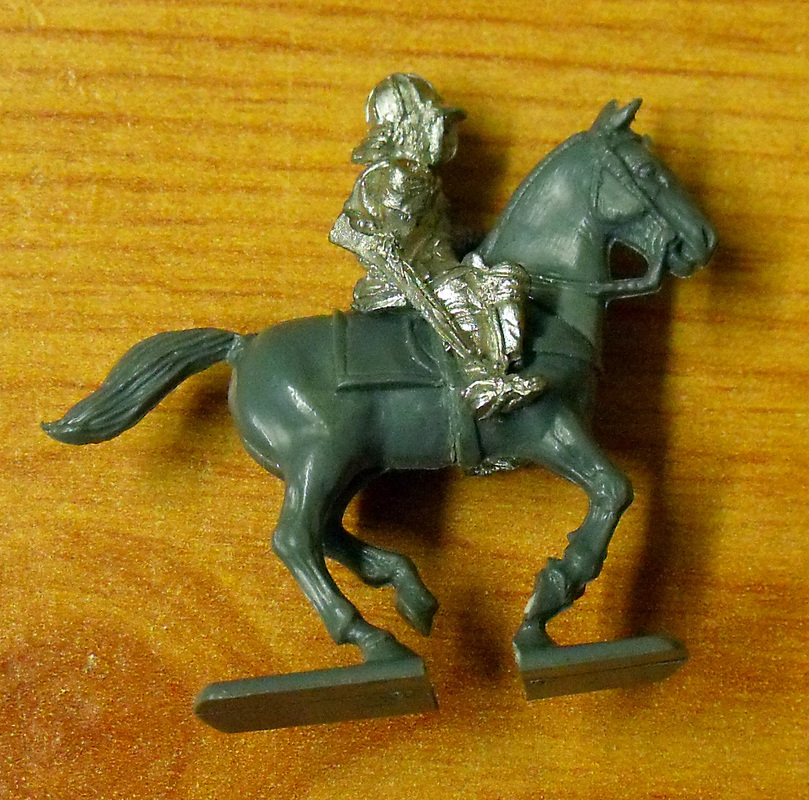
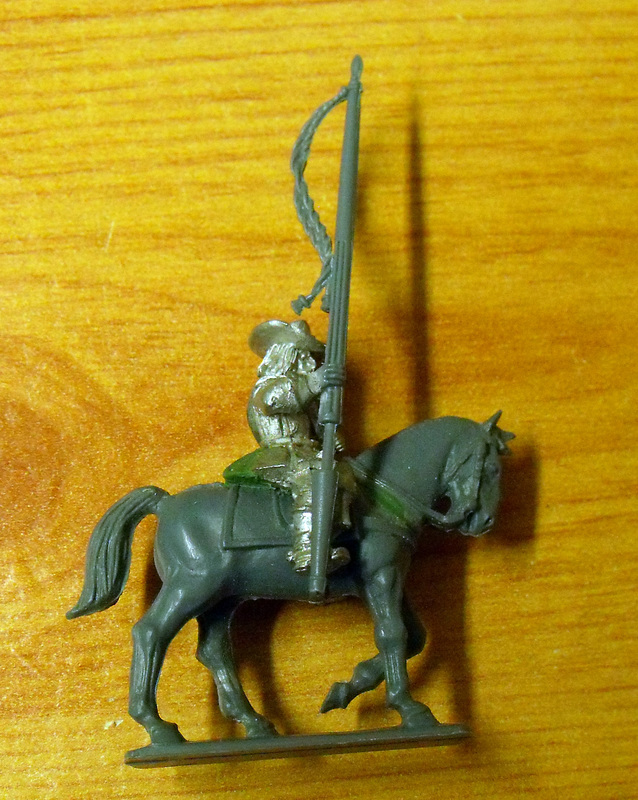
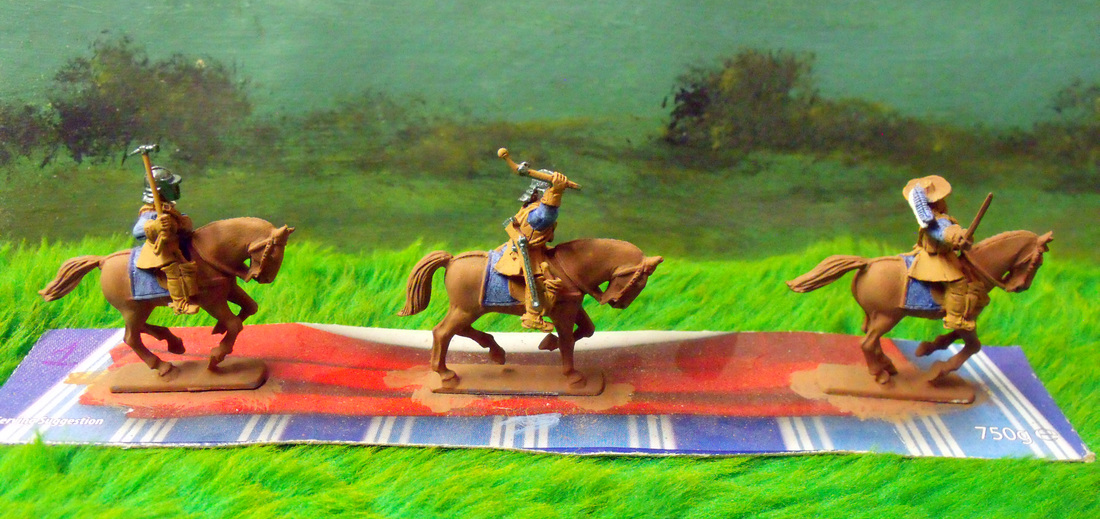
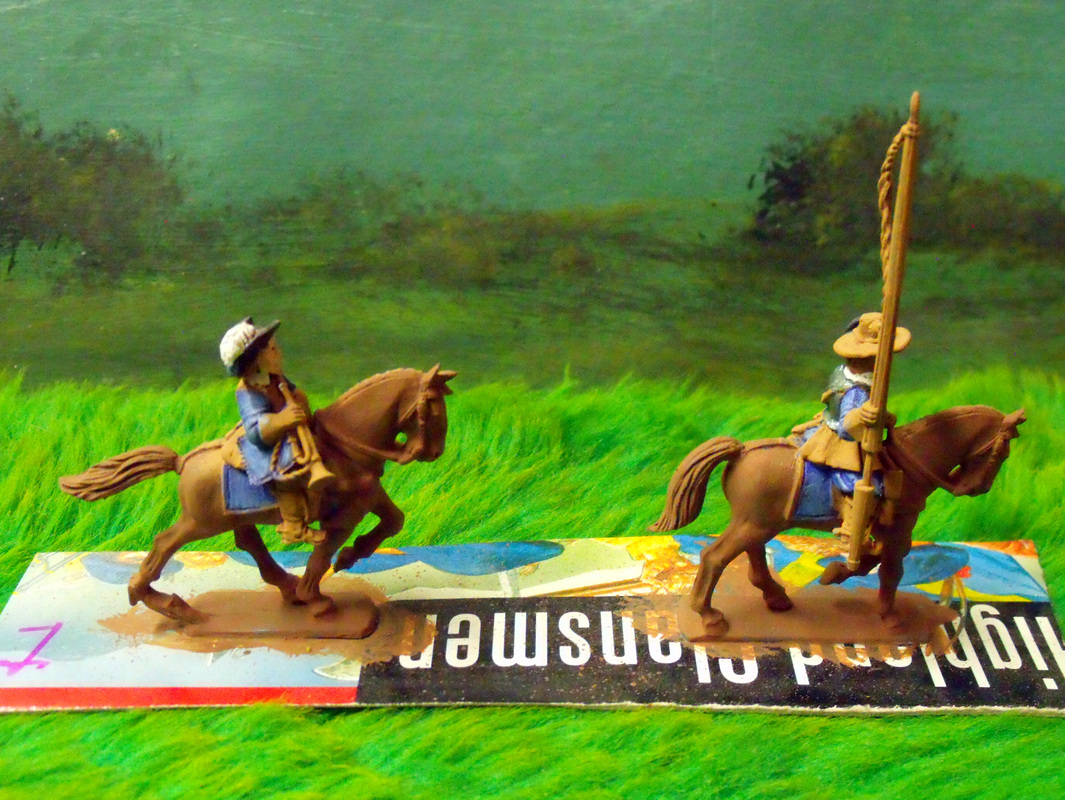
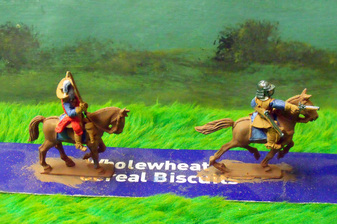
For my ECW cavalry I unashamedly love the plastic horses from Warlord Games, they are big powerfully built and wonderfully sculpted horses that look perfect as mounts for well equipped heavy cavalry. So as I already had a hundred or more cavalry from Old Glory, Front Rank and Essex with cast on saddle cloths I really wanted the horses to be consistent in size and weight within my units as I like to mix & match the figures. Obviously the Old Glory horses were quite small in comparison and could not be mixed in the same units, Essex Horses were a mixed bag with some of them fitting in well and others not so well, and the early ECW Front Rank Horses again seemed a little underfed when compared to the Warlord Games Horses. I could have put them into separate units, but I actually wanted a really good mix of different poses within units and I actually liked all the figures I had. For most that was it, less than a minutes worth of work, but for others there was more to do on areas such as the saddle holsters and the rear of the buff coat. First the holsters, these can be really nice on some of the Old Glory cavalry and really awful on others, so I simply snipped off the awful ones and used the plastic ones provided on the horse sprues. Again all really simple and easy to do, but the rear of the buff coat on some of the figures had a really wide and unnatural looking opening so I decided to remodel these with green stuff, which although a little harder to do than the other work it was still relatively easy. The problem was obvious the saddle cloths had to be removed and done in such a way that it didn't stick out like a sore thumb that the riders had previously had the cast on saddle cloths. Actually this was easier than it looked so I took my trusty clippers and simply snipped off the areas of saddle cloth leaving the rider and his sword scabbard. The next thing to do was cut the back of the scabbard so that any extra thickness was removed and it looked normal, this done the clipper work was completes and normal clean between the riders legs was done with a knife or file. That for the most part was all the converting that I needed to do, but there was the converting that I wanted to do, which was the weapon hands. Old Glory figures have separate weapon hands which you choose to mix & match, which is great and Warlord Games figures have separate weapon arms with lots of spares which is even better. Simply put it was a case of swapping hands or arms as I saw fit to make them look how I wanted, this part was really easy and really good fun. The Warlord Games sprues have extra trumpets and cornet lances which look great and are very easy to attach to most other makes of figure, so the lances especially I use on all of my mounted units. So there you have it, easy conversion techniques for making cavalry fit on horses they don't fit on. As for the spare horses, they were put aside to mount Scots cavalry and dragoons of all sides who both rode smaller horses, more of which I will cover in another post.
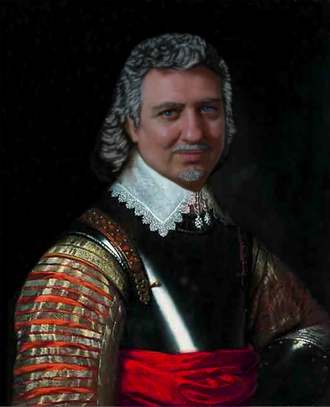
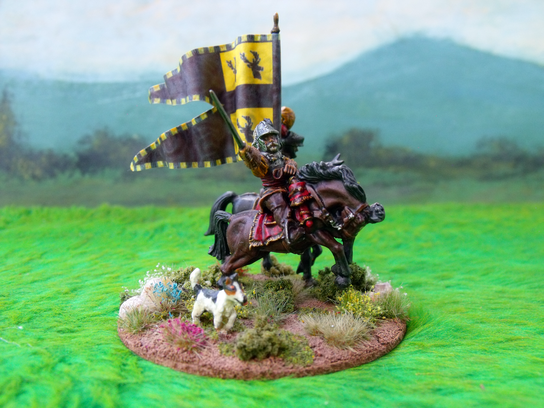
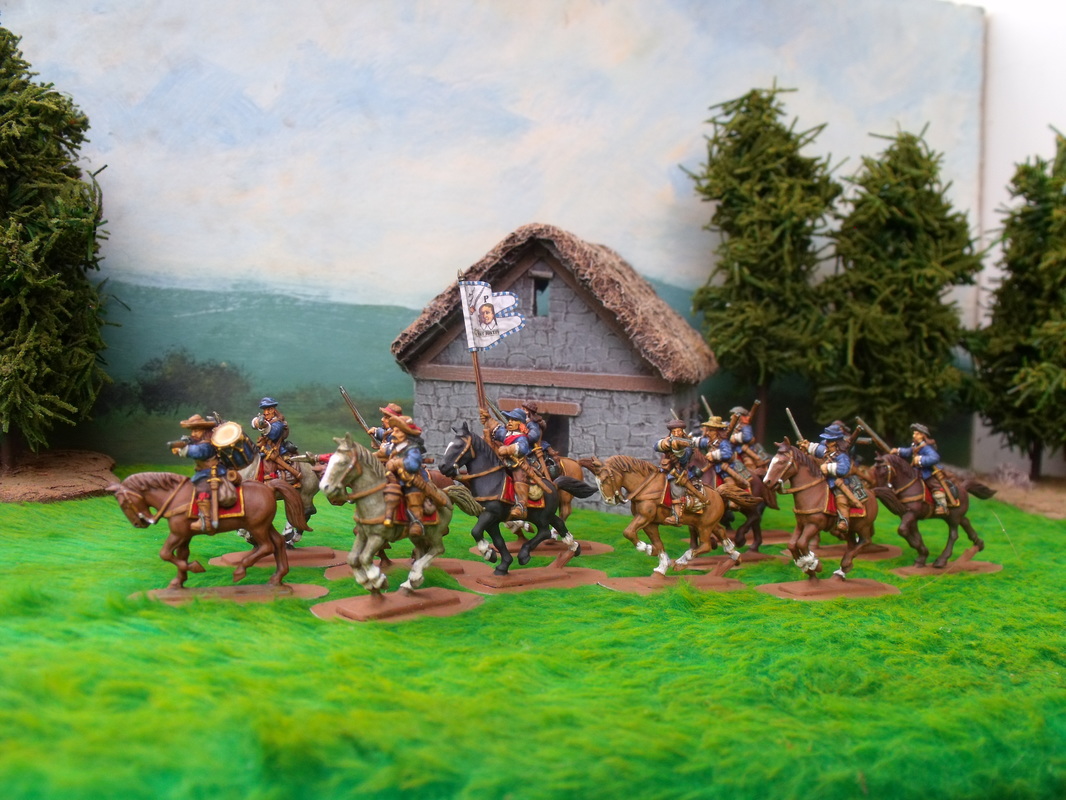
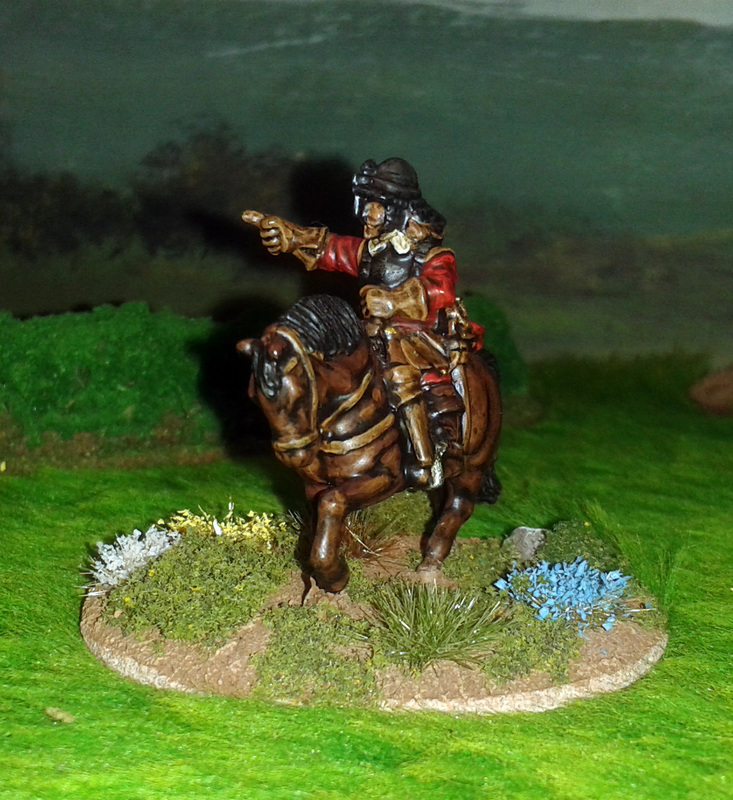
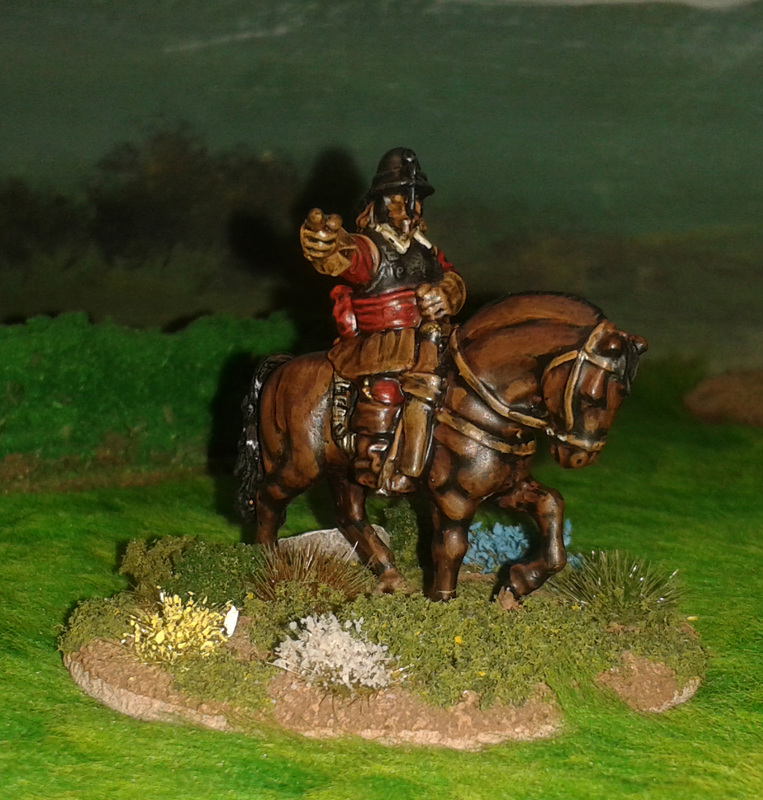
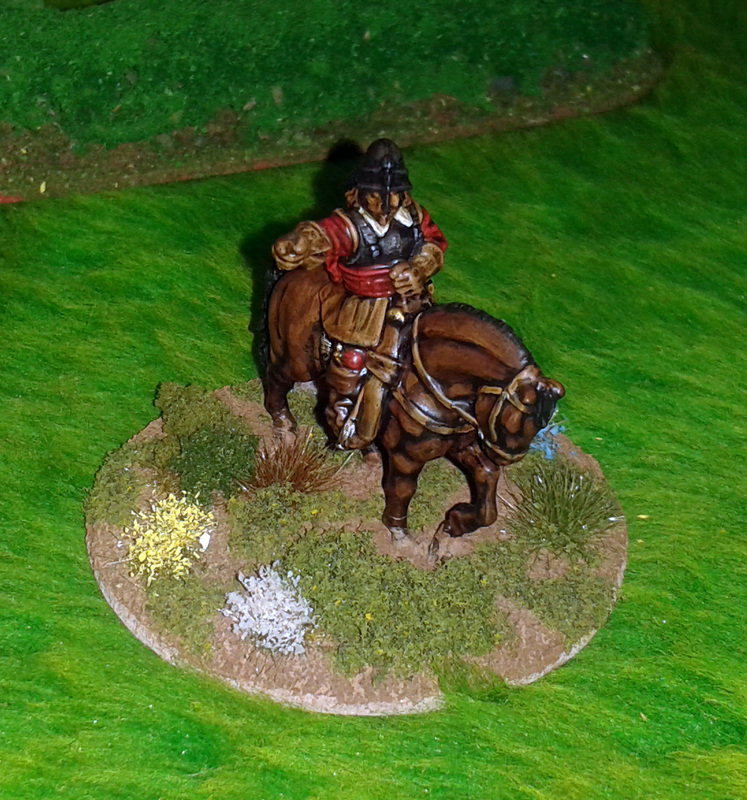
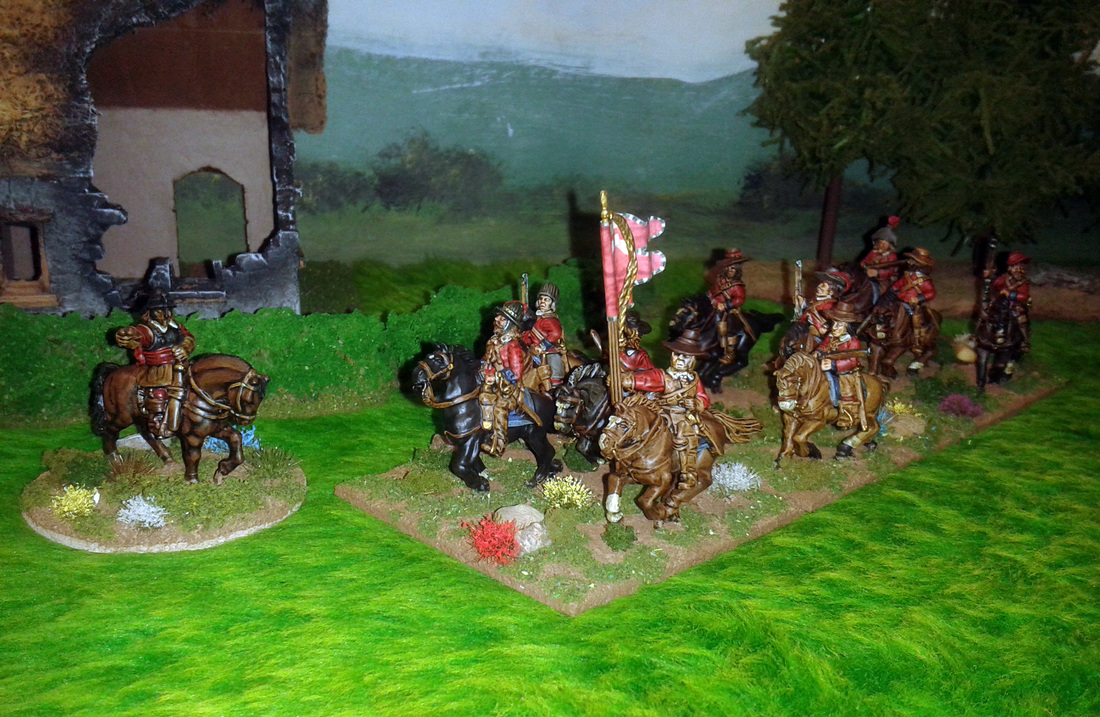
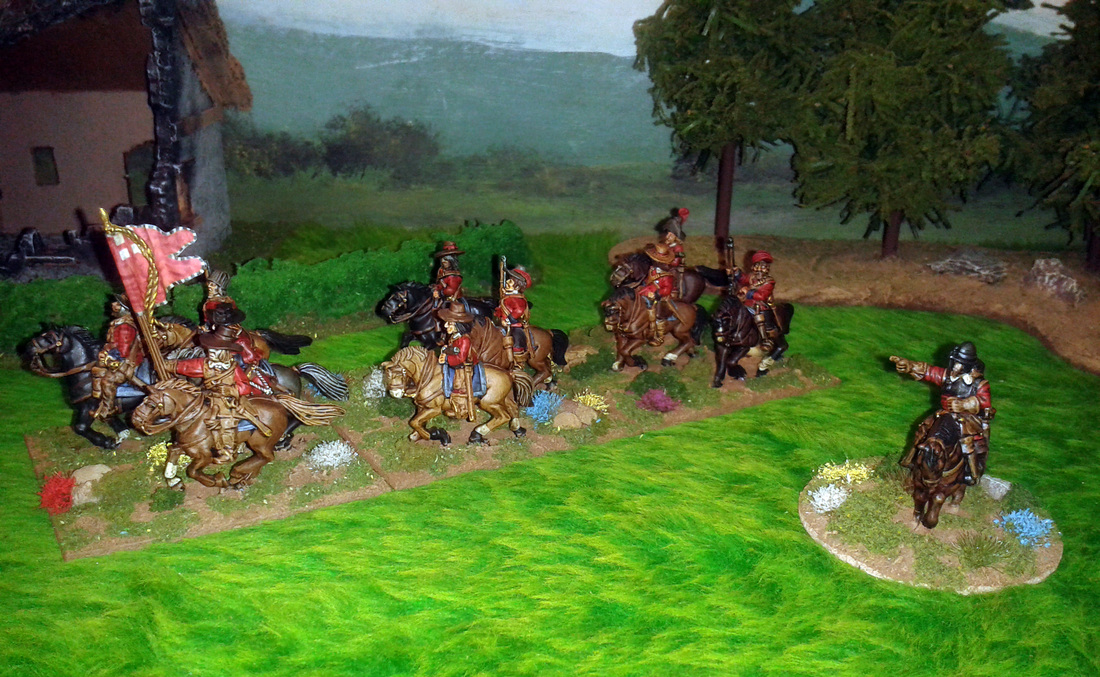
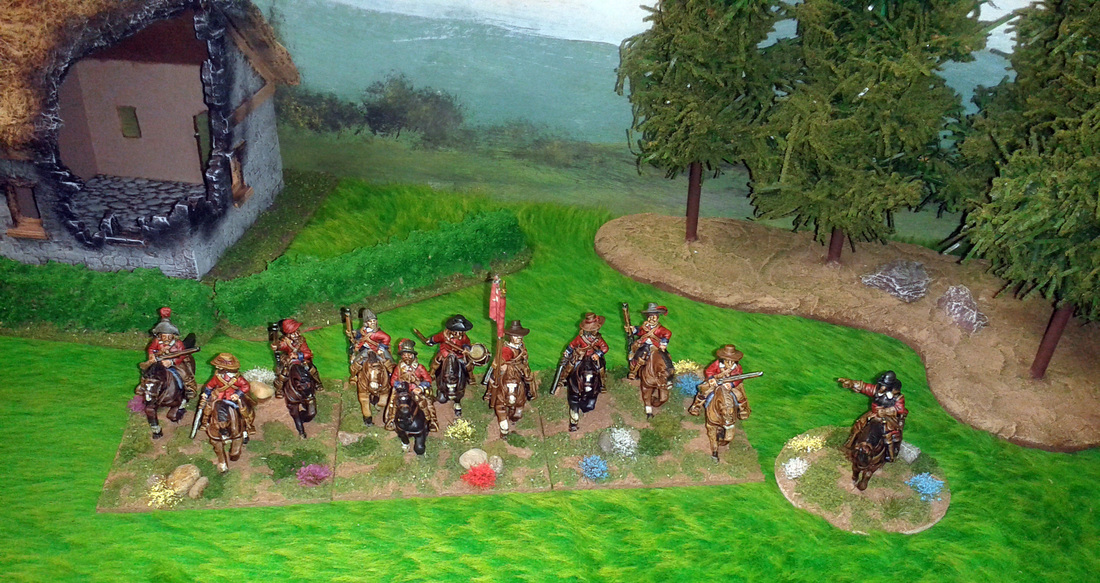
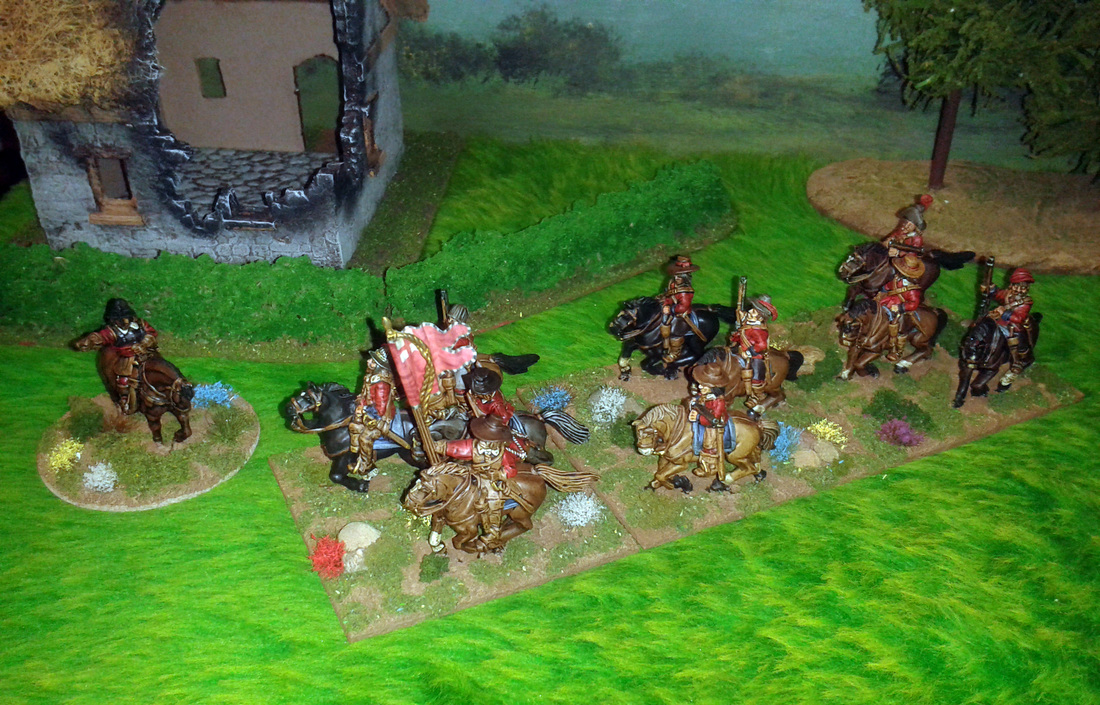
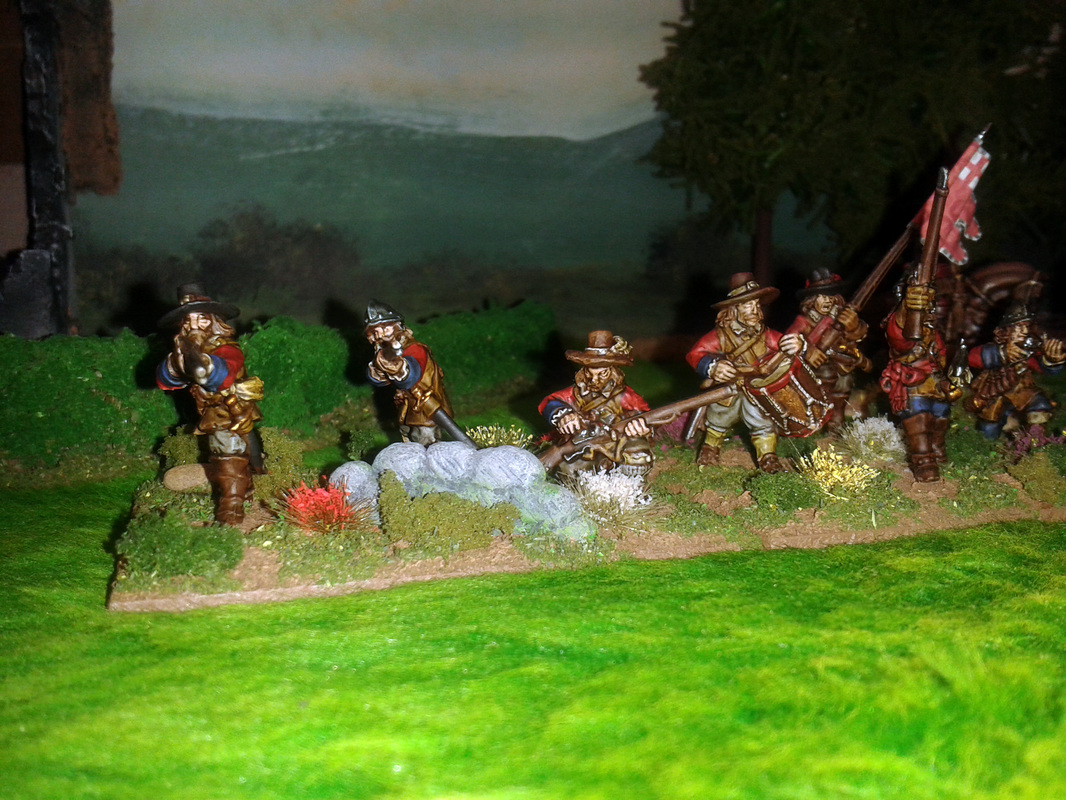
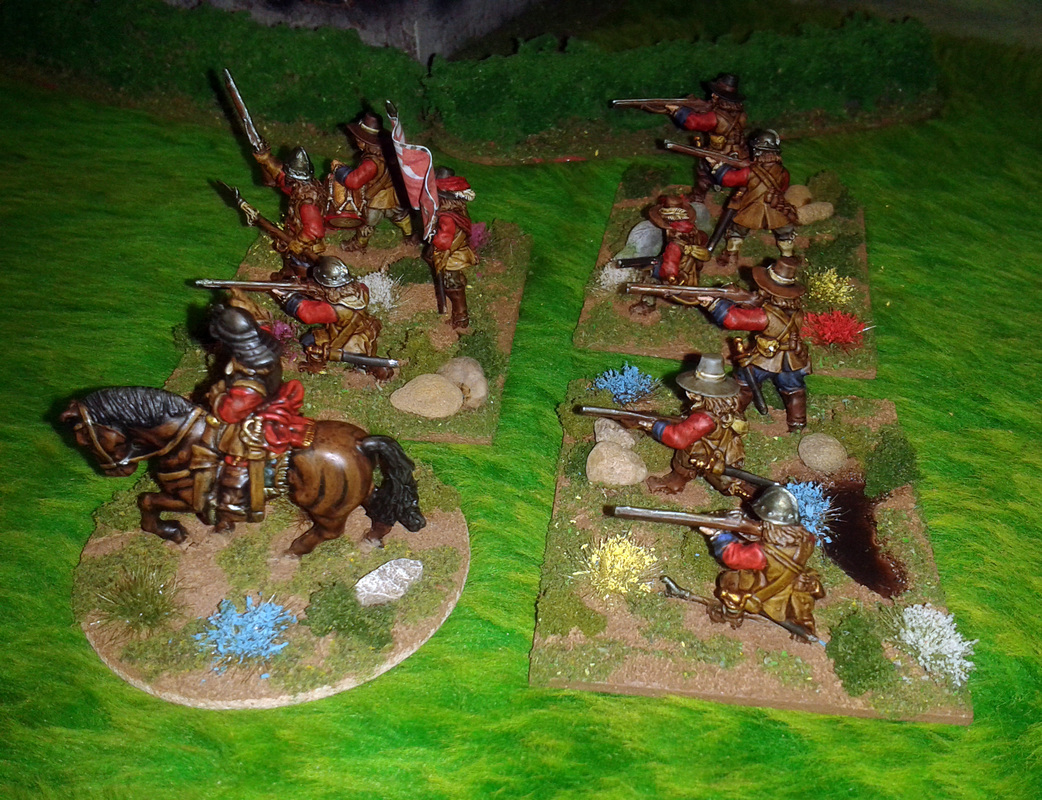
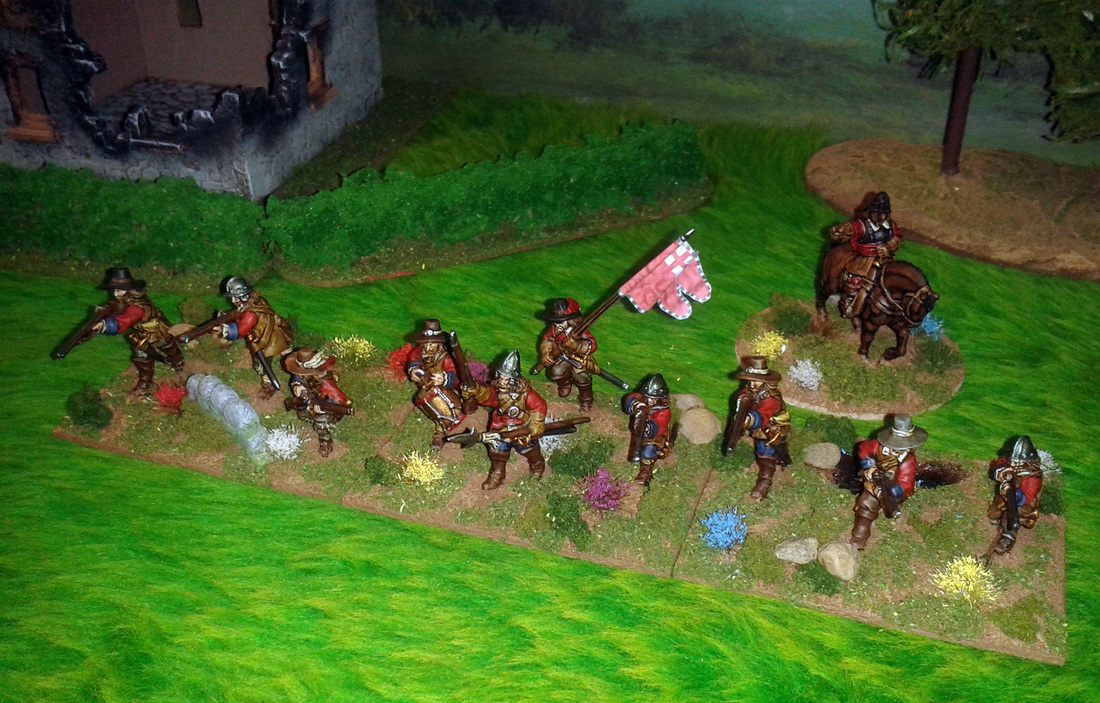
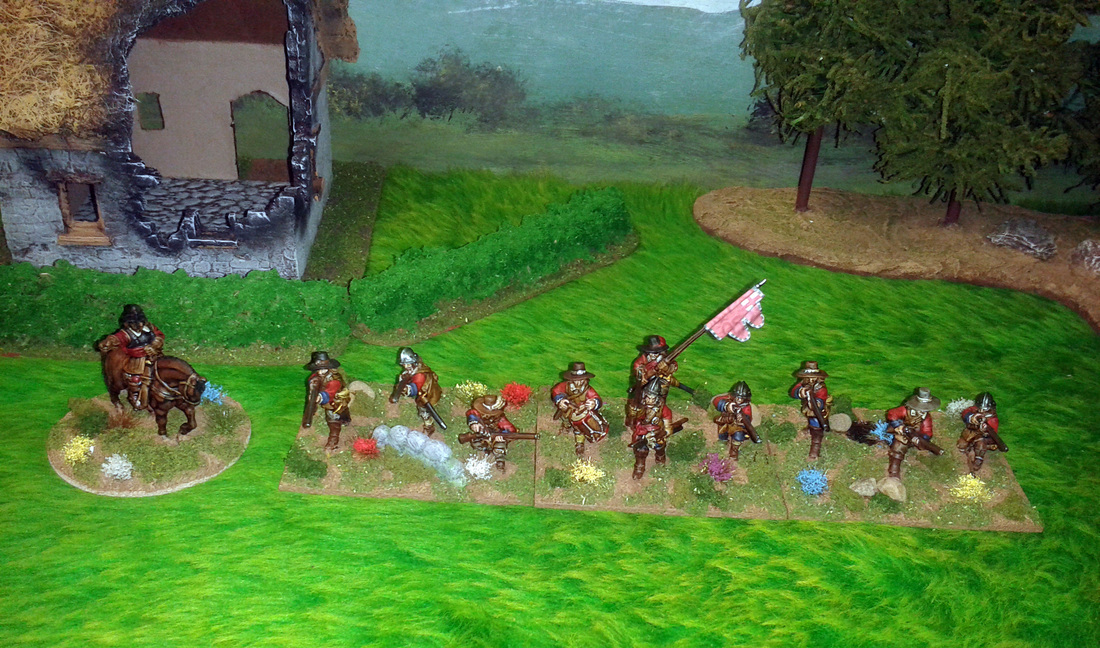
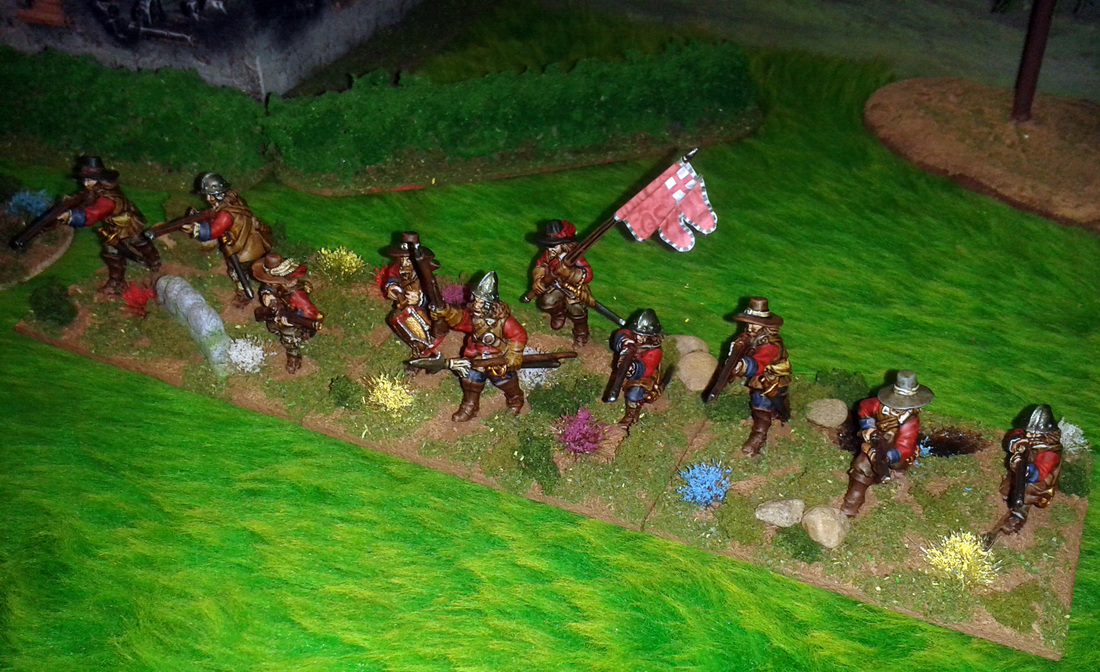
Sir Francis Dove is one of a select few 'Imagined' Generals in my ECW Royalist Army. His contribution to the Royalist cause is a Regiment of Foot, a Regiment of Dragoons, a Lifeguard of Horse and a Light Artillery Gun & Crew. For now here are some pics of Sir Francis and his Regiment of Dragoons. Sir Francis is a converted Trent Miniatures Lord Byron figure with a Redoubt Enterprises head swap and pistol holsters, a Green Stuff saddle cloth and an Essex Miniatures horse. The mounted dragoons are mostly Old Glory with a couple of Foundry mixed in and an Essex Miniatures officer. The Foundry figures have Green Stuff saddle cloths and the flag pole is a plastic Warlords games cavalry flag pole, all of the horses are Old Glory. The dismounted dragoons are all Warlord Games figures and the stone wall is Green Stuff. The flowers I made myself from static grass clumps and my own homemade flower scatter mixes, and the trees, hedges and building are also homemade. Well, that's it for Dove's Dragoons, I will be covering his other units in the near future.
|
AuthorStephen Wylde BA (hons) Archives
July 2022
Categories
All
ECW Blogs
ECW Sites
|
Proudly powered by Weebly



 RSS Feed