|
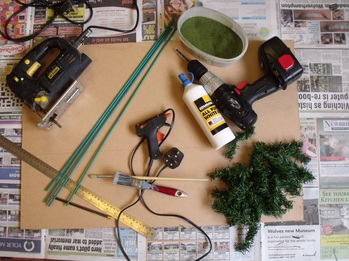
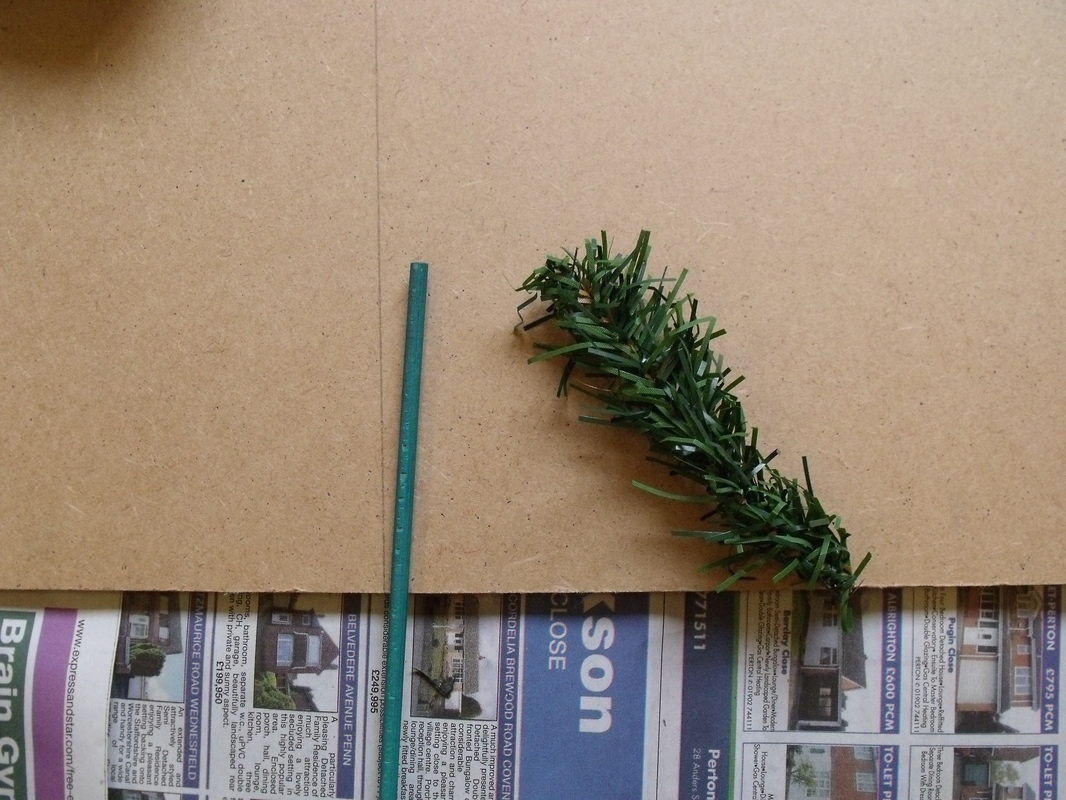
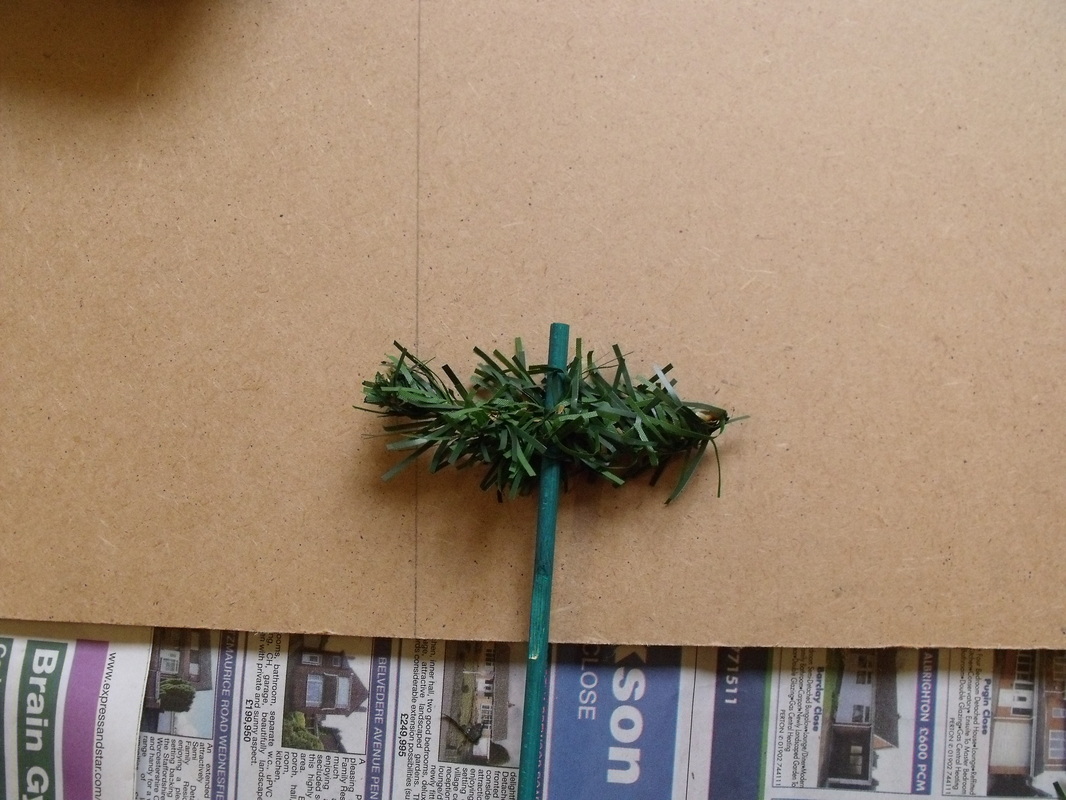
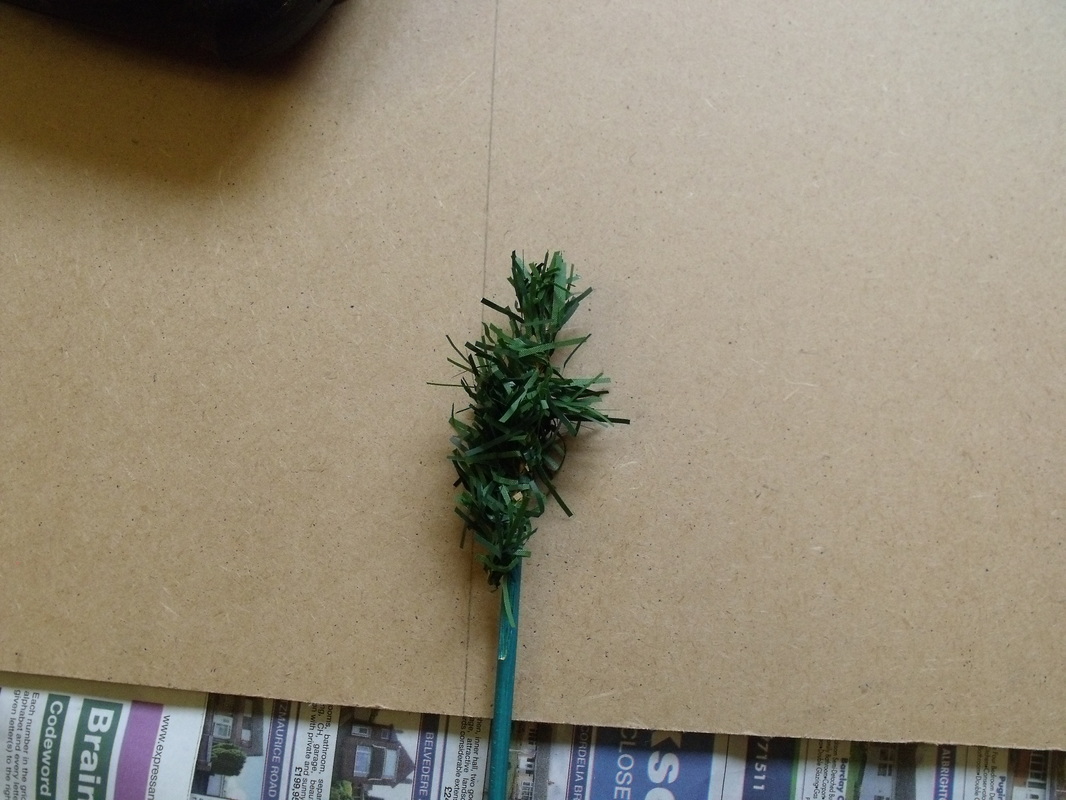
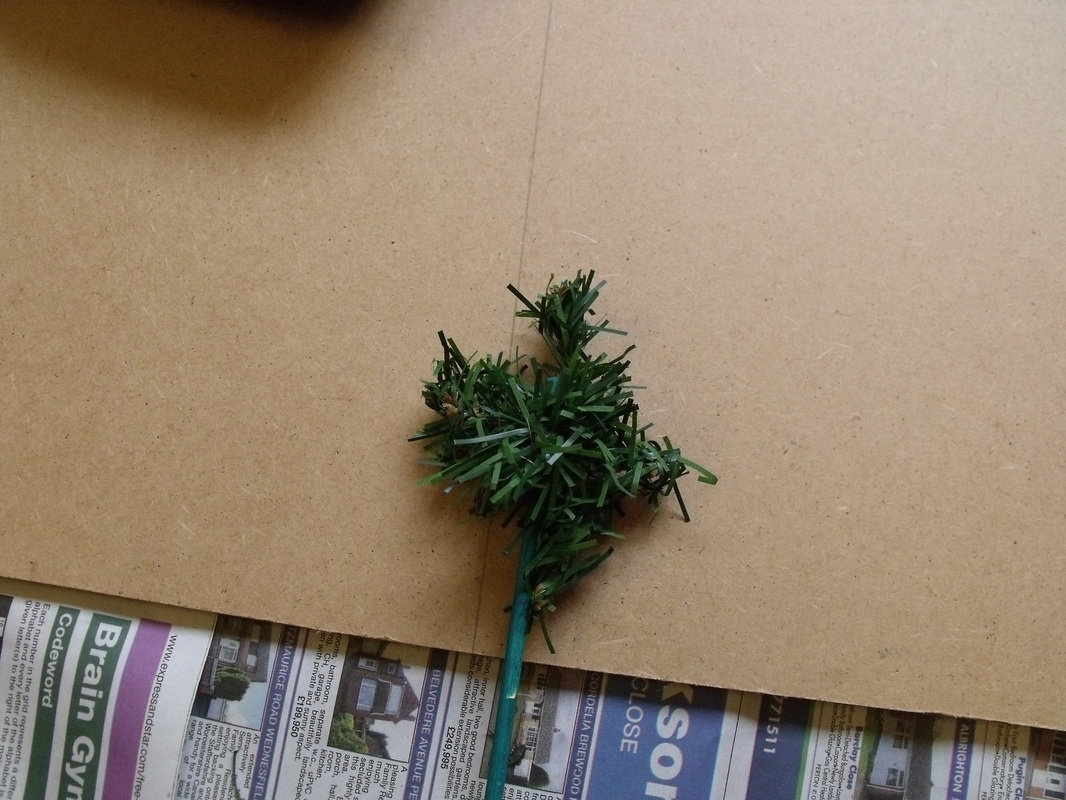
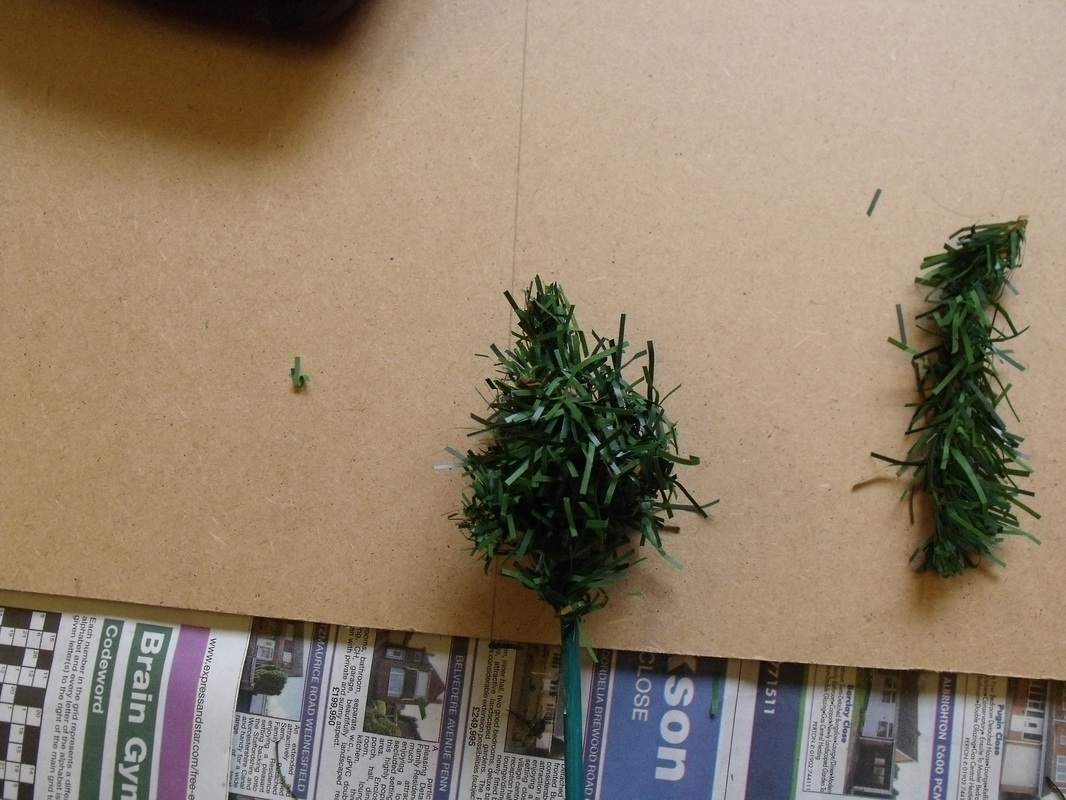
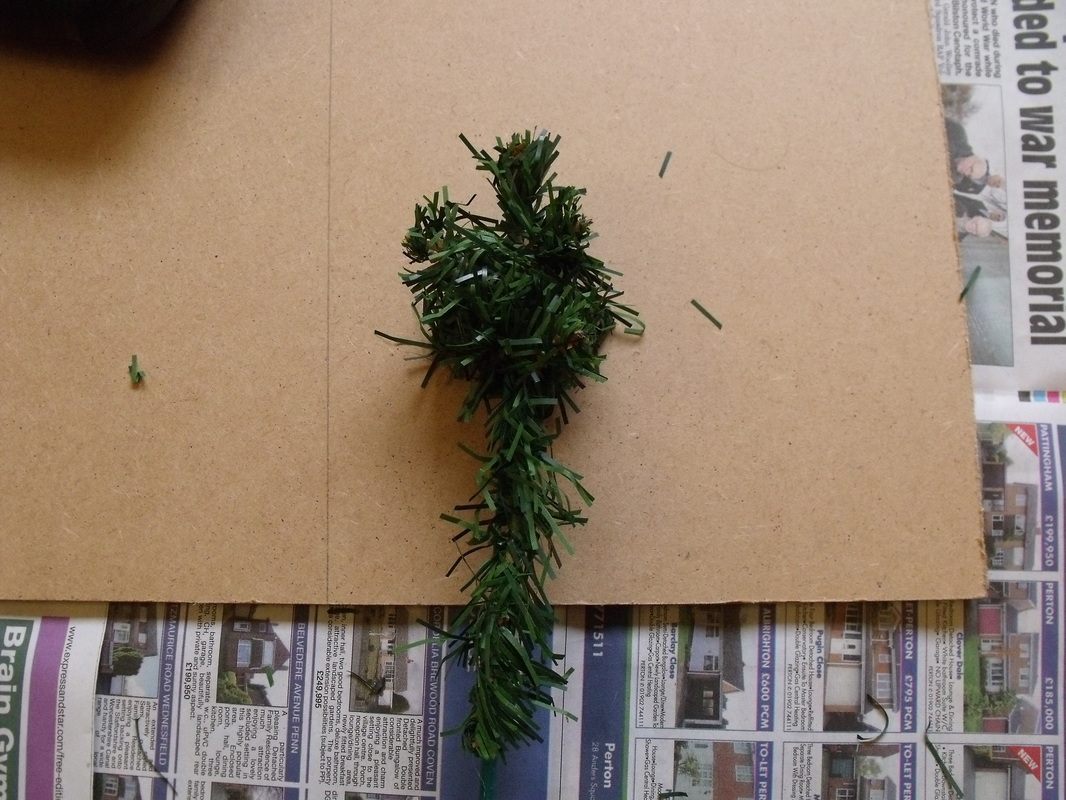
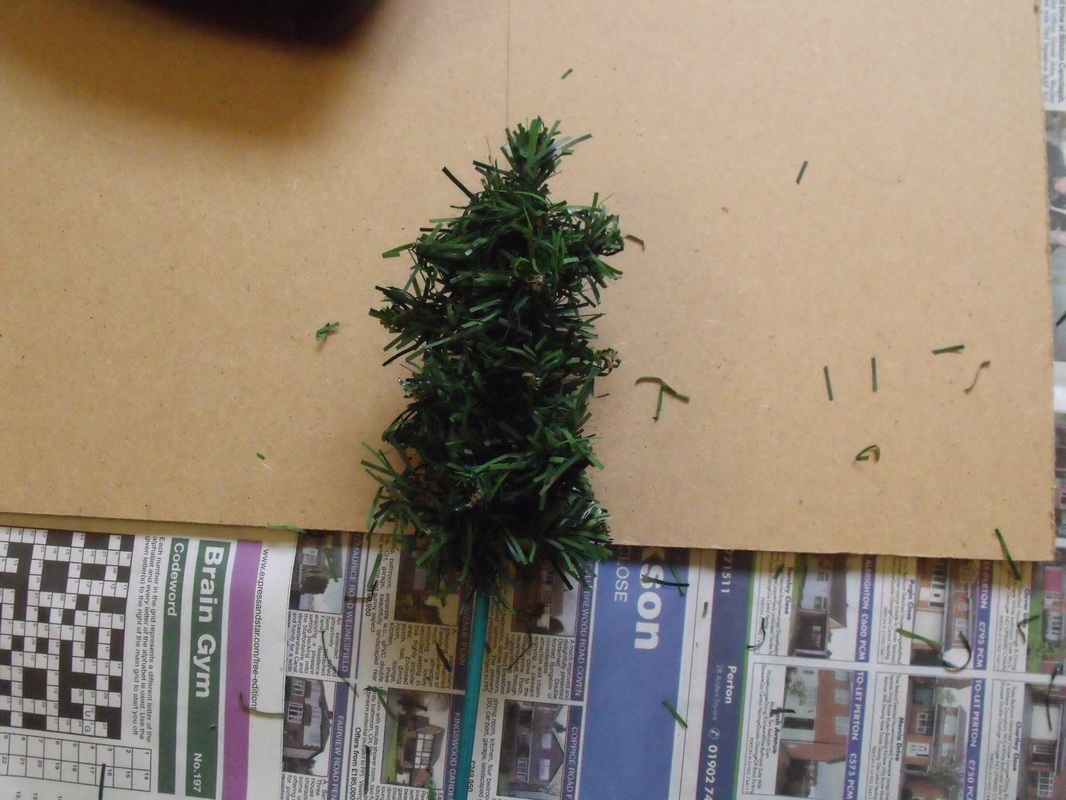
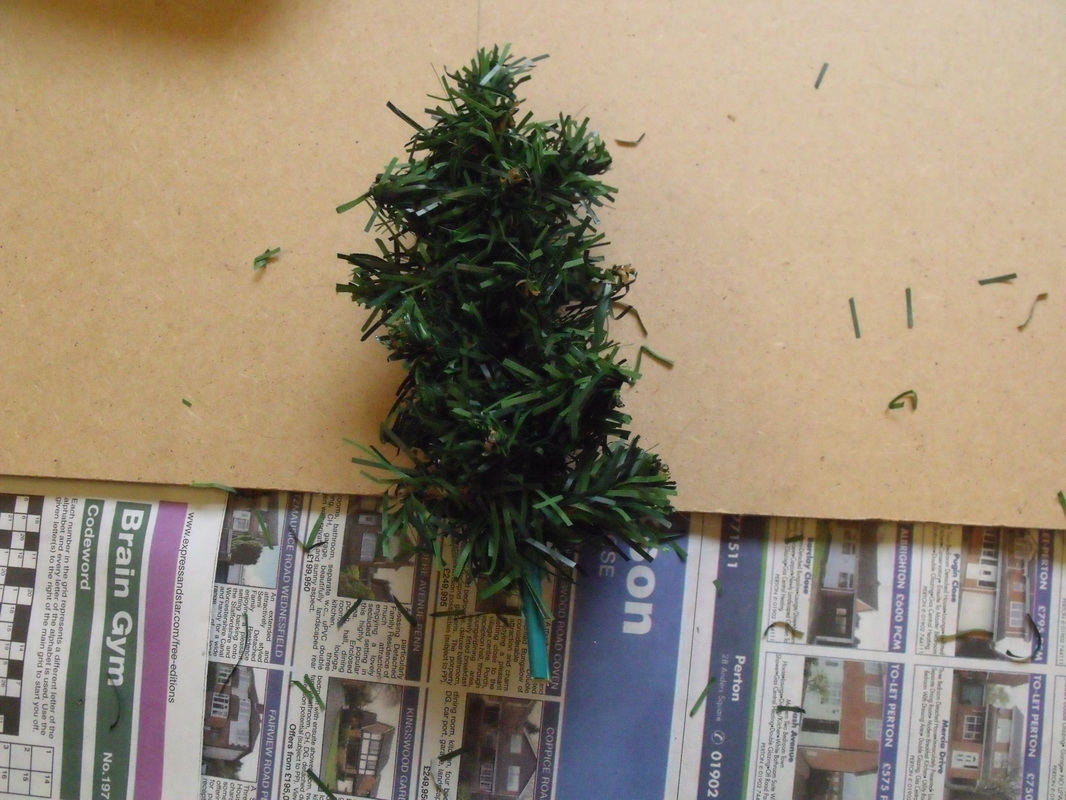
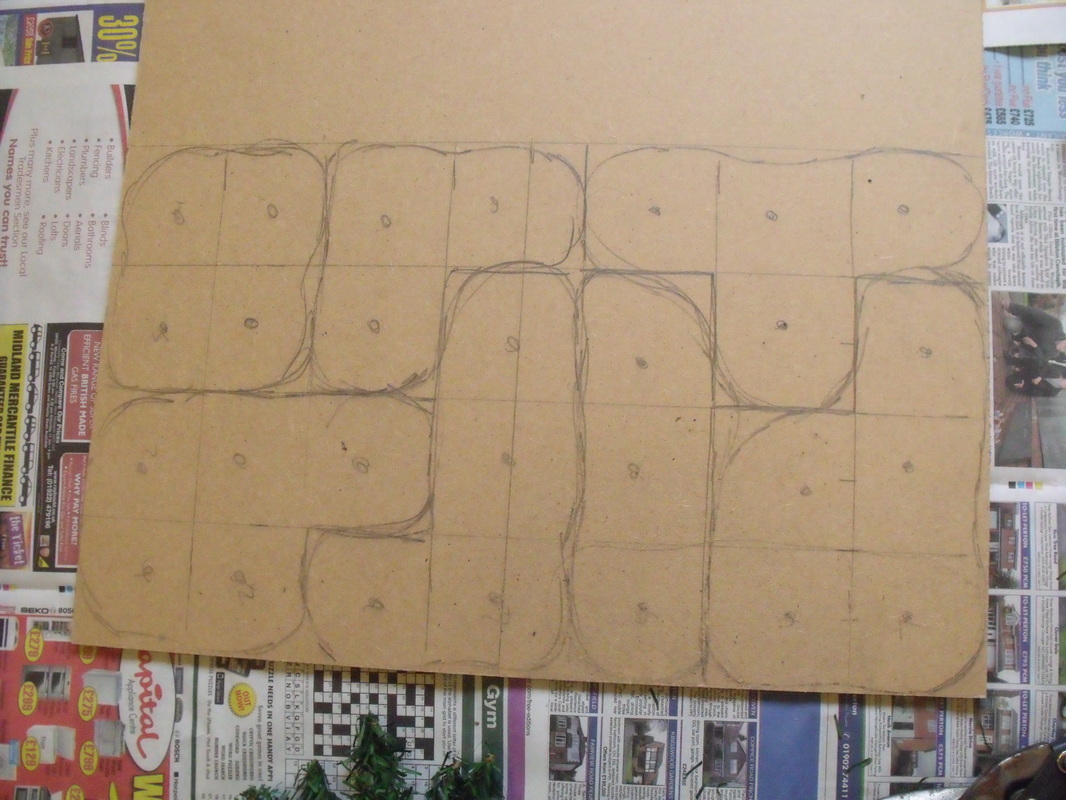
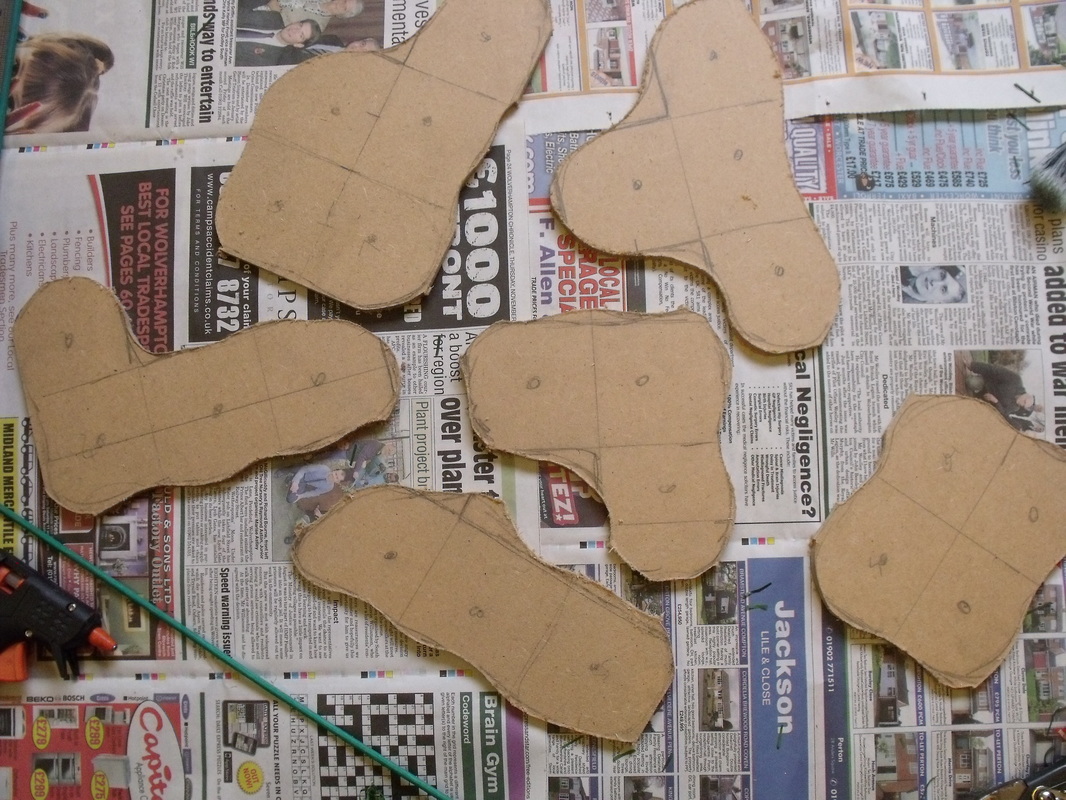
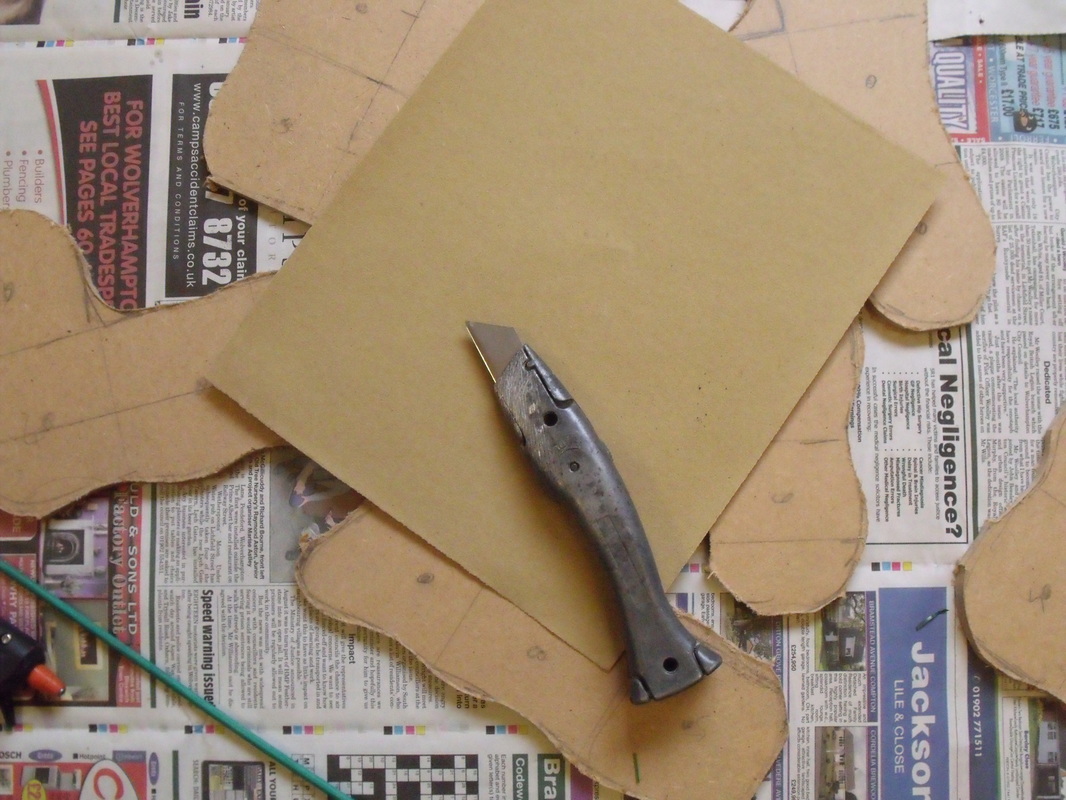
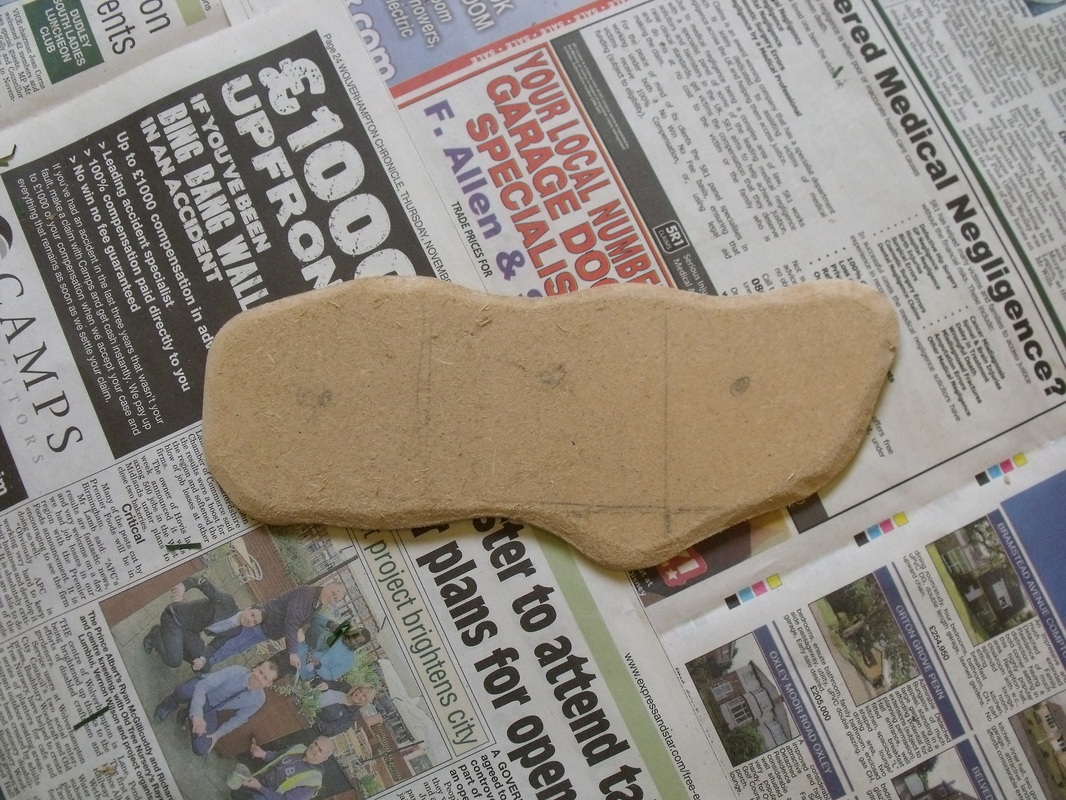
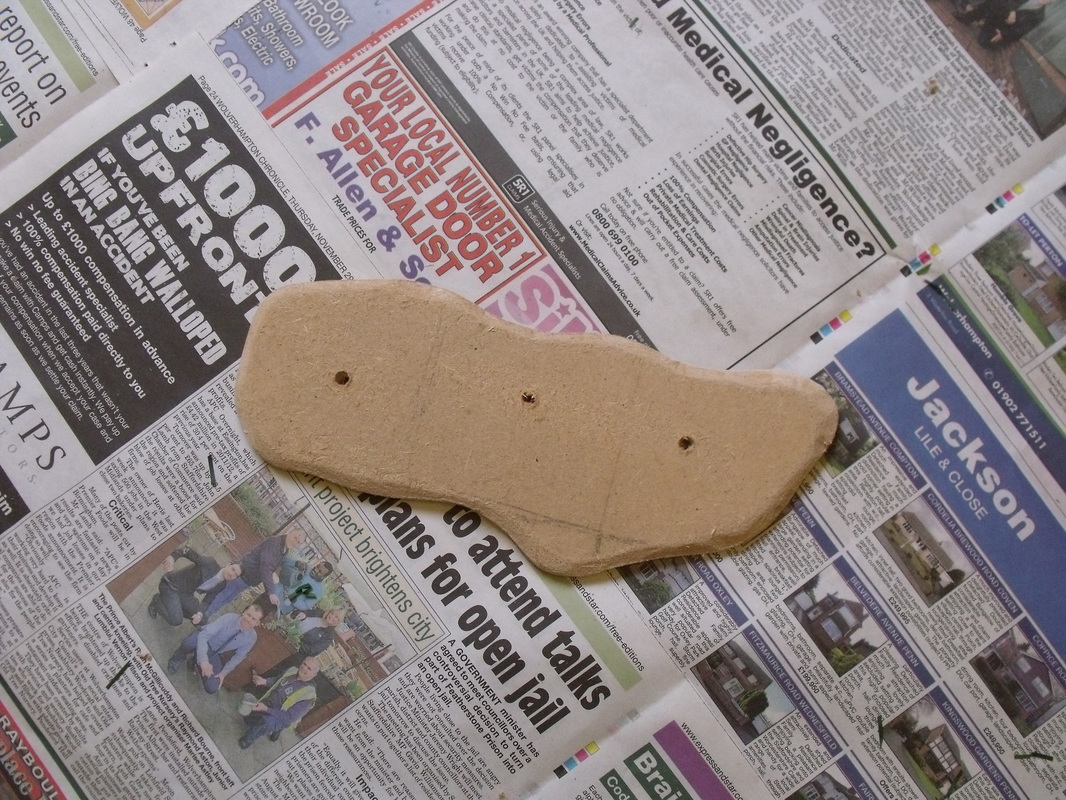
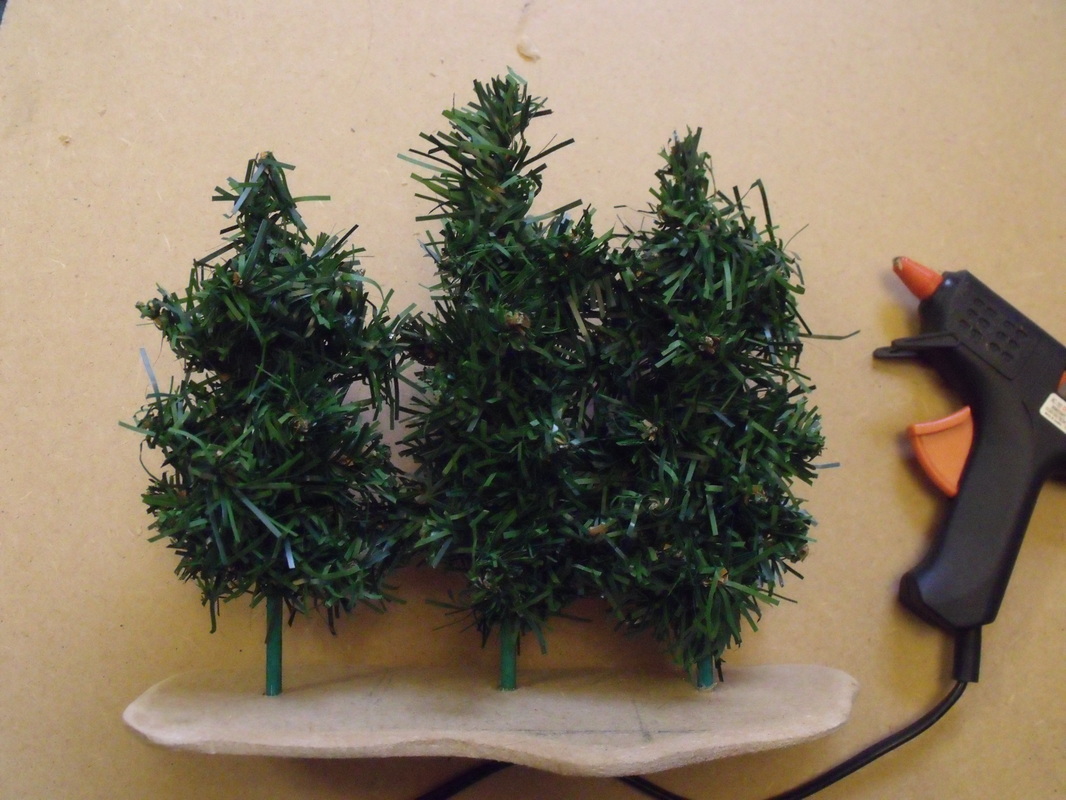
A bit of a weird title especially at this time of the year, but nonetheless quite apt when you discover the details of this posting, and without beating around the bush it's all about trees and the use of old (or even new) Christmas trees. Basically, just over two and half years ago I was sorting through the Xmas decorations in readiness for them being put up when I discovered one of the trees had an issue with its legs, a missing one to be exact, and as it was old I decided to throw it out and buy a new one. As is the the usual way with wargamers all over the world I started looking at it wondering how to use it productively in my hobby and obviously came to the conclusion that trees could be made from this tree. Not much of a leap to be fair, but it was a leap in the right direction, so I duly set about cutting all the little branches up with my heavy duty clippers. What I ended up with was lengths of branch between 4 and 6 inches approximately and lots of them as it was a six foot high tree. The next thing was to assemble the tools and materials needed to transform these into useable model trees being: a jigsaw, drill, hot glue gun, metal ruler, paint brushes, pencil, heavy duty clippers, sharp knife, PVA glue, sandpaper, lengths of 4mm garden canes, 6mm MDF board, scatter flock and an old newspaper. With all the tools and materials assembled I cut lengths of cane between 4 and 6 inches long, trying to vary the lengths but not have any waste from the 2 foot long lengths of cane. Once done I sorted out the lengths of branch so that I had a pile of short lengths and a pile of long lengths, this makes things much easier as you make the trees. Next I took a small length of branch and a length of cane and wrapped the branch around the cane about 1 inch from the top and then I bent one end up and one end down as per the photo's below. Then I took another short length and again wrapped it around the cane about half inch from the top and bent both ends of the branch slightly upwards. This was followed by another short length wrapped just below and this time its branch ends were left facing at right angles to the first ones and bent slightly up. At this stage I had the top of the tree done so I took another short length and placed it parallel to the trunk overlapping what was left of the first piece of branch going down the trunk. I took another piece of branch and wrapped it around the trunk securing the trunk piece again bending the branch ends slightly upwards. At this stage there was no glue involved as the branches held each other in place, again the photo's below help explain the procedure. So, I carried on down the trunk adding new branches at about three quarter inch intervals until I had enough left to look like a lower trunk. This I repeated until all of the branches were used up. With the trees made I decided to make bases, now these could be single grouped, removable or done in any way I wanted but I decided to go for groups of between 3 and five trees. I simply took my MDF and marked a 3 inch grid in pencil, after which I marked a circle roughly at the centre of each grid square. Then I marked on the shape of each group of trees rounding off edges and making the group shapes look more organic. Once done and happy with the configuration I took the jigsaw and cut them out, trimming off any unwanted bits. With a sharp knife and sandpaper I bevelled the edges of the bases and and sanded them until they looked nice and neat. I took each base and drilled out an hole as marked at the rough centre of each grid box and lightly sanded them to take off any burrs. with the bases totally ready I started gluing the trees in place with my hot glue gun, making sure the bottoms of the holes were well filled with glue and any extra trimmed off with my knife. At this stage I had 53 trees each between 5 to 8 inches tall all ready to be flocked. Now this could be done with spray glue and flock, but I used PVA glue and a paint brush, which to be fair was quite quick and easy to do especially as the trees were on bases. The PVA also glues the trees to each other which helps to strengthen them. The last thing to do was to texture the bases and that was it, 53 very large trees for the price of an old Xmas tree and some pretty cheap materials. As you can see in the photo's above the trees are pretty large and imposing and look far more natural than perfectly shaped bottle brush trees. As for getting trees, now isn't a great time of the year to shop for such things, but I do happen to know that on ebay you can get them for less than £15.00 including postage.
6 Comments
Jeff Hudelson
4/6/2015 12:32:38 am
However, as I commented on TMP, this technique can only be used with those of us who have Royalist armies . . . after all, Cromwell and his ilk want to ban Christmas . . . so the Roundheads won't have any trees to use.
Reply
Jeff Hudelson
4/6/2015 04:25:41 am
By the way, I do think that your trees look great, sir. And it looks to be a relatively simple way to construct them.
Reply
Steve Wylde
4/6/2015 11:03:34 am
Hi Jeff,
Reply
Nick
4/6/2015 02:22:18 pm
Too true I wouldn't not when you make such excellent ones matey
Reply
Steve Wylde
5/6/2015 03:43:00 am
So long as you remember the sawdust it's all fine mate.
Reply
nick
5/6/2015 10:29:20 am
As if I'd forget lol Leave a Reply. |
AuthorStephen Wylde BA (hons) Archives
July 2022
Categories
All
ECW Blogs
ECW Sites
|
Proudly powered by Weebly


 RSS Feed