|
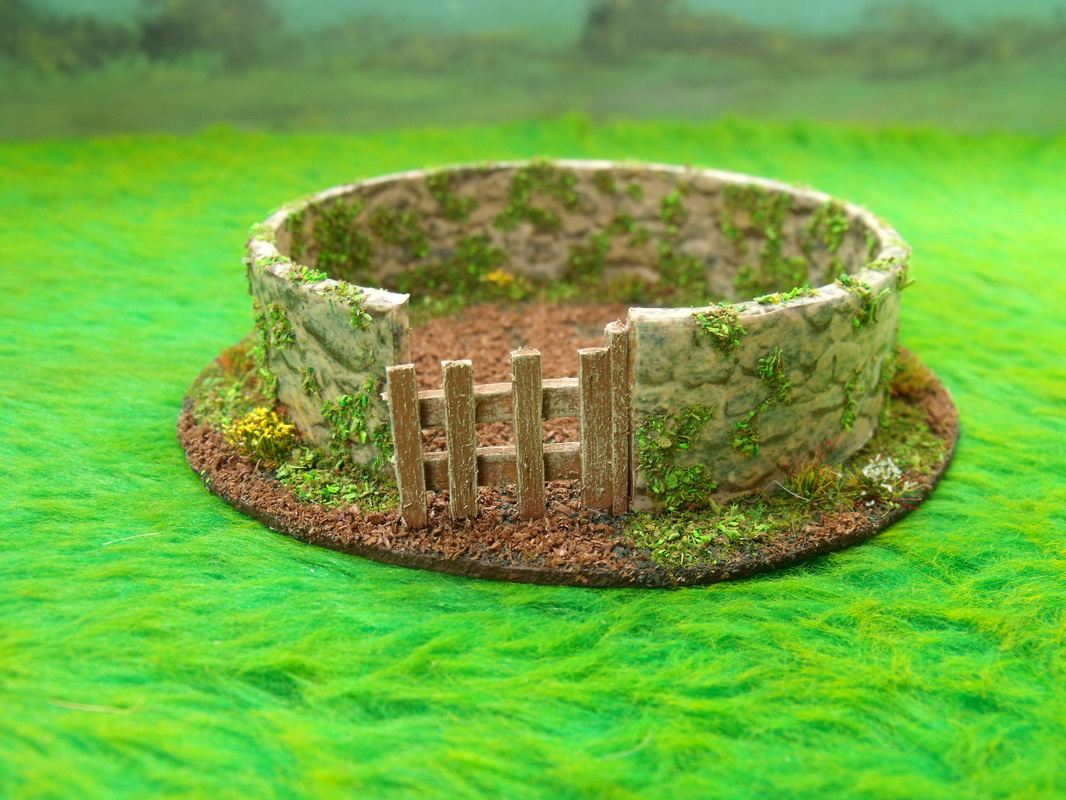
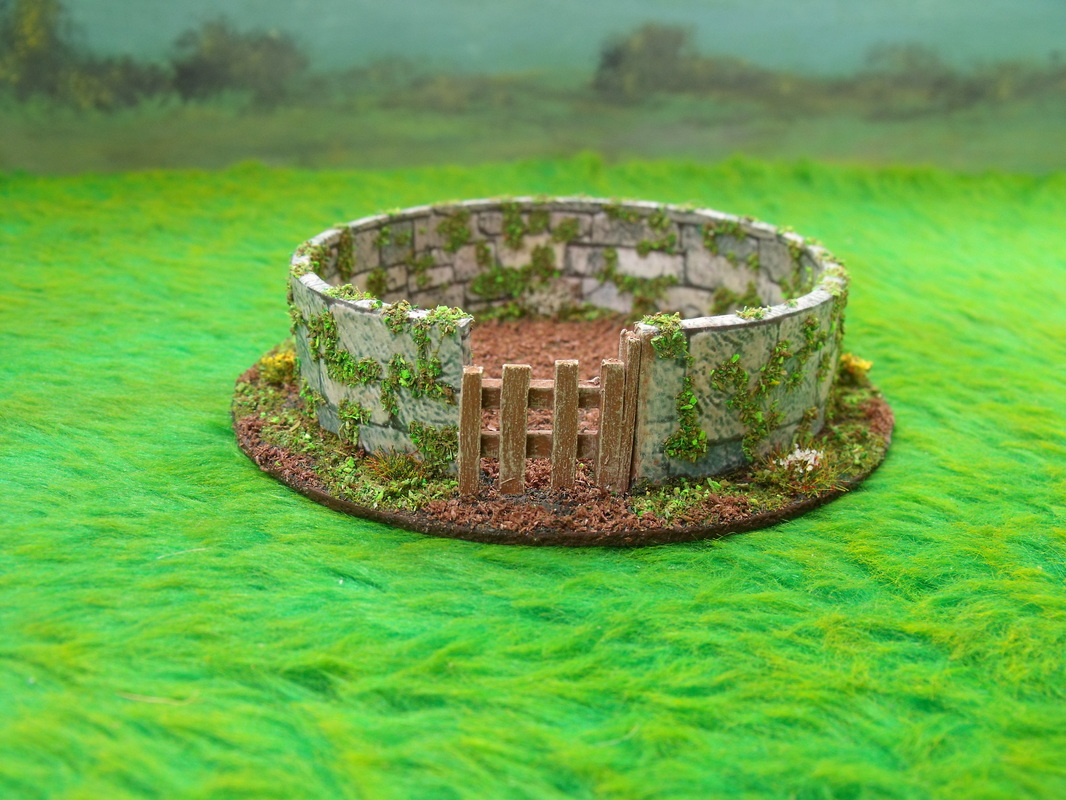
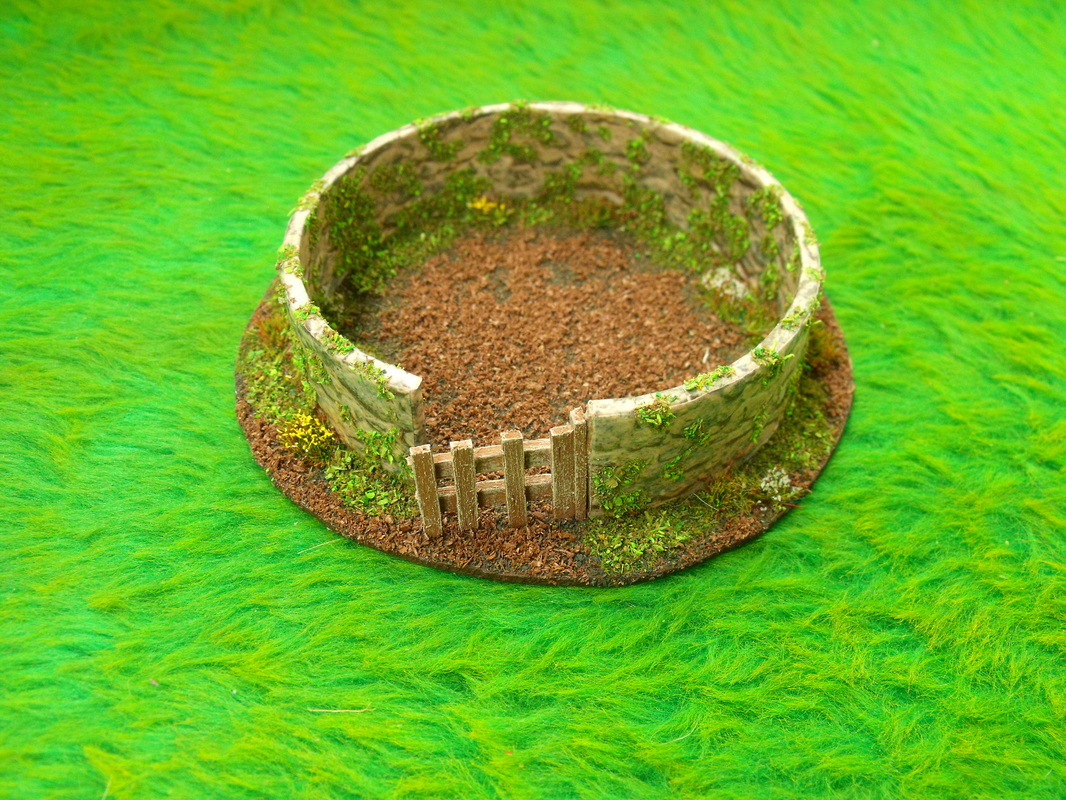
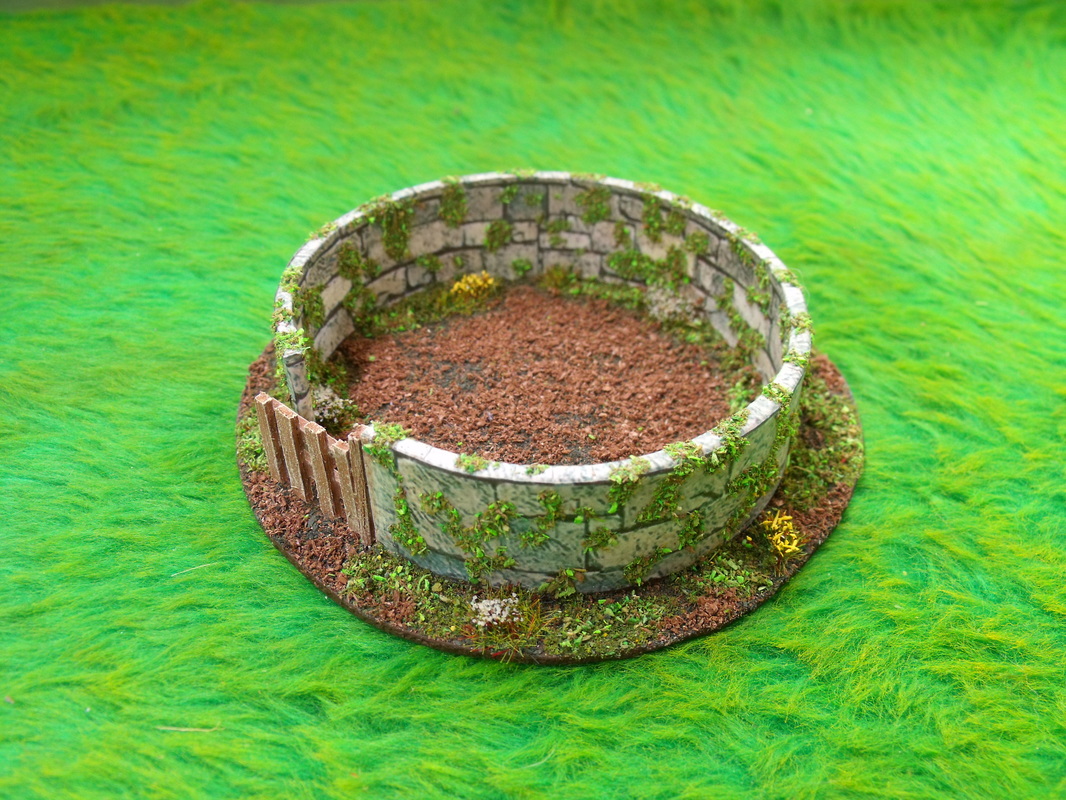
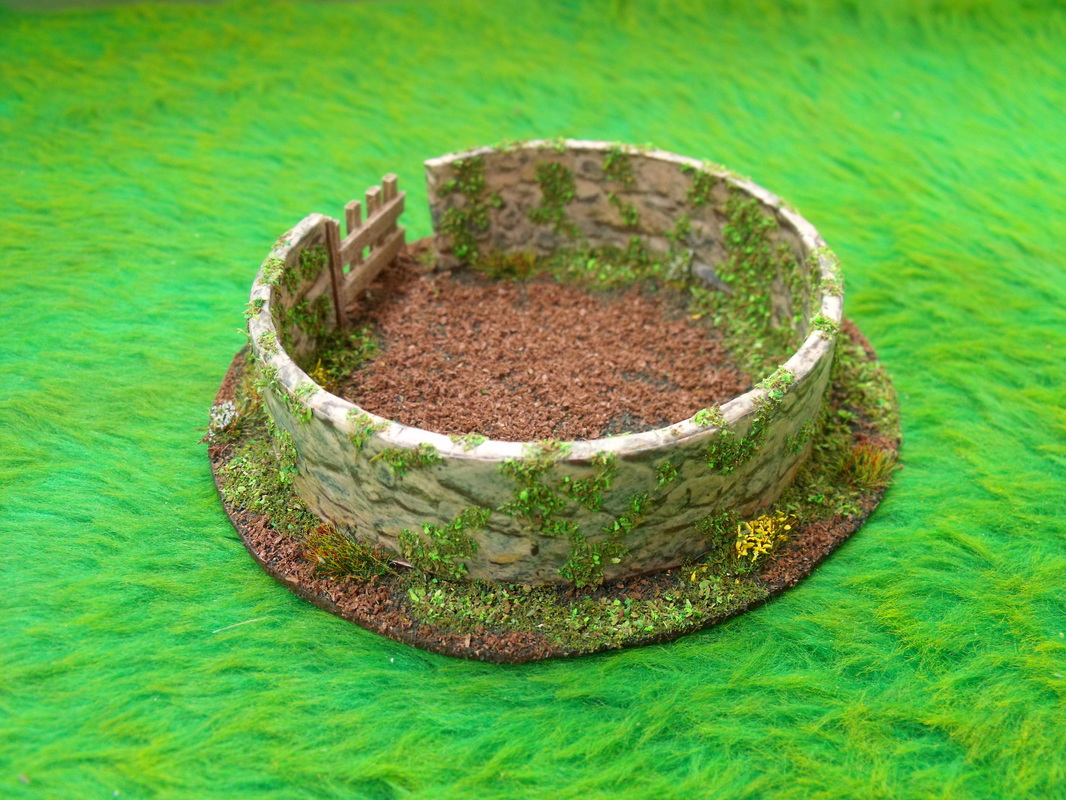
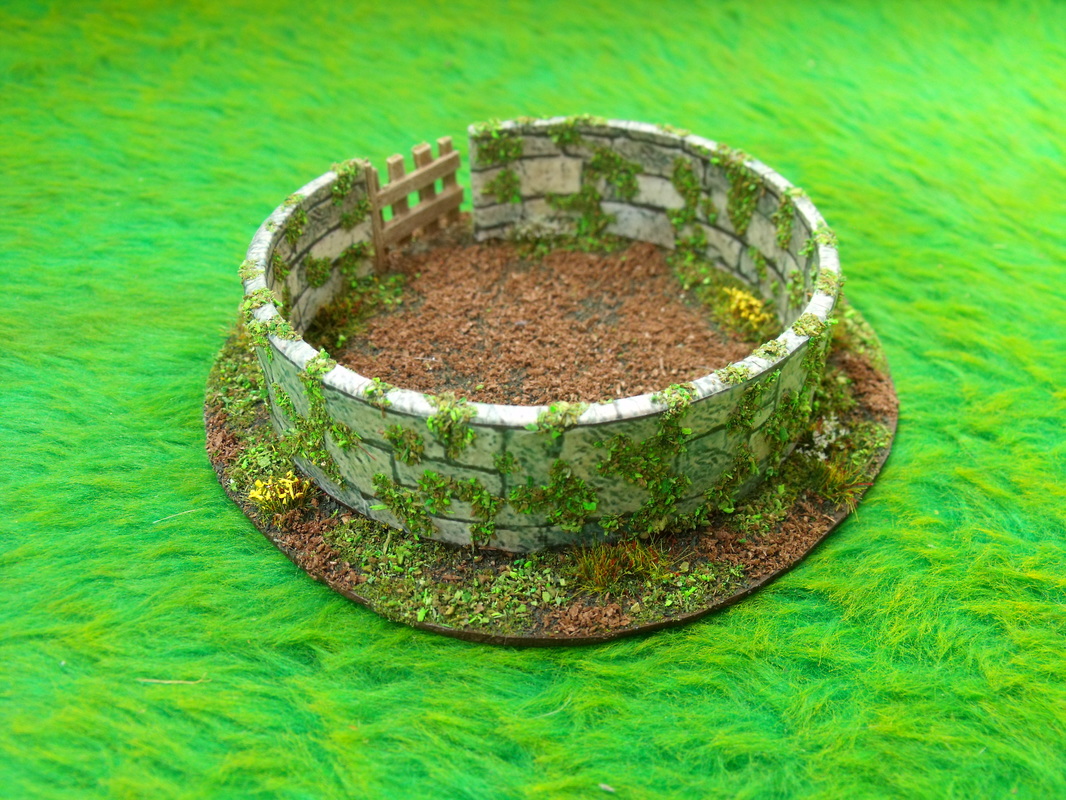
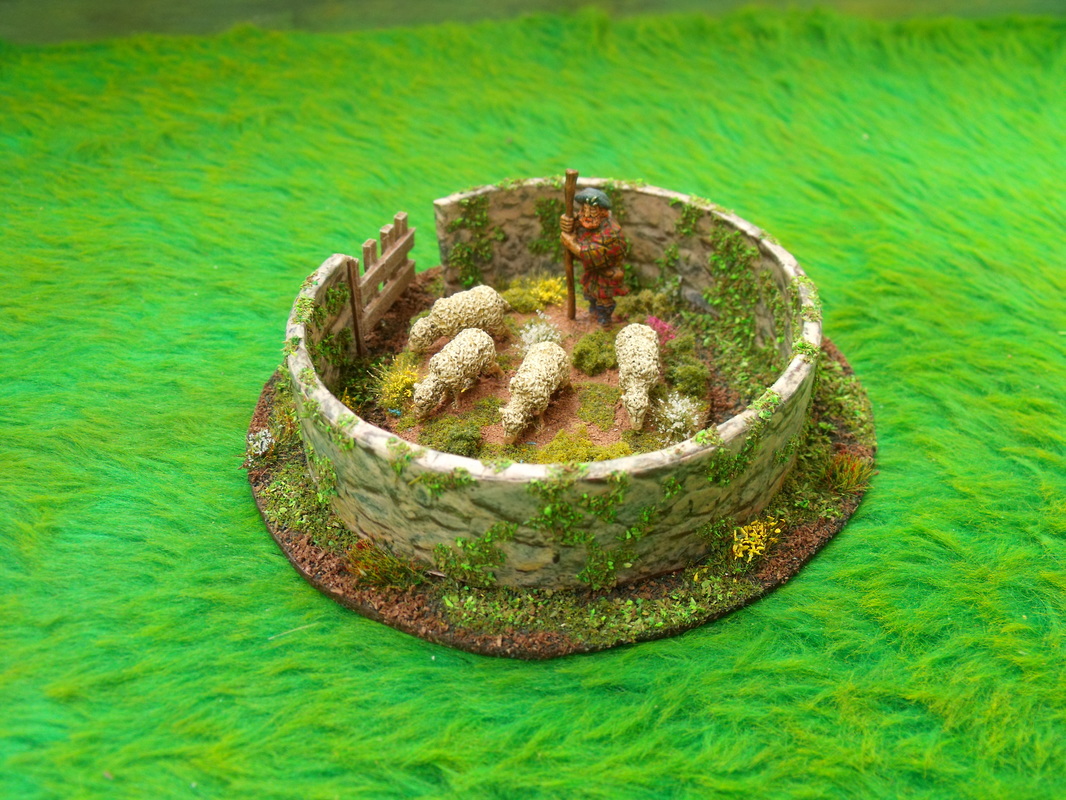
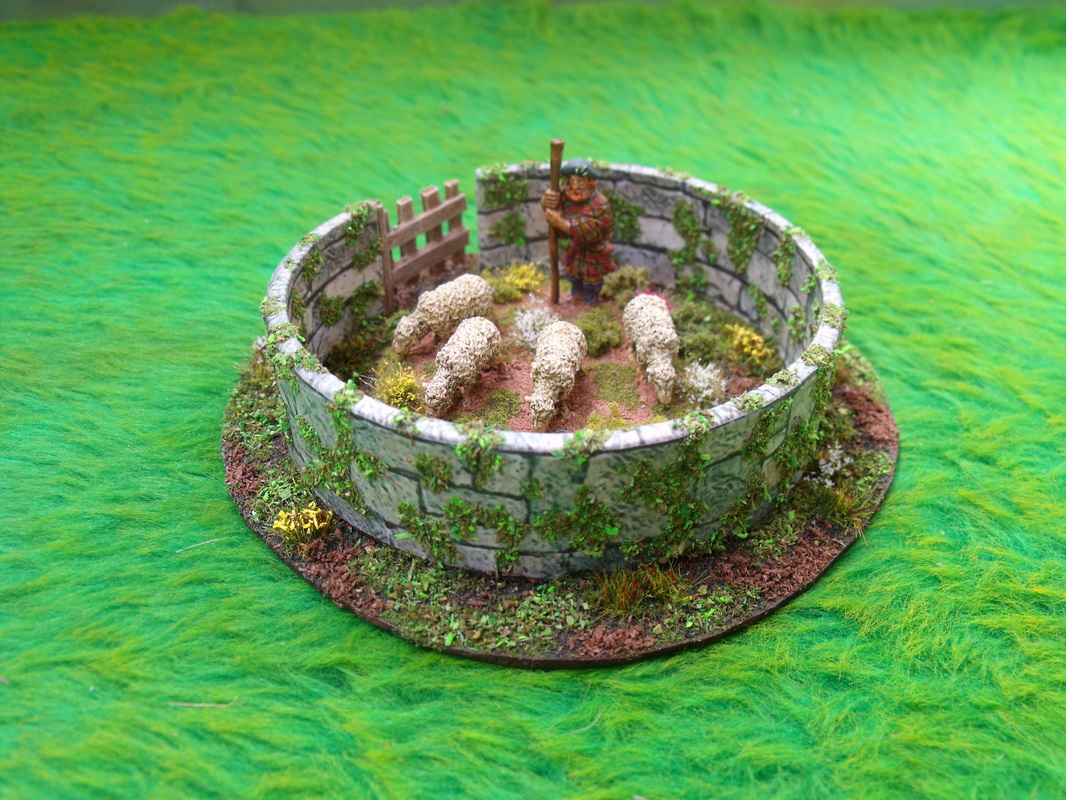
I decided to make some animal enclosures a few days ago for my ECW collection as part of a steadily growing number of rural building and scenic items that I am in the process of building. I was partly inspired by looking at the Warlord Games livestock pen and it seemed a nice and logical addition to the pig sty, barn and other rural buildings I had been working on. To make my livestock pens I simply took two 1" tall cardboard rolls saved from sellotape used at Xmas (although any similar size tube will do) and proceeded to snip them with clippers to make an opening. Then I teased them to make the opening bigger for a gateway and once done and roughly circular I then decided that I would cover them with stone effect paper. This was simple enough to do by cutting the paper in a strip that was about half inch deeper than the wall of the roll I simply painted the inside wall of the roll with PVA glue and then positioned and smoothed down the paper to cover the inside but allowing the overhang to be at the top of the roll. Once done I snipped the overhang at roughly 1/4" intervals and then applied more glue to the overhangs and smoothed them down so that they covered the top of the roll. The next thing to do was to trim off any slight overhang at the bottom with a sharp knife and then cut another strip of stone effect paper for the outside of the tube, this time allowing less overhang. Next I painted the outside of the roll with PVA glue and positioned the paper to that and smoothed it down, again trimming off any overhang at the bottom. At this stage (about 5 minutes after starting) you have a fully functional Livestock pen that can be put straight onto the table and used for a game if you wish to. I decided that I wanted a base for my pen so I positioned onto a Marley tile and marked around it making note of where the gate was positioned, from this I then drew a rough circle around this that was about 1/2" wider all the way around so I could add some scenery to the base. I used a sharp knife to score the tile and simply snapped off the excess and then trimmed up any rough bits so that it looked nice all the way round. At this stage I glued the pen down to the base with superglue and then painted the livestock pen with clear matt acrylic varnish to protect it (use solvent based varnish if your printing ink is not water resistant) from wear and tear. I then painted the complete base with dark brown paint and left it a few minutes to dry whilst I decided to make the second animal pen. by time the second pen was complete and the base painted the first coat of paint on the first pen was totally dry and ready for the second coat of brown paint and scatter material. I make my own scatter material, but for reference it is simply very dark brown in colour and simulates damp earth very nicely. I applied the brown paint again and this time threw on a load of scatter material and left it to dry while again I turned to the second pen and did the same scatter material effect on that. While I made a cup of tea the scatter had dried out and was ready for the long grass clumps and flowery bushes to be added, again these are home made and simply clumps of long scatter grass with coloured scatter material added for the flowers. These clumps are self adhesive so took no time at all to position and I did the first pen and then went straight on to doing the second pen. After that I diluted some PVA glue and applied it around the edges of the wall both inside and out of the pens and scattered with dark green grass scatter. Again at this stage you have a really serviceable livestock pen that looks nice, but I decided to go the extra mile to make it look even better. After leaving the scatter material to dry out I decided to lightly brush over the green scatter material with slightly diluted PVA glue and lightly scatter on a light green grass scatter material to add a contrast and highlight to the dark green tones of the first layer. Again I lightly brushed over the dark earth areas and again using a lighter colour I sprinkled lightly with a mid brown scatter material to highlight the earth areas. At this stage I decided to go for something a little different and applied neat PVA glue in little patches all over the walls of the pens both inside and out and applied green scatter material to simulate weeds, moss etc growing over the walls. I really liked the effect so I decided that the second pen would also have the same treatment. The last part of the projedt was to make gates for the pens and I did this with balsa wood, although matchsticks or even twigs could have bee used to make these. A quick coat of paint and a final lighter drybrush and I glued the gates in place with superglue and they were all finished and ready to use. Below are the fruits of my labour which was less than a hour in total to build and base both of the livestock pens. Click on the Images to Enlarge
0 Comments
Leave a Reply. |
AuthorStephen Wylde BA (hons) Archives
July 2022
Categories
All
ECW Blogs
ECW Sites
|
Proudly powered by Weebly


 RSS Feed