The Workshop
This is the place to find articles on my latest wargames projects, which may help or inspire you with similar projects. Just scroll down to find articles below which include:
My Montrose Scots Army
My Scots Covenanter Army
This is the place to find articles on my latest wargames projects, which may help or inspire you with similar projects. Just scroll down to find articles below which include:
My Montrose Scots Army
My Scots Covenanter Army
My Montrose Scots Army
A few months ago I obtained a few hundred extra 28mm figures in a swap and in the new pile of lead was a load of Scots for the ECW period. I already had a load of Covenanters and not wanting to add to this ever growing army I decided that it might be time to start a Scots Royalist army as commanded by the Marquis of Montrose. As it happened none of the figures were based but almost all of them were painted, well painted after a fashion that is. Almost all were infantry, pike & shot with one regiment of dragoons, a single frame gun, artillery crews for about 4 pieces and finally some casualties. All in all not a bad start as the pike and shot broke down into almost exactly 6 regiment and with 1 regiment of dragoons, plus the artillery crew and gun, all I needed was to buy some characters, another gun, some proper cavalry and some highlanders.
I thought a quick rebase & matt varnish of the figures I had already and the army was good to go, which was a sound idea until I looked at the paint job. It was awful for the most part, most of the figures had been sprayed light grey with cheap car primer and quickly painted then over-painted with dark oak gloss varnish in an attempt to hide the poor paint job, this was all of the musketeers and the dragoons. The pikemen were better painted, much better painted apart from their bright orange pikes and charcoal grey jackets, which contrasted greatly with the light grey jackets of the musketeers.
Anyway, after a few obligatory curses I sorted out the dragoons and the infantry and cut the bases for them to be glued onto and sought out a couple of spare figures to make up the missing figures from one of the pike stands. My units of infantry were all to be 20 figures strong being 2 bases of pike each with 4 figures on them and 4 bases of musketeers each with 3 figures on them, obviously officers, drummer, ensign were included in this total. The dragoons were in one regiment of 10 figures which was perfect for my purposes as I use 10 man mounted units.
Part 2
The first Unit I decided to tackle was to be the Strathbogie Regiment, the only real distinguishing feature of any of the 6 pike & shot units was going to be the flag it carried, so as this was the first of the flags I had created I would paint up this regiment first. Upon looking at the figures within the unit the first thing that came to mind was that the pikemen were much better painted and the coat colours were totally incompatible with the musketeers, this was due to the pikemens coats being almost charcoal grey and the musketeers being shoddily painted from a grey spray primer with detail just added to that. I almost lost heart at this point and thought that it would be probably be too much to repaint the musketeers to match the pikemen and best to cut my losses and just sell them all. Then I had a brainwave and quickly ditched all my doubts about making this into a really nice little army.
I decided to ignore the musketeers and concentrate on the pikemen, the pikes were all painted brown, so gone were the orange pikes, 5 minutes and they already looked much better. The next thing was to find my own version of Hodden grey and paint over the charcoal grey coats, another 5 minutes and the pikes were almost finished, just a few chipped paint touch ups here and there and they were finished, all in 15 to 20 minutes of work.
Spurred on by this I decided to move straight on to the musketeers, first job was to start cutting off any flash that hadn't even been cut off by the previous owner and lugs of metal that joined the swords to the bases, the guy who painted these obviously had no conscience whatsoever when it came to quickly slapping paint onto an obviously unprepared figure in an attempt to dupe (as it turned out me) an unsuspecting victim into having these figures. I also straightened all of the musket barrels and replaced a few of the broken sword scabbards that he simply glued in a nearby but totally wrong place to give the illusion that they were okay. All this work took longer to do than it took to paint the pikemen, but once done I felt much better as I knew the painting proper could start.
I looked at the glossy mess that was the musketeers and decided to tackle the issue of the coats, to do this I mixed up a fairly fluid charcoal grey paint that would both cover over the gloss with one coat and run into the nooks and crannies of the figures. I applied the paint being careful only to paint the coats as I didn't want to paint over any of the bandoliers and other straps etc. Within about 15 minutes they were all done and the next stage could begin, highlighting the coats. I took my Hodden grey and overpainted the charcoal grey just as I had done with the pikemen, 10 minutes later and the process was complete, they started to really look the part now and moreover they began to match the pikemen. The next job was the bonnets, they were dark blue as opposed to the mid blue of the pikemens bonnets, this was a simple highlight of mid blue that I was satisfied matched with the pikemen 5 minutes later they were all complete. I then went around touching up the paint chips and where I had cut off flash and made repairs, all tedious but necessary to make them look properly painted, another 10 minutes and this was complete.
Next up was the hair, it was all painted jet black! Brown I could have understood, but black was a mind numbingly stupid choice, but then thinking about it the whole way that these figures had been originally tackled had no rhyme or reason to it, it really would have taken no extra effort to paint the coats to match the pikemens coats or clean the flash and metal lugs off the figures before painting them, so painting the hair jet black was all par for the course really. I overpainted all the hair and beards a nice mid brown and then highlighted some of them with a lighter brown and some with a red colour, they all looked 100% better and it only took 10 minutes.
I was on the home straight now, but it was going to prove to be a very long straight, the problem was that most of the figures were wearing plaid of one form or another and they had been painted one colour being dark blue, dark red or dark green. With the added black varnish the plaid looked almost black on all of them and again in contrast to the pikemen who had tartan patterns painted on their plaid. At first I thought that I would simply get out my trusty opaque gel pens and it would be a quick tartan paint up, but due to the high gloss finish this wouldn't work and the ink wouldn't grip the surface. I decided to paint the tartan effect on and this proved to be tedious even though I deliberately kept it simple, 20 minutes or so later and they were all done though and that was the last paint needed to be applied. I looked at the unit as a whole and it all matched in perfectly as though it had been painted by the same person at the same time to the same standard, I was to say the least very happy with my efforts so far.
Part 3
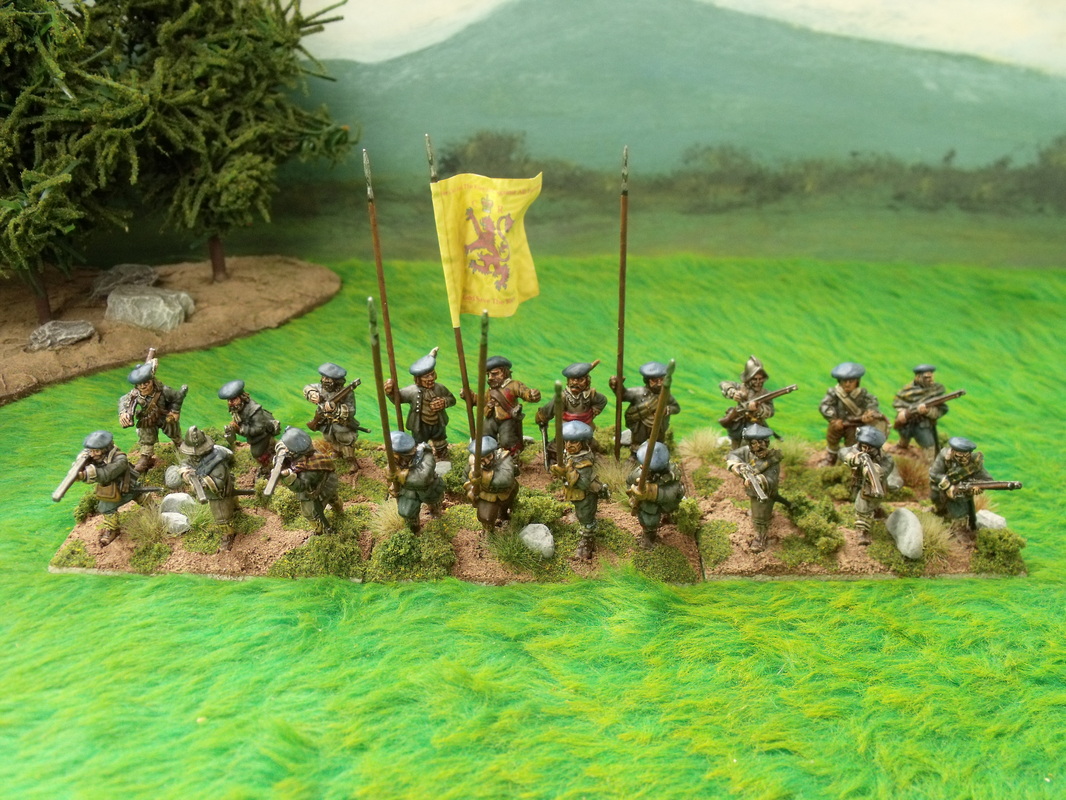
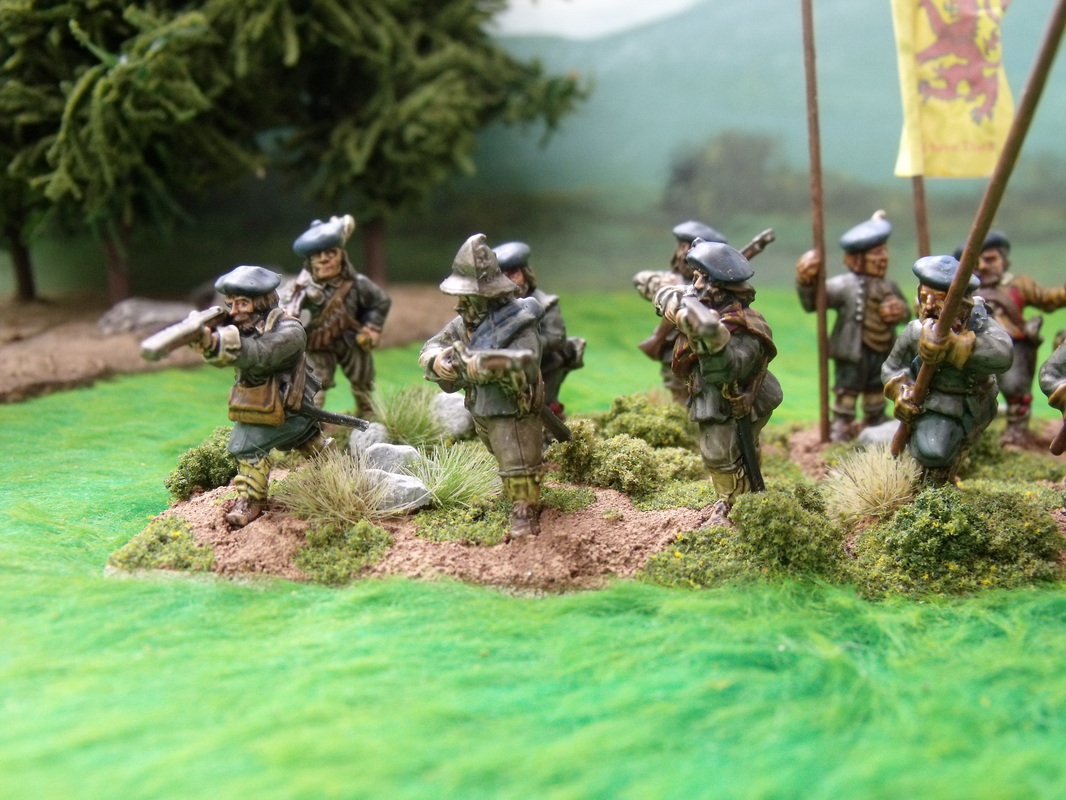
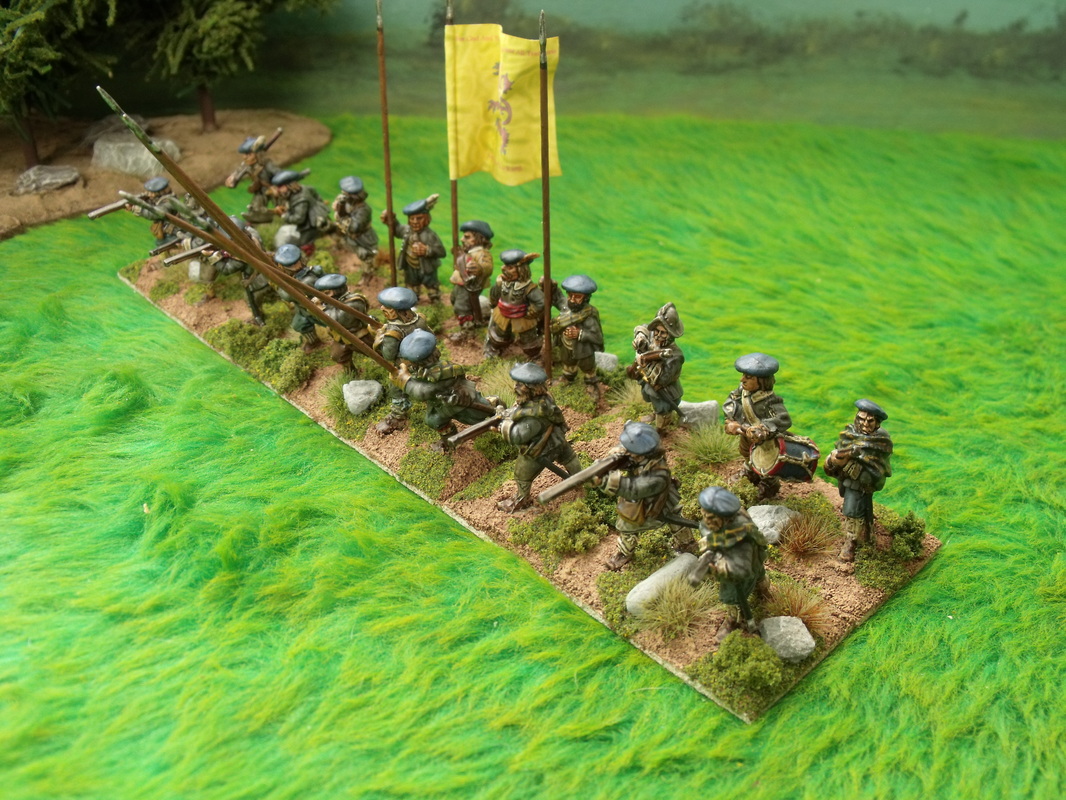
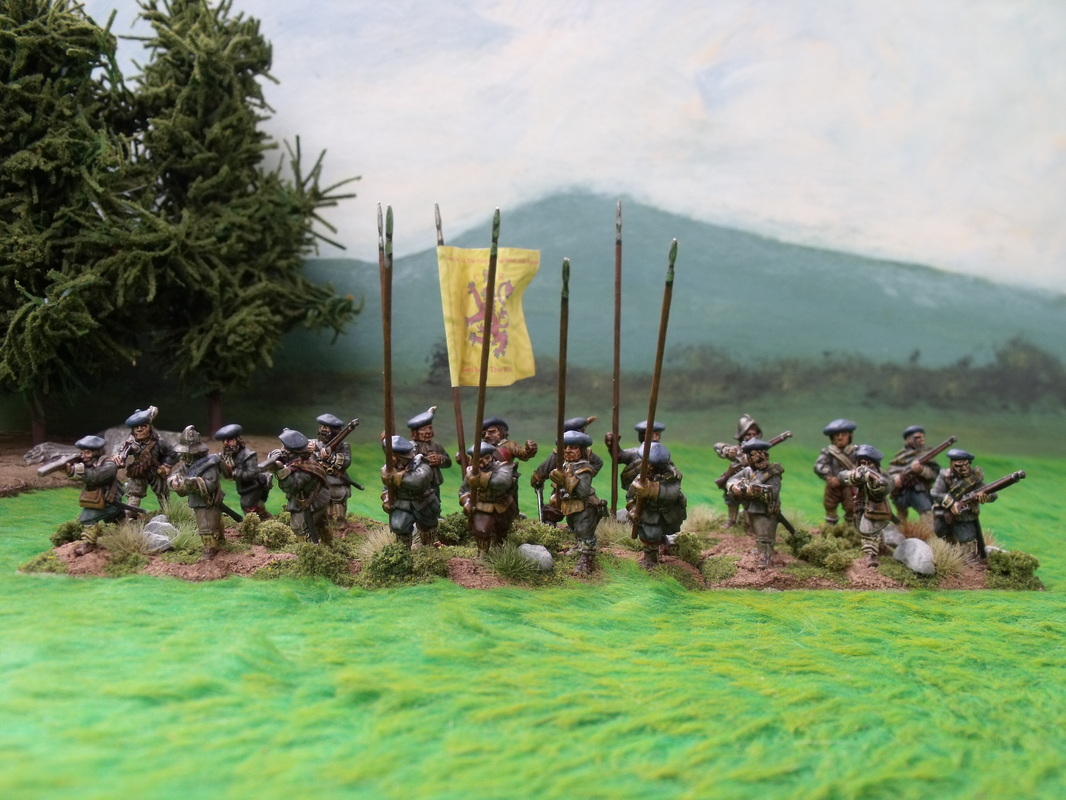
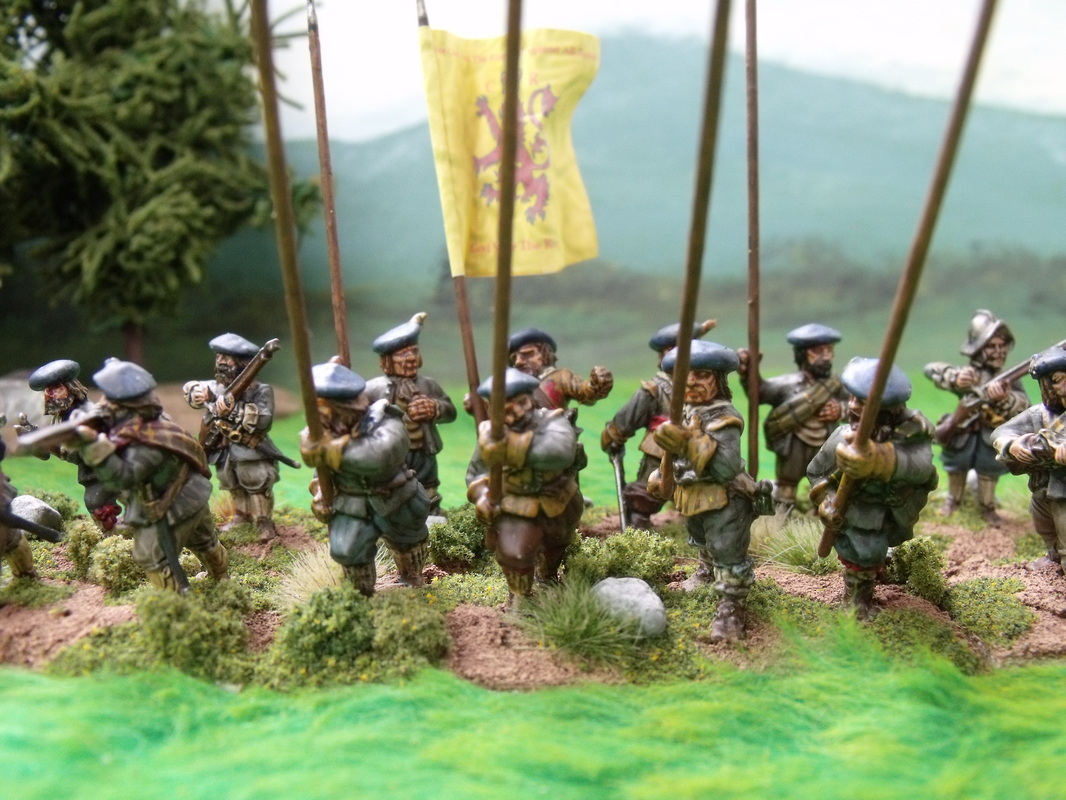
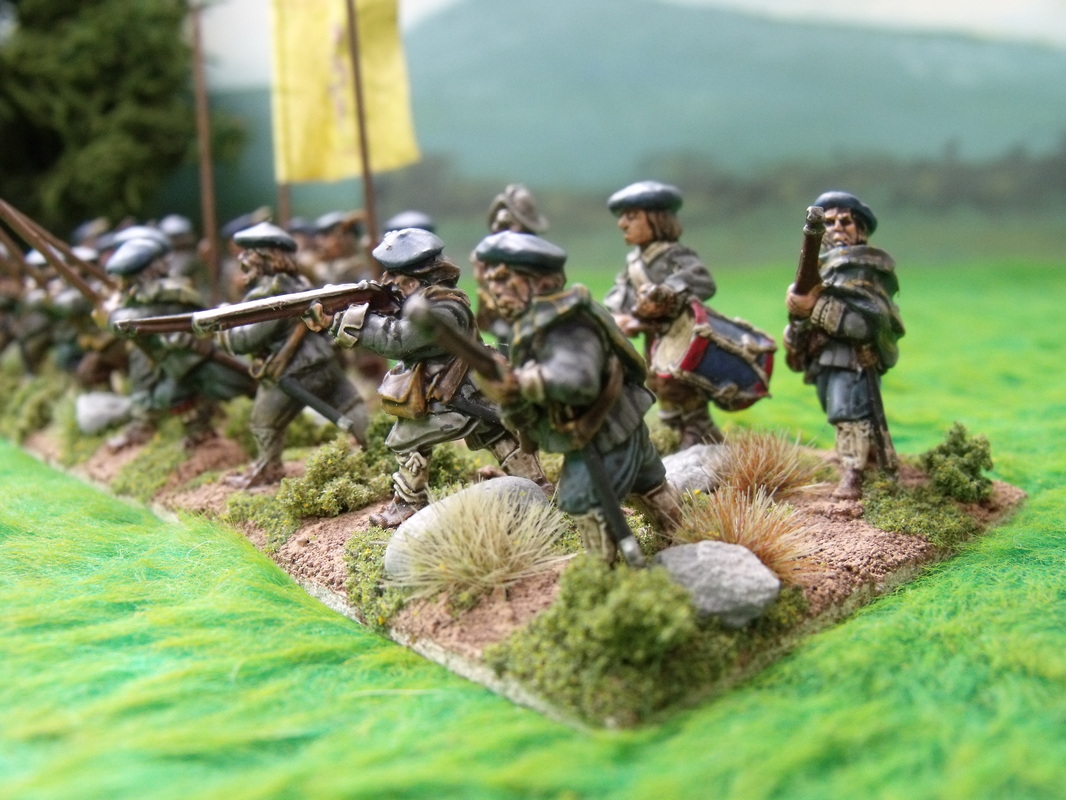
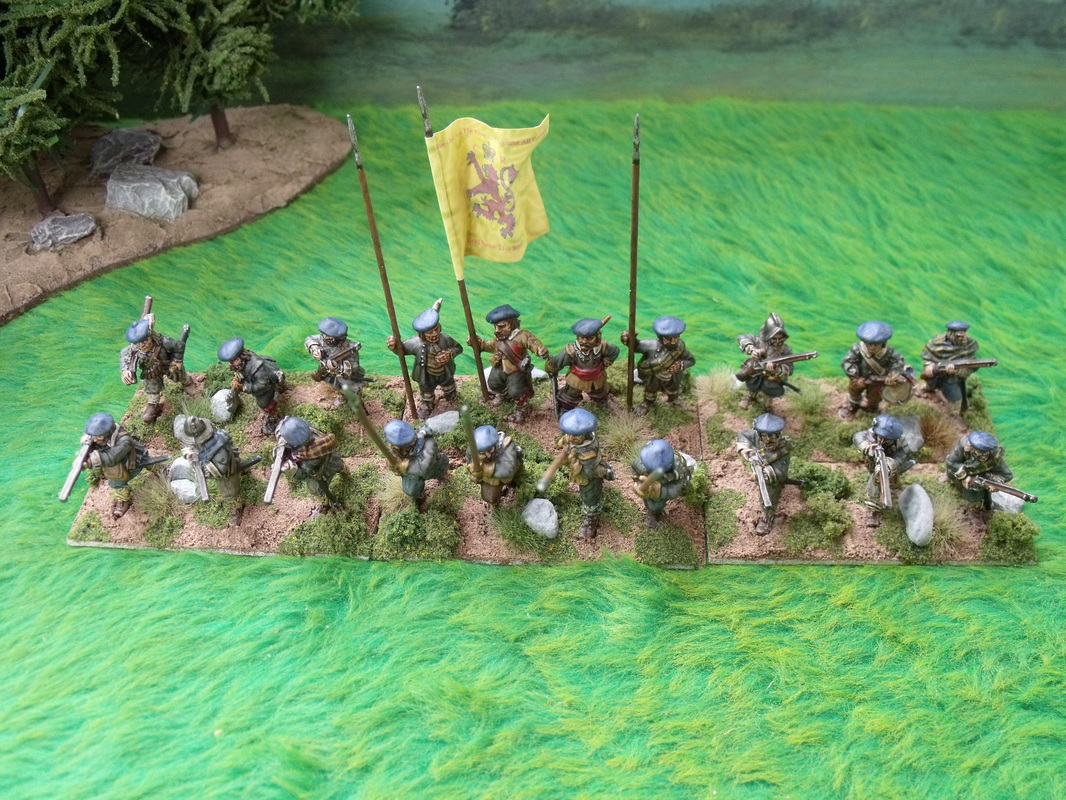
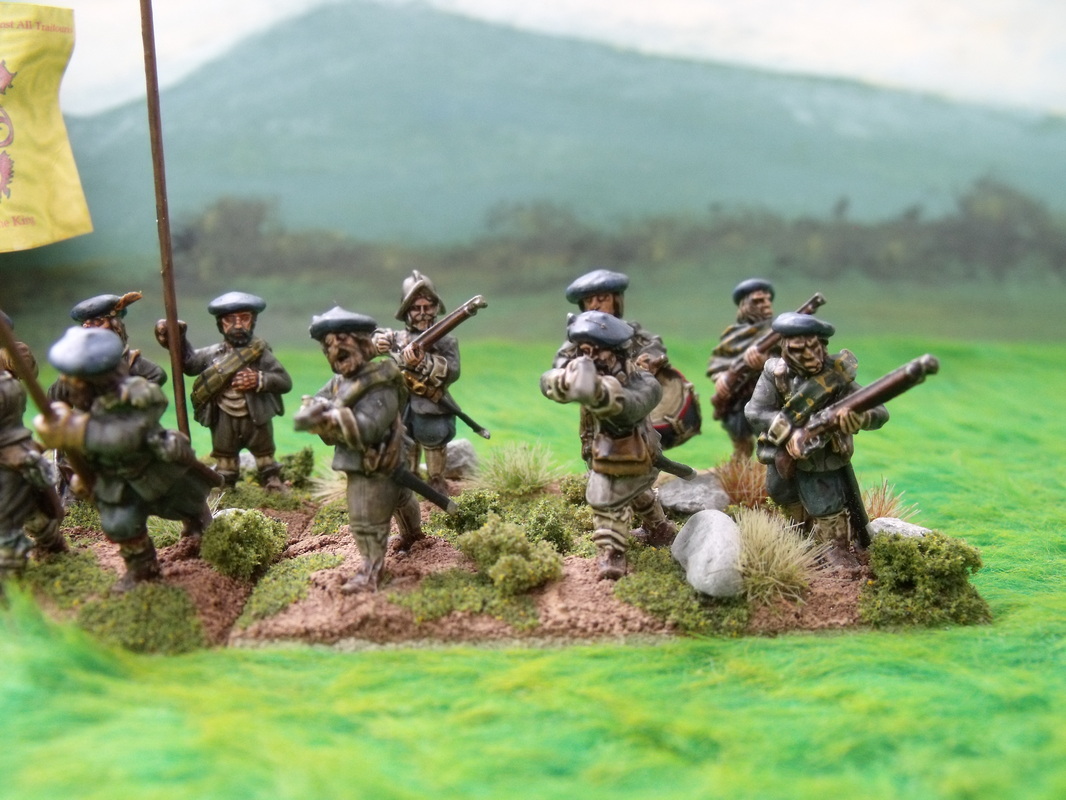
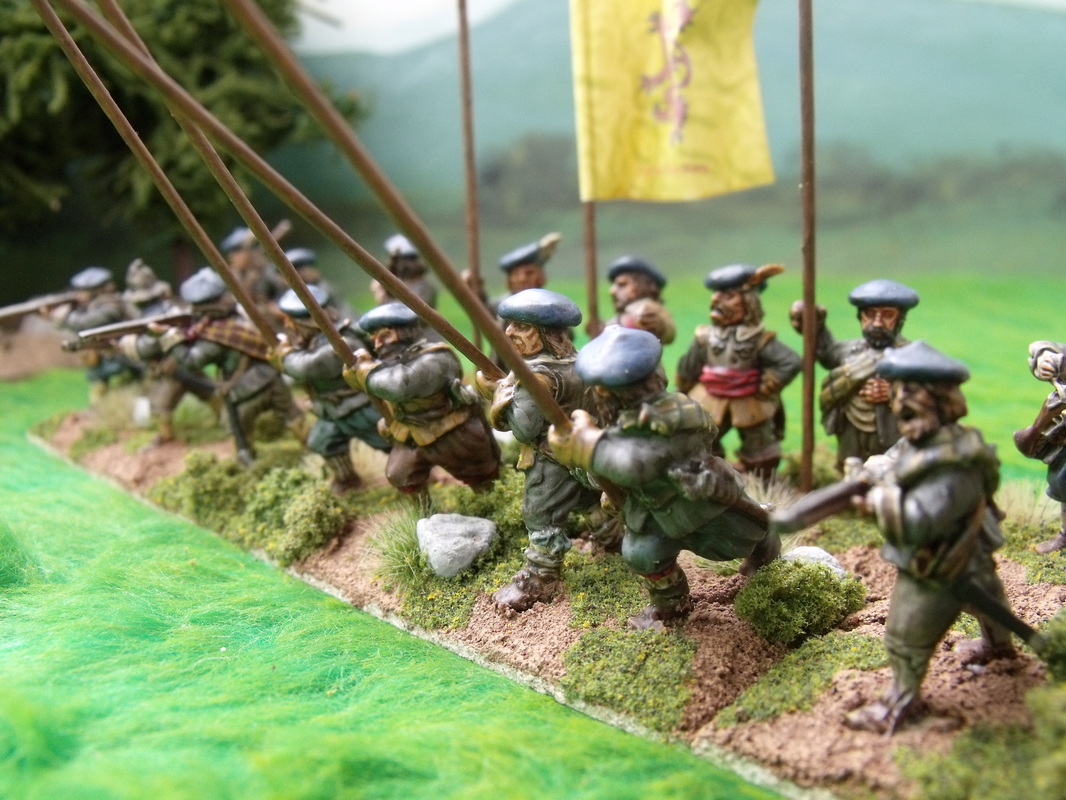
With the painting of the Stratbogie Regiment finished it was a simple job of attaching a flag and varnishing them with first a coat of gloss varnish and once dry a coat of matt varnish, I painted the varnishes by hand as I never use spray varnish as it doesn't protect anywhere near as well. The next day I decided to base them up and used my usual method to achieve the desired result, adding plenty of stones which were painted grey and drybrushed cream to give the desired Highland look. I was very pleased with the end result especially considering how awful they looked to begin with and how I almost gave up before I began, all this work including the basing took about 21/2 hours to complete and well worth every minute. So, without further ado here is the completed Strathbogie Regiment, I hope you like the photo's.
Click on the thumbnails to enlarge.
Part 4
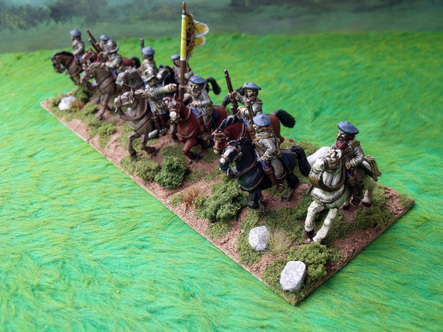
The next unit I decided to tackle were the dragoons, these were altogether a different proposition to the pike & shot of Strathbogie's regiment, for the most part there was no need for any matching as the unit had been painted at the same time, albeit again pretty poorly. The coats were the same light undercoat grey that the musketeers were painted with, but this time I decided that it would be okay to keep the colour as this was a one off unit. The horses however had also been undercoated in the same grey with browns and black washed over them to give different colours, but still 4 of the horses were grey out of a unit of 10 and another 4 a light brownish grey, this wasn't acceptable to me, so I decided to tackle the horse flesh first. Firstly I decided to remove all the flash that still accompanied the figures, both on the riders and horses but most of it on the horses, at the same time I scraped off any brush hairs that he had left on them from his attempt to varnish them with a black varnish coat, 10 minutes well spent. This done I decided to paint one of the horses white and also some darker brown horses, this didn't take very long maybe 30 minutes to do including repainting parts of the other horses that hadn't been fully covered by the guy I bought them off. The next job was the horse furniture which on the whole was pretty okay, so only 5 minutes or so spent on that. This left the riders and for the most part it was a case of touching up paint chips and where I had to cut flash off the figures, so another 10 minutes and I was on to the hair. Black! Yet again a unit full of black haired Scotsmen! Like the infantry before I painted the hair brown and finished it with various shades of lighter brown and reds to give a more natural look, so 10 minutes later and it was simply a case of spending 5 minutes finishing the dark blue bonnets with a mid blue highlight and they were totally done.
Part 5
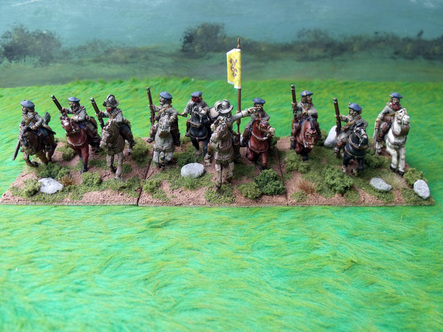
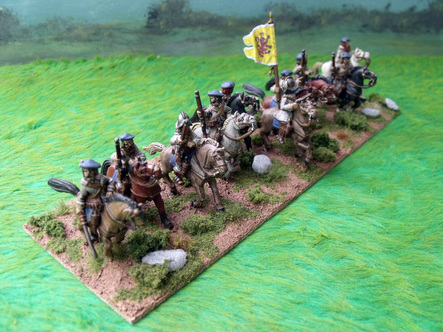
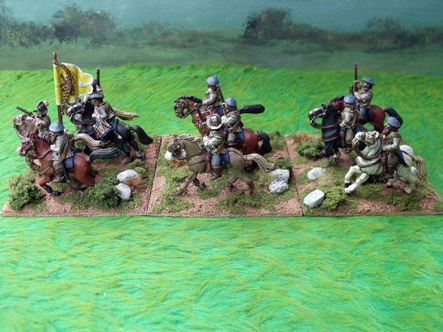
Now that the Dragoons were painted it was simple enough to finish them off with a flag, varnish and base them up, all in my usual way as described above for the Strathbogie Regiment. Again I was very pleased with the result and I decided to to take some photo's to show how they now look.
Click on the thumbnails to enlarge.
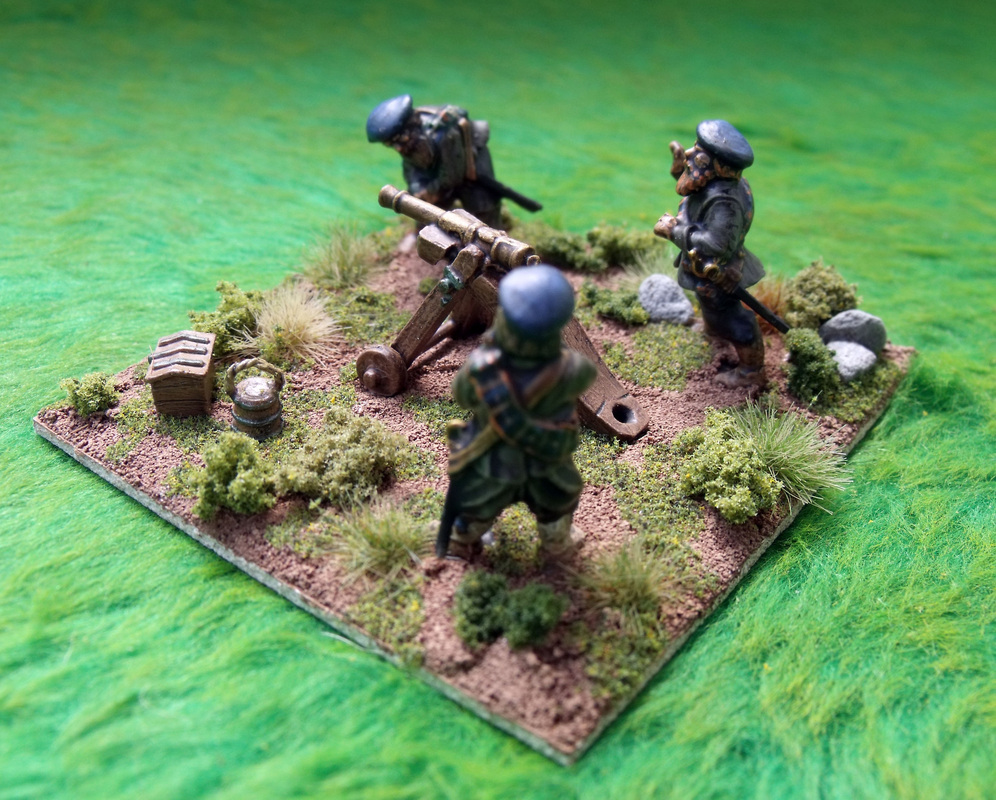
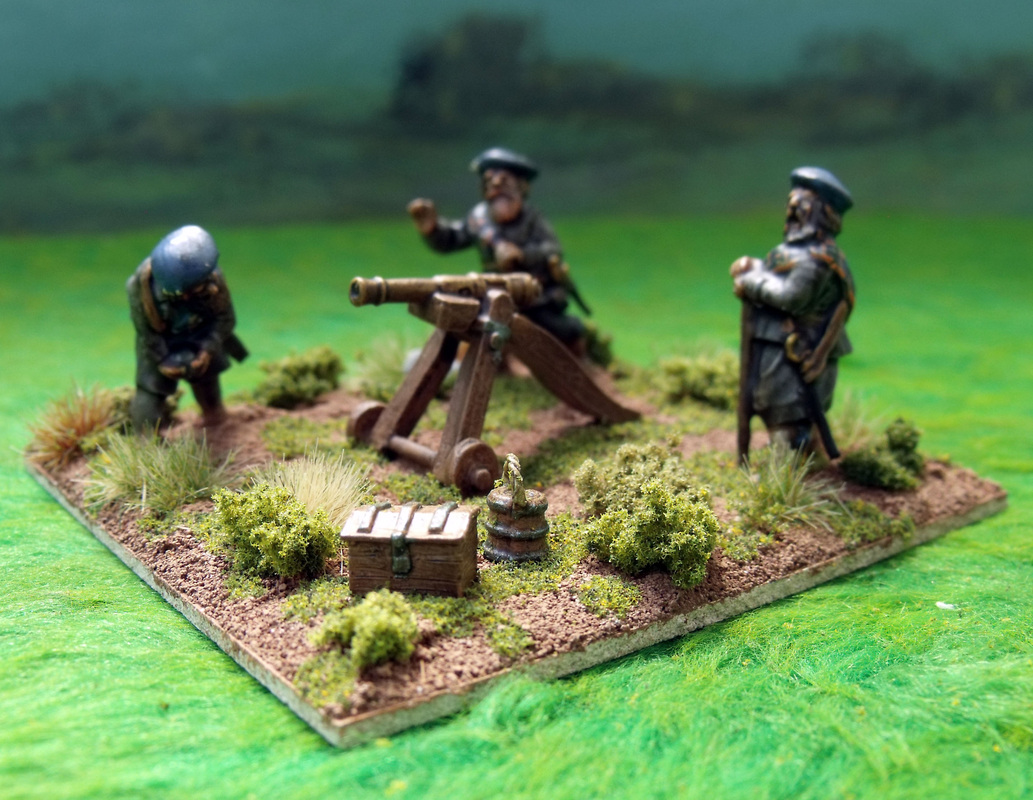
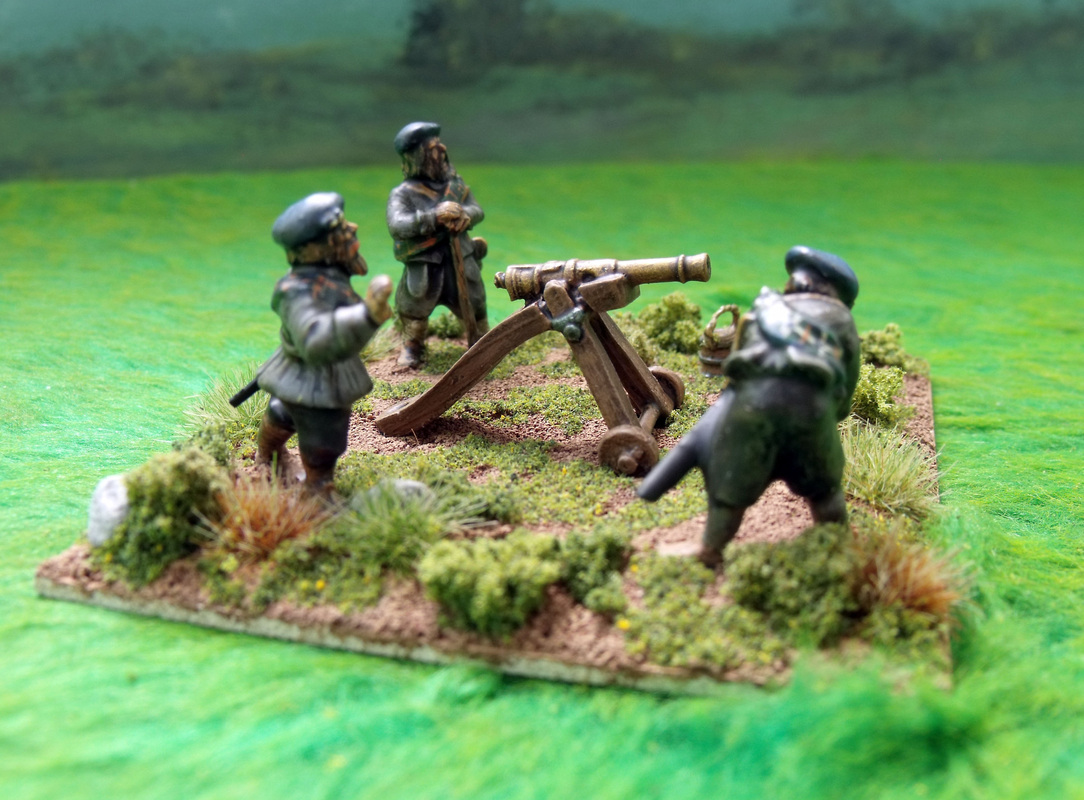
The next item to try and salvage was the frame gun and crew, which again were pitifully painted with the actual gun being painted totally brown including the barrel. The gun was my first project, just a quick undercoat of brown and a nice drybrush of lighter brown and all that was left was the barrel, which I painted bronze. All in it took about 5 minutes to paint this up and it was ready for varnishing. The crew were a different matter, being really badly painted to the point of almost obliterating the detail with a heavy handed black wash. I needed to highlight all of the colours and paint in some face and hand detail, then it was a case of painting the tartan, which had yet again been conveniently left blank. The whole crew including the tartan took about 30 minutes to paint and as with the gun I decided to varnish immediately after painting. Before I decided to base them up I looked in my bits box and found a bucket and a small chest which I thought would be perfect to enhance the look of the base, so I painted them up and varnished them, all in only about 10 minutes. Finally the base was textured and flocked and the first frame gun was complete to a respectable standard.
Click on the thumbnails to enlarge.
Click on the thumbnails to enlarge.
My Scots Covenanter Army
It is fair to say that being a full time figure painter has its ups and downs in terms of my own actual wargaming experience. Although on one hand I have the ability to paint all my own armies I find that this time is greatly reduced due to customer painting commitments. I am envious to say the least when I hand over a beautifully painted army to one of my customers knowing that my own army of that period (if indeed I actually have one like that) is probably still unpainted or half finished. I remember well the feeling I had when handing over one particular 15mm Landsknect army to a customer and actually telling him how envious I was of him for owning such an army. So, having bleated for a while I will get on with explaining my new pet project.
I love the English Civil War period and I am really happy that I have actually convinced my gaming buddies to invest in 28mm English Civil War figures and build up small armies that when brought together we can play large battles with. This has not been an easy task and several of the armies (okay all of them) are nowhere near finished yet and to make matters worse there are still some issues over basing, organisation and rules yet to be resolved (Look into my eyes, look into my eyes, not around the eyes, in the eyes. You will follow all my suggestions about ECW without question. 3, 2, 1 and you're back in the room). Still, I am unperturbed and will press on with painting up and basing my armies as best I can. Oh yes, Scots Covenanters, almost forgot about them.
Okay, well having set the background for the project I now will get on with the how and where part of actually building up a Scots Covenanter army in 28mm. The obvious place to start was looking at what is out there in 28mm for the period and there are many different manufacturers of wargames figures for this period that I could have gone for, but for several reasons I chose the Warlord Games Scots Covenanters. Best reason of all was cost, they are extremely cheap, next reason was I wanted more of their plastic horses as I just love them, next reason was they are actually really nice figures, and last reason was I really like plastic figures both in terms of the variety you can get from them and the fun of building them up. Okay, with Warlord Games in mind I proceeded to look at the buying options and the army I actually wanted.
The army I wanted was as follows:
Some Generals, based as vignettes on round bases, maybe 3 or 4 bases in total.
2 regiments each of 10 lance armed cavalry
2 regiments each of 10 pistol armed cavalry
1 regiment of 10 Dragoons both mounted and dismounted versions
8 regiments each of 20 pike & shot infantry
Some artillery, maybe 2 or 3 pieces and crews
Some characters, maybe a minister and a sniper etc.
I must point out at this stage that although I use Pike & Shotte by Warlord Games as my rules preference my English Civil War armies are organised in regiments of both pike & shot combined rather than as separate units of pike & shot as defined in the rules. My cavalry regiments are really squadrons and based in one rank. The Dragoons are always in a 10 man regiment whether on foot or mounted. You may have guessed by now that I do not strictly follow the basing suggestions within the rules, but more of that at another time.
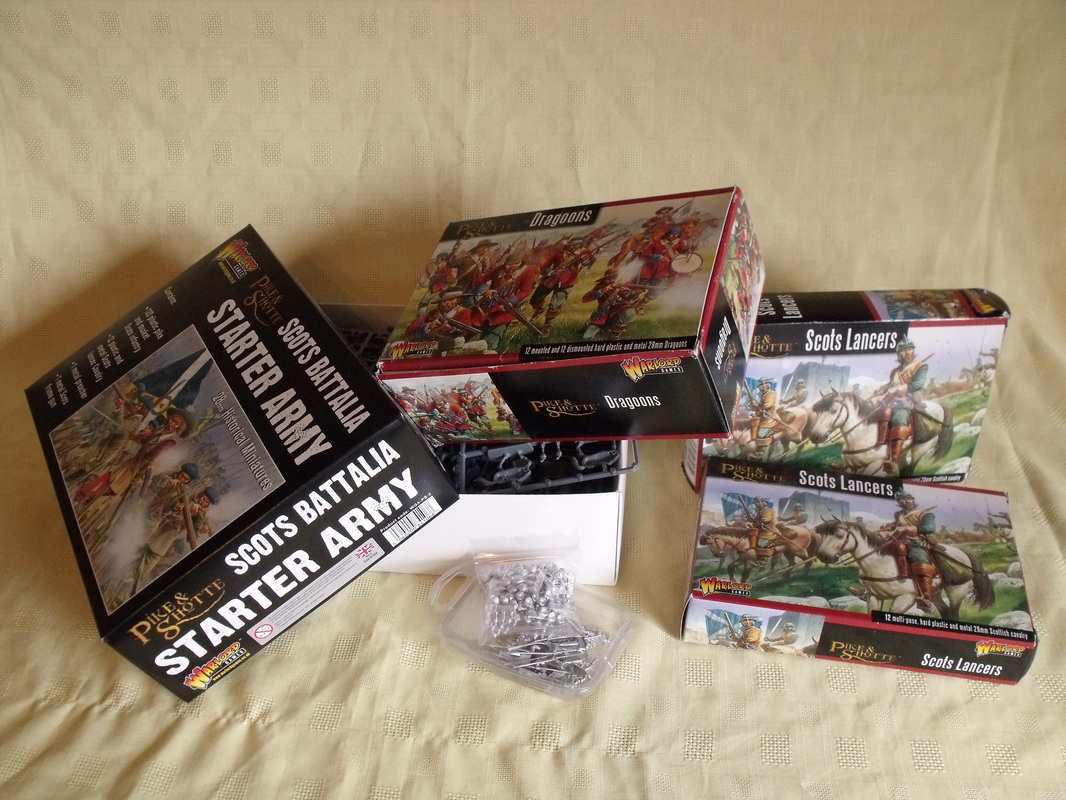
So, having identified what I would like to have in my army I decided to buy as much of it as I could in one fell swoop, first stop ebay! My first purchase was 12 Scots lancers from Maelstrom Games for £16.20 and yet another box from another seller for £16.50 both including the postage in the cost, and both saving me almost £6.00 each on the full price from Warlord Games. Next was a Scots Battalia boxed set from Warlord Games as there were none available on ebay and this cost me £60.00 which I picked from from the recent wargames show in Derby. To these purchases I added 12 dragoons from an earlier ebay purchase that cost me £21.00 including postage, and for a cost £7.70 I had 12 cavalry from an ECW Battalia Starter Army set that I had previously purchased from ebay. Total cost so far is a staggering £121.40, but for this I do get one hell of a lot of figures and I have saved £72.10 on the normal price of buying them all separately direct from Warlord Games. This was a good start and I do know that I will have a few bits and pieces still to add to this before I have the exact amount I want, but I also know that I have these already from my vast unfinished amount of unpainted ECW figures in my collection.
Part 2
Okay, I have the figures and now it comes to sorting them into their respective units for painting and basing, for this I will start with the mounted part of the army including the dragoons. The dragoons are pretty straight forward as there are 12 mounted and 12 dismounted versions to play around with but as I only need 10 of each I put the surplus into my extras box and they can be used for other units or vignette bases. Most will have bonnets but not all of them as I like the variety of head wear that is included in the Warlord Games box sets and it does make them look all the more irregular in appearance. Now the figures are absolutely fine but my only concern is with the horses, they too are fine, but they are way too big for a dragoon mount and strangely even in the blurb accompanying the box set they mention the small nags that dragoons would have ridden. So the horses have to go, which is no problem to me at all as I simply exchanged them with smaller horses that I already had from Old Glory and Wargames Foundry ECW cavalry, both their horses again being fine, but a bit small (a lot smaller than Warlord's horses) for ECW heavy cavalry. So an easy fix really, except that the Old Glory horses don't have saddle cloths so they will be made with green stuff.
Now the Cavalry proper, that being the Scots Lancers and normal ECW cavalry that I had bought. Again the horses must go as again the horses are way too big to be the type of horse or pony that the Scots would have used. Again the answer being to use Old Glory and Foundry horses that I have already and whose riders will be remounted with the plastic horses. Now the thing is about the Warlord Games Scots lancers is that they are essentially the same as the normal ECW cavalry except they have extra metal arms with lances or pistols, some bits of extra equipment and 3 metal riders which are supposed to be the command figures. So in effect you get 15 riders and 12 horses, which is pretty neat really. The metal riders I have decided to put to one side as generals etc. and so with 3 boxes of lancers I have 9 of these in total, easily enough for my command vignettes. There are only 6 lances in each box set, which although there is some debate as to whether or not the Scots lancer regiments were fully equipped with lances I have to say that I like the idea of my lancer regiments being fully equipped. Fortunately I have 3 boxes of lancers which means 18 lances enough to equip 2 units of 10 fully leaving the musician with a trumpet. The pistol armed cavalry are no problem at all and have a choice of swords or pistols at random. The headgear will be a choice of helmets, hats and bonnets, with most having a bonnet, some re-sculpting of the hair may be necessary, but this I have already tried out on a similar figure and can be done very easily with a hot needle shaped tool, more of which later.
Now the Cavalry proper, that being the Scots Lancers and normal ECW cavalry that I had bought. Again the horses must go as again the horses are way too big to be the type of horse or pony that the Scots would have used. Again the answer being to use Old Glory and Foundry horses that I have already and whose riders will be remounted with the plastic horses. Now the thing is about the Warlord Games Scots lancers is that they are essentially the same as the normal ECW cavalry except they have extra metal arms with lances or pistols, some bits of extra equipment and 3 metal riders which are supposed to be the command figures. So in effect you get 15 riders and 12 horses, which is pretty neat really. The metal riders I have decided to put to one side as generals etc. and so with 3 boxes of lancers I have 9 of these in total, easily enough for my command vignettes. There are only 6 lances in each box set, which although there is some debate as to whether or not the Scots lancer regiments were fully equipped with lances I have to say that I like the idea of my lancer regiments being fully equipped. Fortunately I have 3 boxes of lancers which means 18 lances enough to equip 2 units of 10 fully leaving the musician with a trumpet. The pistol armed cavalry are no problem at all and have a choice of swords or pistols at random. The headgear will be a choice of helmets, hats and bonnets, with most having a bonnet, some re-sculpting of the hair may be necessary, but this I have already tried out on a similar figure and can be done very easily with a hot needle shaped tool, more of which later.

